Multi Agent
Overview
QueryPie Multi Agent is an enhanced Proxy Agent that allows you to use multiple QueryPie Hosts simultaneously.
In the Agent UI, you can view the available resources on each specific Host.
Simply installing the Agent and logging into each Host allows you to access resources through two or more QueryPie Proxies without any additional configuration.
지원 버전
Multi Agent supports only QueryPie Host version 10.2.5 or later. If you are using version 10.2.4 or earlier, please continue using the existing User Agent.
It is possible to install both the User Agent and Multi Agent on the same PC; however, they cannot run simultaneously as this may cause functionality issues.
The current support scope for Multi Agent in version 10.2.5 is as follows:
Service: DAC, KAC
Client OS: macOS, Windows
Support for SAC and Linux is planned for version 10.2.7.
Downloading and Initial Setup of the Agent App
After logging into QueryPie, click on the profile in the top-right corner, then select Download & Support and click the
Multi-Agentbutton.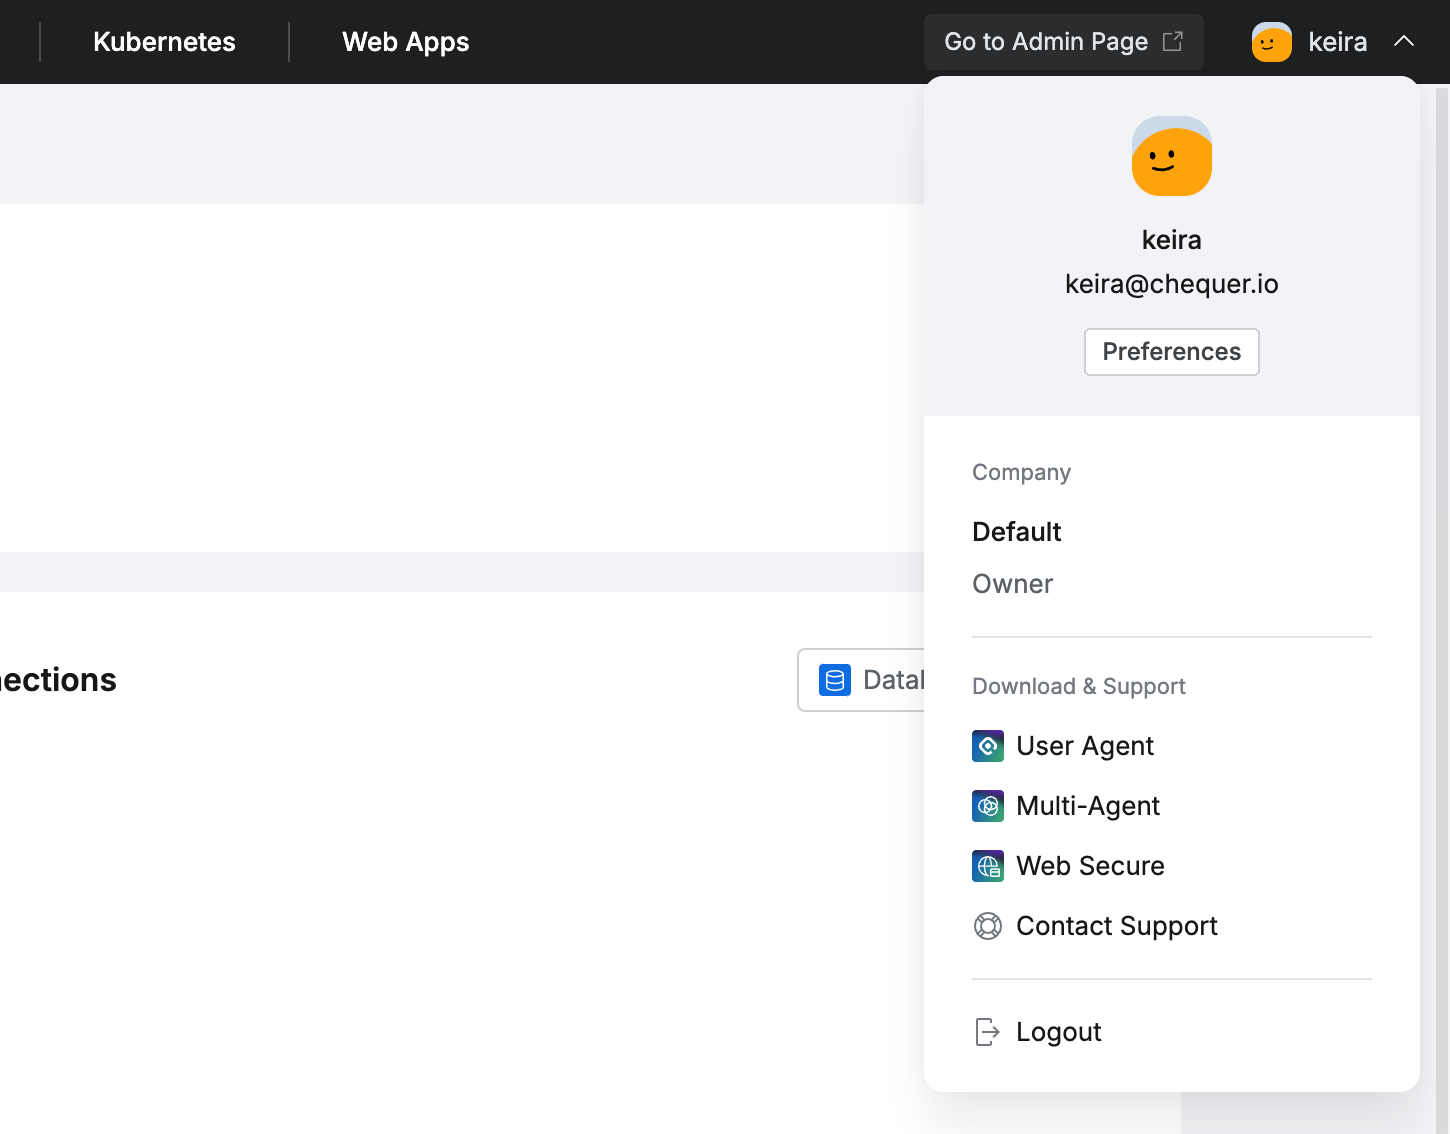
QueryPie Web > Profile
When the QueryPie Multi-Agent Downloads popup appears, download the installation file that matches your PC's operating system in Step 1. Then, copy the QueryPie URL found in Step 3.
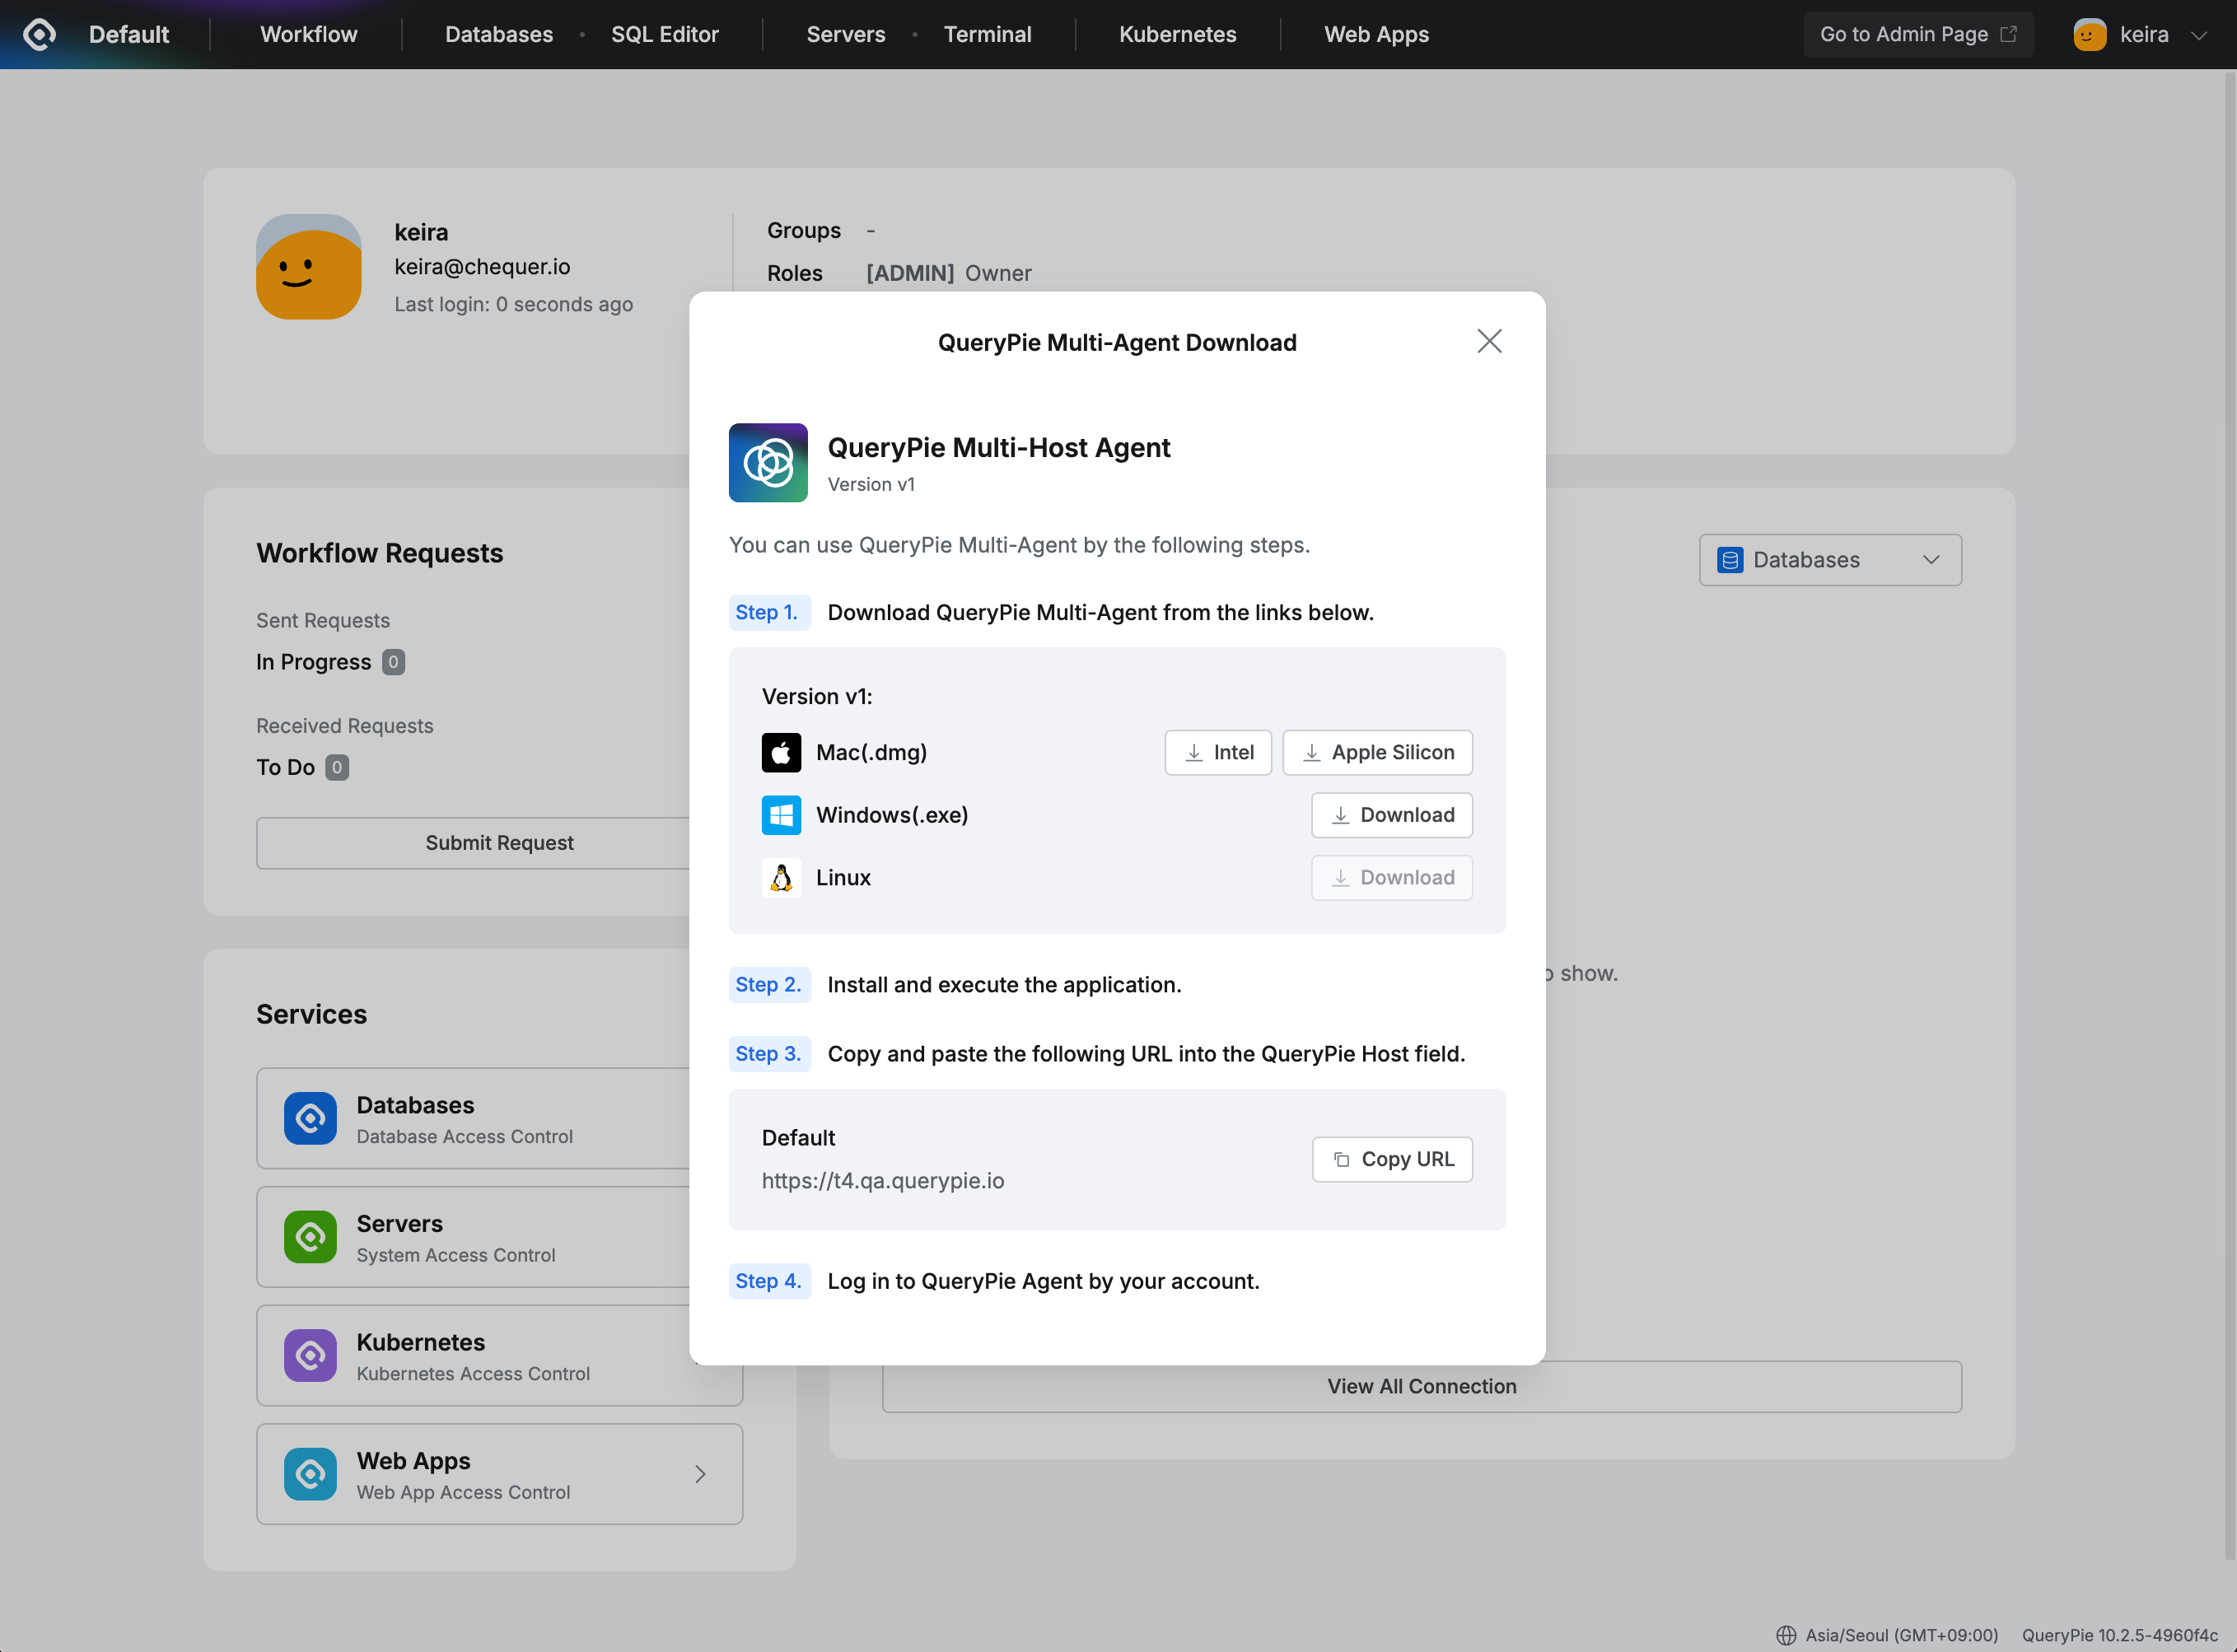
QueryPie Web > QueryPie Multi-Agent Download
Run the downloaded QueryPie Multi-Agent installer, then copy the .app file to the Applications folder to complete the installation.
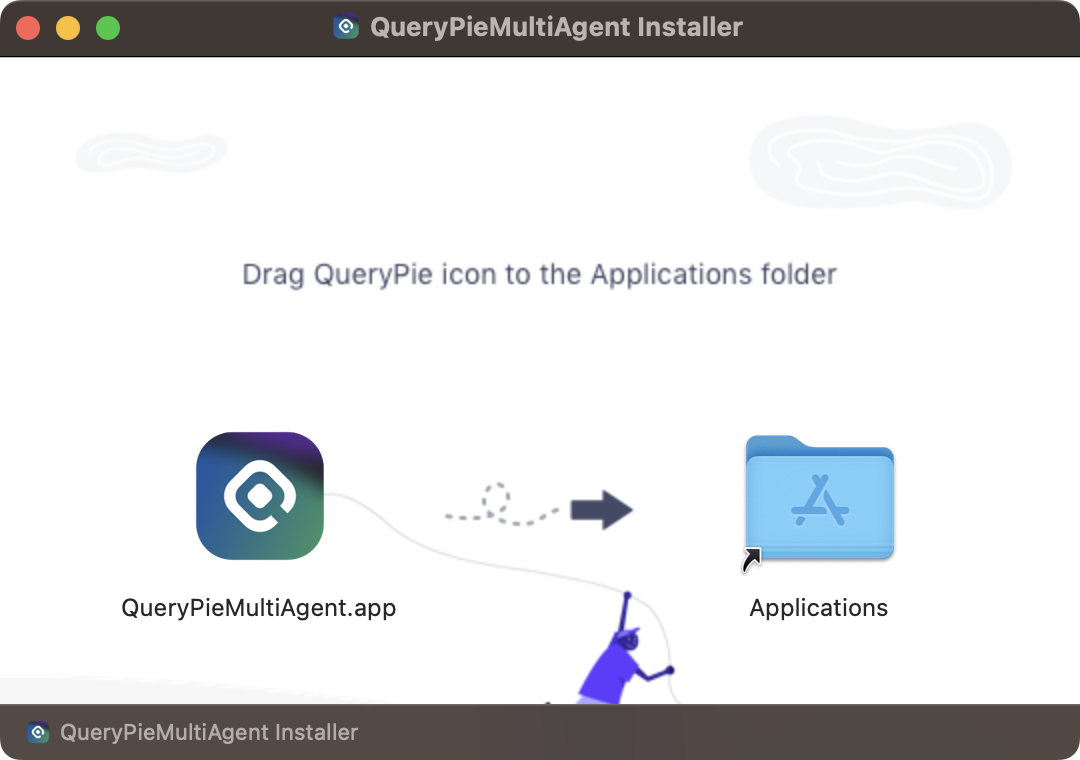
Mac OS Installer
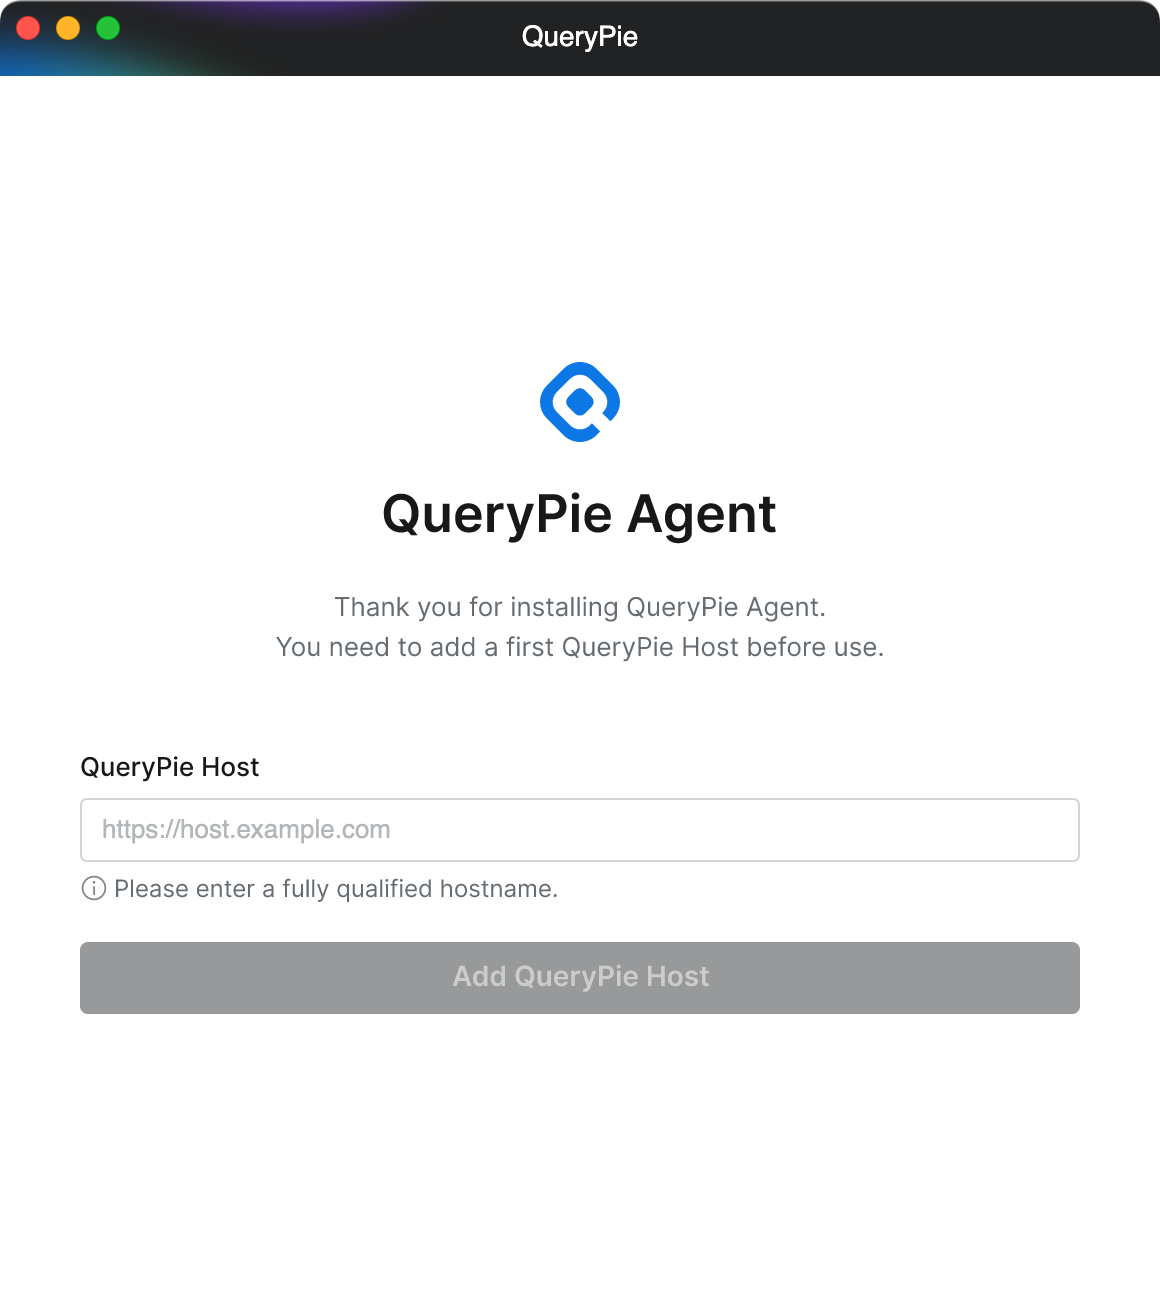
When the installed QueryPie Agent is launched, the Host registration page will appear.
Enter the QueryPie URL you copied earlier in the QueryPie Host field, then clickNextto proceed to the login screen.
Multi-Agent > Host Setting
On the login page of the entered host, enter your authentication details and click the
Continuebutton.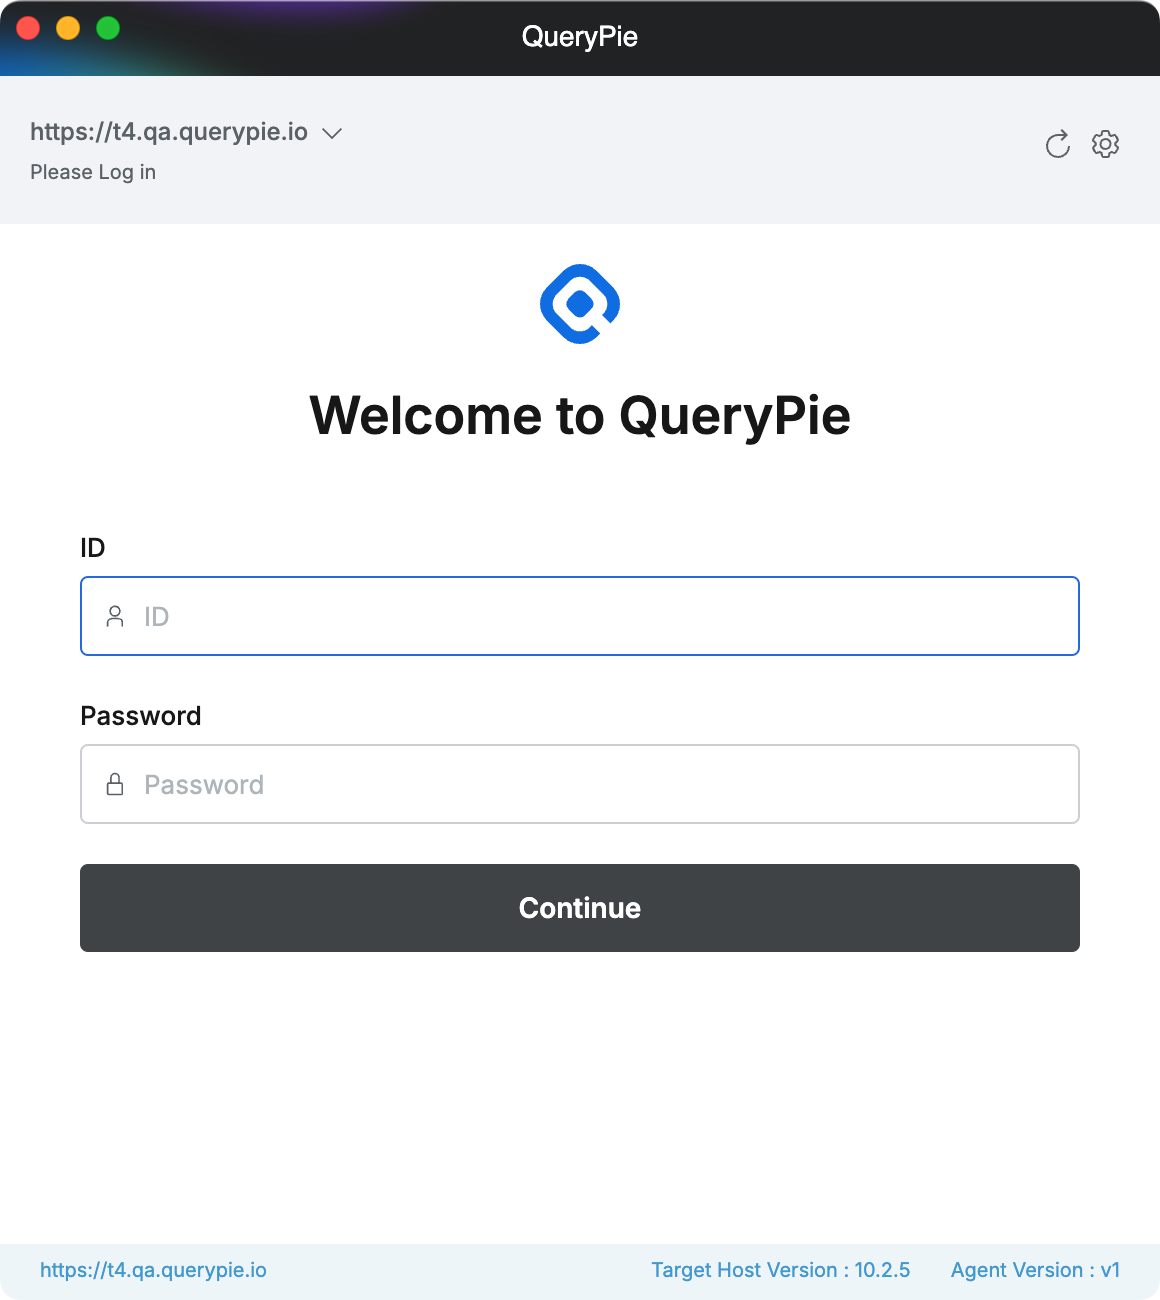
Multi-Agent > Log in
Connecting to the Database as an Agent
In the Database tab, you can view the list of database connections for the selected QueryPie Host that have granted permissions and support proxy usage.
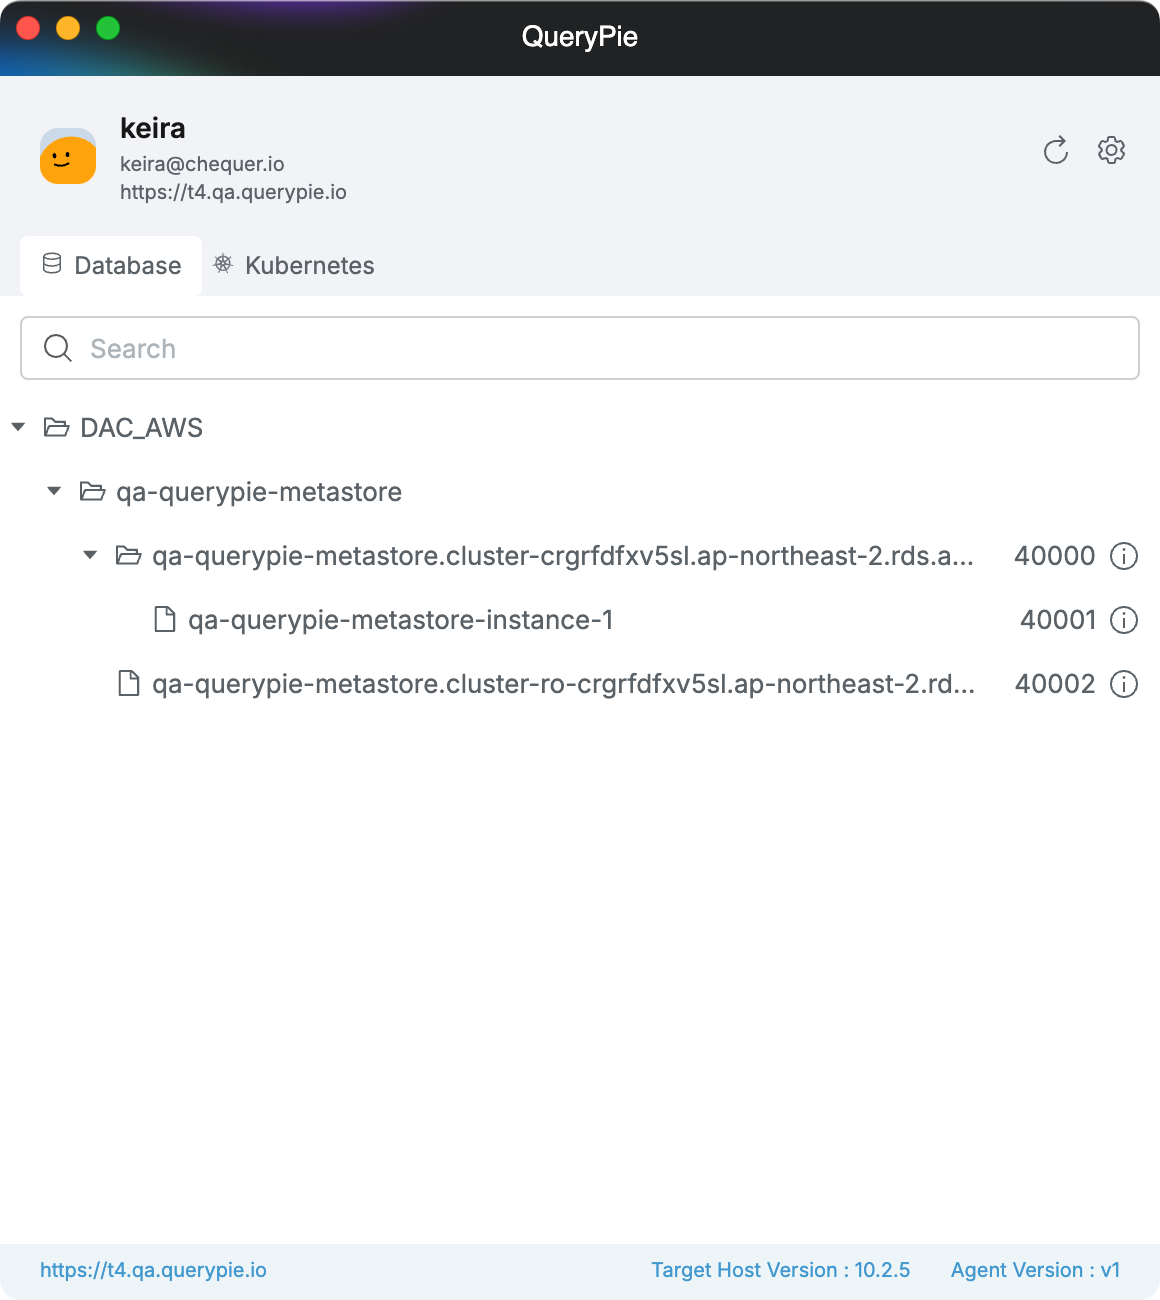
Multi-Agent > Database
Select the connection you want to access, right-click, and click the "Connection Information" menu to view the details for proxy connection.
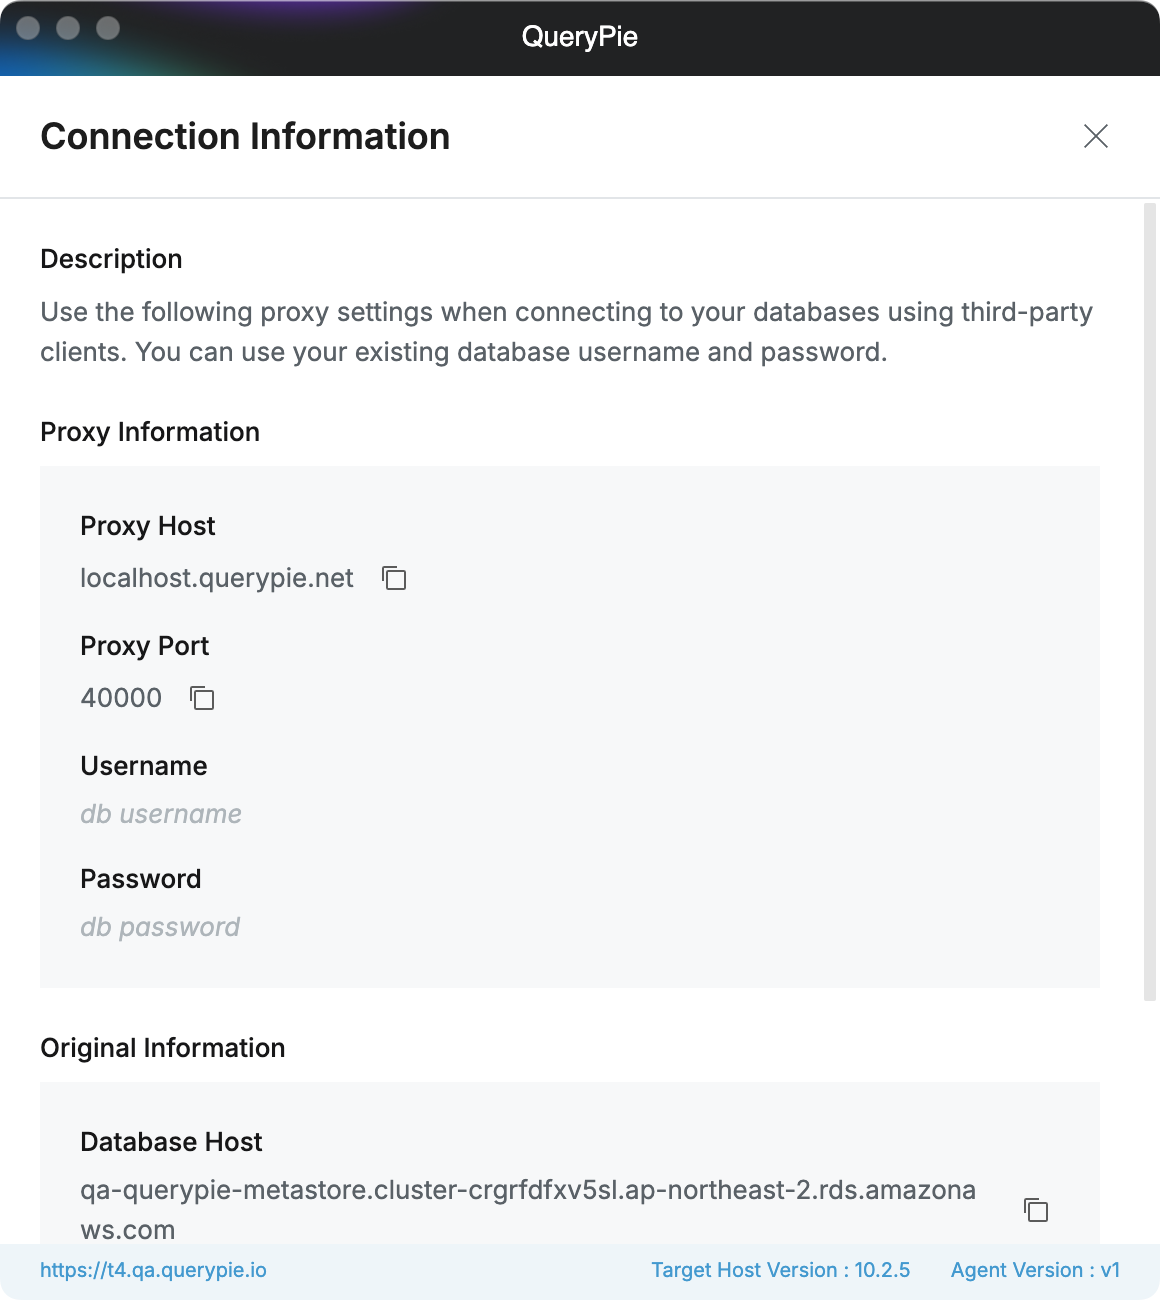
Multi-Agent > Database > Connection Information
The functionality for copying authentication information and integrating with 3rd-party tools will be supported in version 10.2.6 and above.
Managing Kubernetes Settings in the Agent
If you open the Kubernetes tab for the selected QueryPie Host for the first time, you will need to select a role. You can view and select from the list of roles assigned to you using the role selector at the top.
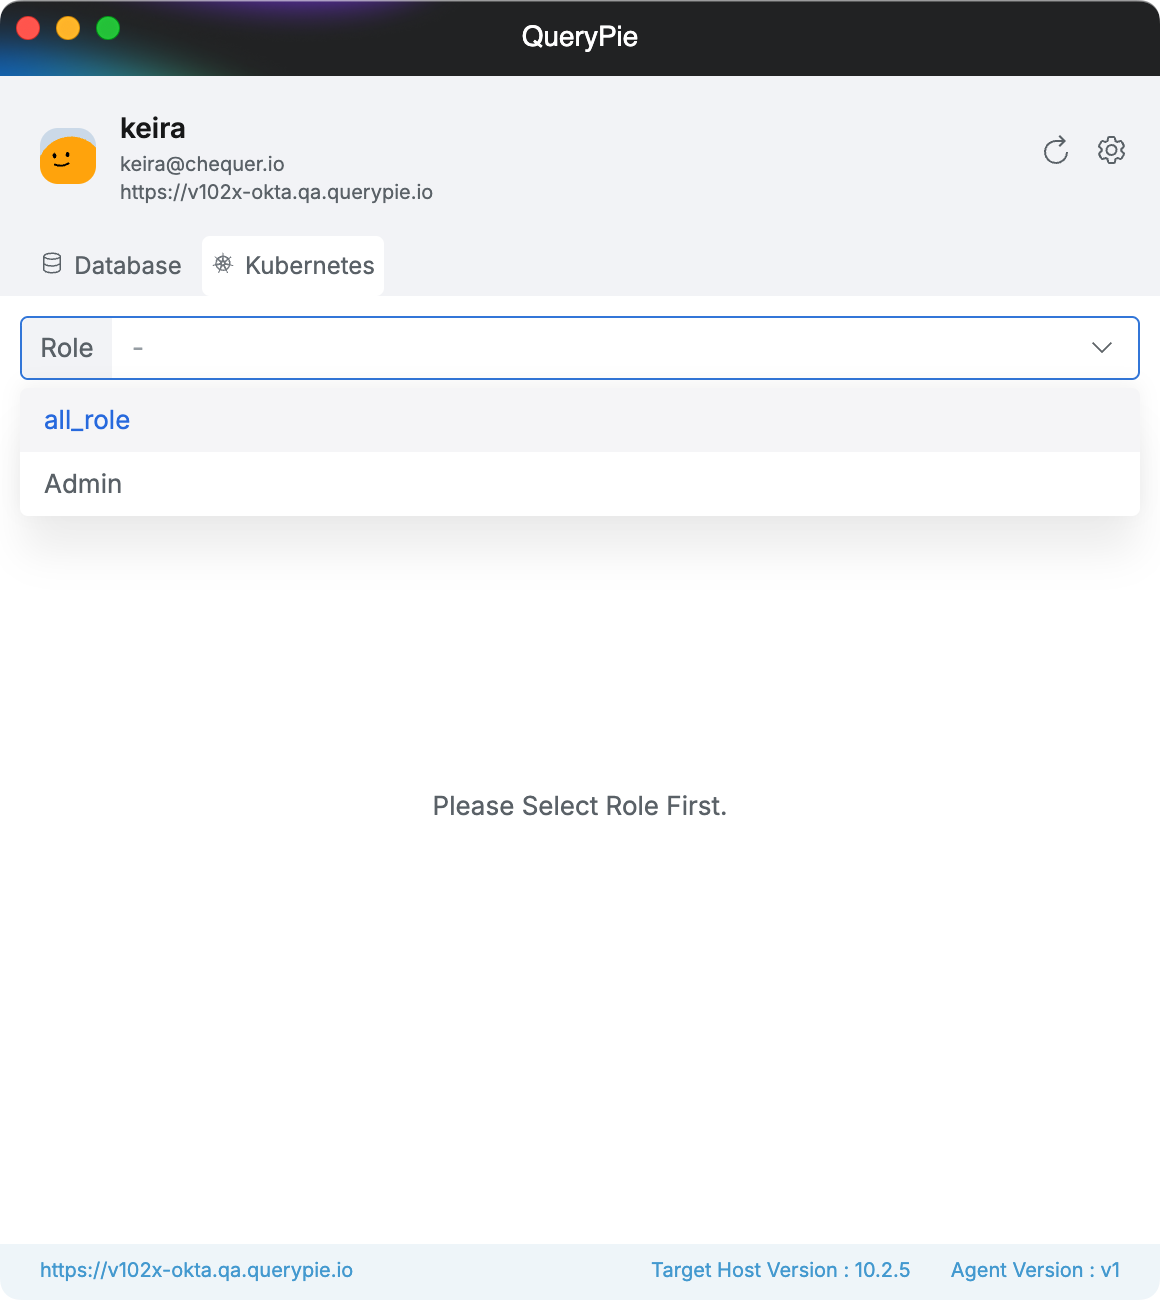
Multi-Agent > Kubernetes > Select Role
You can view the list of K8s clusters that have been granted permissions for the selected role.
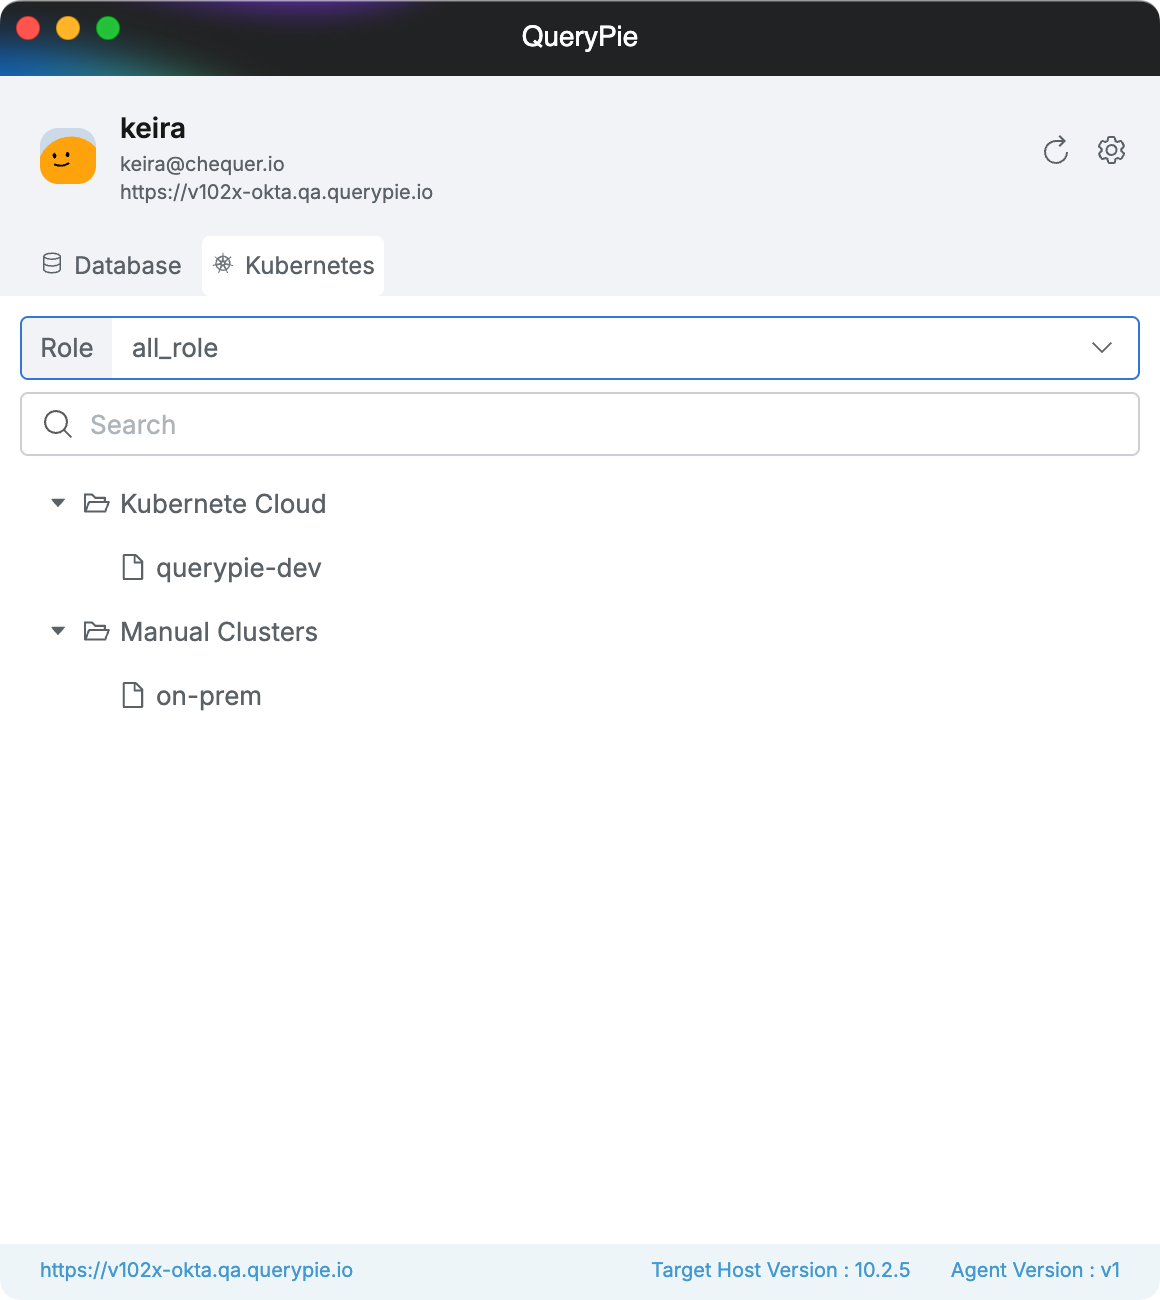
Multi-Agent > Kubernetes
To use the kubectl command through a proxy, an initial Kubeconfig setup is required. Click the gear icon in the top-right corner to access the Settings page, select the Kubernetes tab, where you can manage the Kubeconfig file save path and copy the Kubeconfig setup command.
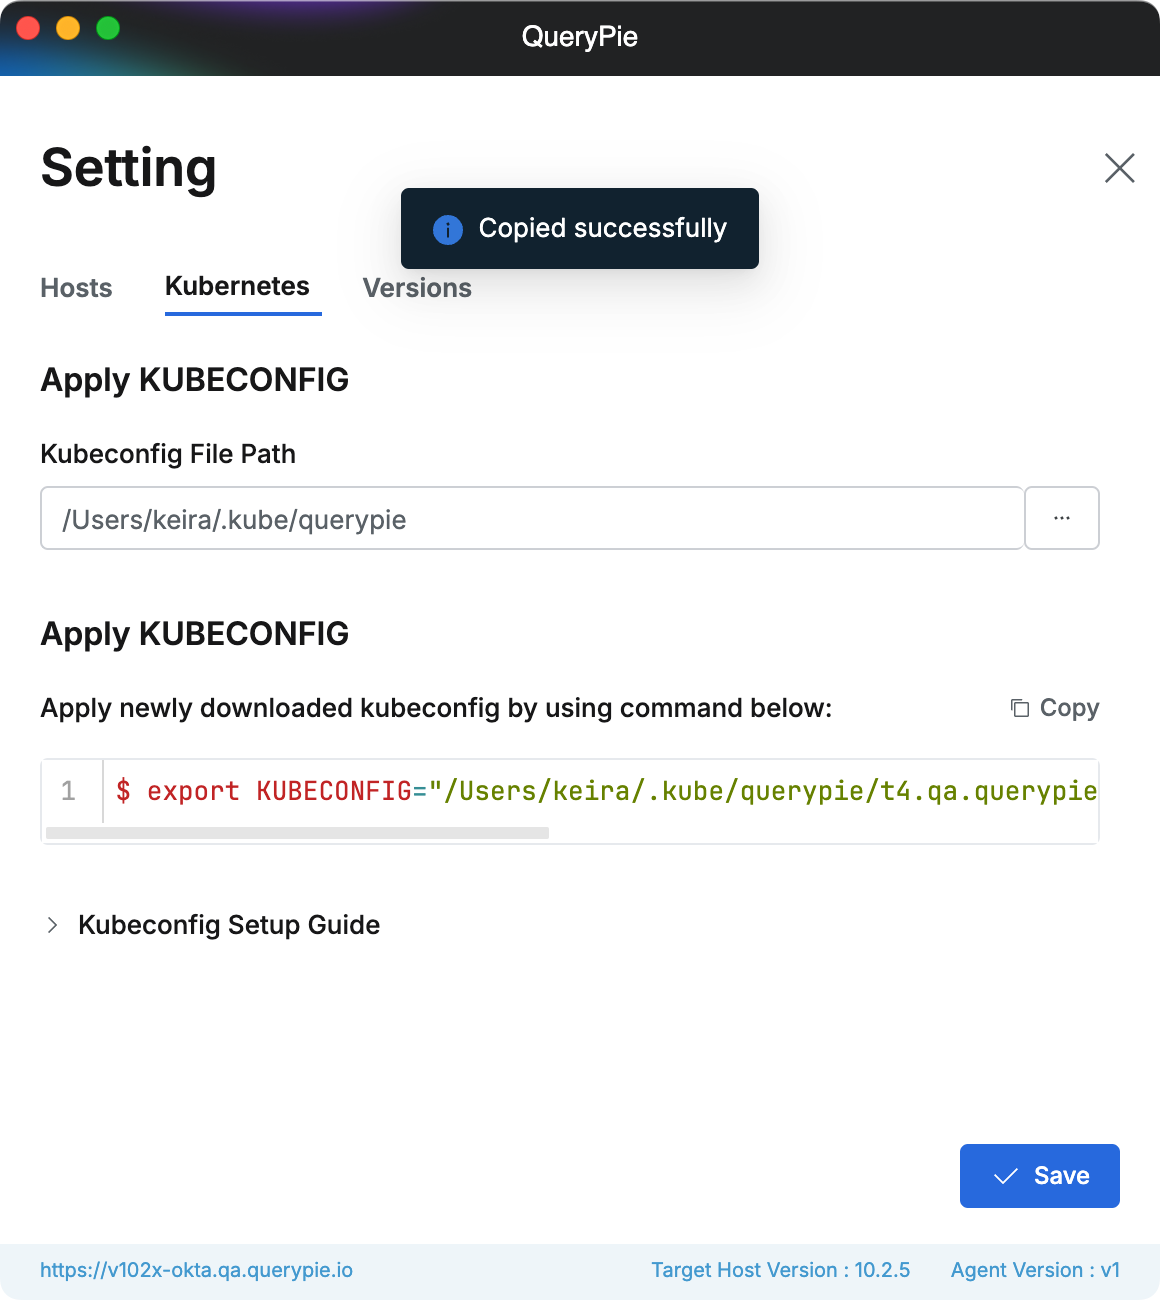
Multi-Agent > Setting > Kubernetes
Paste and execute the copied command in your terminal.
Using Multiple Hosts in the Agent
Click the
+ Add New Hostbutton in Settings > Hosts, enter the domain of the new host, and save it.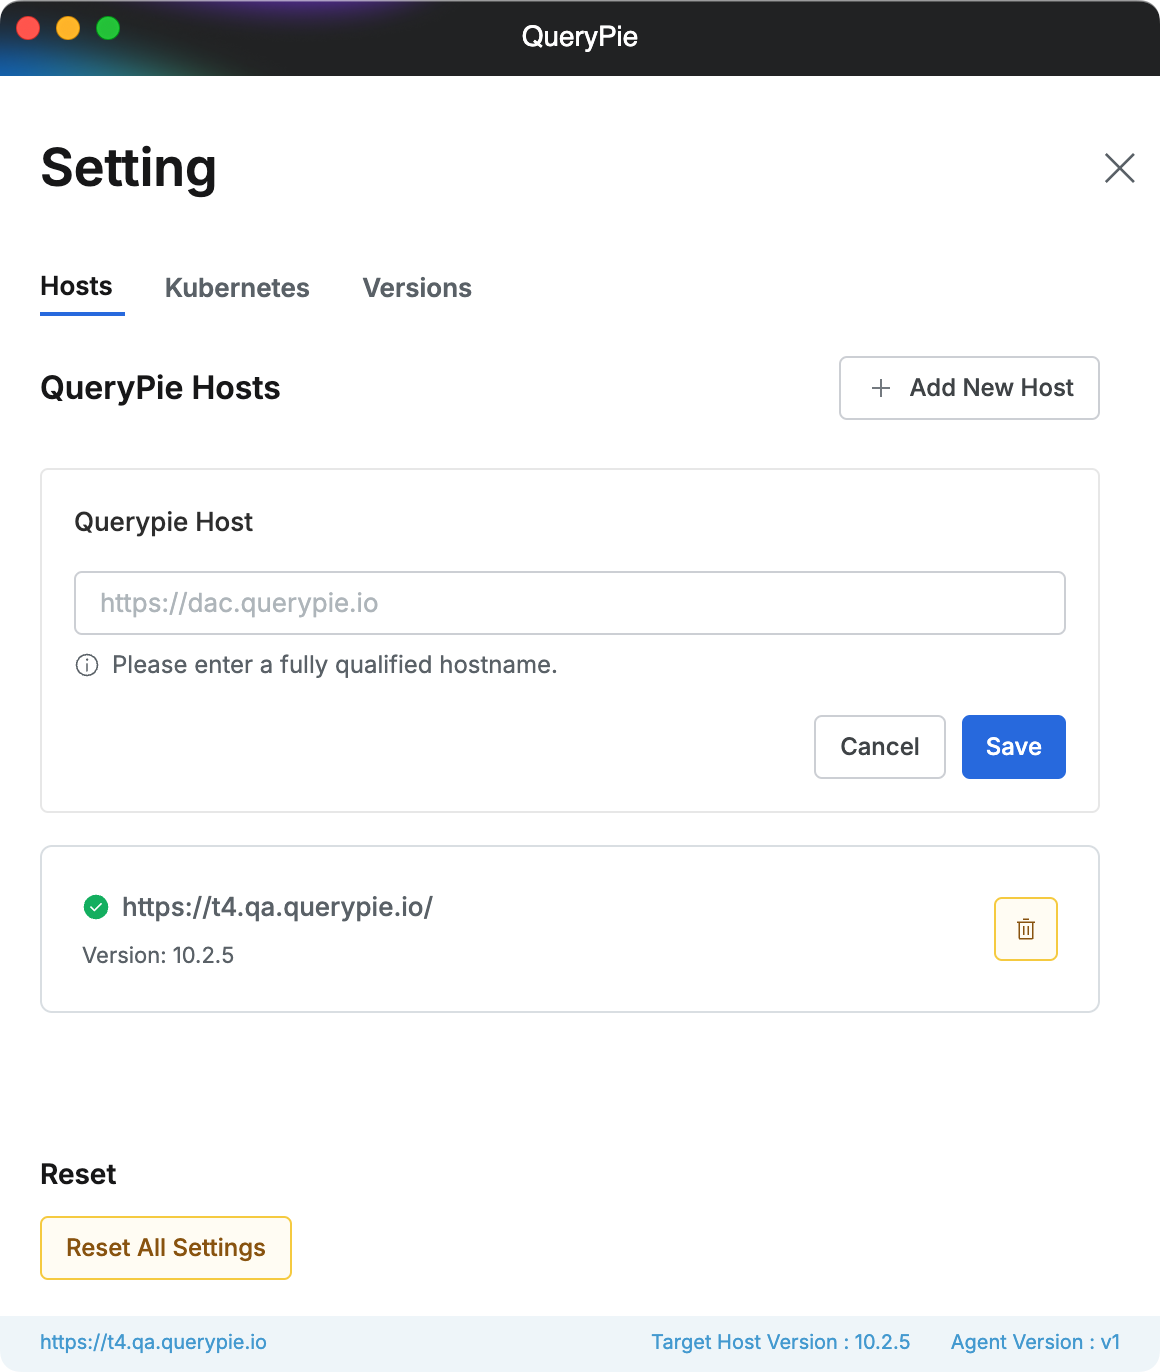
Multi-Agent > Setting > Hosts > Add New Host
If the new host registration is successful, a toast notification will be displayed. You can confirm that the new host has been added to the list, and then exit the settings page by clicking the
Xbutton in the top-right corner.
Multi-Agent > Setting > Hosts
Click the profile to view the list of registered hosts. You can click to switch between hosts.
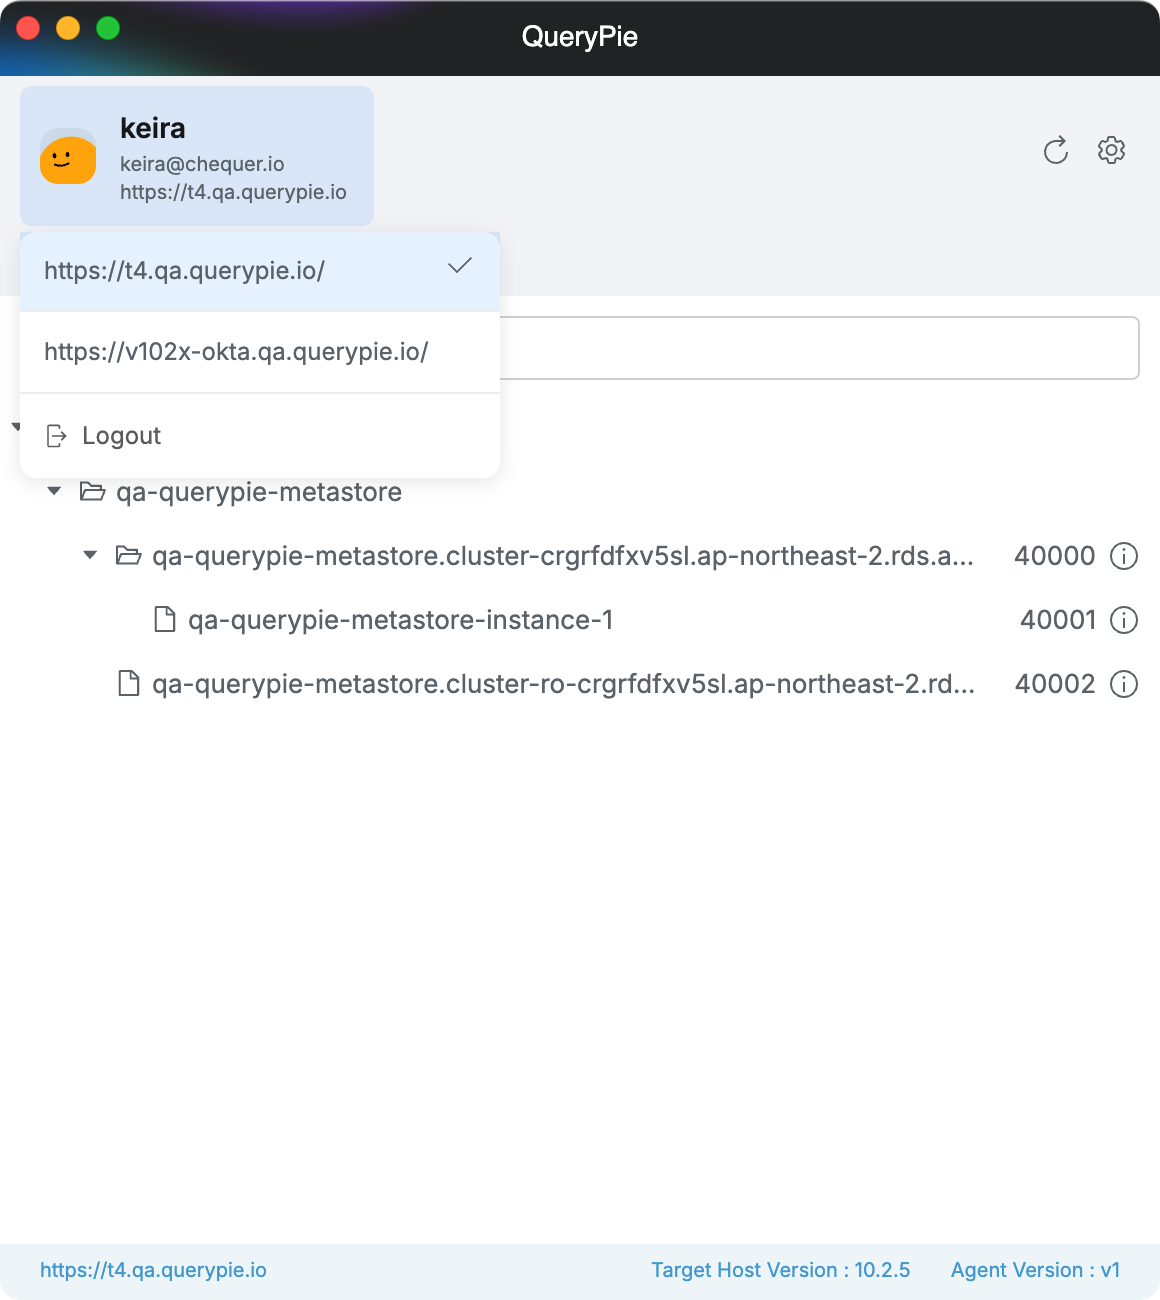
Multi-Agent > Profile > Select Host
Host switching is required during login, but once the Proxy connection is established after login, all registered resources can be used without the need to switch hosts on the screen.
Resetting Multi Agent Settings
Click the gear icon in the top-right corner of the agent to access the settings page, then click the
Reset All Settingsbutton at the bottom of the Hosts tab.
Multi-Agent > Setting > Hosts
Clicking the Reset button in the confirmation modal will reset all settings stored in the local folder.
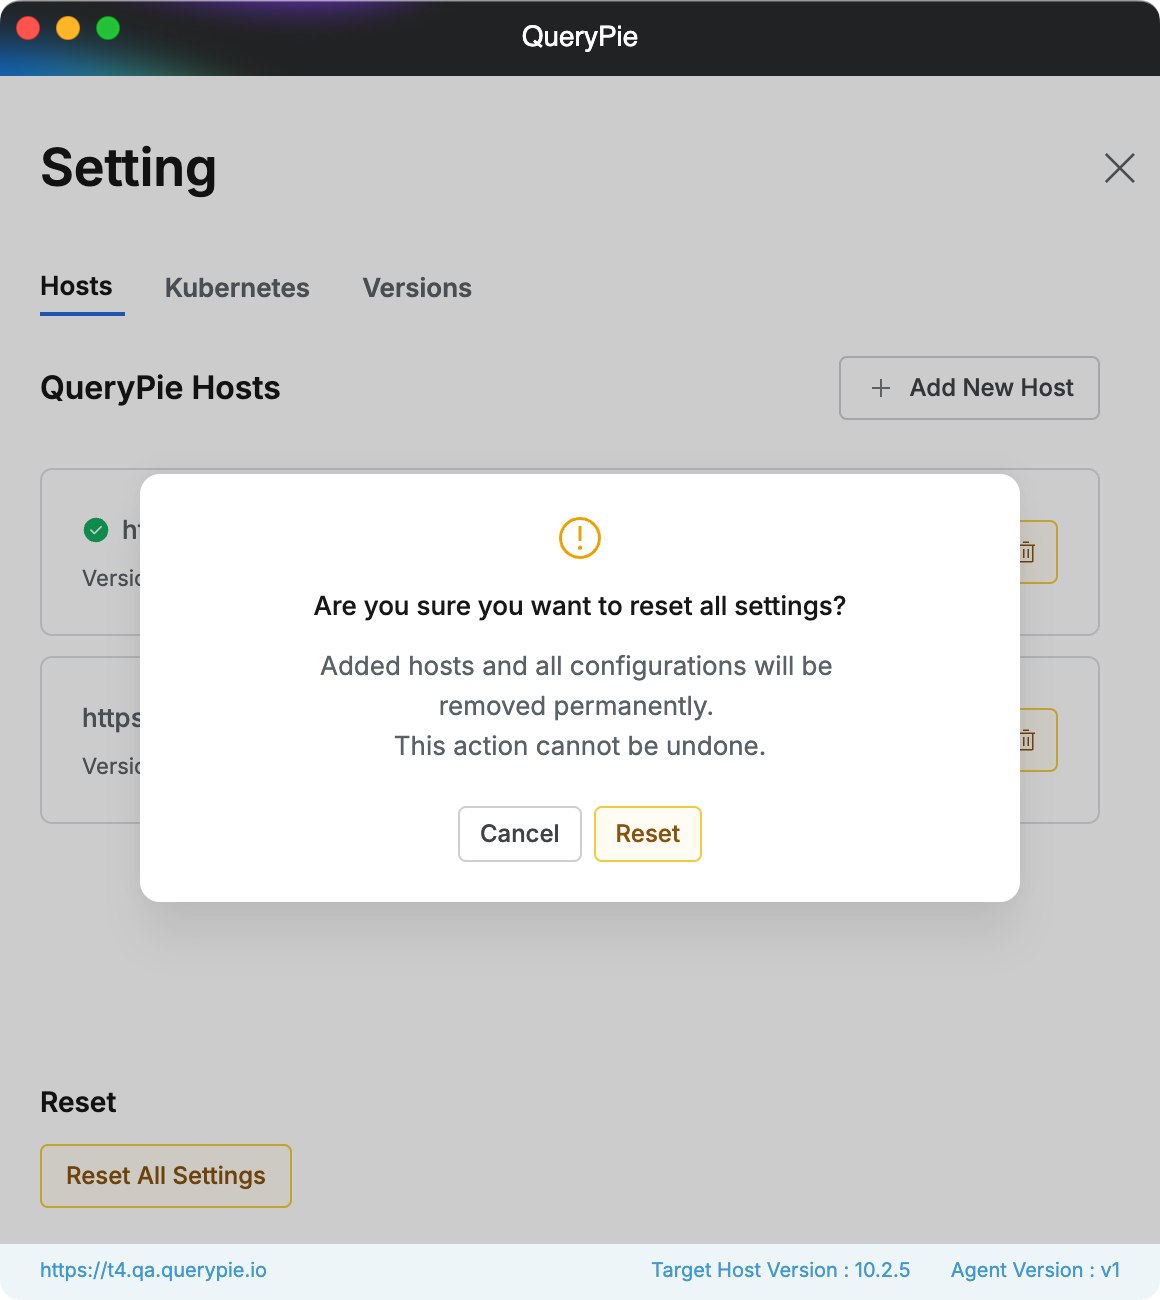
Multi-Agent > Setting > Hosts > Reset All Settings
You will be directed to the initial Multi Agent setup page (initial Host registration).
Multi-Agent > Host Setting
Extracting Multi Agent Logs
If an issue occurs while using Multi-agent, please follow the steps below to extract the logs.
.png?inst-v=6dadf189-2e62-4164-92e9-96a3901845ab)
MacOS
.png?inst-v=6dadf189-2e62-4164-92e9-96a3901845ab)
Windows
Click the Multi-agent icon in the menu bar (MacOS) or system tray (Windows), then select Diagnostic Tools > Enable Tracing from the menu.
Change the log level to Trace, and the option in the UI will change to Disable Tracing.
Recreate the issue.
Next, click the Multi-agent icon in the menu bar again, then select Diagnostic Tools > Export Log.
You can then send the extracted log file.
Restrictions for Administrators
Please refer to the separate Administrator Guide document for the Multi Agent restrictions.