Accessing Web Applications (Websites)
Overview
Users can view a list of websites they are authorized to access and safely work within each web application or SaaS platform. To connect, users must have an assigned access role for each site, which grants them access through the provided web terminal and web SFTP to execute commands and perform tasks securely.
Selecting a Role
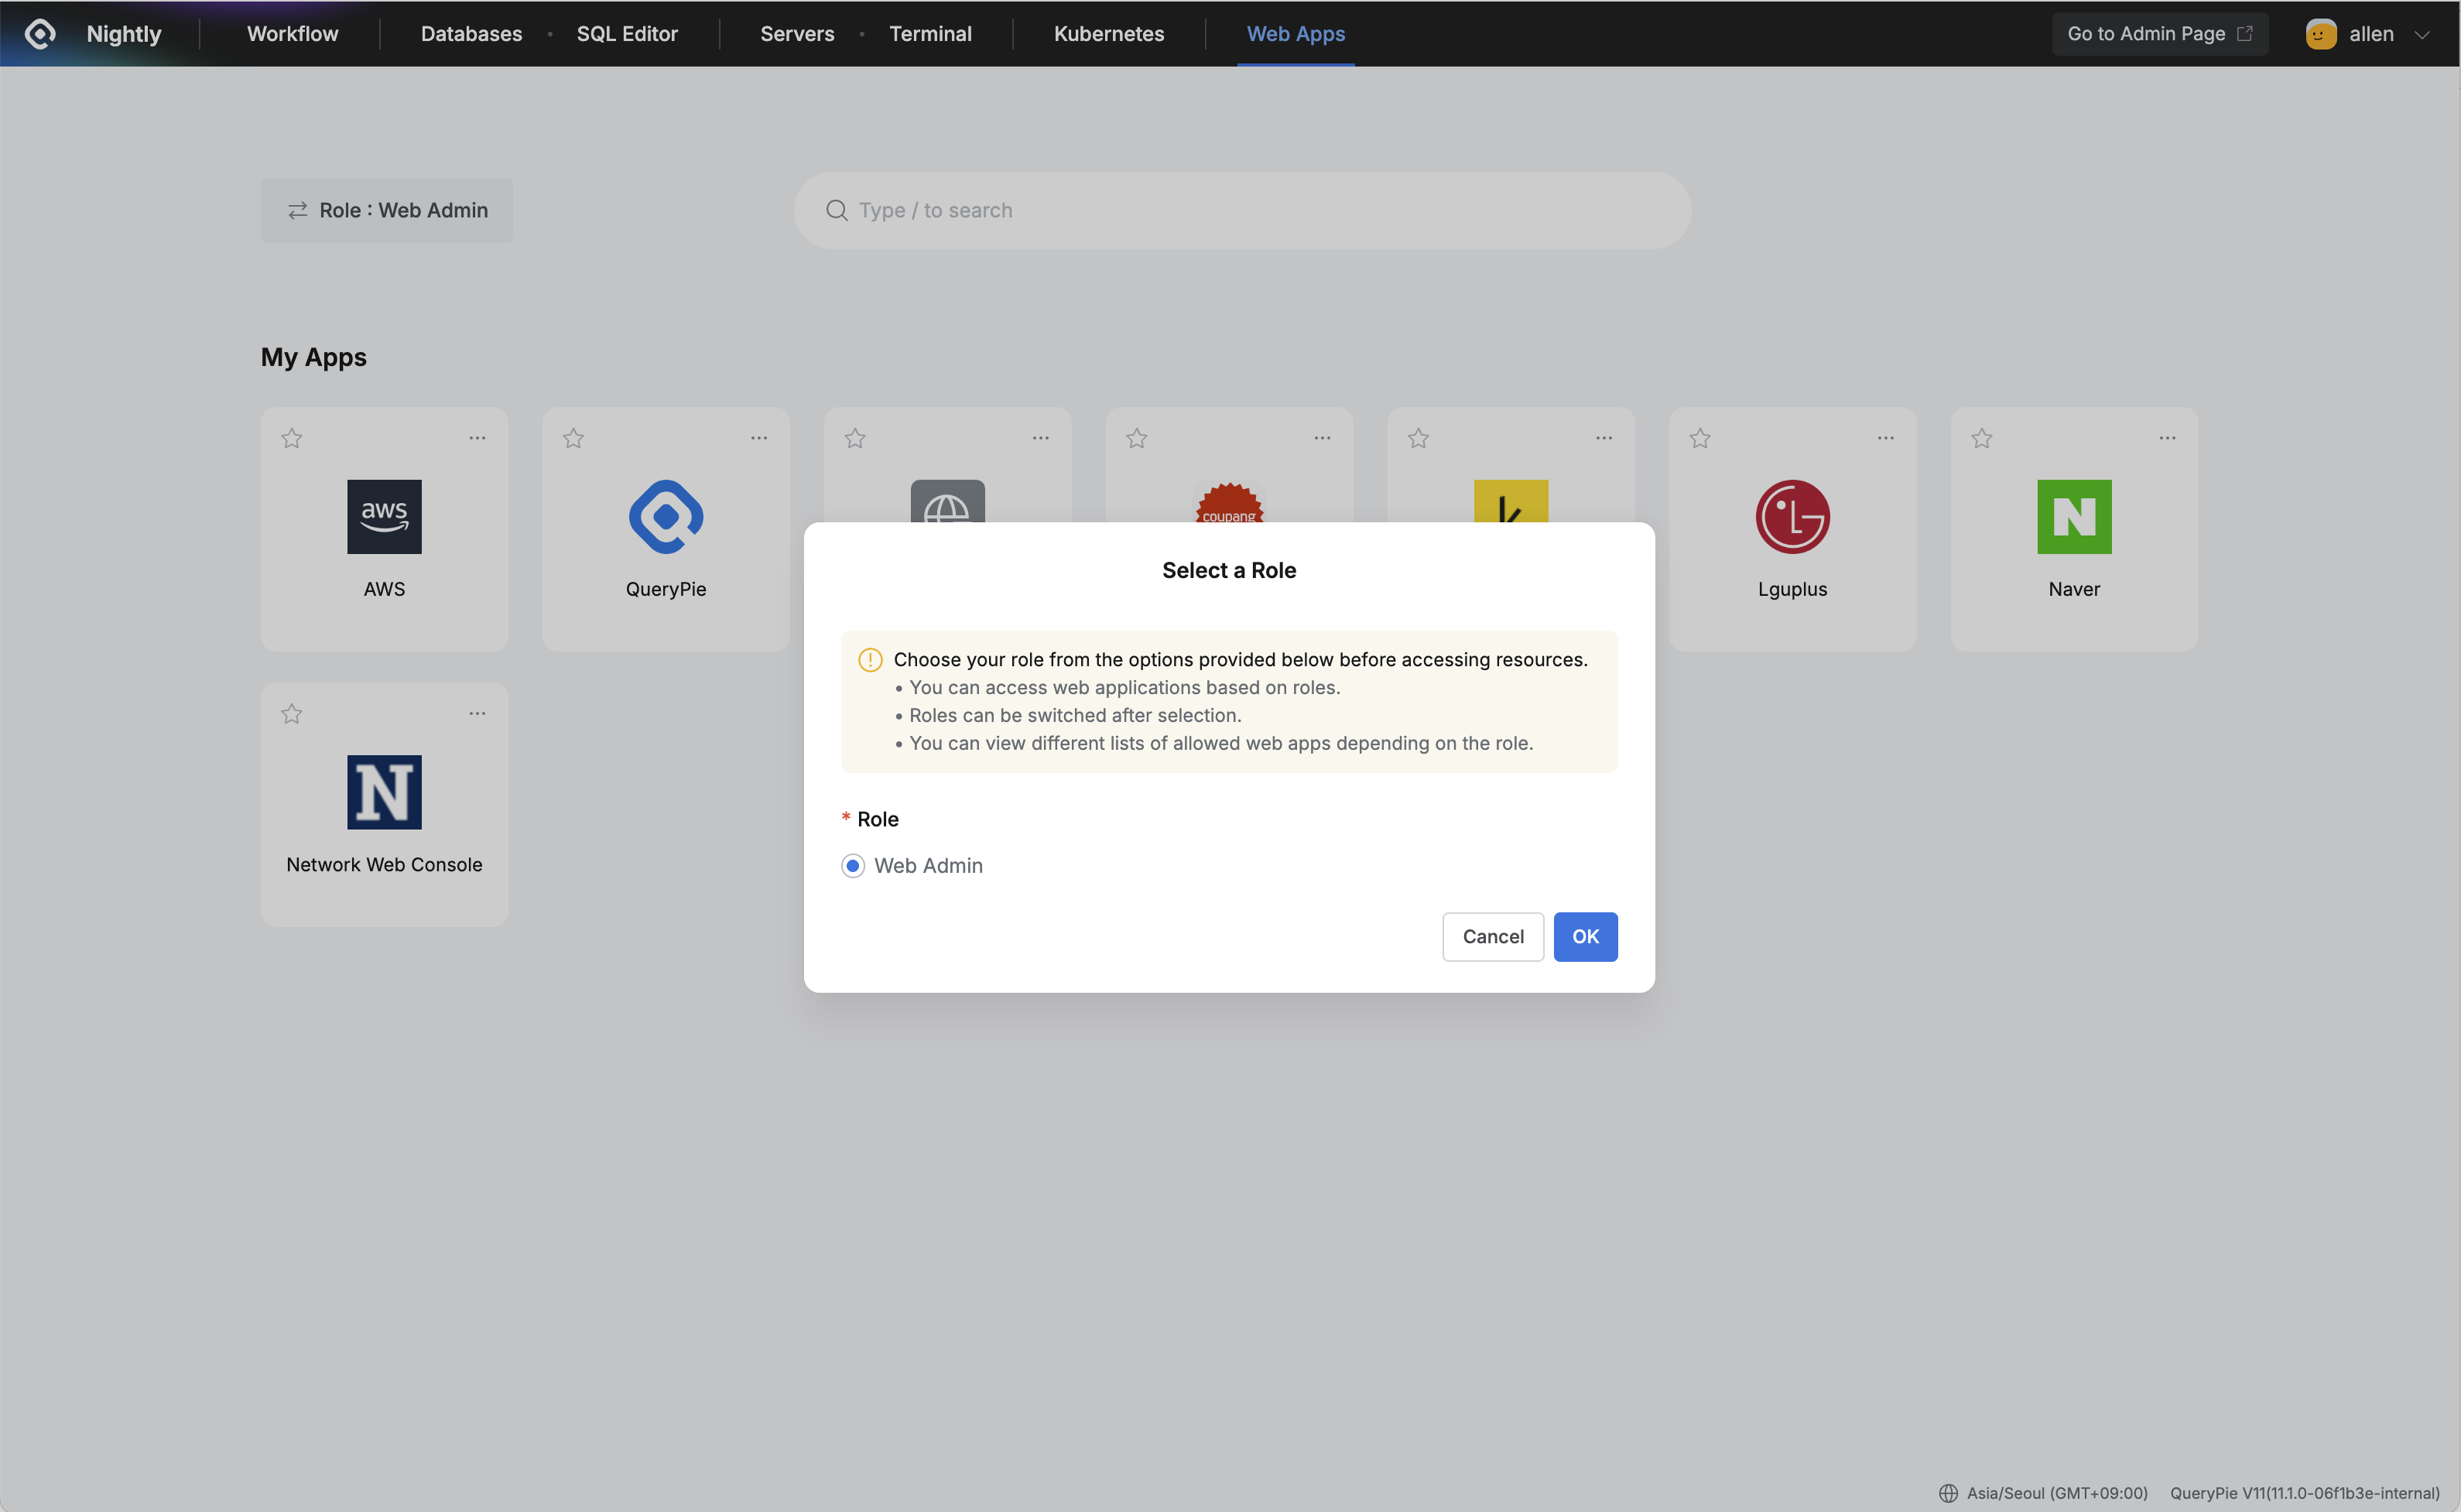
QueryPie Web > Web Access Control > Web Apps > Select a Role
When you first access the Web Applications menu, you’ll see a Role Selection screen. Choose the role you want to use for connecting to web apps.
Access permissions vary depending on the selected role. If you don’t have any assigned roles, you will be redirected to the Workflow to request access.
If you select a Just-In-Time Role, only the Web Apps where you are designated as an Owner or Member will be displayed. Before connecting to these Web Apps, you must submit a
Web App Just-In-Time Access Requestthrough the workflow and receive approval. You will only have access for the approved duration.
Connecting to a Website
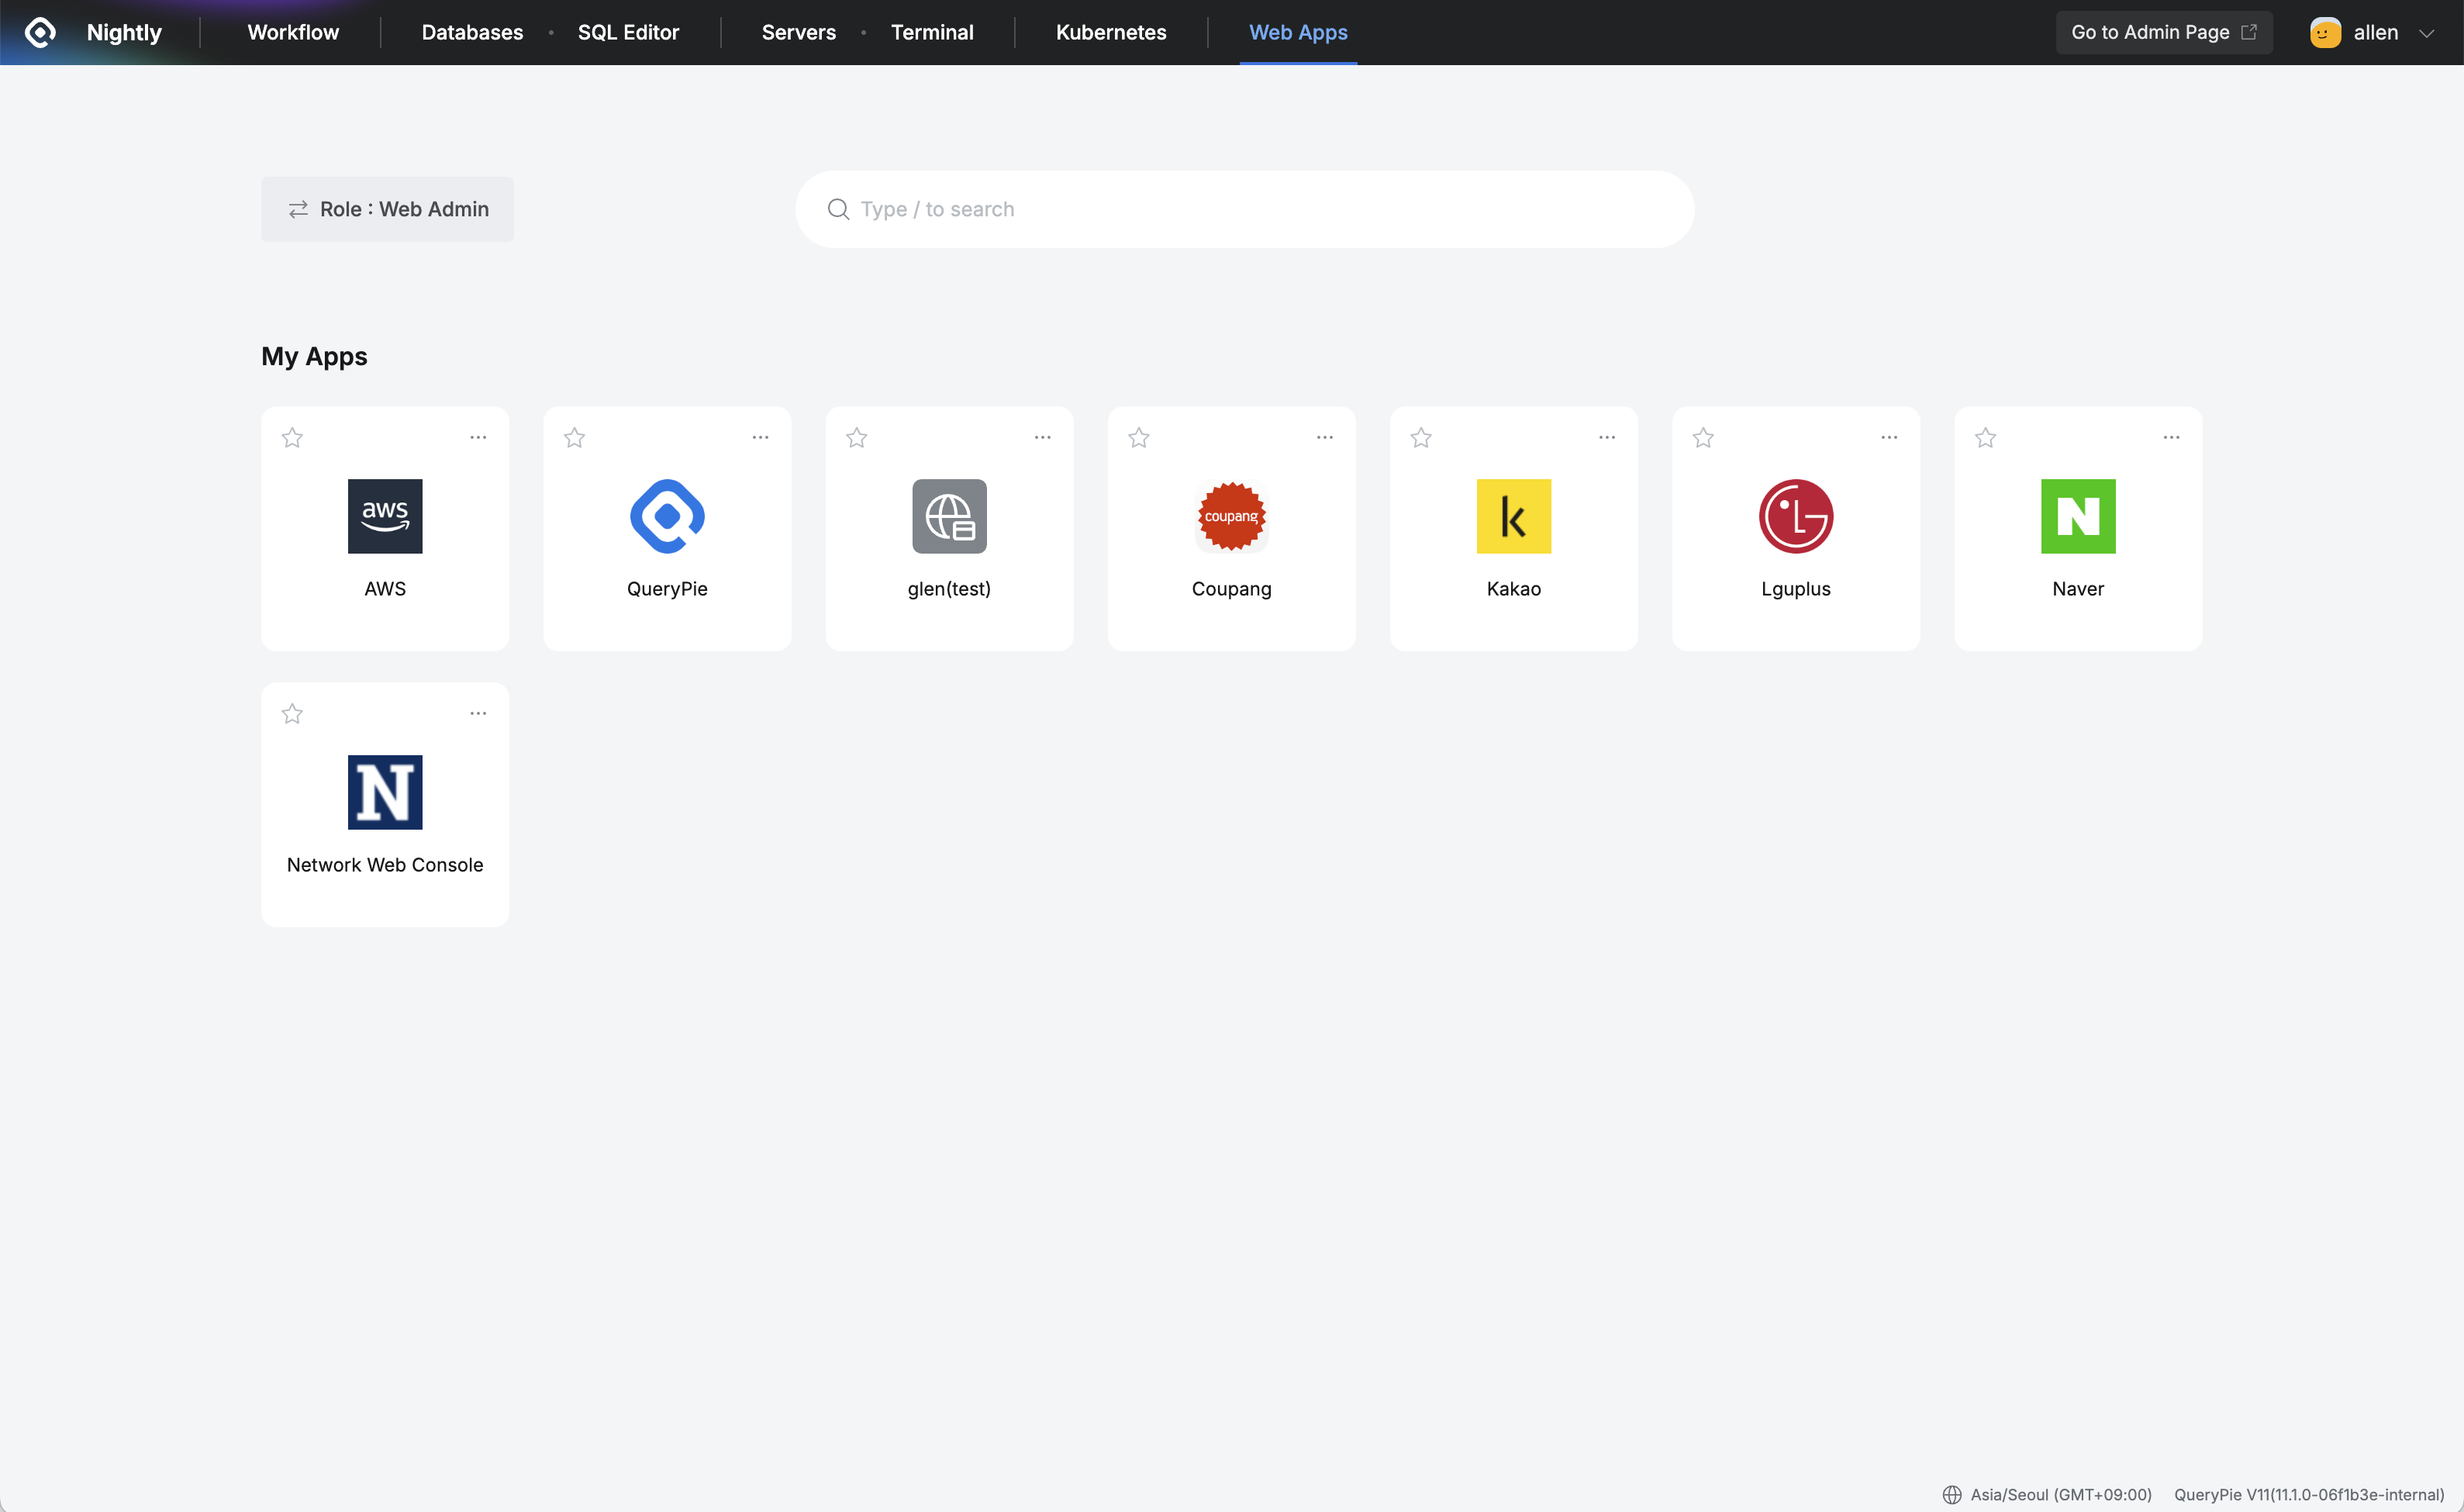
QueryPie Web > Web Access Control > Web Apps
After selecting a role, you will see a list of Web Apps you currently have access to.
To view more details and connection options for a specific Web App, click the “…” icon in the top-right corner of the app icon. This will open a side panel with additional information:
Expiration Date: Shows the expiration date and time for the selected role.
Base URL: Displays the base URL of the web application.
Description: Provides a brief description of the web application.
Tags: Lists any tags assigned to the web application.
User Activity Recording: Shows which user activities are being recorded for the selected app:
Navigated: Page navigation history
Mouse Clicked: Mouse click history
Clipboard Copied: Clipboard copy history
File Uploaded: File upload history
File Downloaded: File download history
Value Changed: Data value changes
Scrolled Up/Down: Scroll actions
Print Initiated: Print actions
Open : To connect, click the Open button at the bottom of the panel.
Alternatively, you can simply click the Web App icon in the list to connect directly.