DB Policy Exception Request
Overview
Starting with version 10.2.6, when you use the new DAC policies, you can no longer submit related requests through the existing Unmasking Request or Restricted Data Access Request forms. If the new policy feature is enabled, you must use the DB Policy Exception Request option shown in the Request menu.
Unlike the existing policies, the DB Policy Exception Request combines Unmasking and Restricted Data Access into a single form. You can select either Unmasking or Restricted Data Access as the exception type within the same request.
Submitting a DB Policy Exception Request
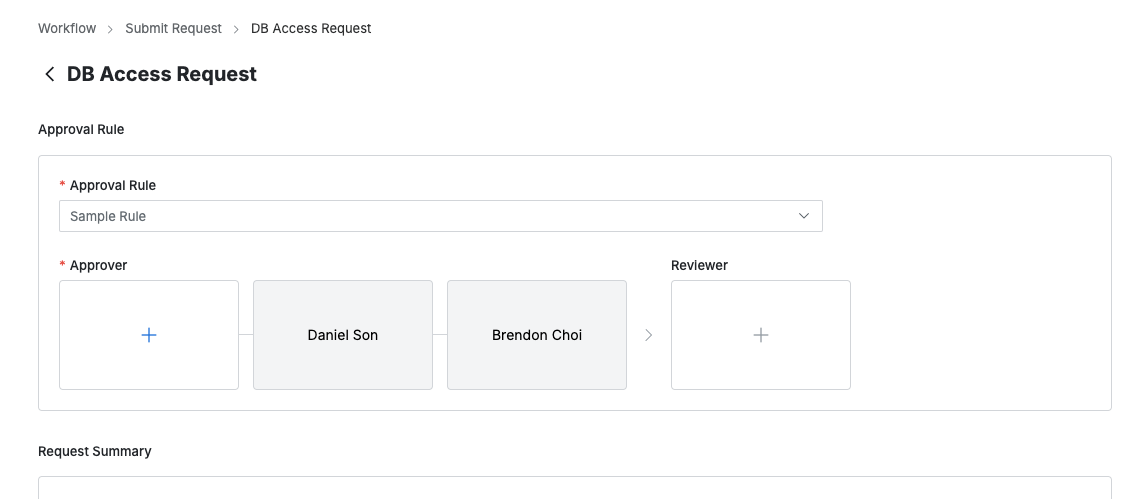
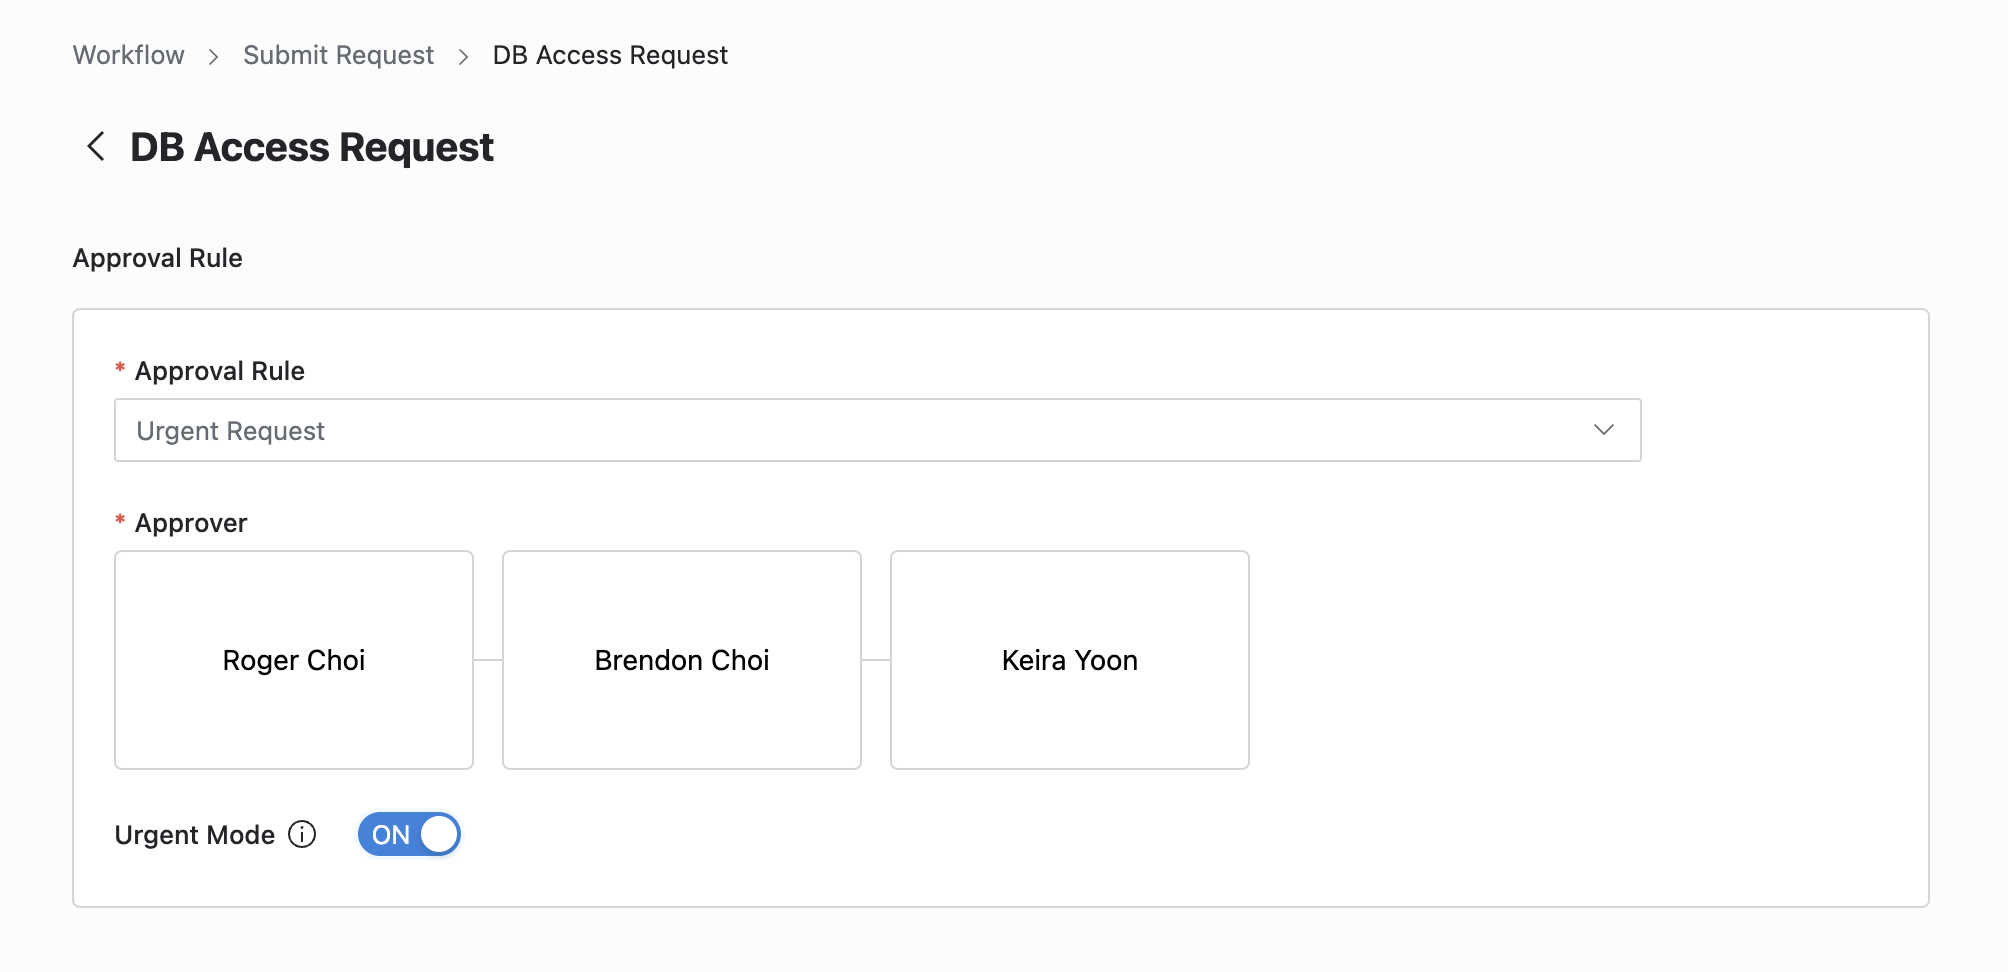
1. Select Approval Rule
Choose an Approval Rule that matches your purpose. The approvers will vary based on the selected rule.
If an approval rule with pre-designated approvers is selected, the approvers will be automatically assigned, and you will not be able to add or change them.
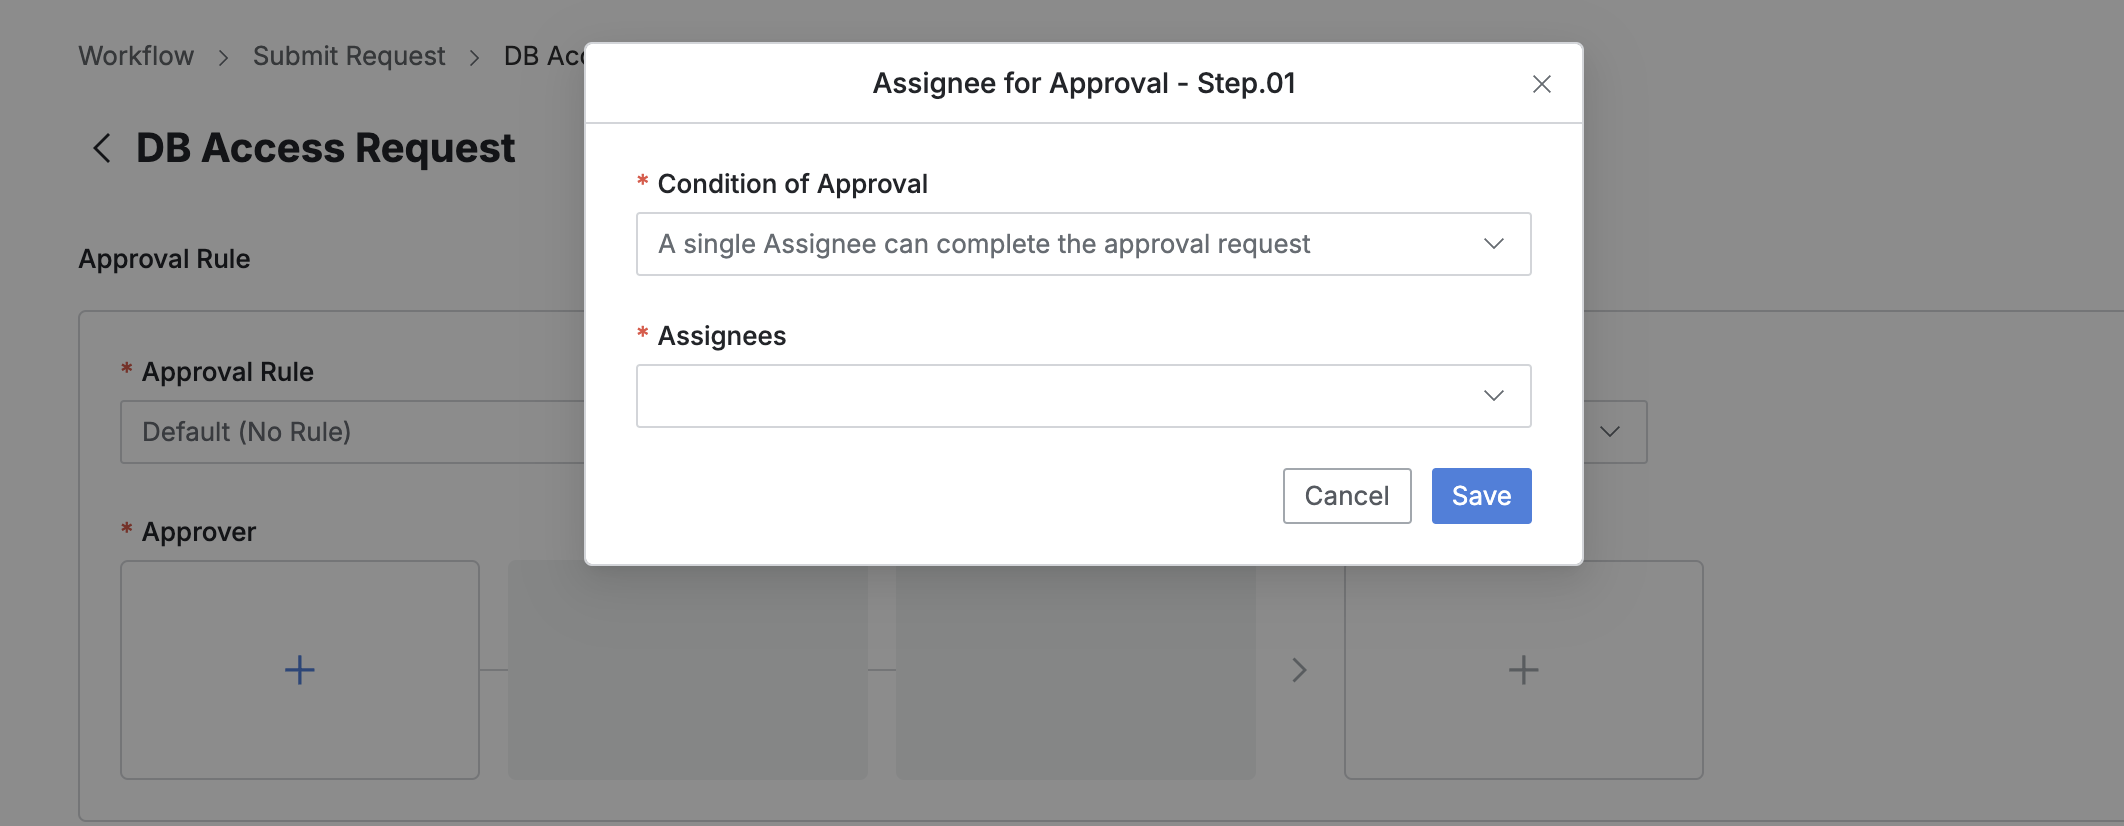
2. Designate Approvers
Click the
+button in the approval line to open a popup where you can designate approvers for each stage.In this popup, add approval conditions and approvers, then click the
Savebutton to save the approval line.
The available approval conditions are as follows:
A single Assignee can complete the approval request: The request will be approved with approval from any one of the assigned approvers.
All Assignees must approve this request: The request will be approved only if all assigned approvers approve it.
3. Designate Reviewers
Click the
+button in the approval line to open a popup where you can designate reviewers.If the administrator has not allowed reviewer designation, the Reviewer box will not be displayed.
In this popup, add approval conditions and approvers.
Click the
Savebutton to close the modal and complete the reviewer designation.
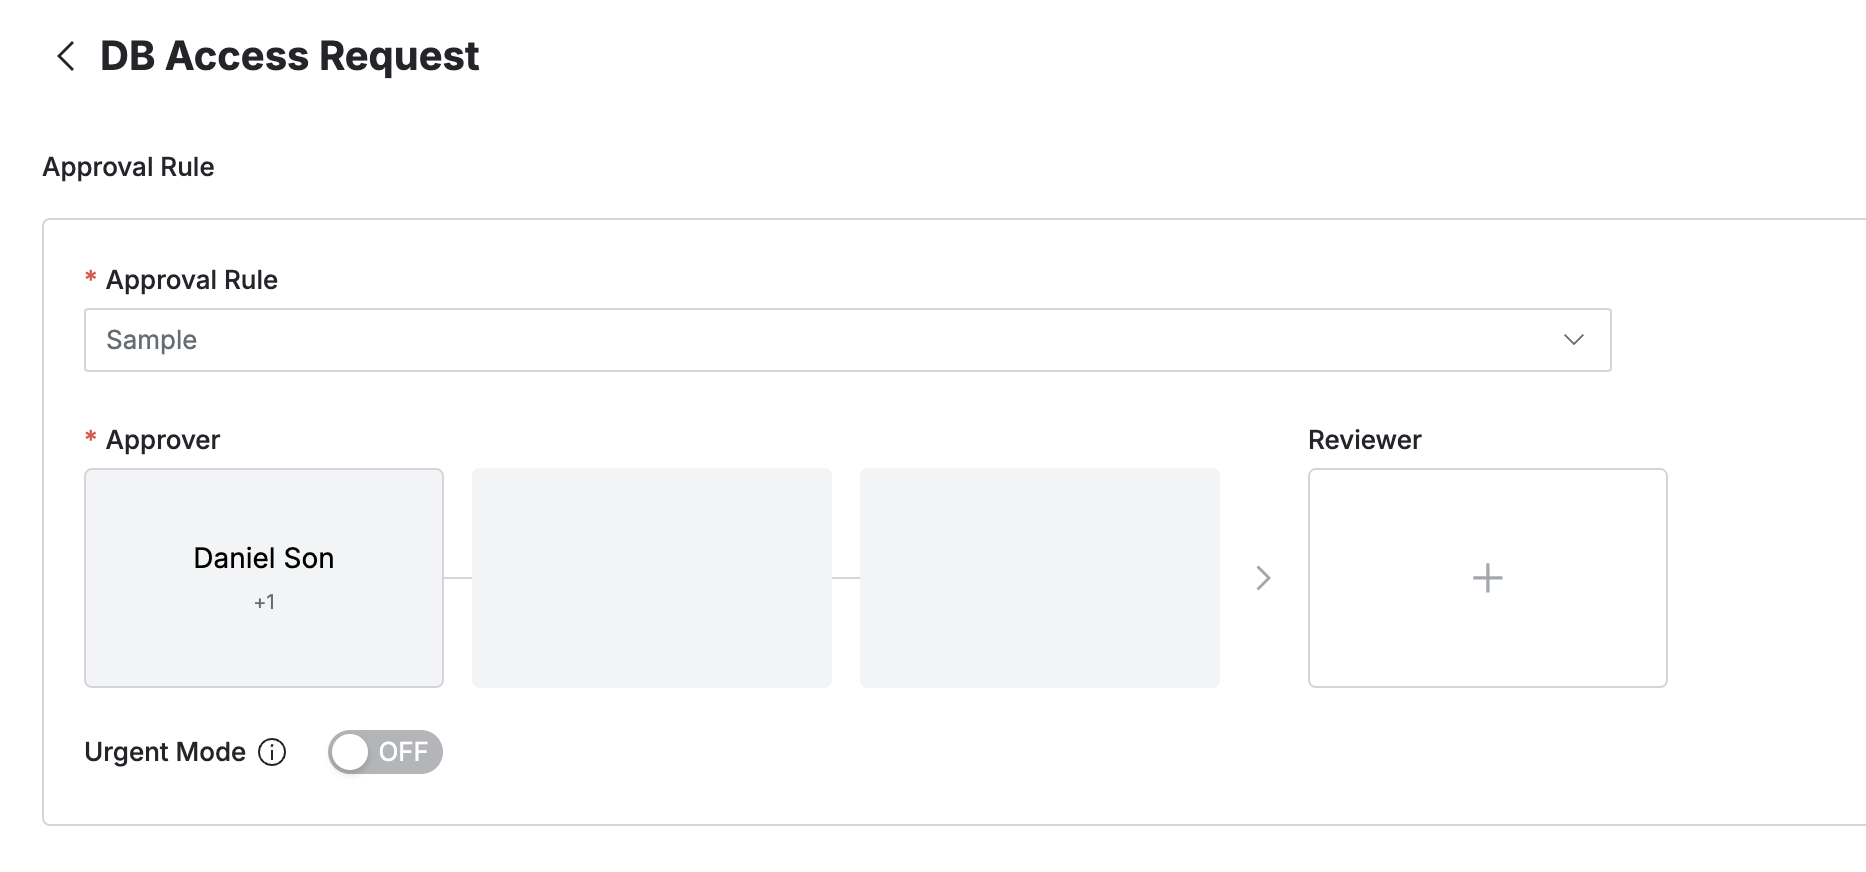
4. Send Request with Post-Approval
If the selected approval rule allows post-approval, the Urgent Mode switch will be displayed.
Set Urgent mode = On and submit the request to immediately be granted privileges or perform the task.
Q. I don't see the Urgent Mode switch.
A. The Urgent Mode switch will not be displayed if the selected approval rule does not allow it, as determined by the administrator.
5. Enter Request Details
Title: Enter the request title.
Exception Type:
Select Unmasking if you are requesting temporary unmasking of sensitive data.
Select Restricted Data Access if you are requesting temporary access to a restricted path.
Connection: Select the connection that contains the target table or column.
For unmasking, you can only select columns, since masking policies apply at the column level.
Data Scope : Choose Data Path or Tag. The default is Data Path.
Data Path: Directly specify the columns or tables you want to unmask or access.
Table: Select the target table.
Column: Select one or more columns (up to 30).
Tag: If you know that the policy is tag-based and you know the specific tags applied, you can specify a tag. Generally, you will need administrator help to confirm which tags are used.
Tags: Use tags configured in the policy when Tag is selected as the data scope.
Tags : Data scope를 태그로 지정한 경우 정책에서 사용된 태그를 사용할 수 있습니다.
Data Access Expiration : Set the duration for the unmasking request.
When selecting Time Duration, you can enter the time in minutes, with a minimum of 1 minute and a maximum of 44,640 minutes.
Time Duration is based on the approval time.
When Urgent Mode is enabled, the unmasked data will be available from the time the request is submitted.
When selecting End Date, you can specify a date and time. The minimum is the current time, and the maximum is 30 days..
Reason for Request : Enter the reason for requesting the policy exception (up to 1,000 characters).
Click the
Submitbutton at the bottom of the page to submit the request.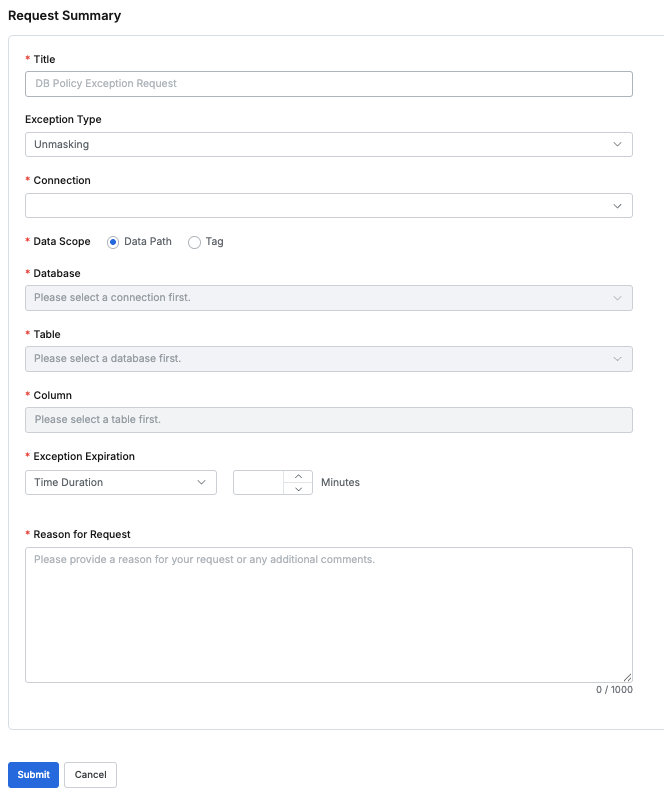
User > Workflow > Submit Request > DB Policy Exception Request