Unmasking Zones
Overview
마스킹 정책에 의해 마스킹 되어 있는 데이터에 대해 마스킹을 해제한 상태로 조회하기 위해서는 Workflow를 통해 Unmasking Request를 요청해서 승인을 받거나 마스킹 정책에서 allowed user로 등록되어 있어야합니다. 일부 환경에서는 비록 마스킹 해제 상태에서 조회할 수 있도록 승인 받은 사용자라도 특정 IP(대역)에서만 마스킹이 해제된 상태로 조회되어야 하는 경우가 있습니다. 이런 환경을 지원하기 위해 Unmasking Zones 기능을 제공합니다.
Unmasking Zones 설정하기
Unmasking Zones를 설정하려면 먼저 Allowed Zones 설정이 필요합니다.
General > Company Management > Security 페이지의 DB Connection Security 항목으로 이동합니다.
Unmasking Zones 의 라디오 버튼을
On으로 바꾸고+ Add Configuration버튼을 누릅니다.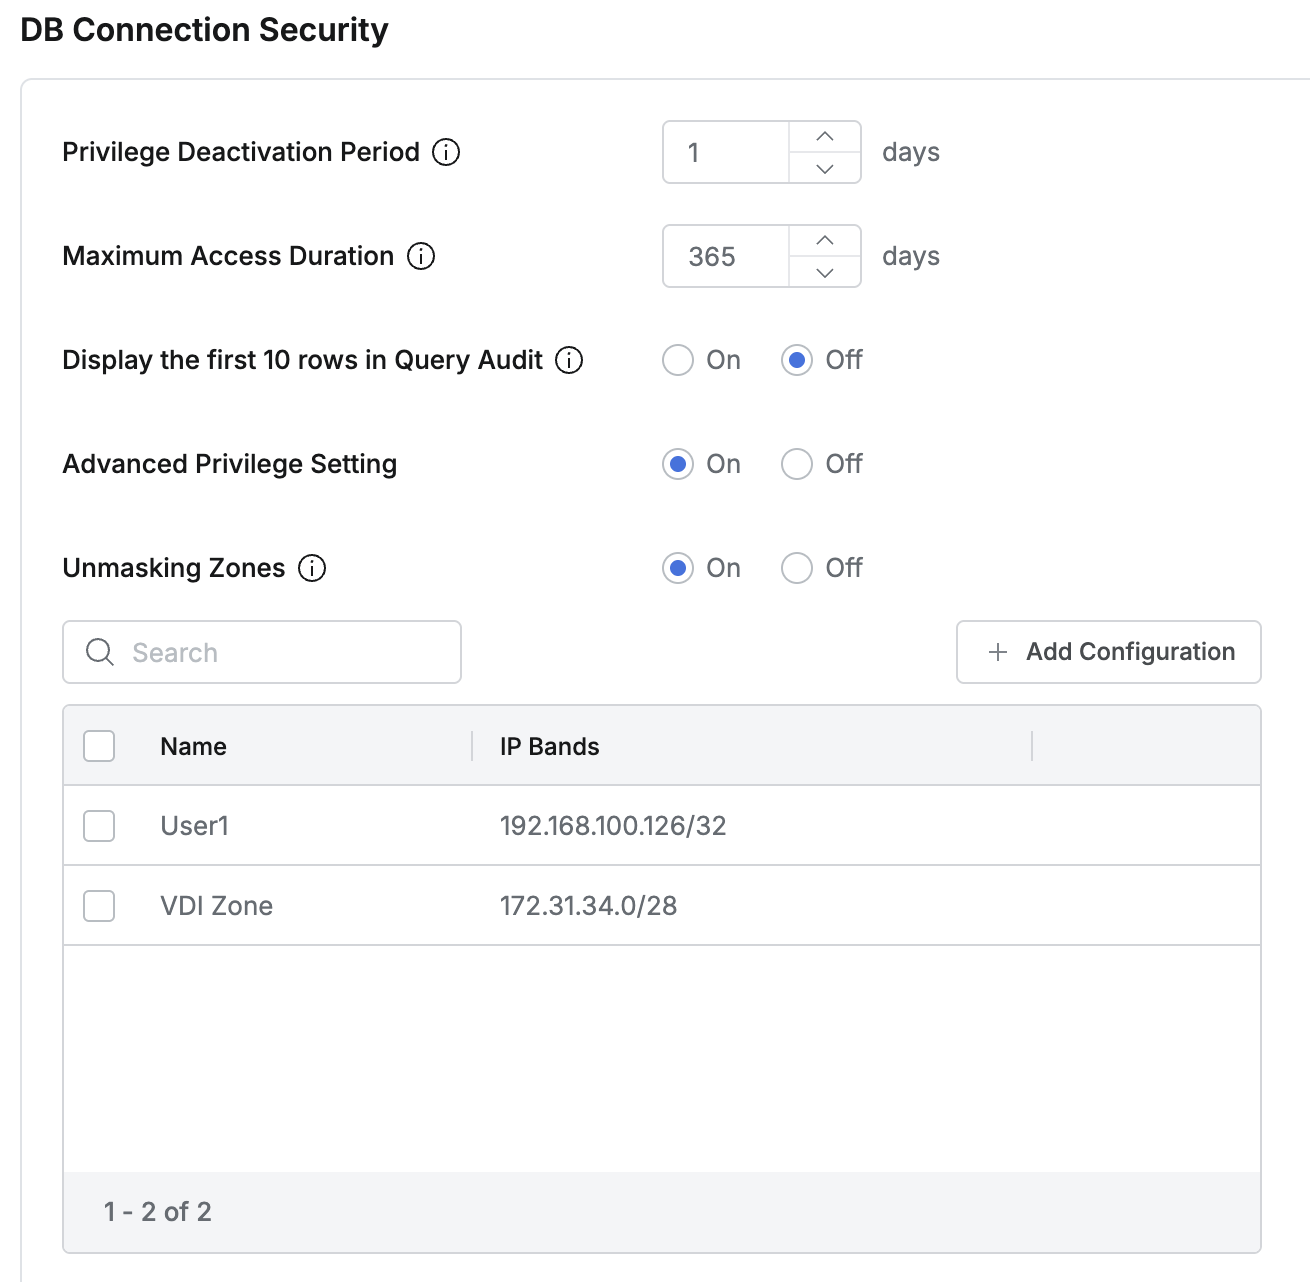
Unmasking Zones에 추가하기 원하는 Allowed Zone 이름을 선택합니다.
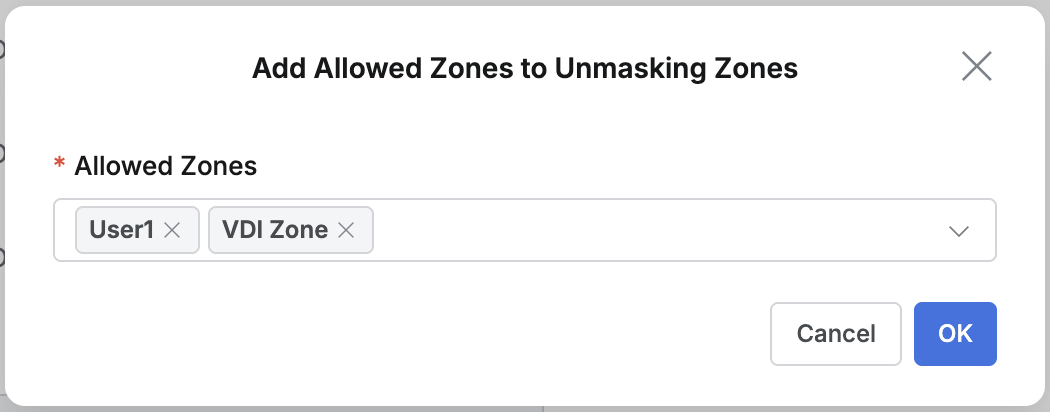
Save Changes버튼을 눌러 변경사항을 저장합니다.
Unmasking Zones 에 등록된 IP(대역) 수정하기
Unmasking zones 설정은 Allowed Zones의 값을 사용하기 때문에 IP(대역)을 추가하거나 변경하려면 Allowed Zones의 해당 Allowed Zone에 지정된 IP(대역)을 수정해야 합니다. 수정하면 Unmasking Zones의 설정에도 반영됩니다. (Allowed Zones 설정 참고)
Unmasking Zones 설정 해제하기
Unmasking zones 목록에서 제거하고자하는 특정 Allowed zone을 선택하고
Delete버튼을 누릅니다.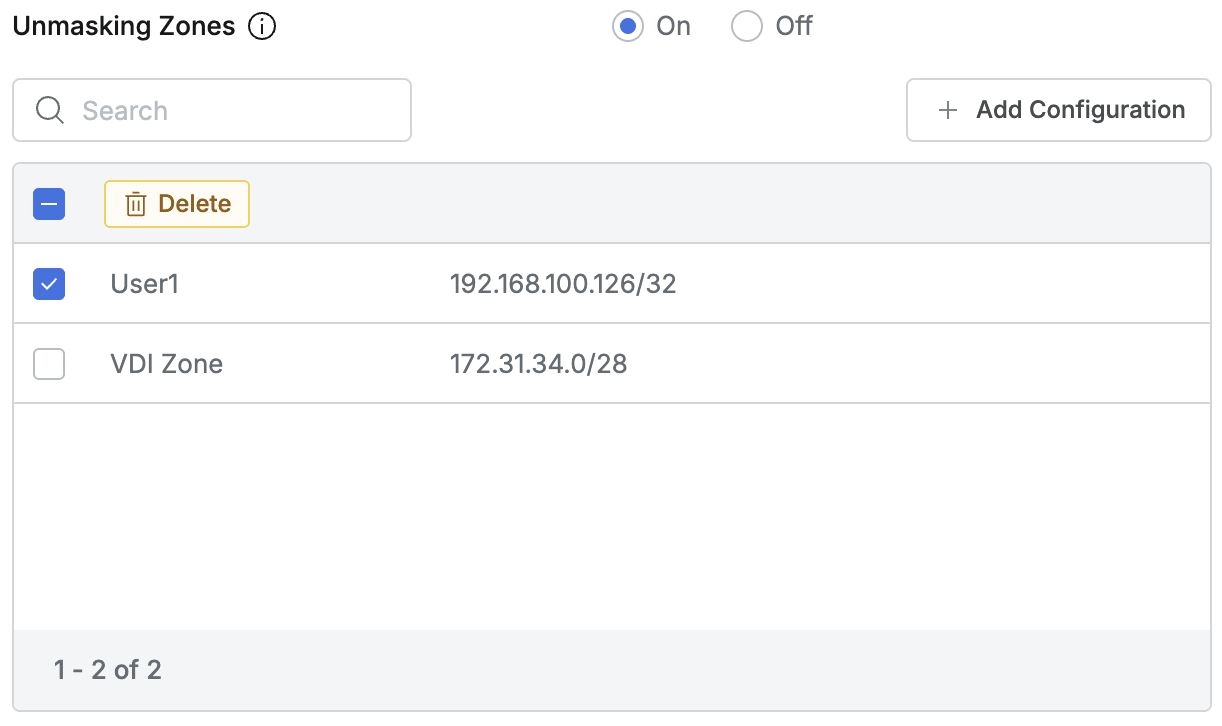
Save Changes버튼을 눌러 변경 사항을 저장합니다.
Unmasking Zones에 할당된 Allowed zone은 Allowed Zones에서 삭제할 수 없습니다. Unmasking Zones에서 해당 Allowed zone을 먼저 해제해야 합니다.
Unmasking Zone에 Allowed Zone을 등록한 상태에서 Off로 전환 가능합니다. On으로 전환하면 이전 설정을 그대로 사용할 수 있습니다. 단, Unmasking Zones에 Allowed Zone을 추가 / 제거 한 뒤 바로 Off로 전환하면 변경사항이 반영되지 않으므로 Save Changes 버튼을 눌러 저장한 뒤 Off로 전환하고 Save Changes 버튼을 눌러 한번 더 상태를 저장해야 합니다.