Data Masking
Overview
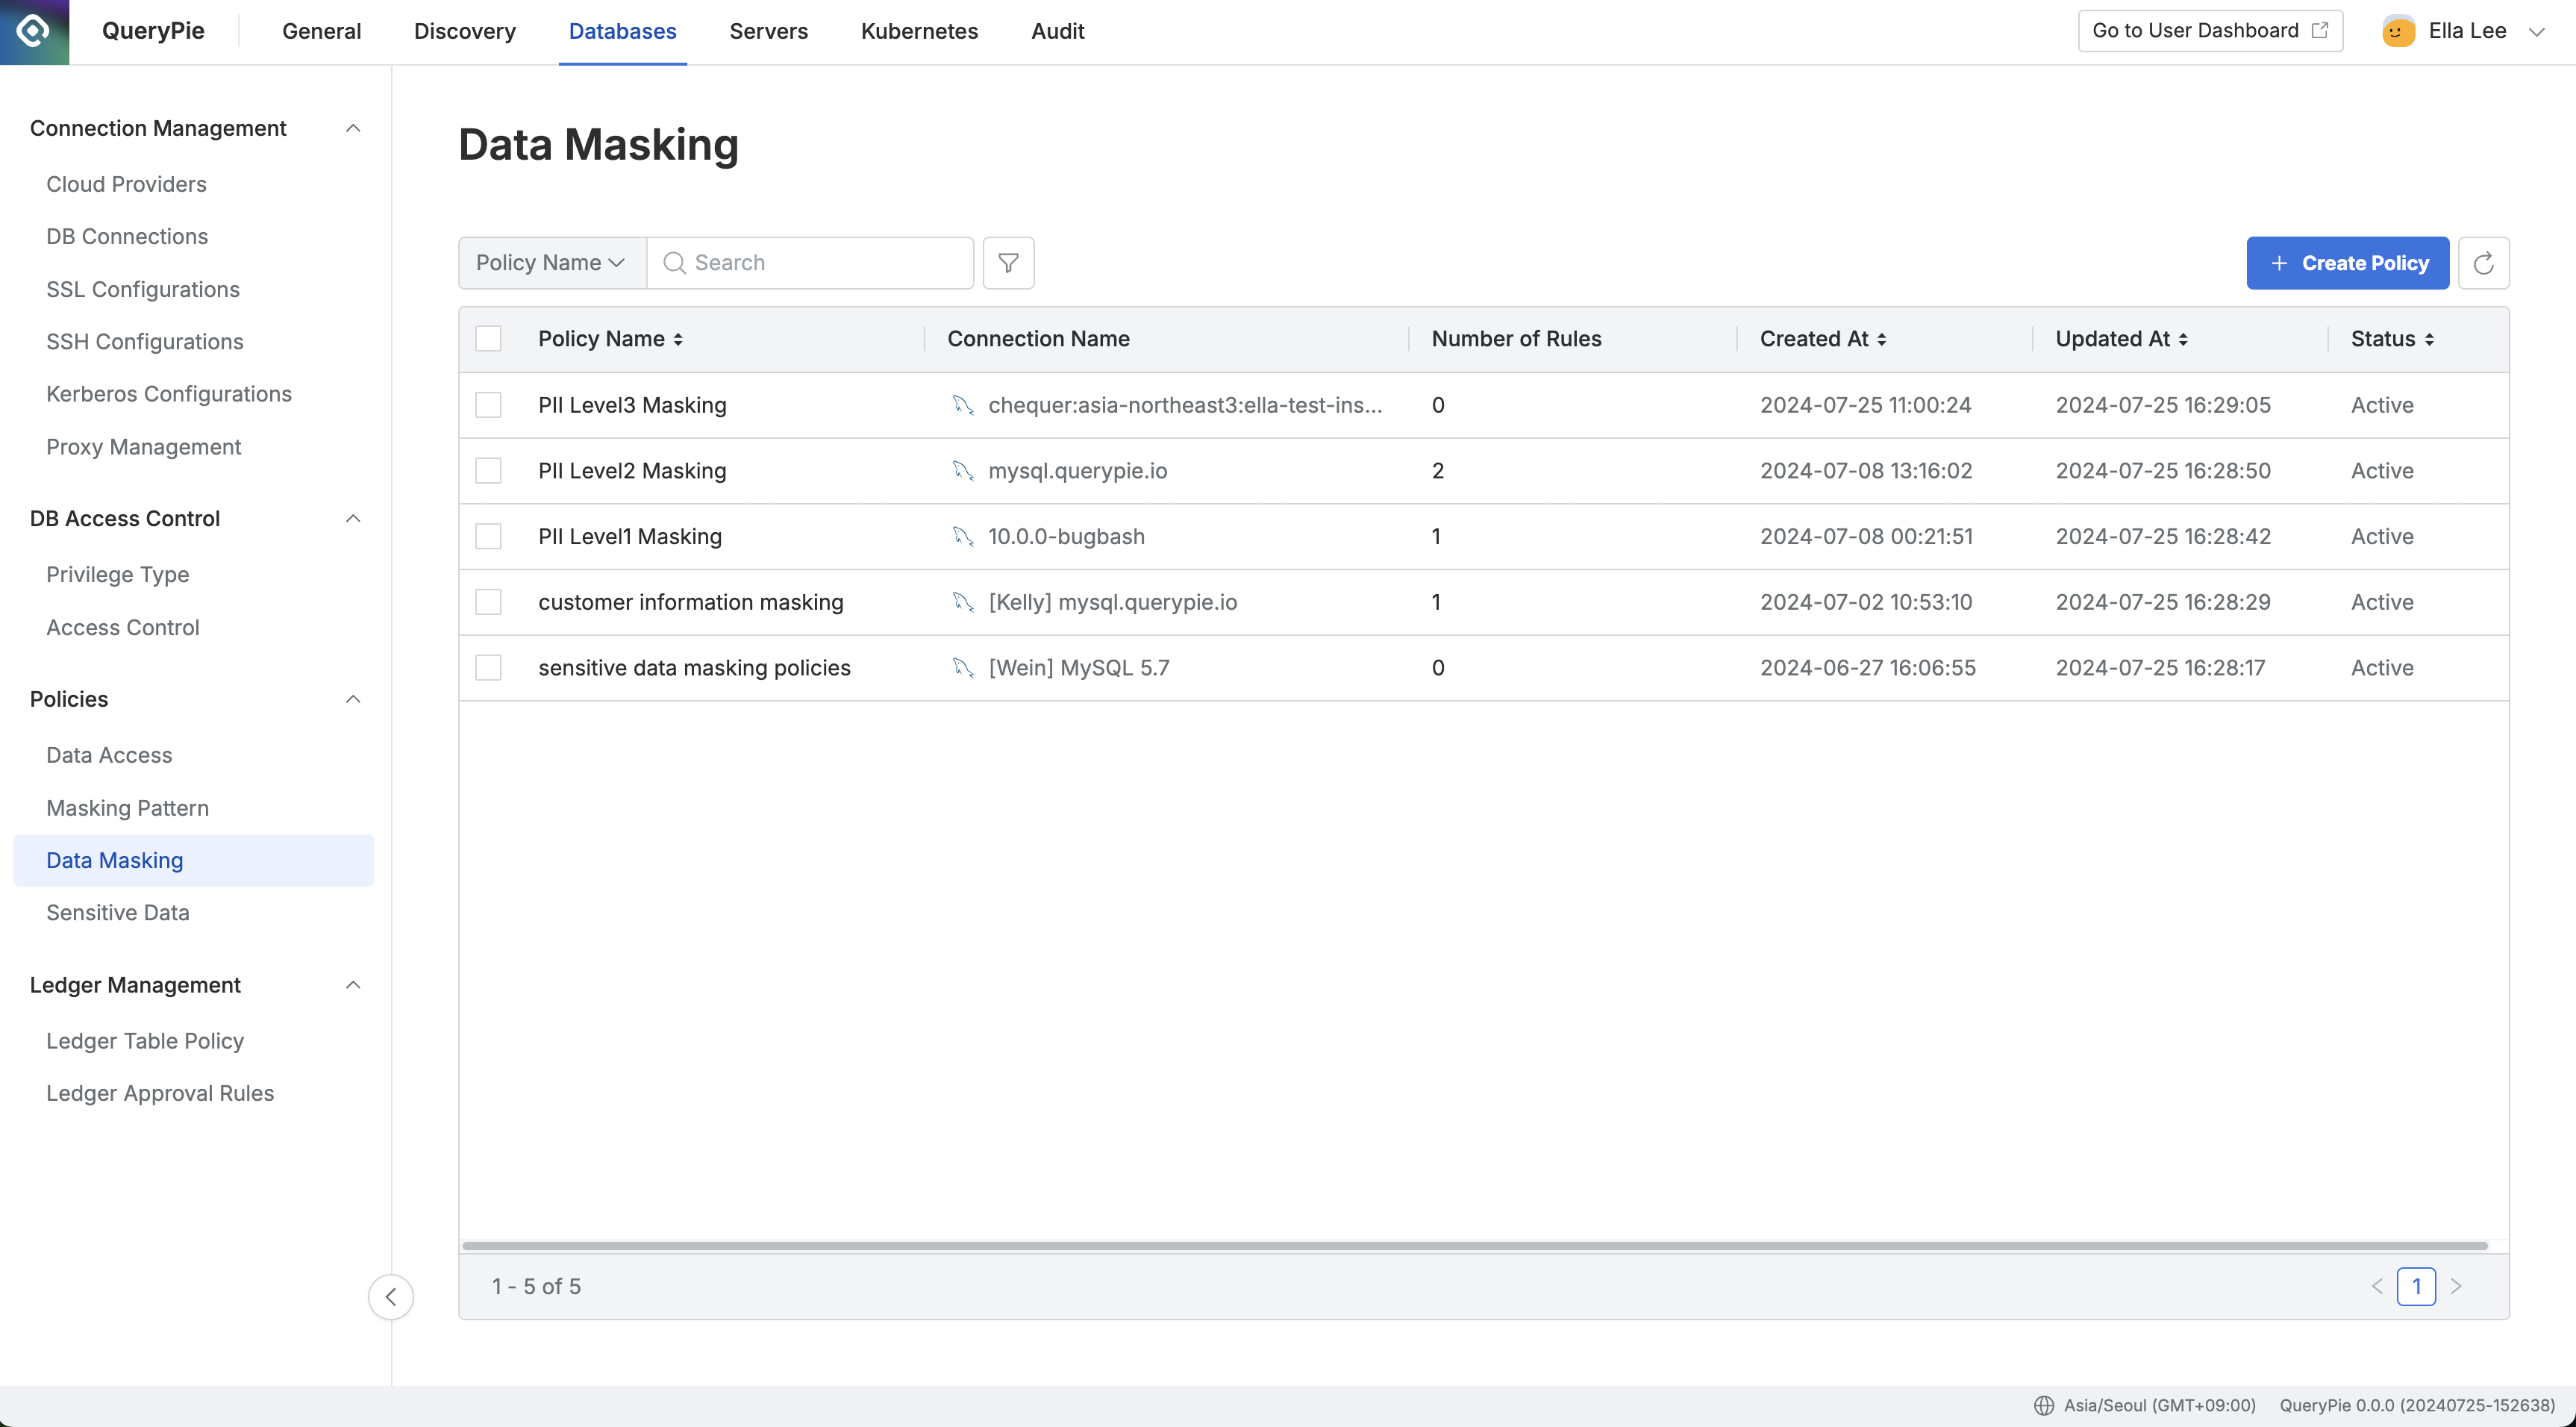
Within an organization, sensitive data such as personal information can be masked when accessed by setting up appropriate policies. In the Data Masking menu, administrators can select a connection, create a masking policy, and register rules to manage which columns require masking.
Creating a Data Masking Policy
To create a new masking policy based on a specific connection:

Administrator > Databases > Policies > Data Masking
Navigate to the Administrator > Databases > Policies > Data Masking menu.
Click the
Create Policybutton in the upper right corner.Enter the following information:
Policy Name: A unique name to identify the policy on the screen.
Target Connection: Select the connection to which the policy will apply. Each policy can be linked to only one connection.
Click the
Savebutton to save the policy.
Once saved, the policy will appear in the Data Masking policy list.
Registering Rules in the Data Masking Policy

Administrator > Databases > Policies > Data Masking > Rule Details
Once a policy is created, the next step is to register the specific data paths (tables and columns) where the policy will apply:
Click on the policy you just created to open the details and rule registration screen from the Data Masking policy list.
In the details screen, click the
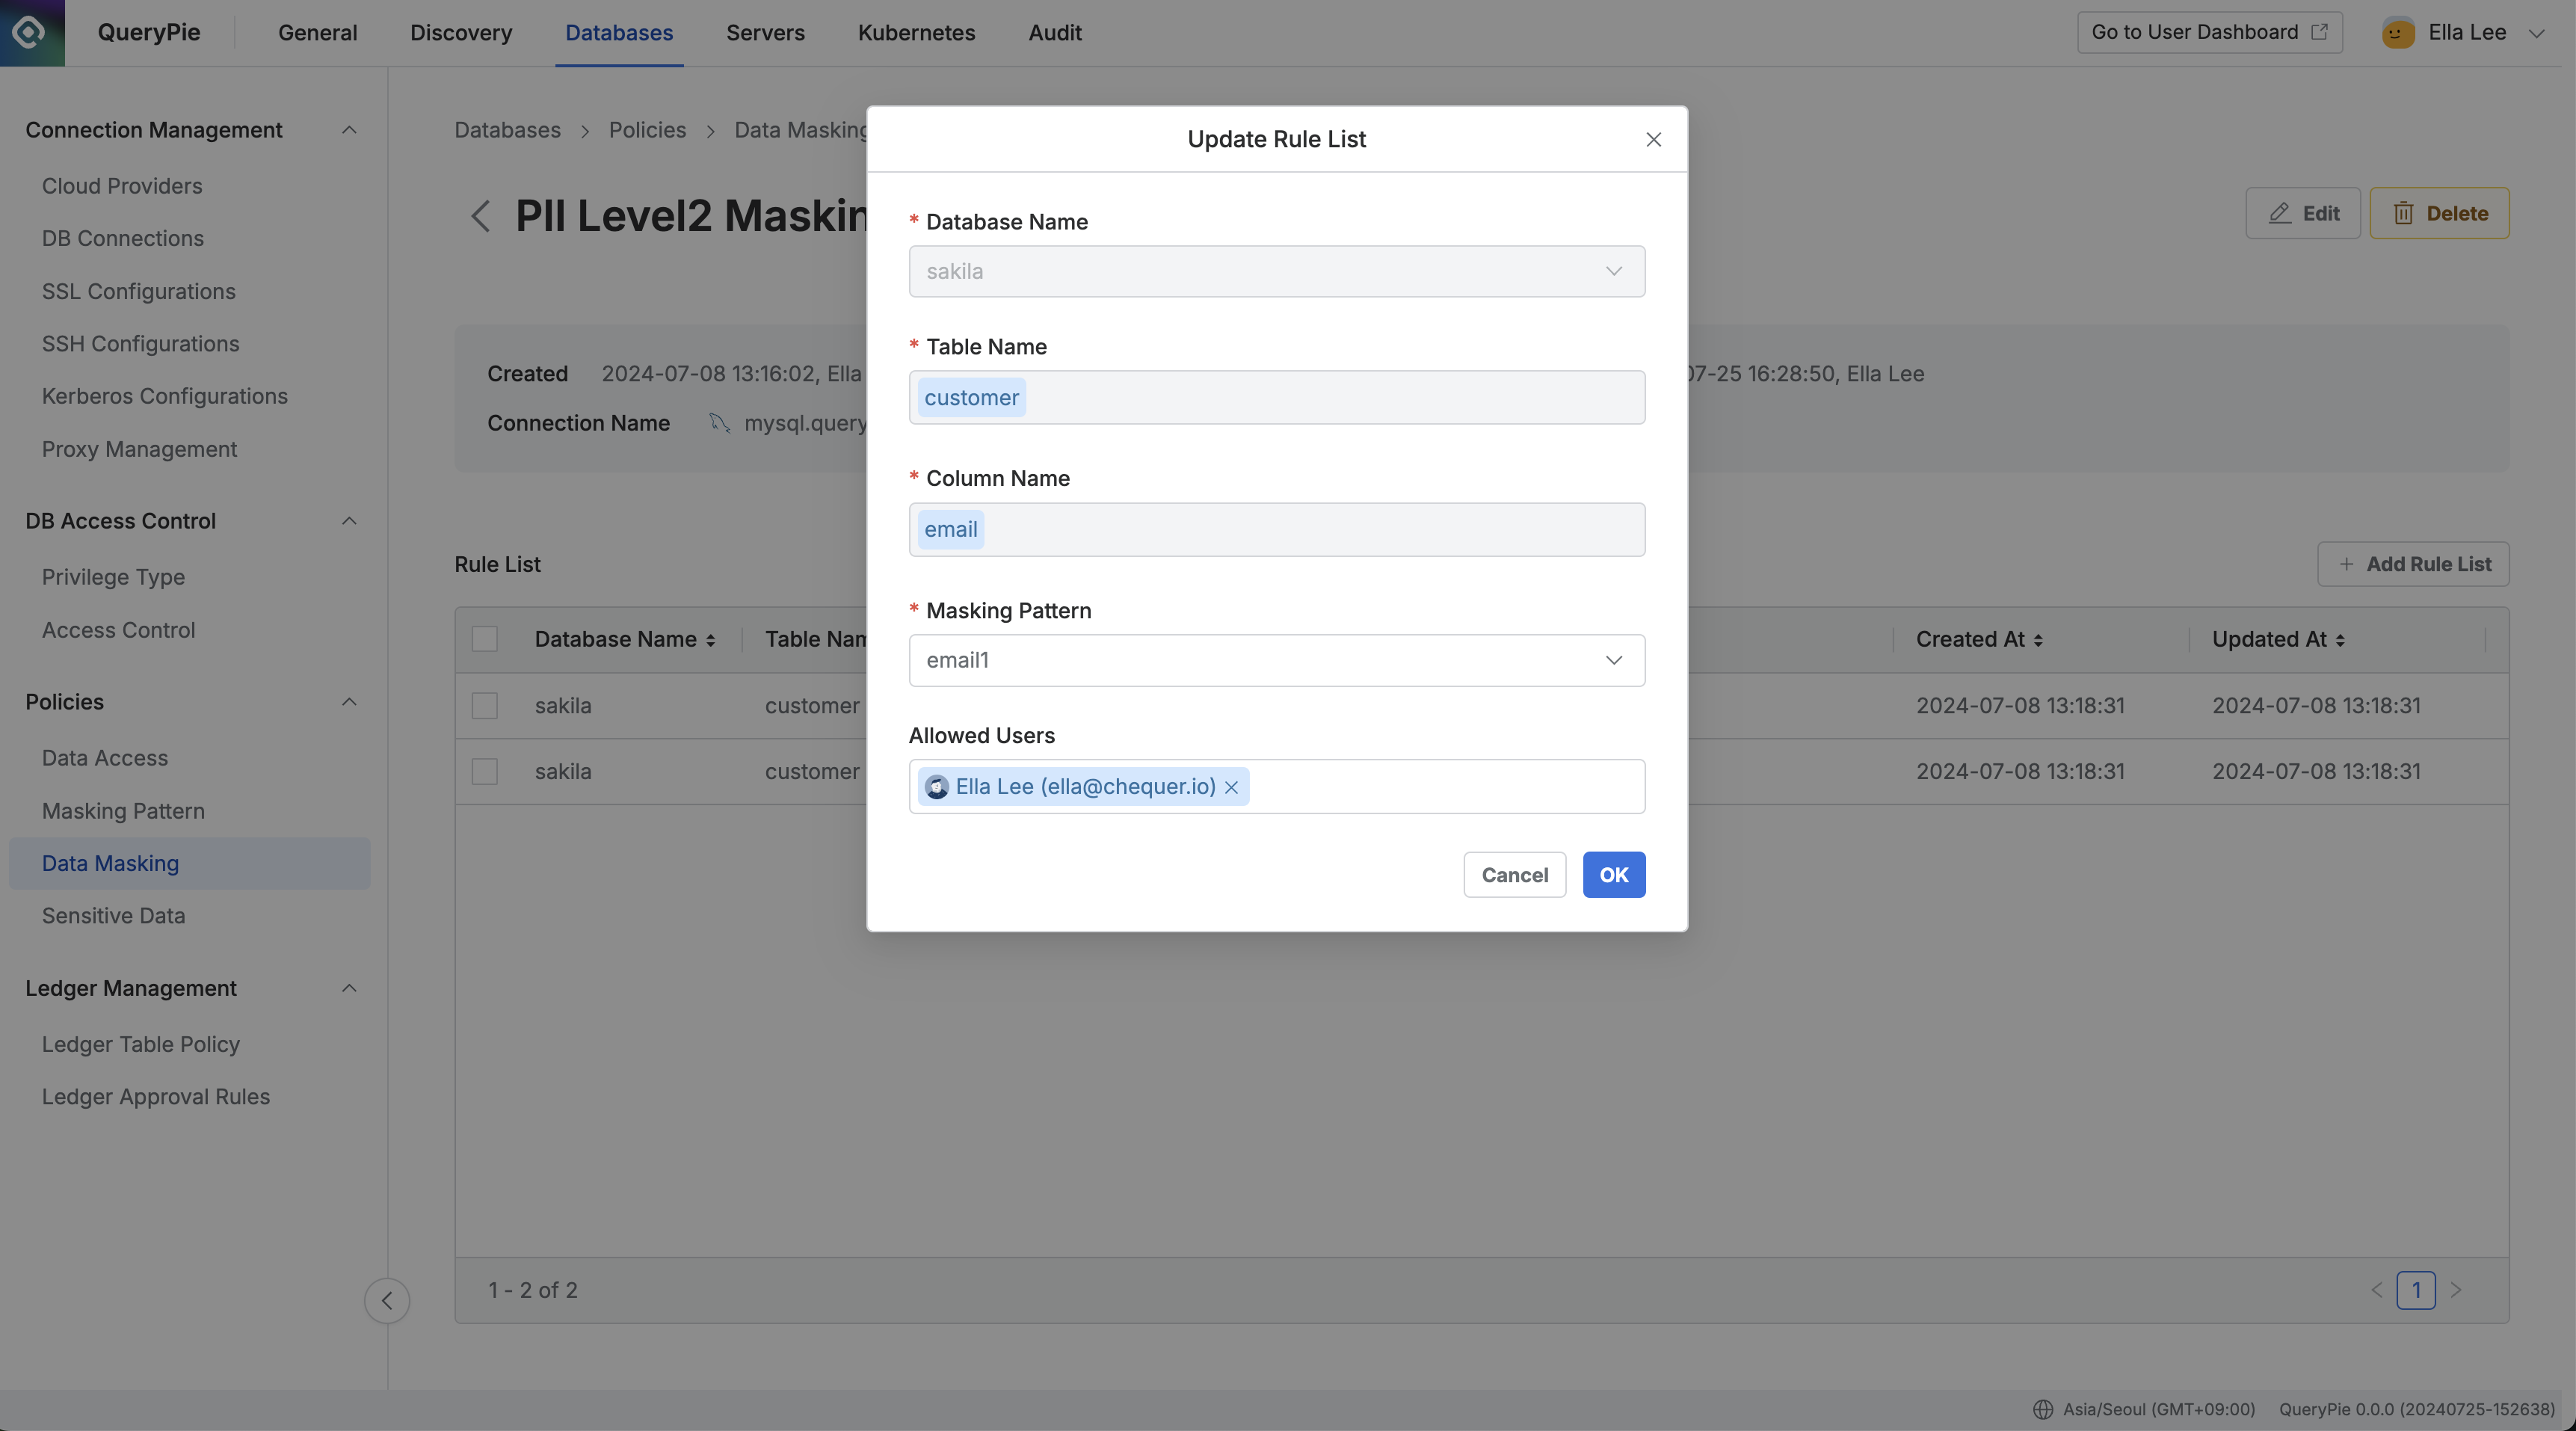
Add Rule Listbutton on the right side.Select the data paths to which the policy will apply:
Database Name: A required value for rule registration.
Table Name: A required value for rule registration.
Column Name: A required value for rule registration.
Apply Masking Patterns:
Select one or more masking patterns to apply to the columns selected in step 3.
The platform provides over 20 default patterns for masking personal and sensitive information.
Additional detection and masking patterns can be created using regular expressions in the Masking Pattern menu.
You can also specify exceptions for certain users or groups who need access to the data without masking:
Allowed Users: Select the users or groups that will be exempt from the access restriction.
Click
Okto save the rule.
Once saved, you can verify the rule's registration under the Rule List tab. When users query the data, it will be masked according to the applied pattern, such as displaying an email as ‘*****@gmail.com’.
When selecting the Database Name, I am encountering the following error:
“[ENGINE] [30101] Please Check the user credential or IP ACL settings. Access denied for user ‘username’@‘host’ (using password: YES)”.
A. This error typically occurs if the database account information has not been set or has been configured incorrectly. To resolve this issue, navigate to the Administrator > Databases > DB Connections, click on the relevant connection, enter the correct Database Username / Password information, save the changes, and then try again.