Scan Results
Overview
Administrators can distinguish between true positives and false positives for discovered sensitive information and choose the final results to be reflected in the inventory.

Administrator > Discovery > Discovery Management > Scan Results
The administrator determines whether the detected sensitive information in the Scan Results page is a false positive or not and selects either Accept or False Positive. If Accept is chosen, the result (assigning a sensitive item tag to the detected entity) is reflected in the inventory. If False Positive is selected, the entity is recorded as a false positive.

Verifying the Path of Detected Sensitive Information

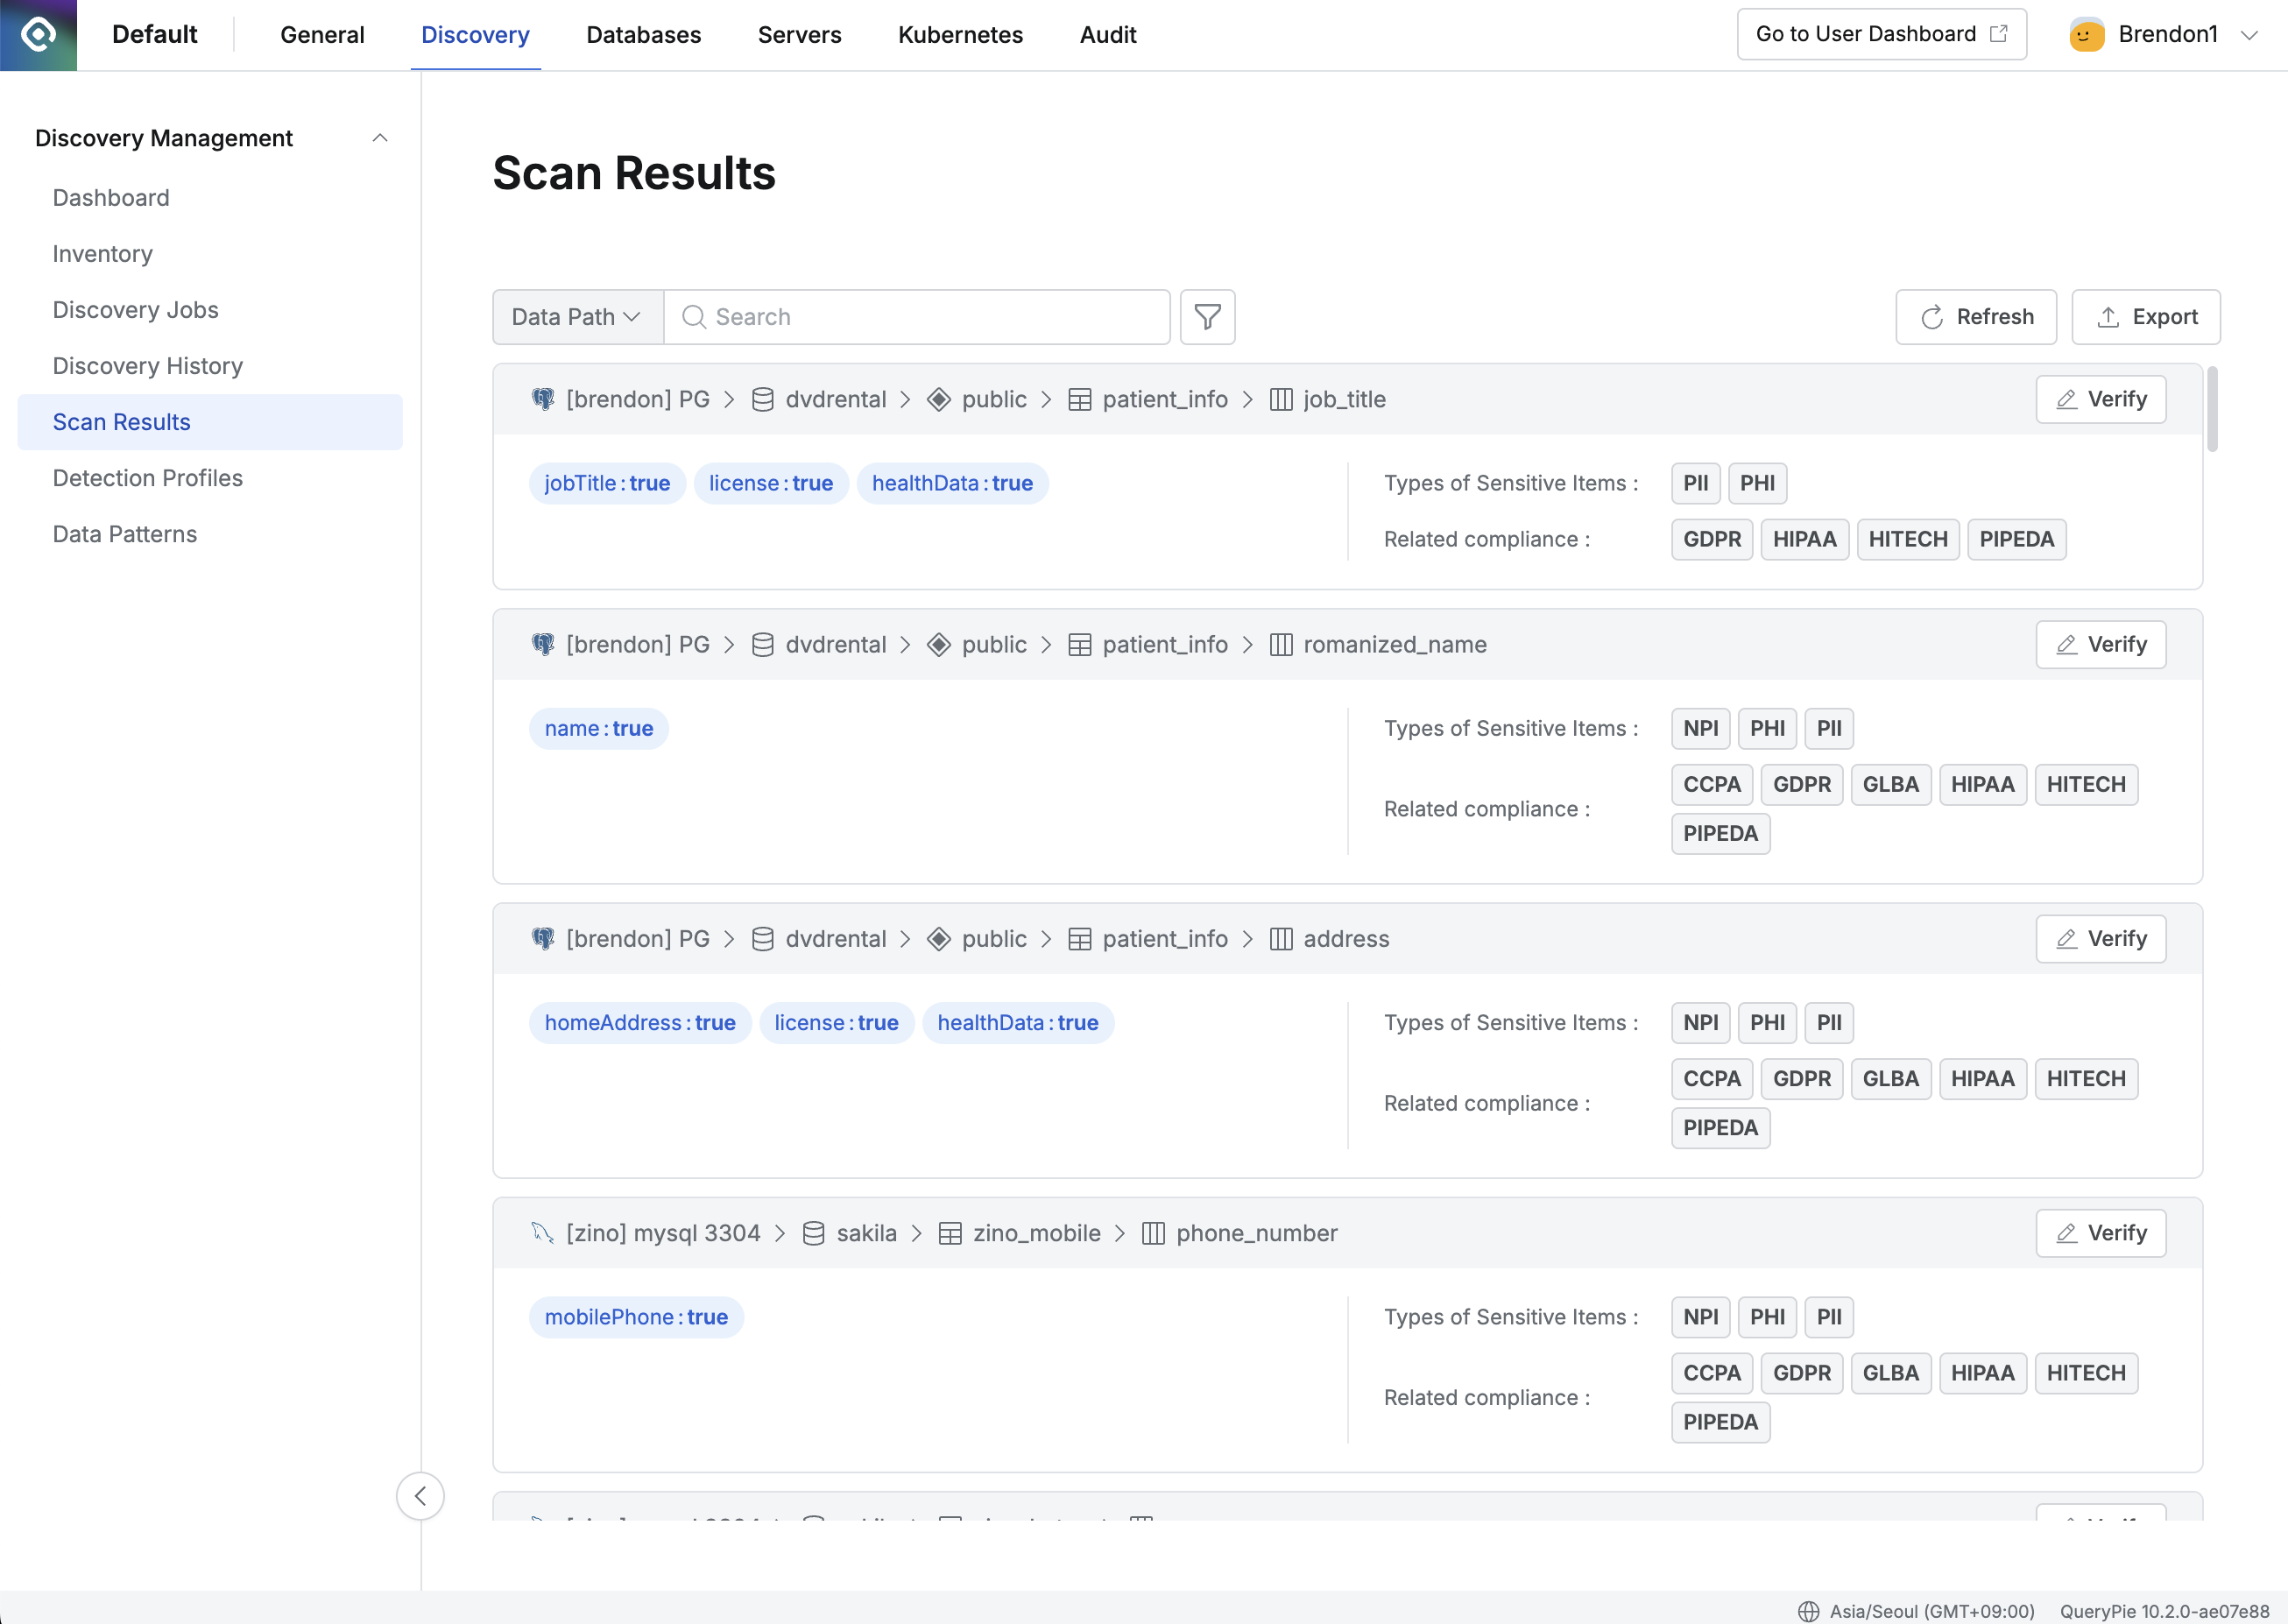
Scan Result List
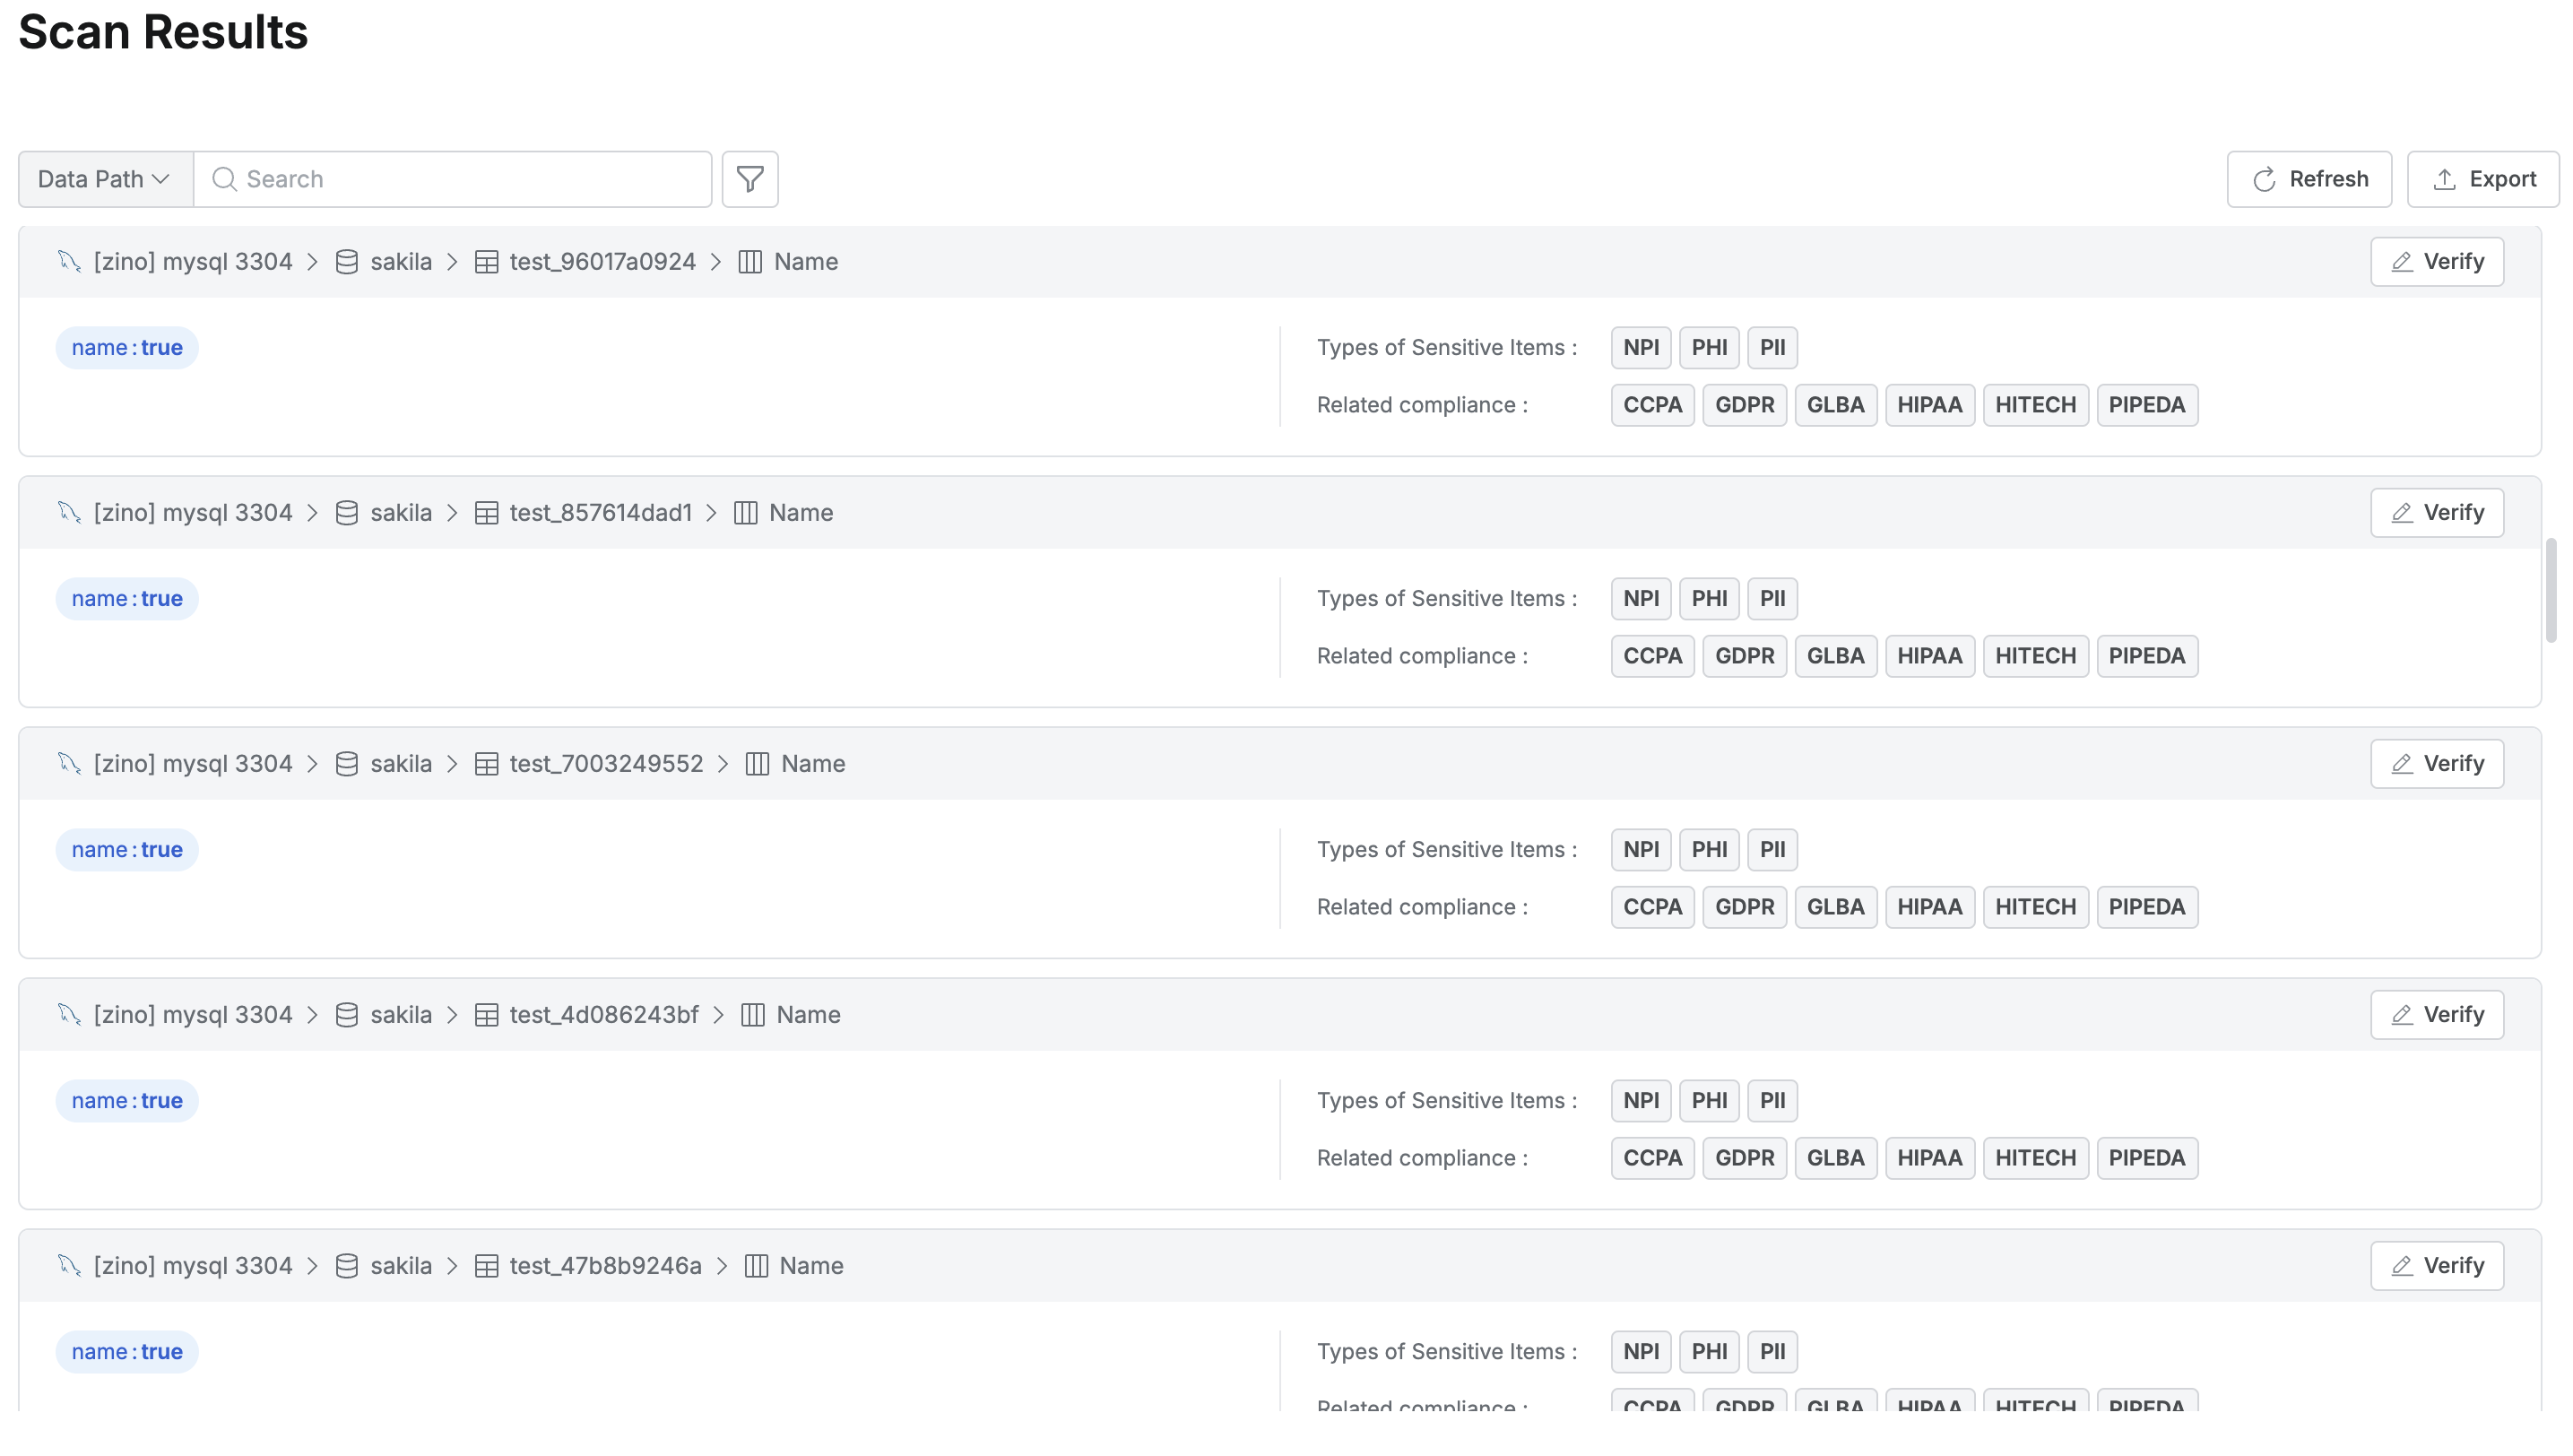
The paths where sensitive information is located and the compliance types related to the sensitive information can be checked in the list.
Export: The content of the list can be exported in JSON format. If encryption is enforced in QueryPie settings, a password must be entered for the zip file.
Verify: You can review the detected sensitive information and save the final judgment.
Review of Scan Results
Click the verify button for each data path identified as containing sensitive information to navigate to the detailed page.
In the detailed page, items that have not been processed yet are listed under the New Items section.

Verify item
Confidence: The confidence interval for the detected item is calculated as a 95% confidence level and displayed in three stages: Low, Medium, and High. For example, in the case of a regular expression (binomial distribution), if 32 out of 100 items are detected, it is classified as Low; 33-66 items as Medium; and 67 or more as High. This value can be used to evaluate the detection level of the AI identifier or regular expression.
Verification: You can choose either Accept or False Positive. If the result is a true positive, select Accept; if it is a false positive, select False Positive. If Accept is selected, the tag is confirmed and reflected in the Inventory. If False Positive is selected, the status is recorded as False Positive, and it can be checked in the "Sensitive Items" section of the Inventory's detailed view.
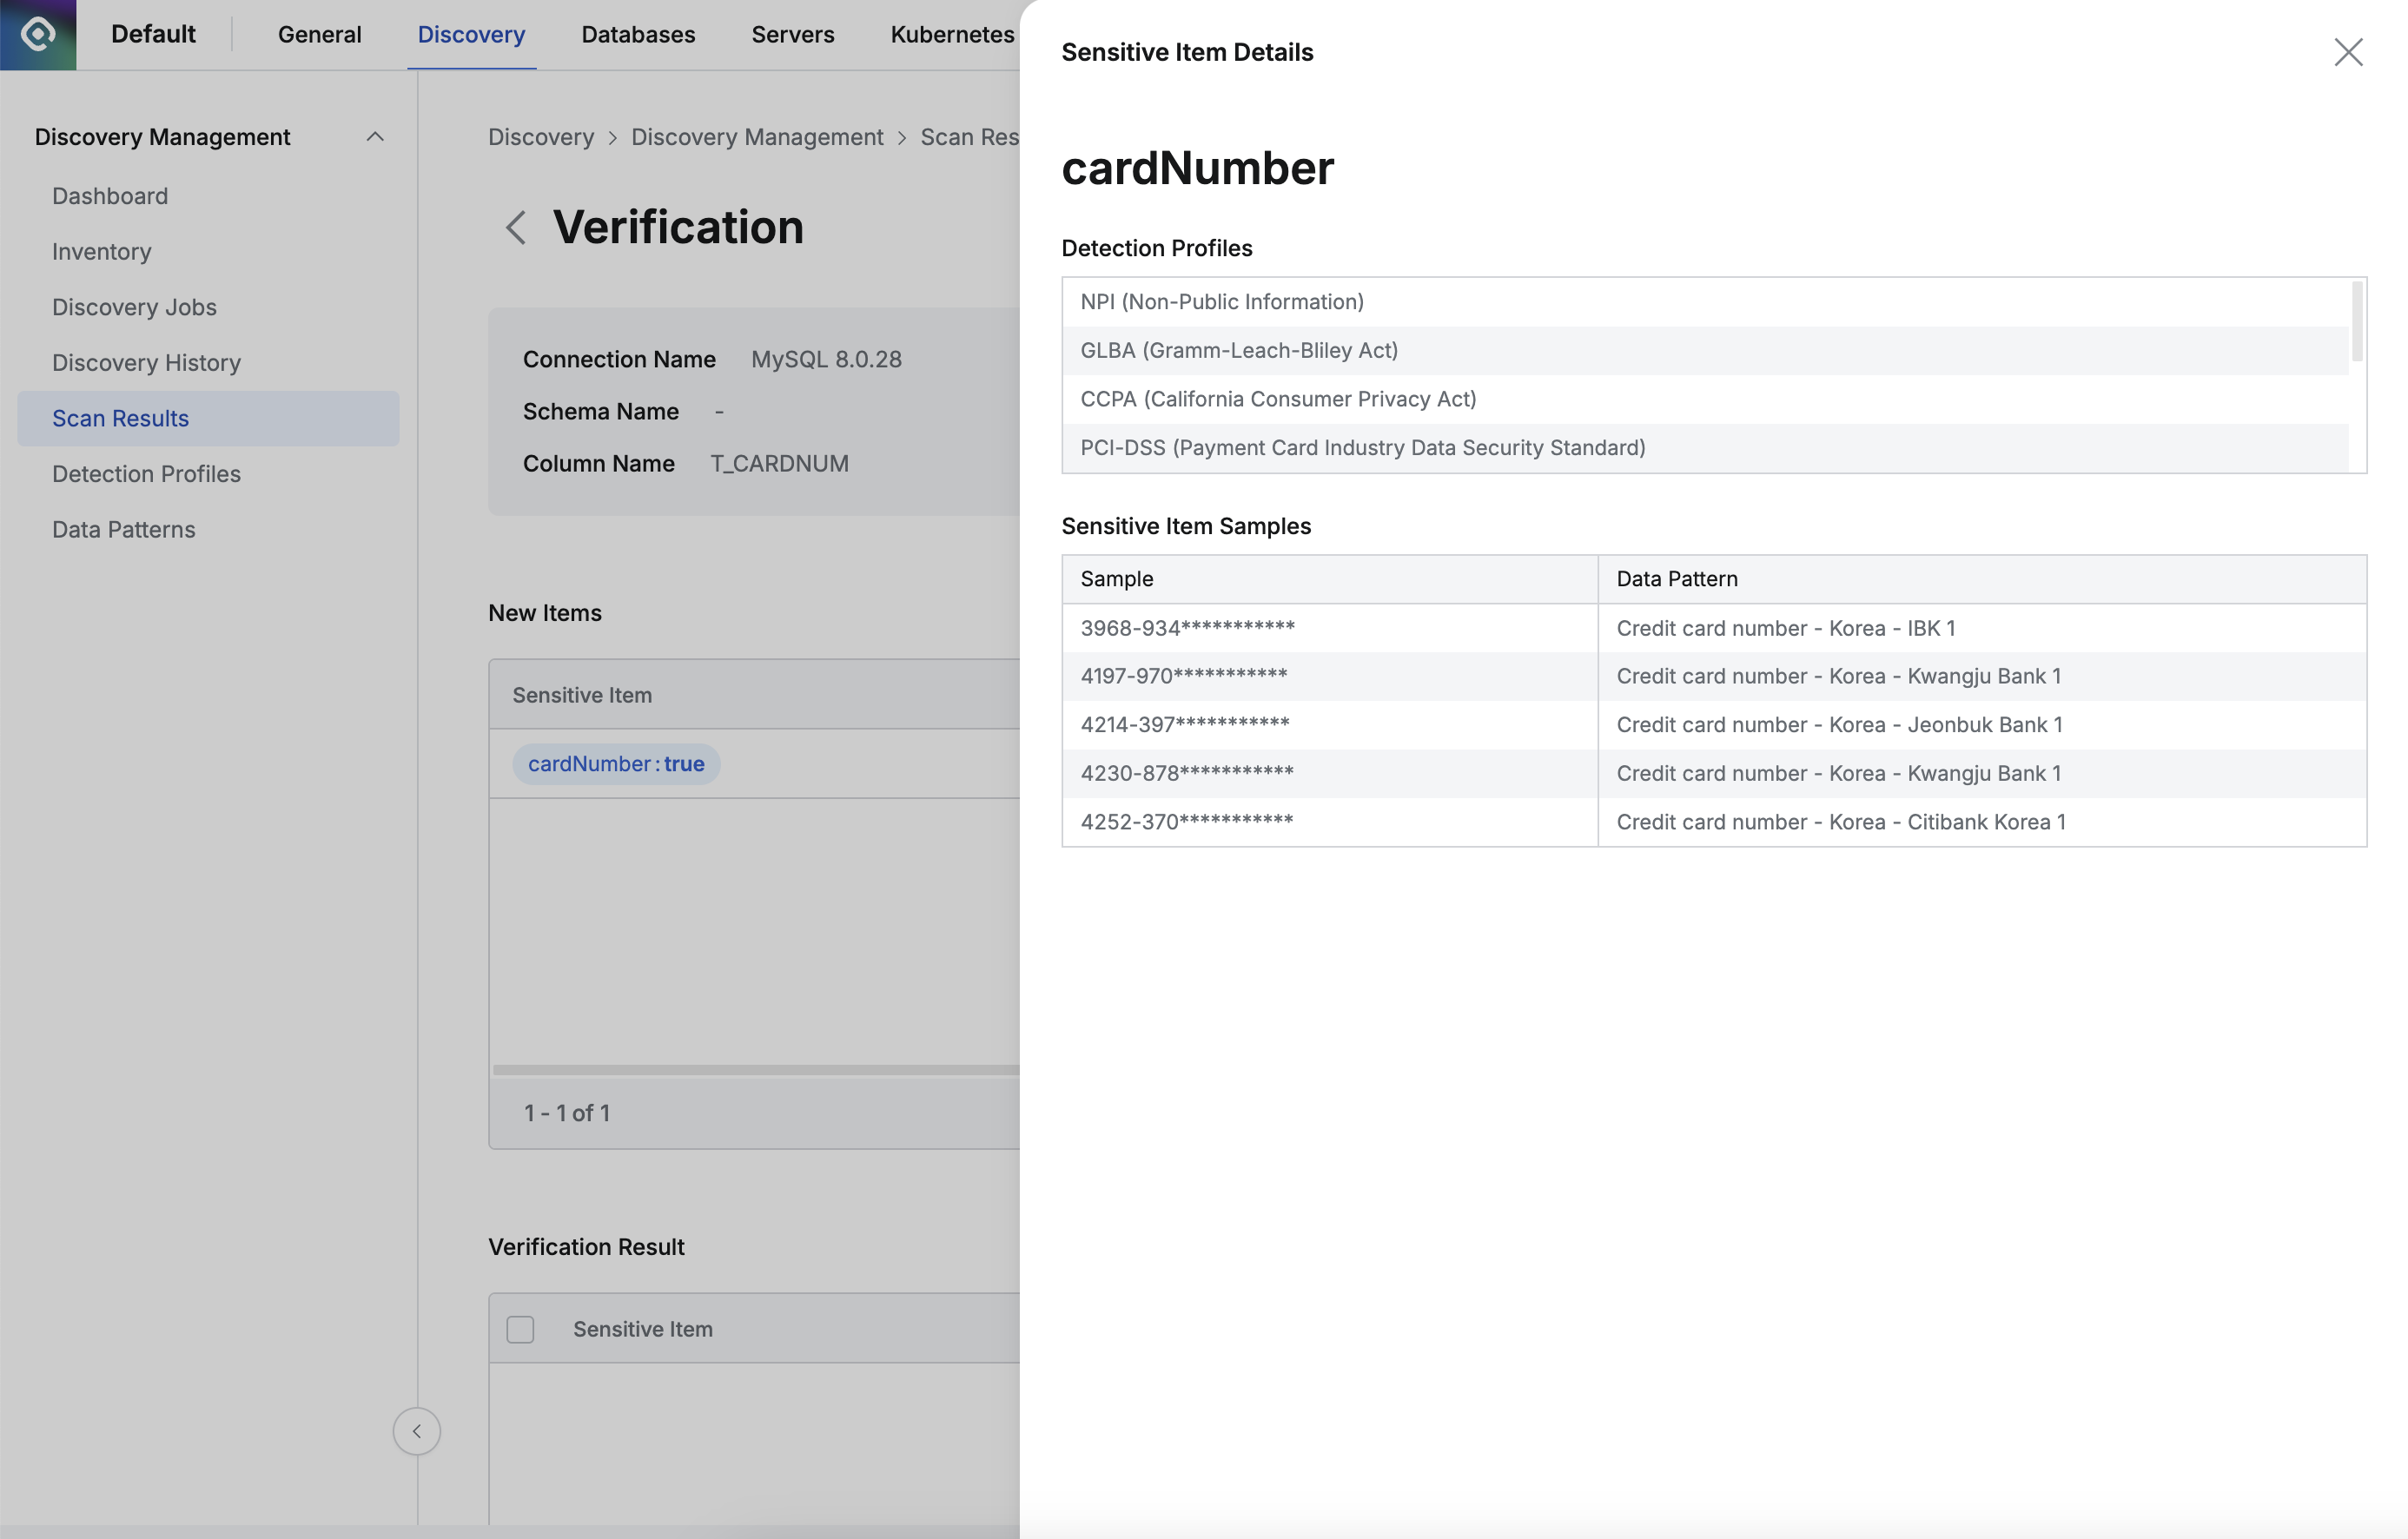
Clicking on a row in the New Items list will display the detailed screen as shown below.

Detailed Information of the Entity
You can check which Detection Profile was used to detect the sensitive information and what patterns were used in the extraction.
Once you select either Accept or False Positive, the item will move to the Verification Result section below.

Verification Reult
In the Description field, you can add comments regarding the decision.
By clicking the
Savebutton, the decision will be saved and ultimately reflected in the Inventory.
Checking Existing Sensitive Information Tags in the Verification Screen
If new sensitive information is found for a data path that already has sensitive information processed and reflected in the Inventory, you can verify the existing sensitive information tags in the Verification screen. By clicking the Check button in the "Current Inventory Items" section, you can view the already assigned Sensitive Item tags and custom tags, as shown in the image below.

Check Inventory Tags
%201.png)