Policies
Overview
In QueryPie, you can view, create, edit, duplicate, and delete access policies for web applications managed by your organization. A Policy is a fundamental component that defines the rules for implementing and enforcing web app access permissions.
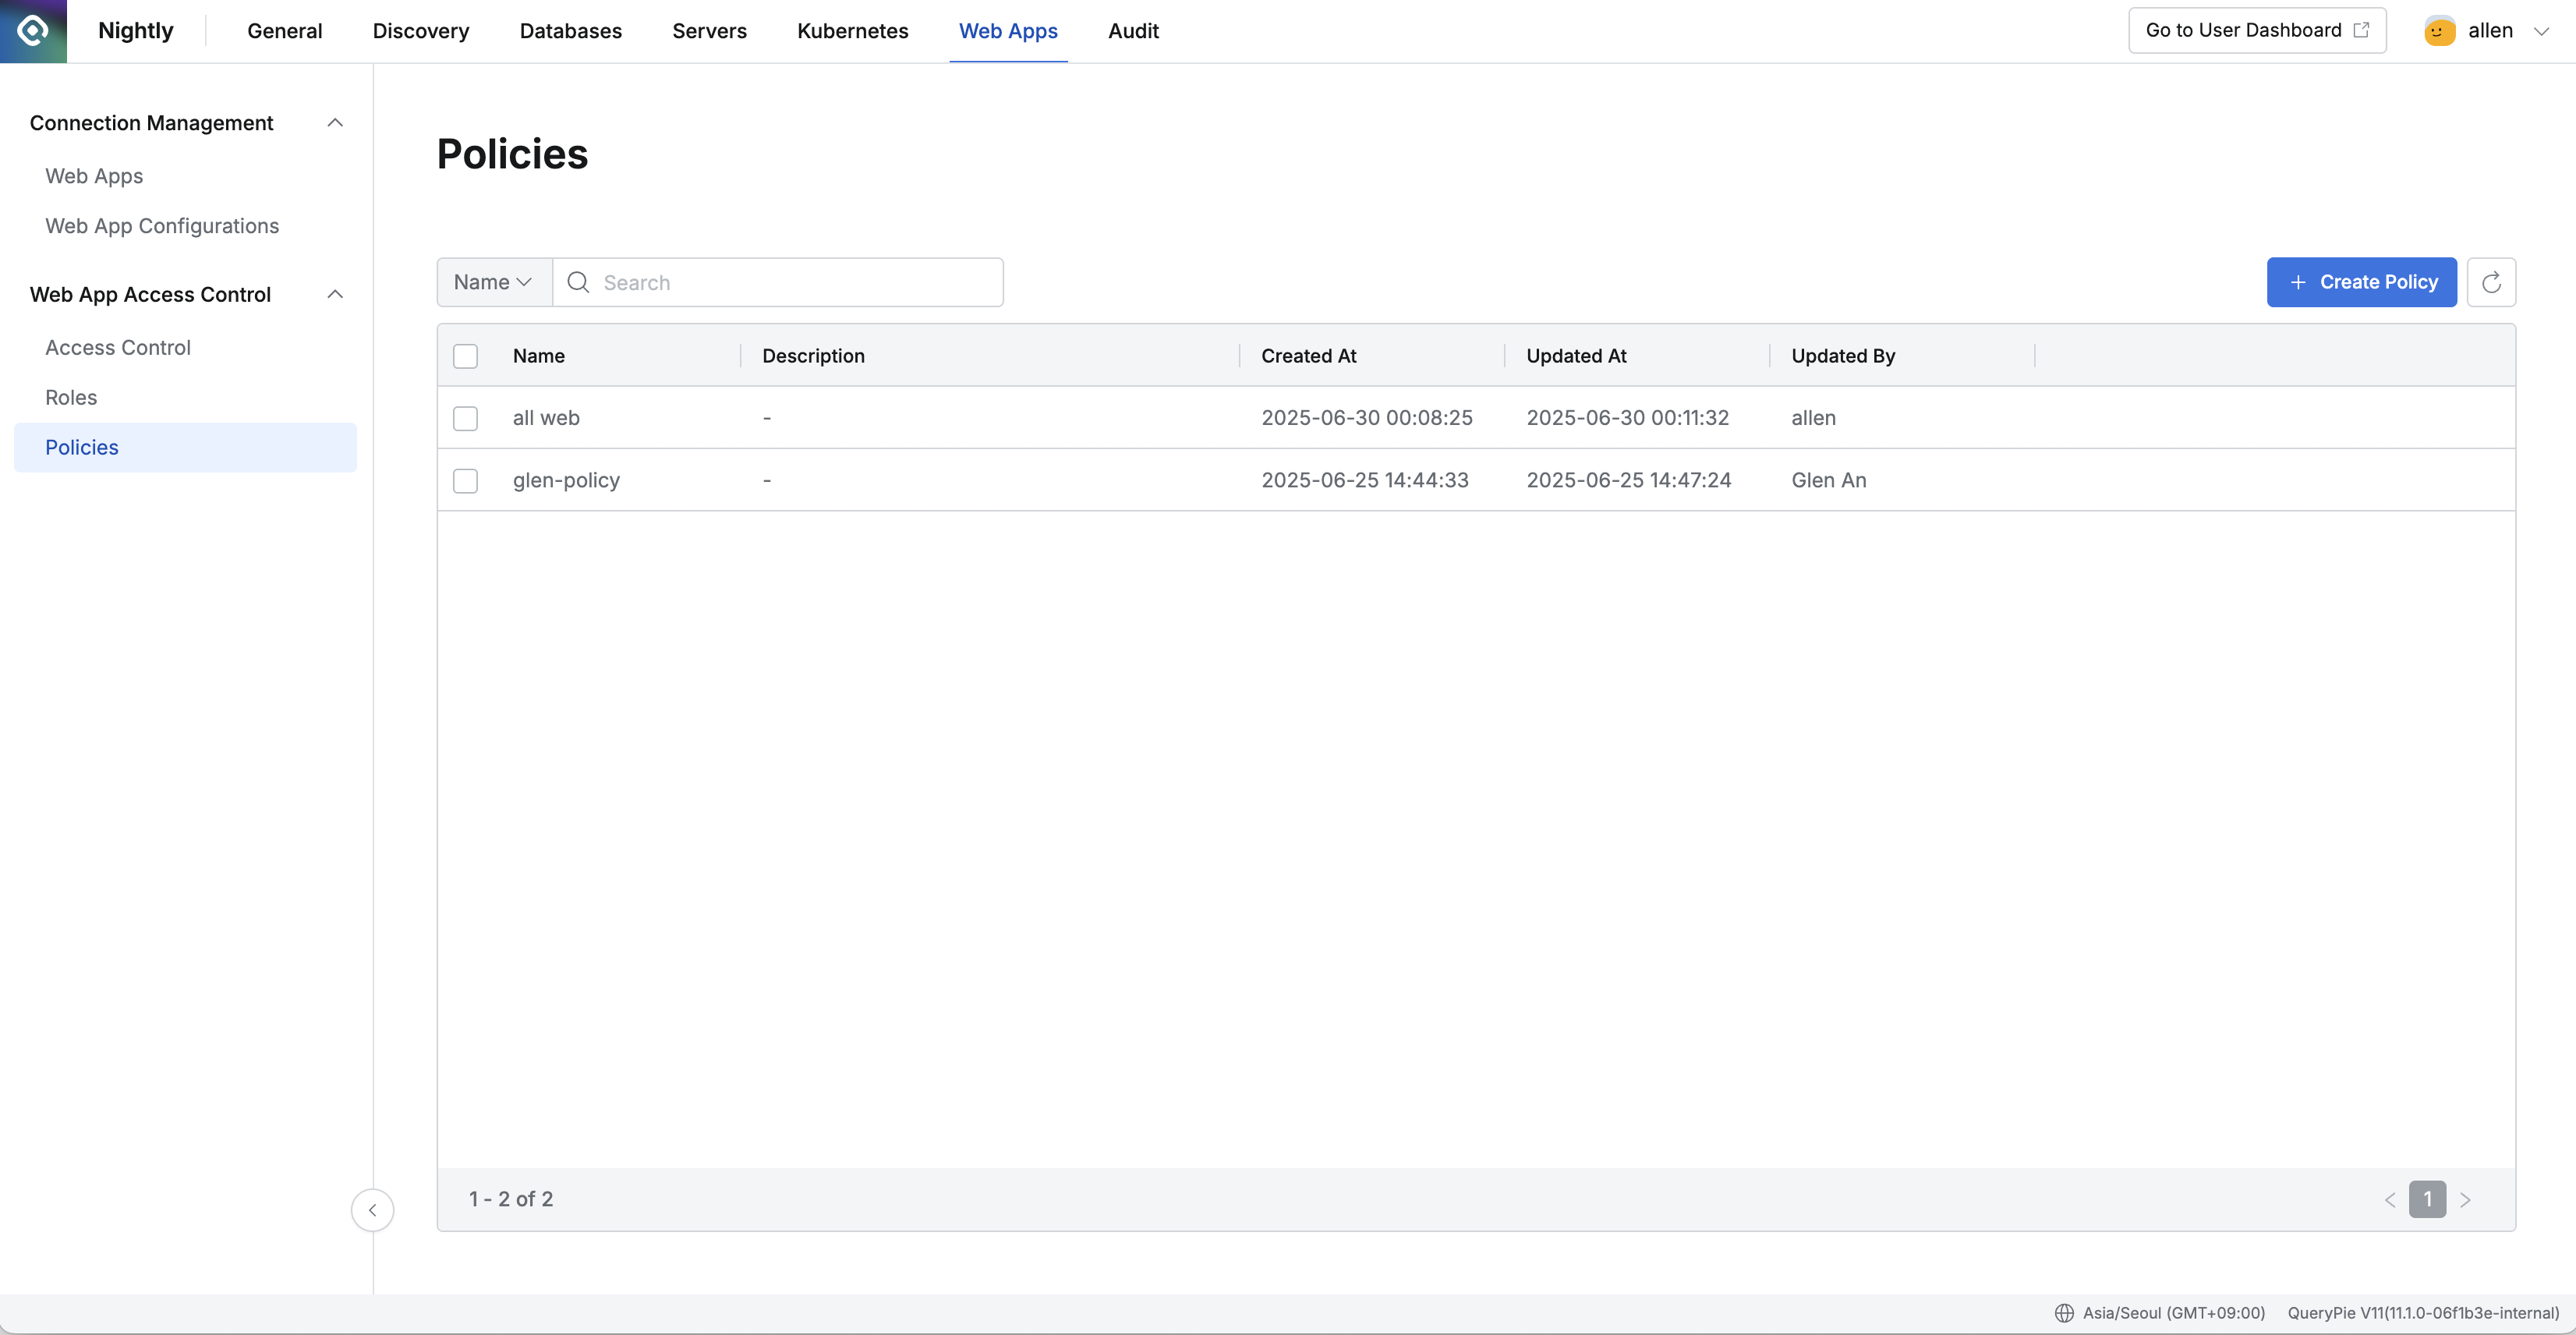
Administrator > Web Apps > Web App Access Control > Policies
Viewing Policies
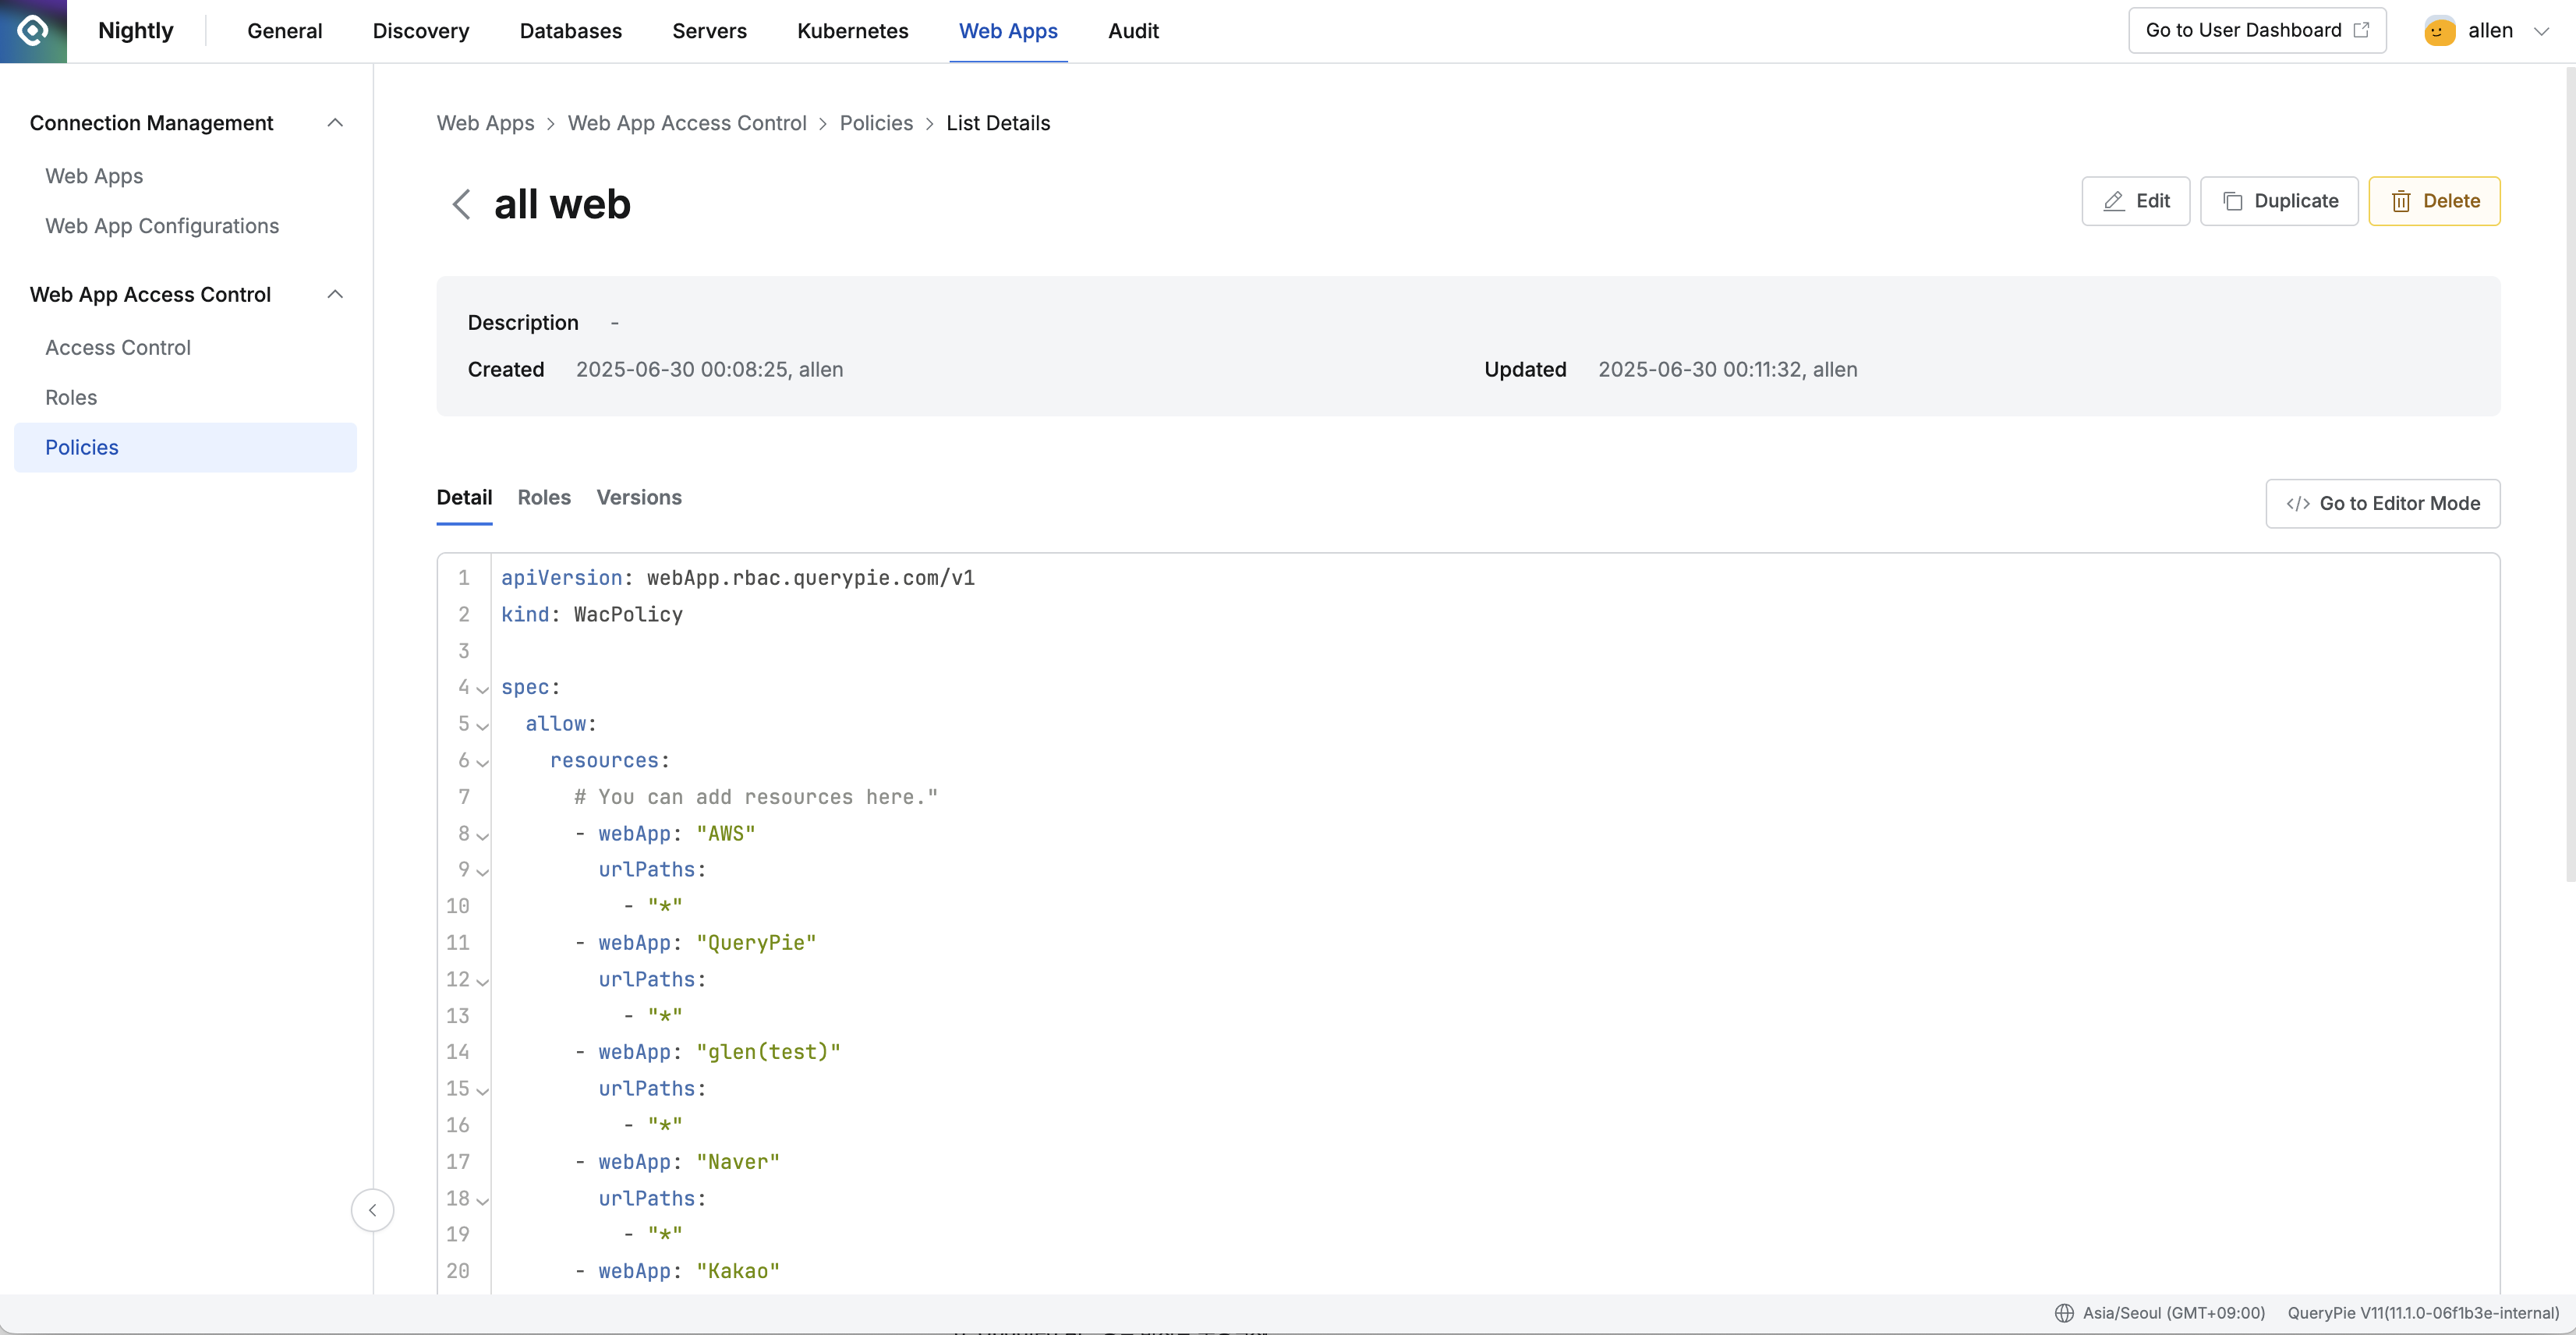
Administrator > Web Apps > Web App Access Control > Policies > List Details
Go to Administrator > Web Apps > Web App Access Control > Policies.
Use the search bar in the top left of the table to search for policies by name.
Click the refresh button in the top right to update the list with the latest data.
The table provides the following information for each policy:
Name: Policy name
Description: Detailed policy description
Created At: Date and time the policy was first created
Updated At: Date and time the policy was last updated
Updated By: Administrator who last updated the policy
Click any row to view detailed information about a policy.
Detail
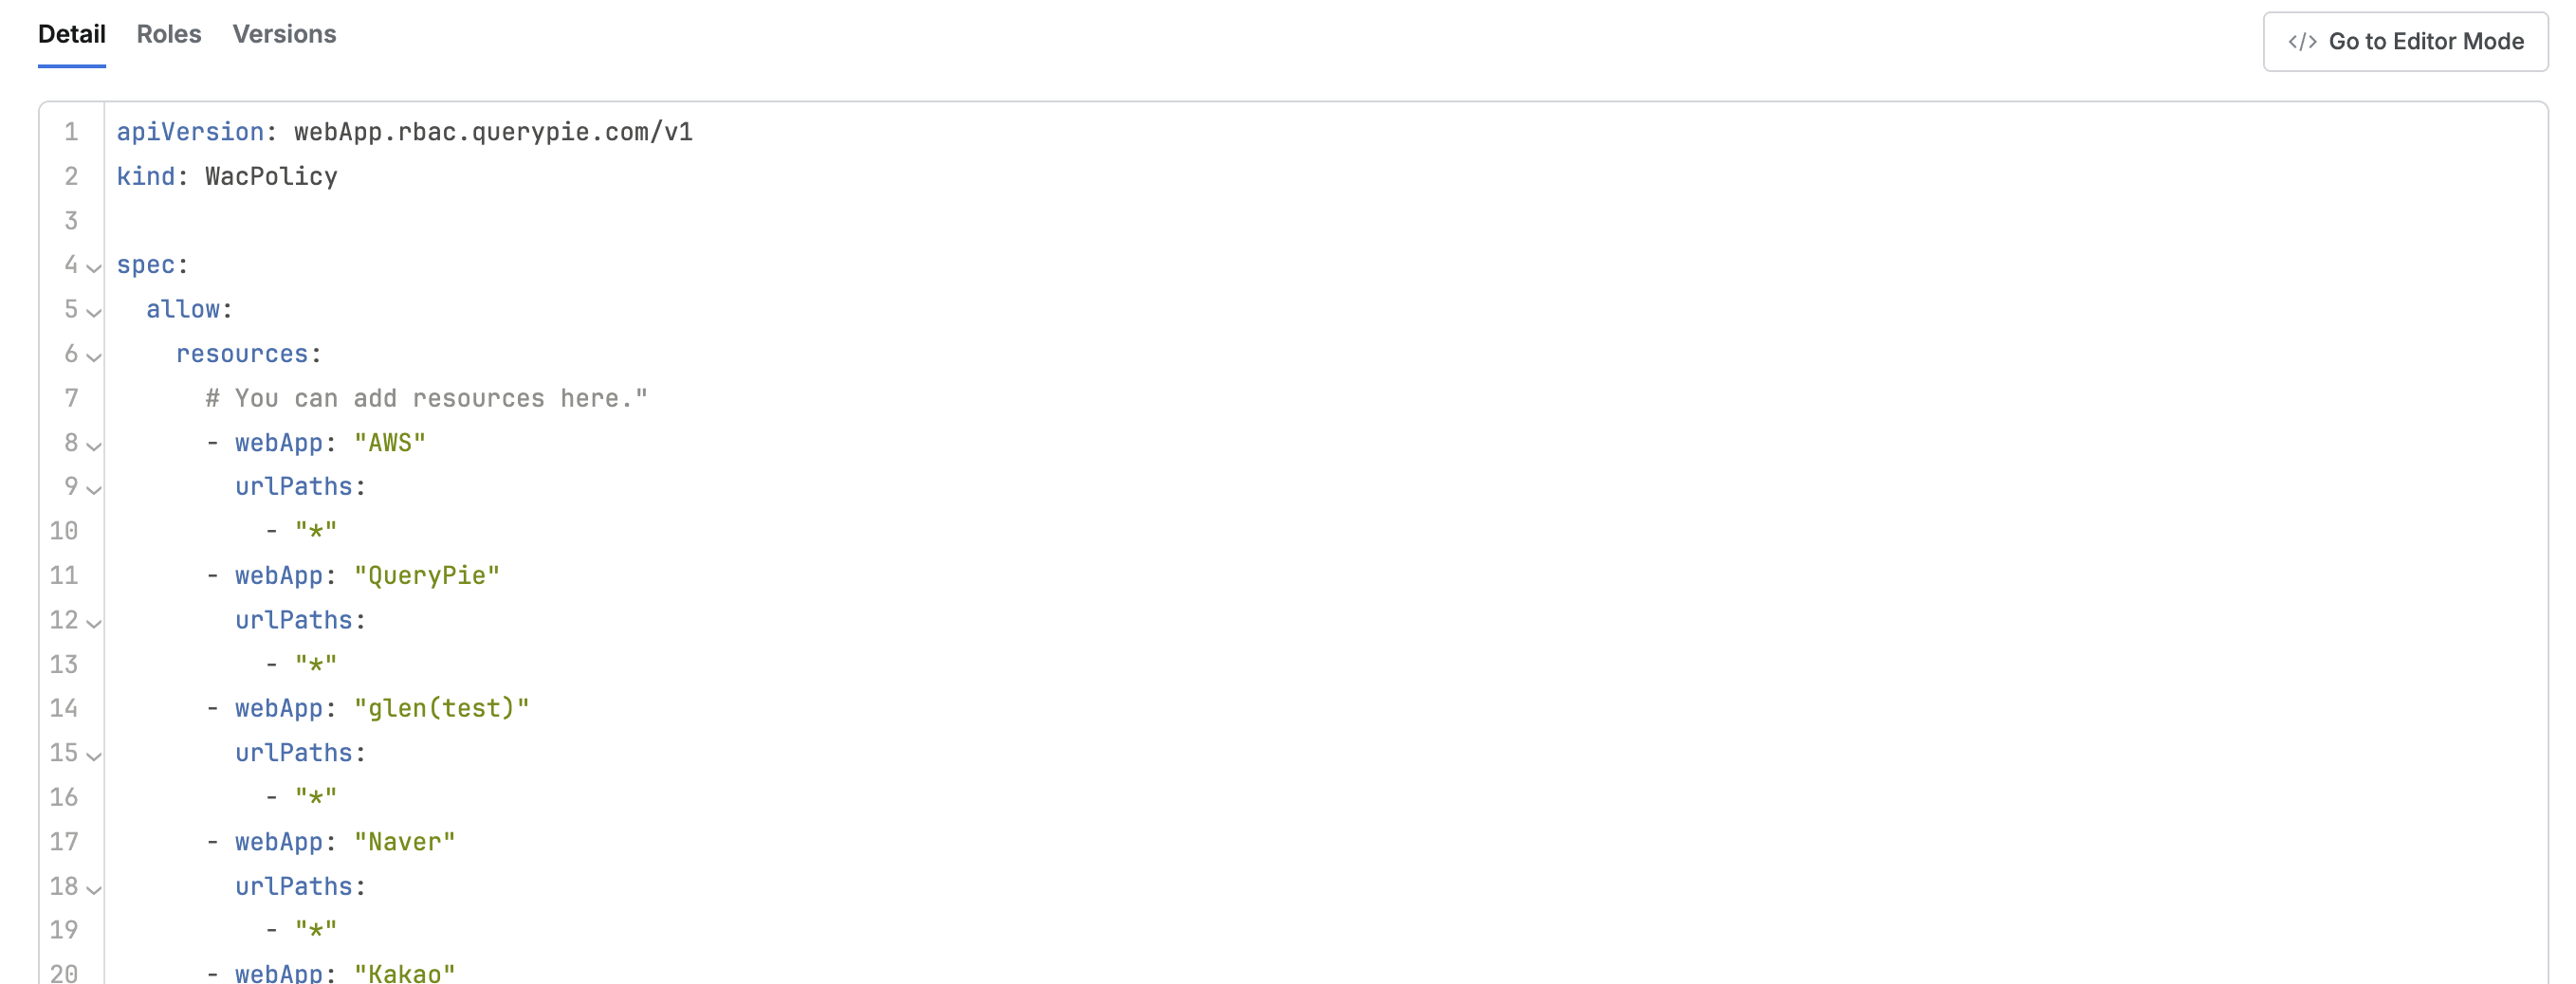
This is the default tab, where you can view the code defined for the policy.
In the Detail tab, click the
Go to Editor Modebutton (located on the right) to switch to the Code Editor page for the policy.
Roles
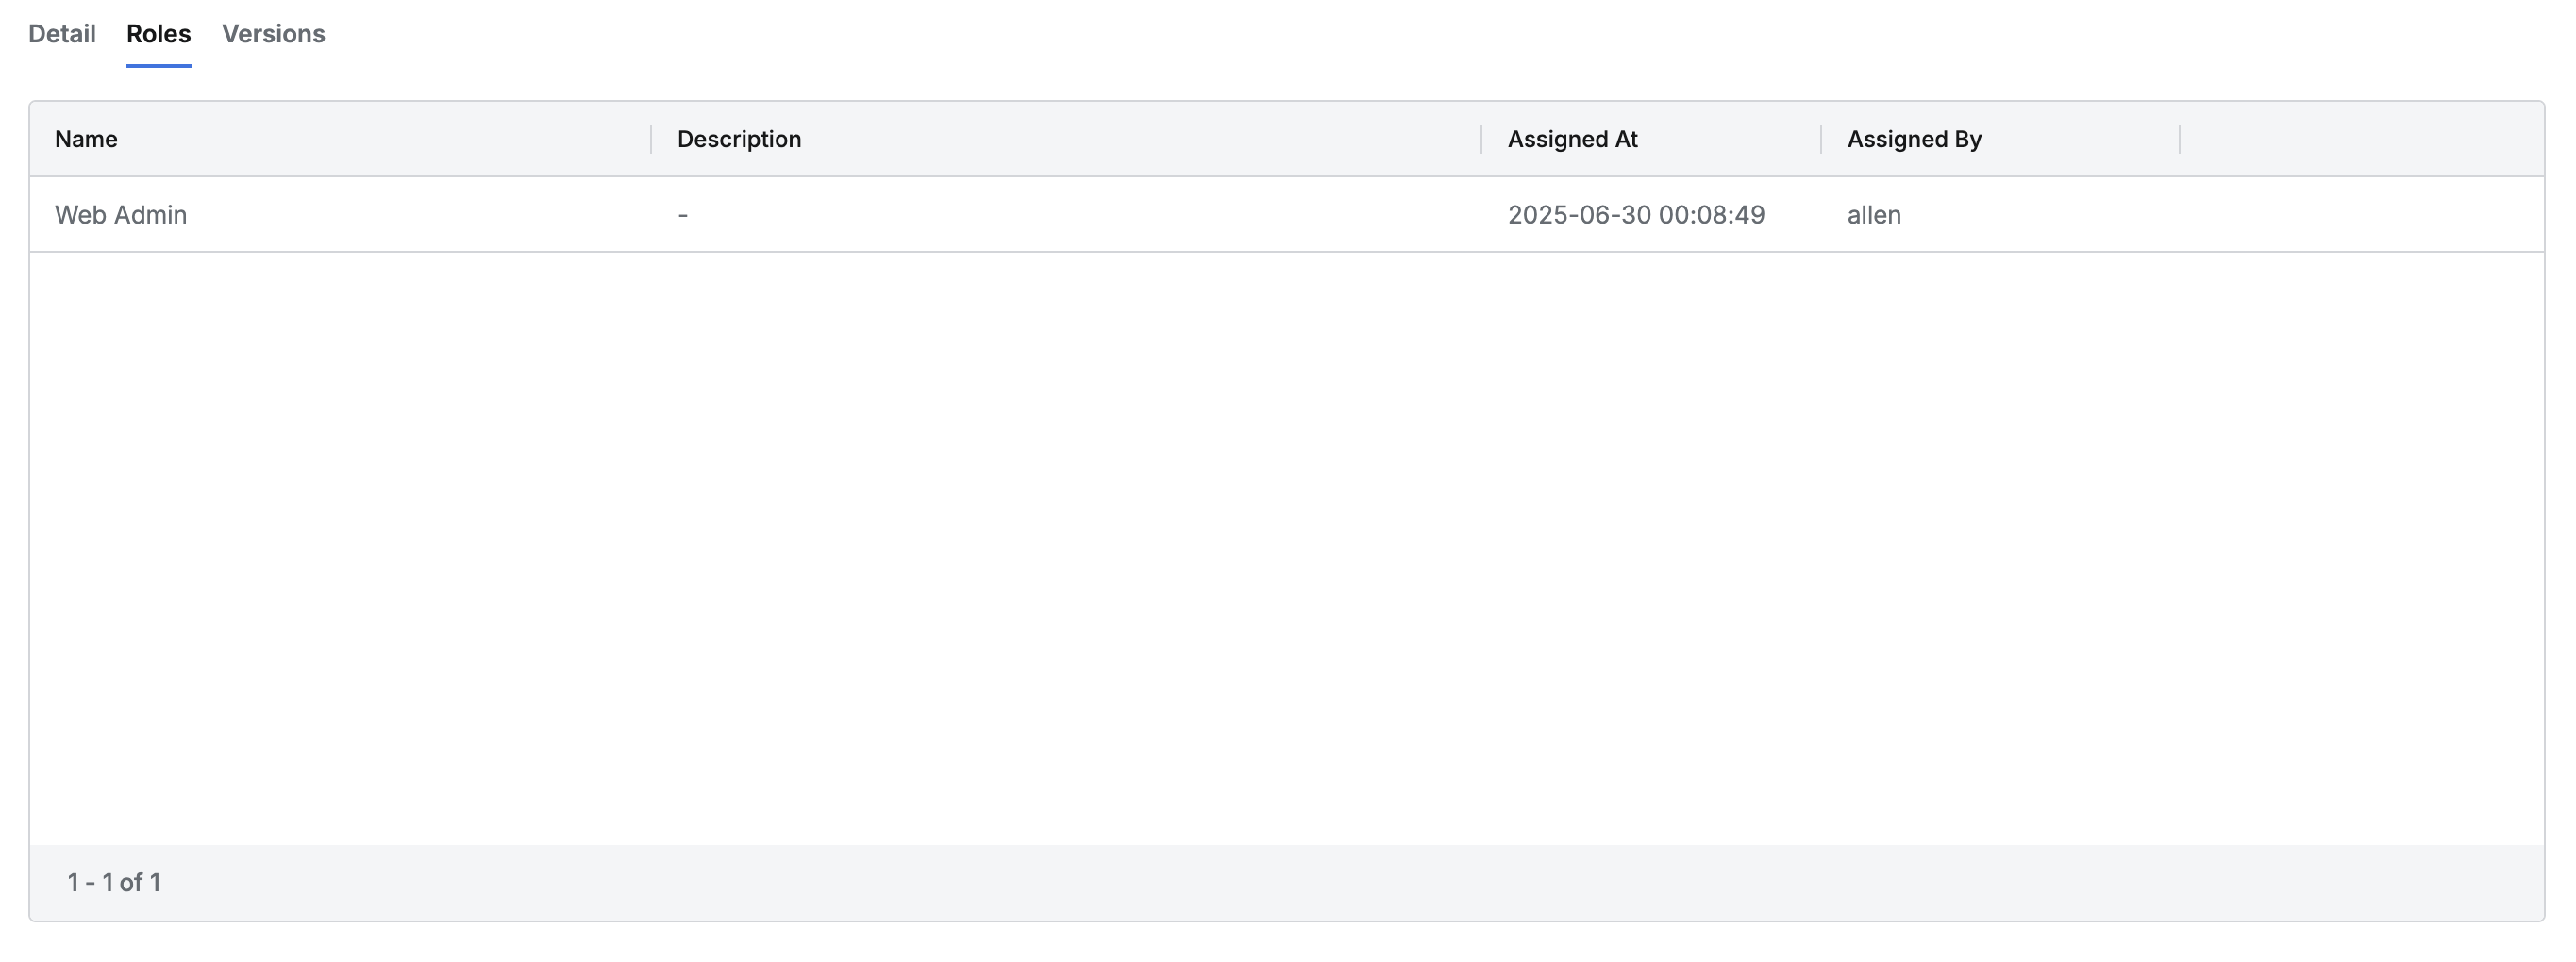
This tab lists all roles that have the selected policy assigned.
The table displays the following details for each role:
Name: Role name
Description: Role description
Assigned At: Date and time the policy was assigned to the role
Assigned By: Administrator who assigned the policy
Click any row to view detailed information about the role in a drawer panel.
Versions
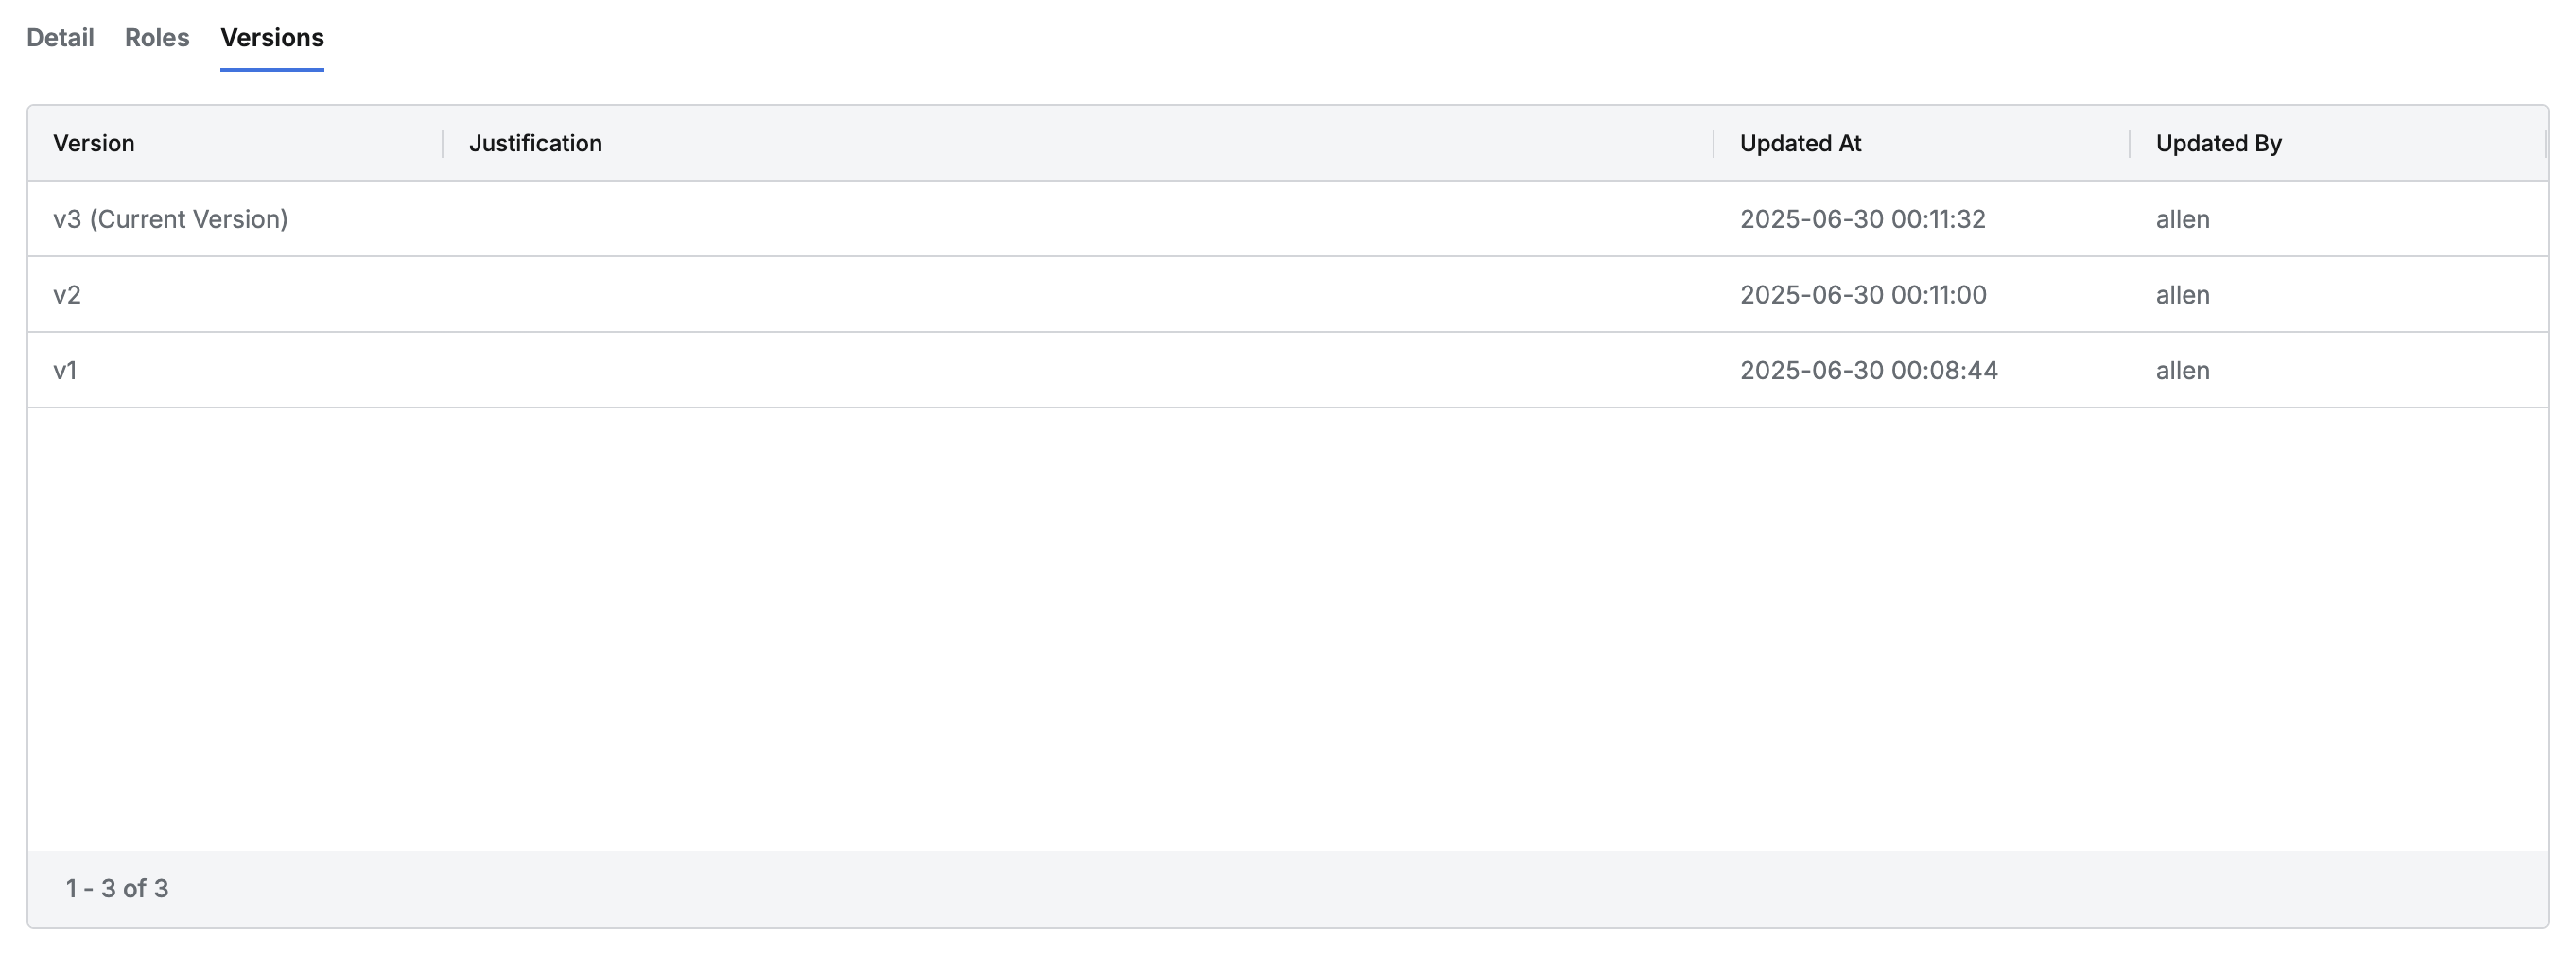
This tab lists all versions of the selected policy.
A new version is created whenever the policy code is edited and saved.
The table shows the following information for each version:
Version: Version name or number
Justification: Reason for the policy update
Updated At: Date and time the version was created
Updated By: Administrator who made the update
Click any row to view detailed information about the version in a drawer panel, including:
Title: Policy name
Version: Version number
Justification: Reason for the update
Updated At: Date and time the version was created
Updated By: Administrator who updated it
A snapshot of the policy code for that version is shown at the bottom.
Creating a Policy
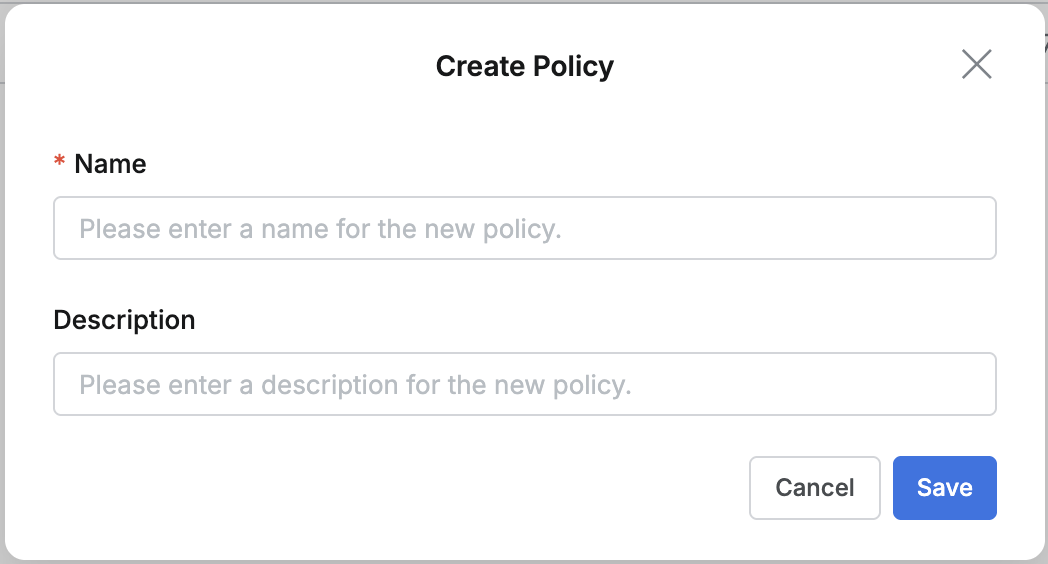
Go to Administrator > Web Apps > Web App Access Control > Policies.
Click the
+ Create Policybutton in the top right.Enter the following details:
Name: A clear, identifiable policy name (required)
Description: Additional information about the policy
Click
OKto create the policy.Click the newly created policy at the top of the list.
Refer to the WAC Role & Policy Guide to configure the policy.
Editing a Policy
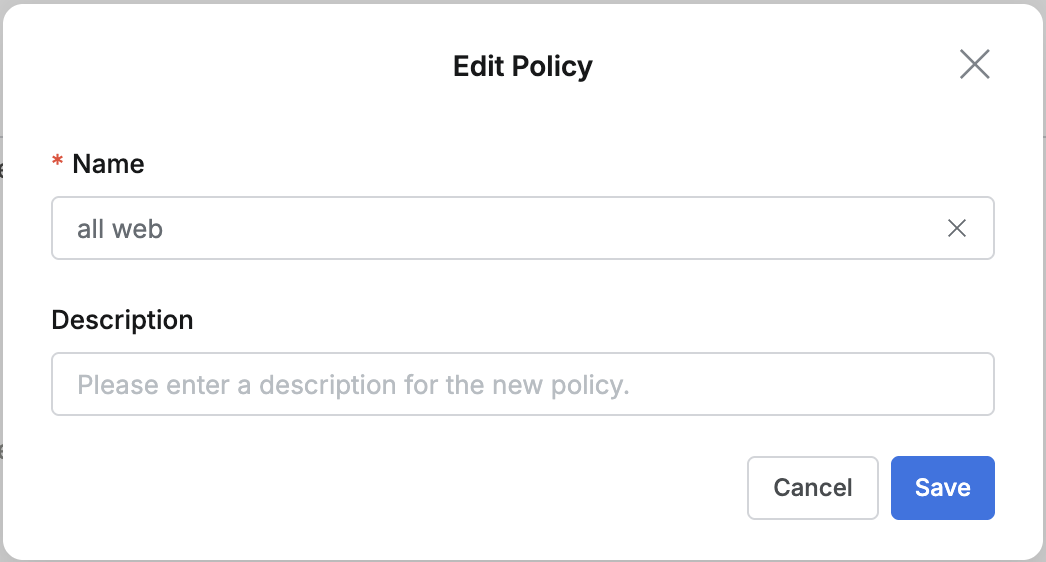
Go to Administrator > Web Apps > Web App Access Control > Policies.
Click the policy you want to edit to open its detail page.
Click the
Editbutton in the top right and update the following details as needed:Name: Policy name (required)
Description: Policy description
Click
OKto save your changes.
Duplicating a Policy
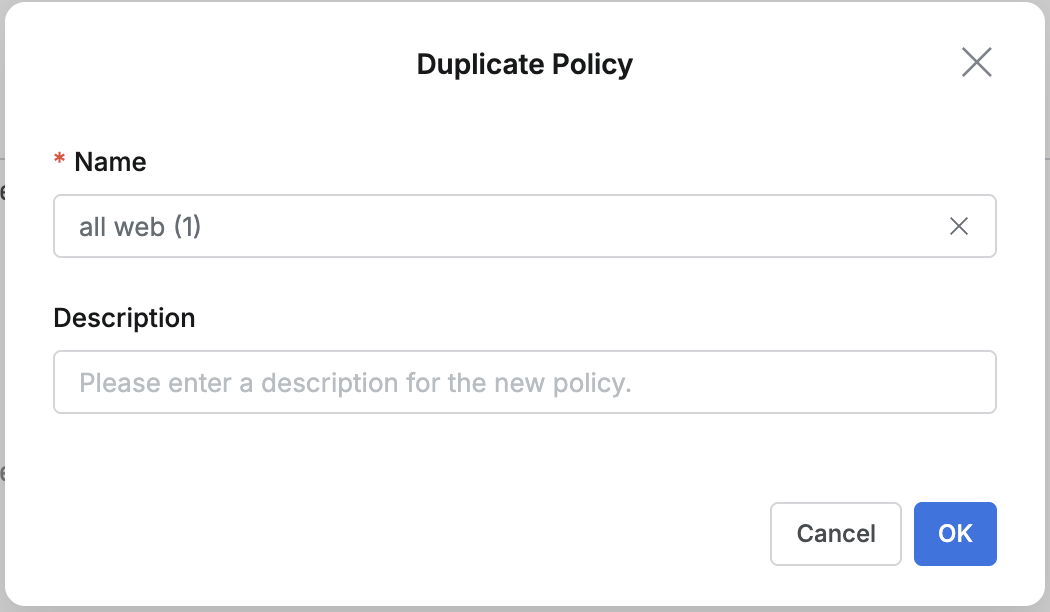
Go to Administrator > Web Apps > Web App Access Control > Policies.
Click the policy you want to duplicate to open its detail page.
Click the Duplicate button in the top right and update the following details for the duplicate policy:
Name: New policy name (required)
Description: Description of the duplicate policy
Click
OKto create the duplicate.The new duplicate policy appears at the top of the list — click it to view or edit.
Deleting a Policy
Go to Administrator > Web Apps > Web App Access Control > Policies.
You can delete a policy in either of these ways:
From the list:
Check the box next to the policy you want to delete.
Click the
Deletebutton that appears in the table header.
From the details page:
Click the
Deletebutton in the top right.
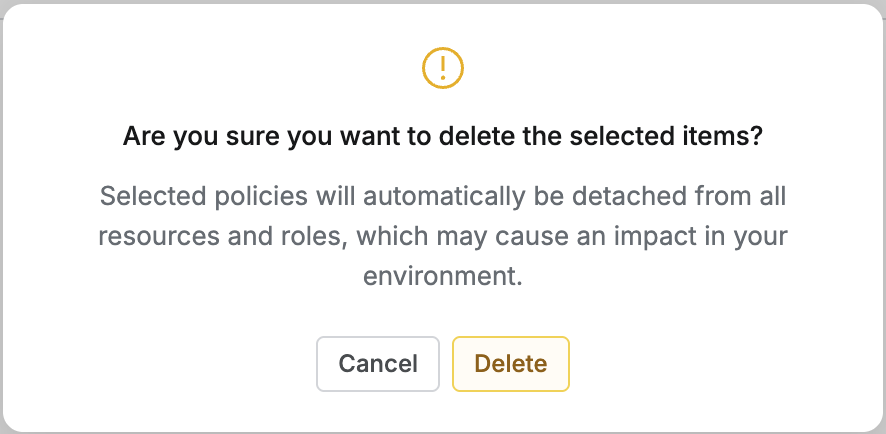
In the confirmation pop-up, click
Deleteto complete the deletion.
When a policy is deleted, it will be automatically removed from any associated web applications and roles.
Editing Policy Code
Go to Administrator > Web Apps > Web App Access Control > Policies.
Click the policy you want to edit to open its detail page.
In the Detail tab, click the
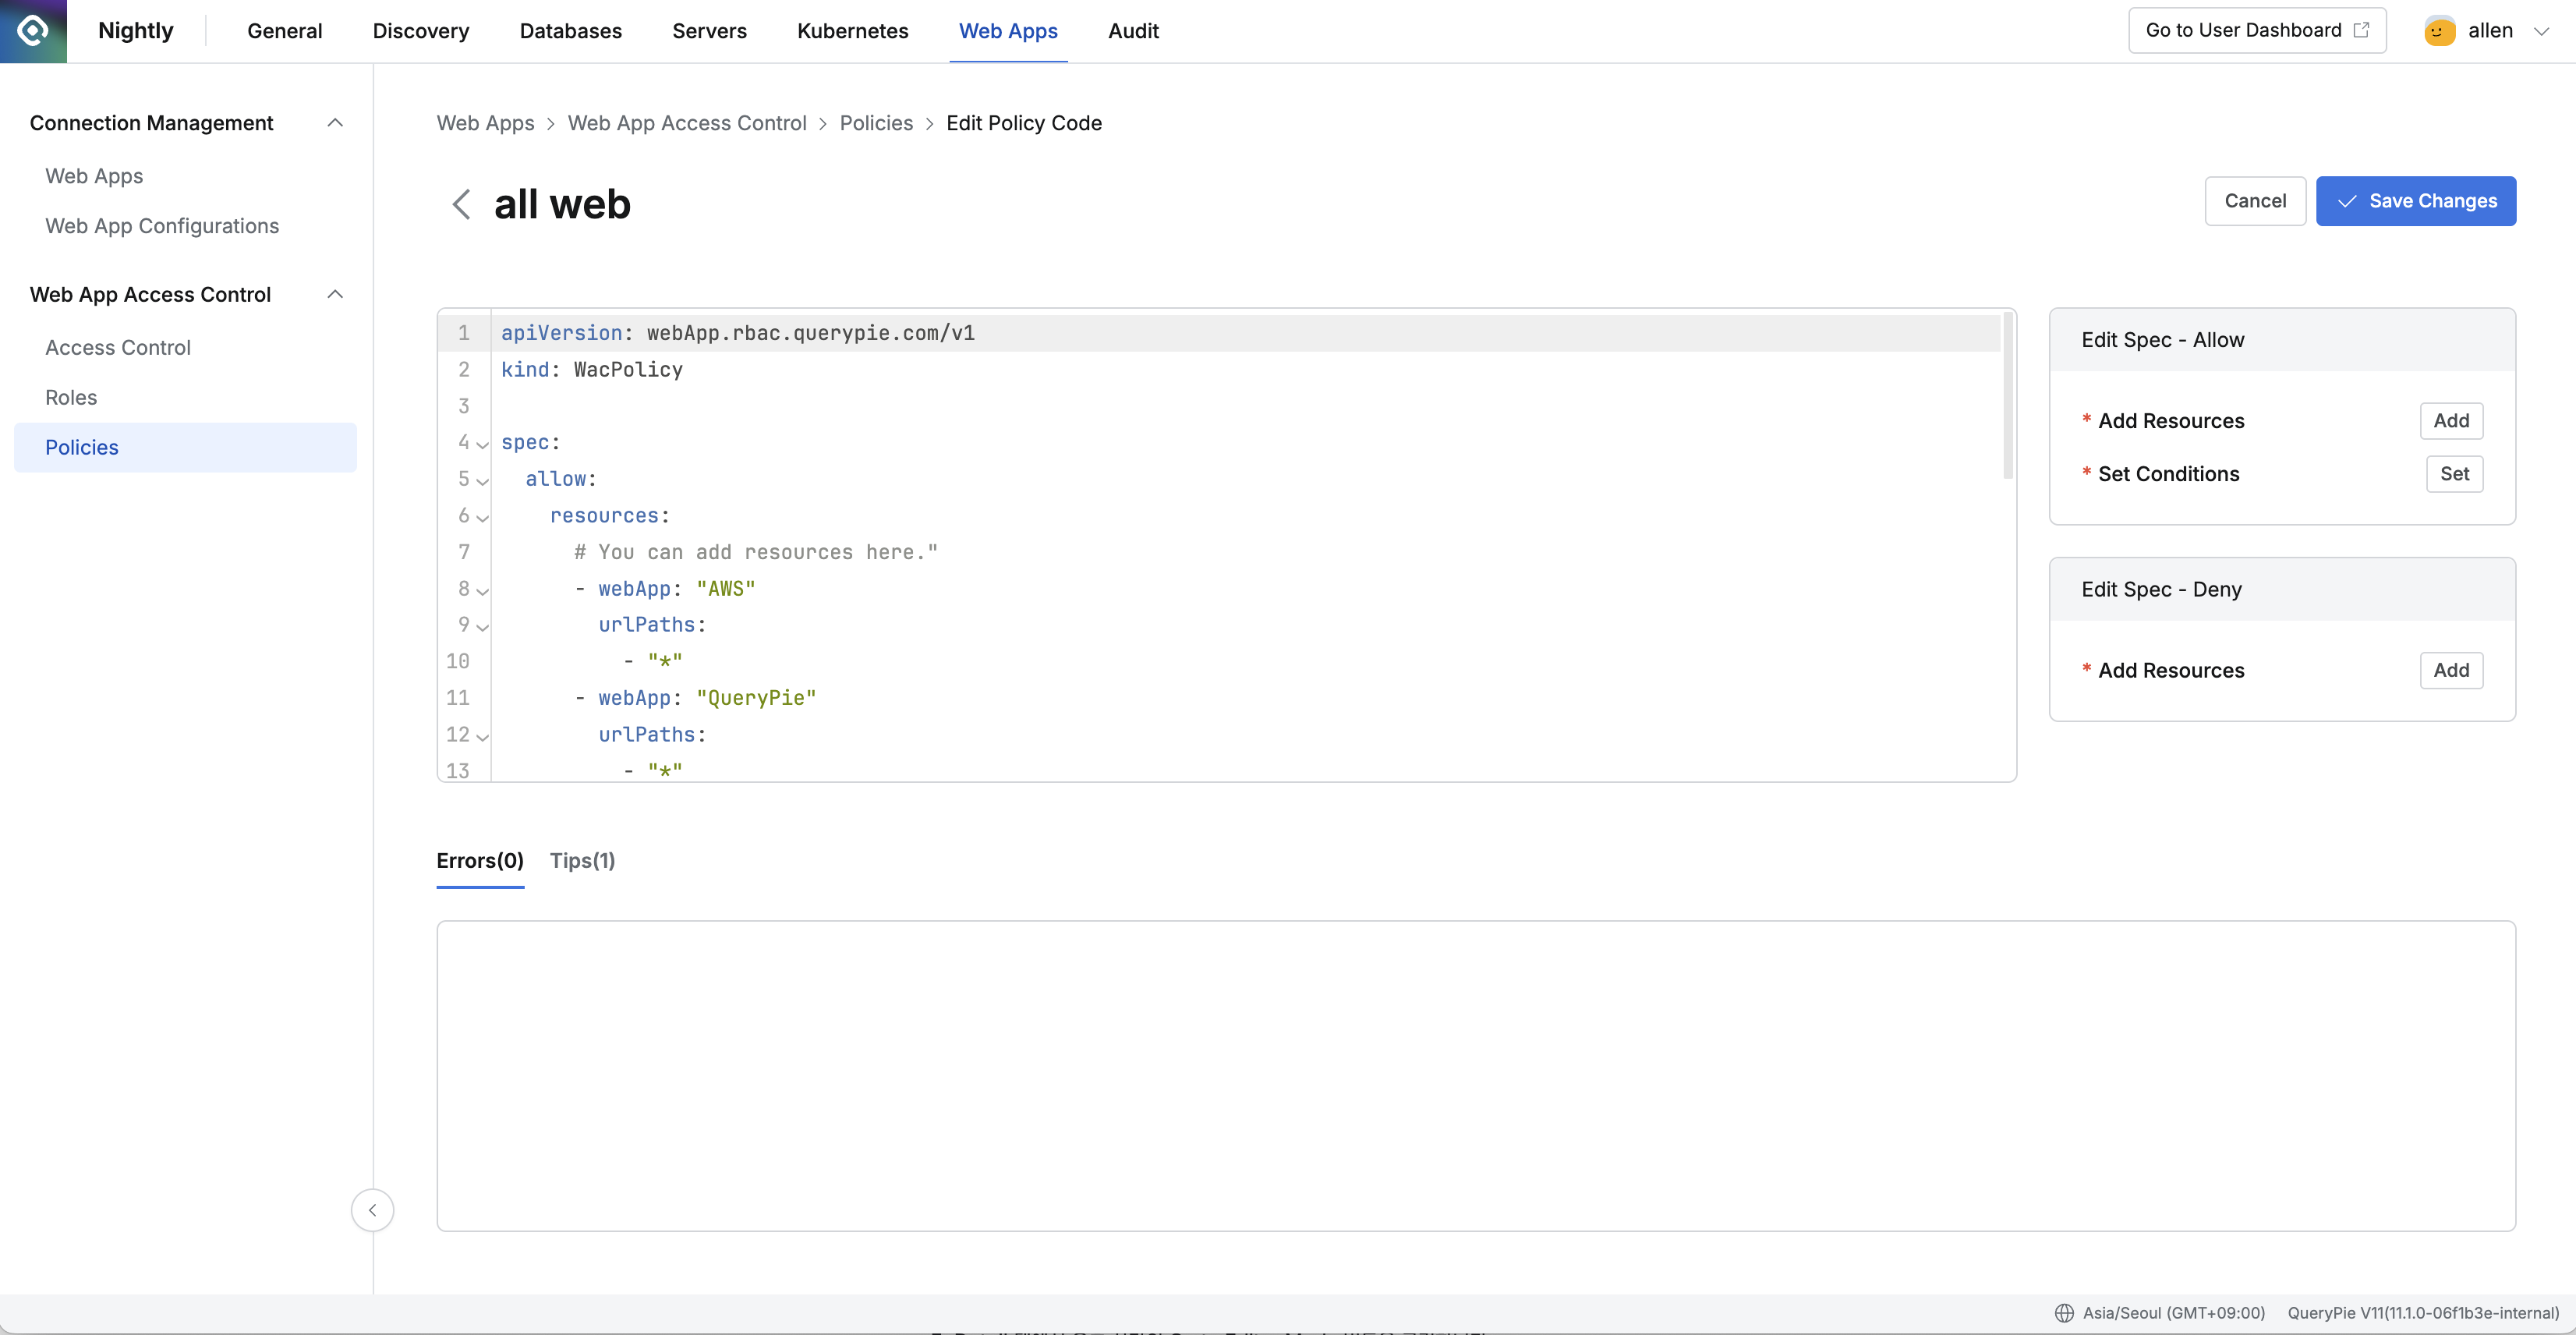
Go to Editor Modebutton in the top right.In the Code Editor, you can:
Edit the policy code directly in the left-hand YAML editor.
Use the Edit Spec panel on the right for additional options:
Edit Spec – Allow: Add or edit allow rules.
Add Resources: Add resources to the allow list.
Set Conditions: Define specific conditions.
Edit Spec – Deny: Add or edit deny rules.
Add Resources: Add resources to the deny list.
Use the Errors(0) / Tips(1) tab at the bottom to check for code errors and tips.
Click
Save Changesto save your edits orCancelto discard them.
%201.png)