Unmasking Zones
Overview
To query data that has been masked by masking policies in an unmasked state, you must either request an Unmasking Request through Workflow and receive approval, or be registered as an allowed user in the masking policy. In some environments, even users who have been approved to query in an unmasked state may need to query in an unmasked state only from specific IPs (ranges). To support such environments, the Unmasking Zones feature is provided.
Setting Up Unmasking Zones
To set up Unmasking Zones, you first need Allowed Zones setup.
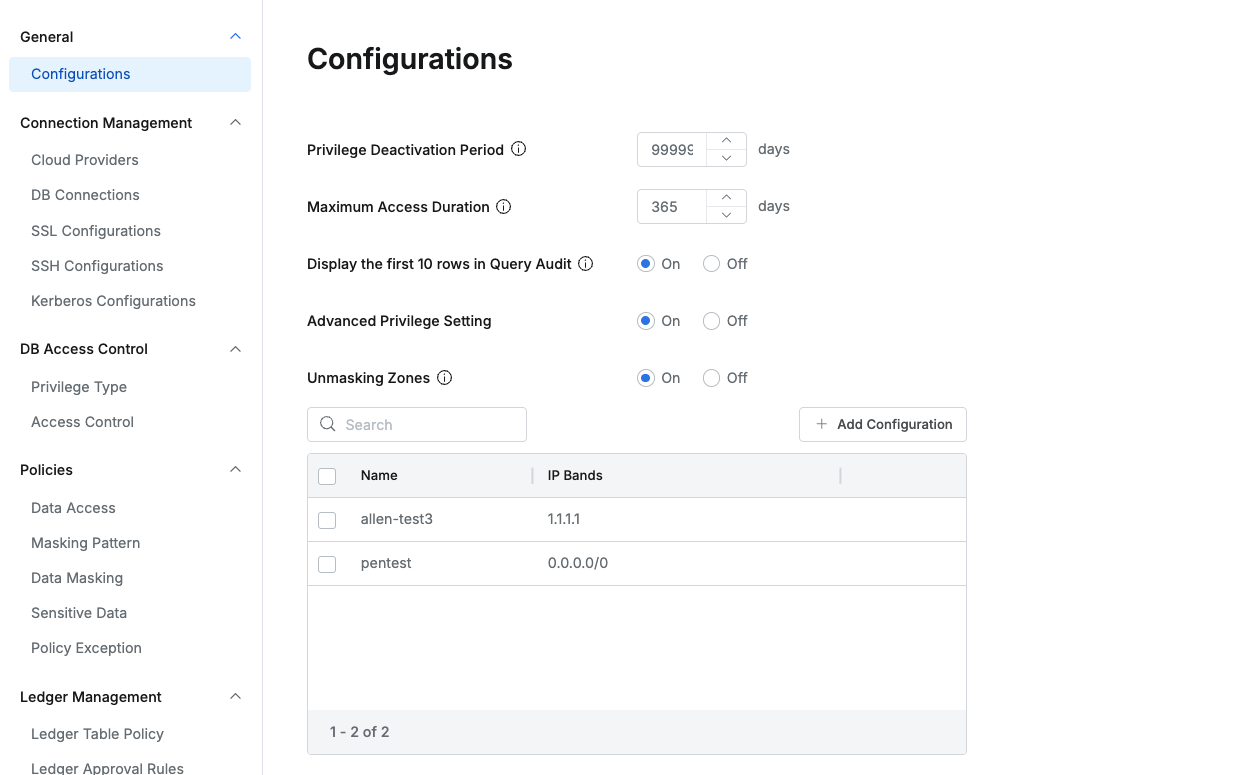
- Navigate to Databases > General > Configurations.
- Change the Unmasking Zones radio button to
Onand click the+ Add Configurationbutton.
- Select the Allowed Zone name you want to add to Unmasking Zones.
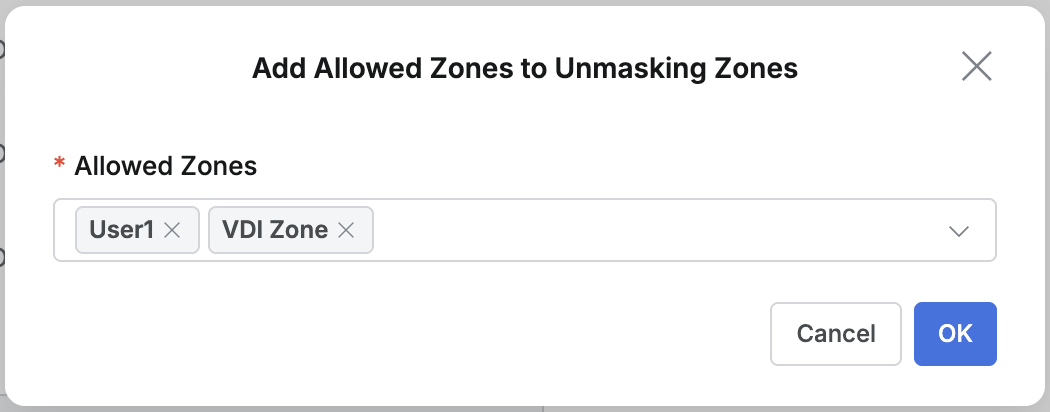
Add Allowed Zone
- Click the
Save Changesbutton to save the changes.
Modifying IPs (Ranges) Registered in Unmasking Zones
Since Unmasking zones settings use Allowed Zones values, to add or change IPs (ranges), you must modify the IPs (ranges) specified in the corresponding Allowed Zone in Allowed Zones. When modified, it is also reflected in Unmasking Zones settings. (Refer to Allowed Zones setup)
Disabling Unmasking Zones Settings
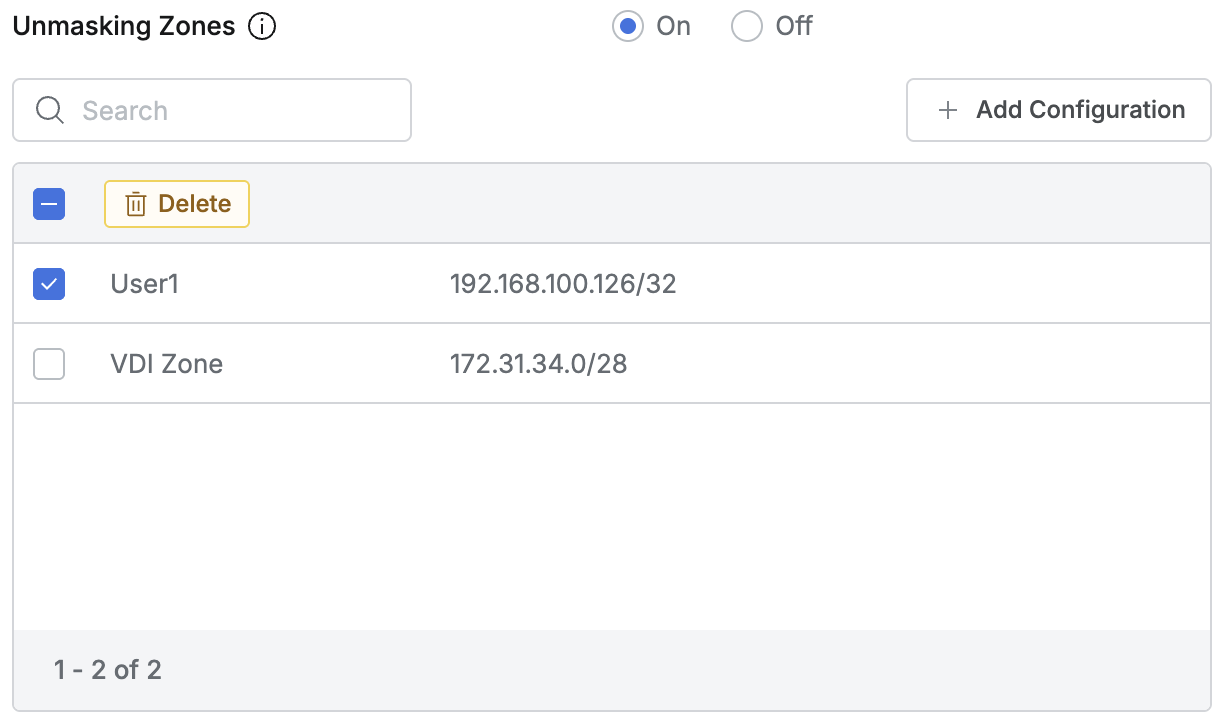
- Select the specific Allowed zone you want to remove from the Unmasking zones list and click the
Deletebutton.
- Click the
Save Changesbutton to save the changes.
Allowed zones assigned to Unmasking Zones cannot be deleted from Allowed Zones.
You must first disable the corresponding Allowed zone in Unmasking Zones.
You can switch to Off while Allowed Zone is registered in Unmasking Zone.
When switching to On, you can use the previous settings as they are.
However, if you switch to Off immediately after adding/removing Allowed Zone in Unmasking Zones, the changes are not reflected, so you must click the Save Changes button to save, then switch to Off and click the Save Changes button again to save the status.
Starting from 11.4.0, Unmasking Zones will be applied even when the New DAC Policy Management feature is enabled in Admin > Databases > General > Configurations.