Groups
Overview
QueryPie provides a group feature that allows users to be grouped and managed in bulk. Groups can be used as units for DB access permissions, Workflow approval/reviewer roles, and server or Kubernetes role assignments. The Groups page allows you to view and manage the list of user groups registered in QueryPie.
Viewing Group List
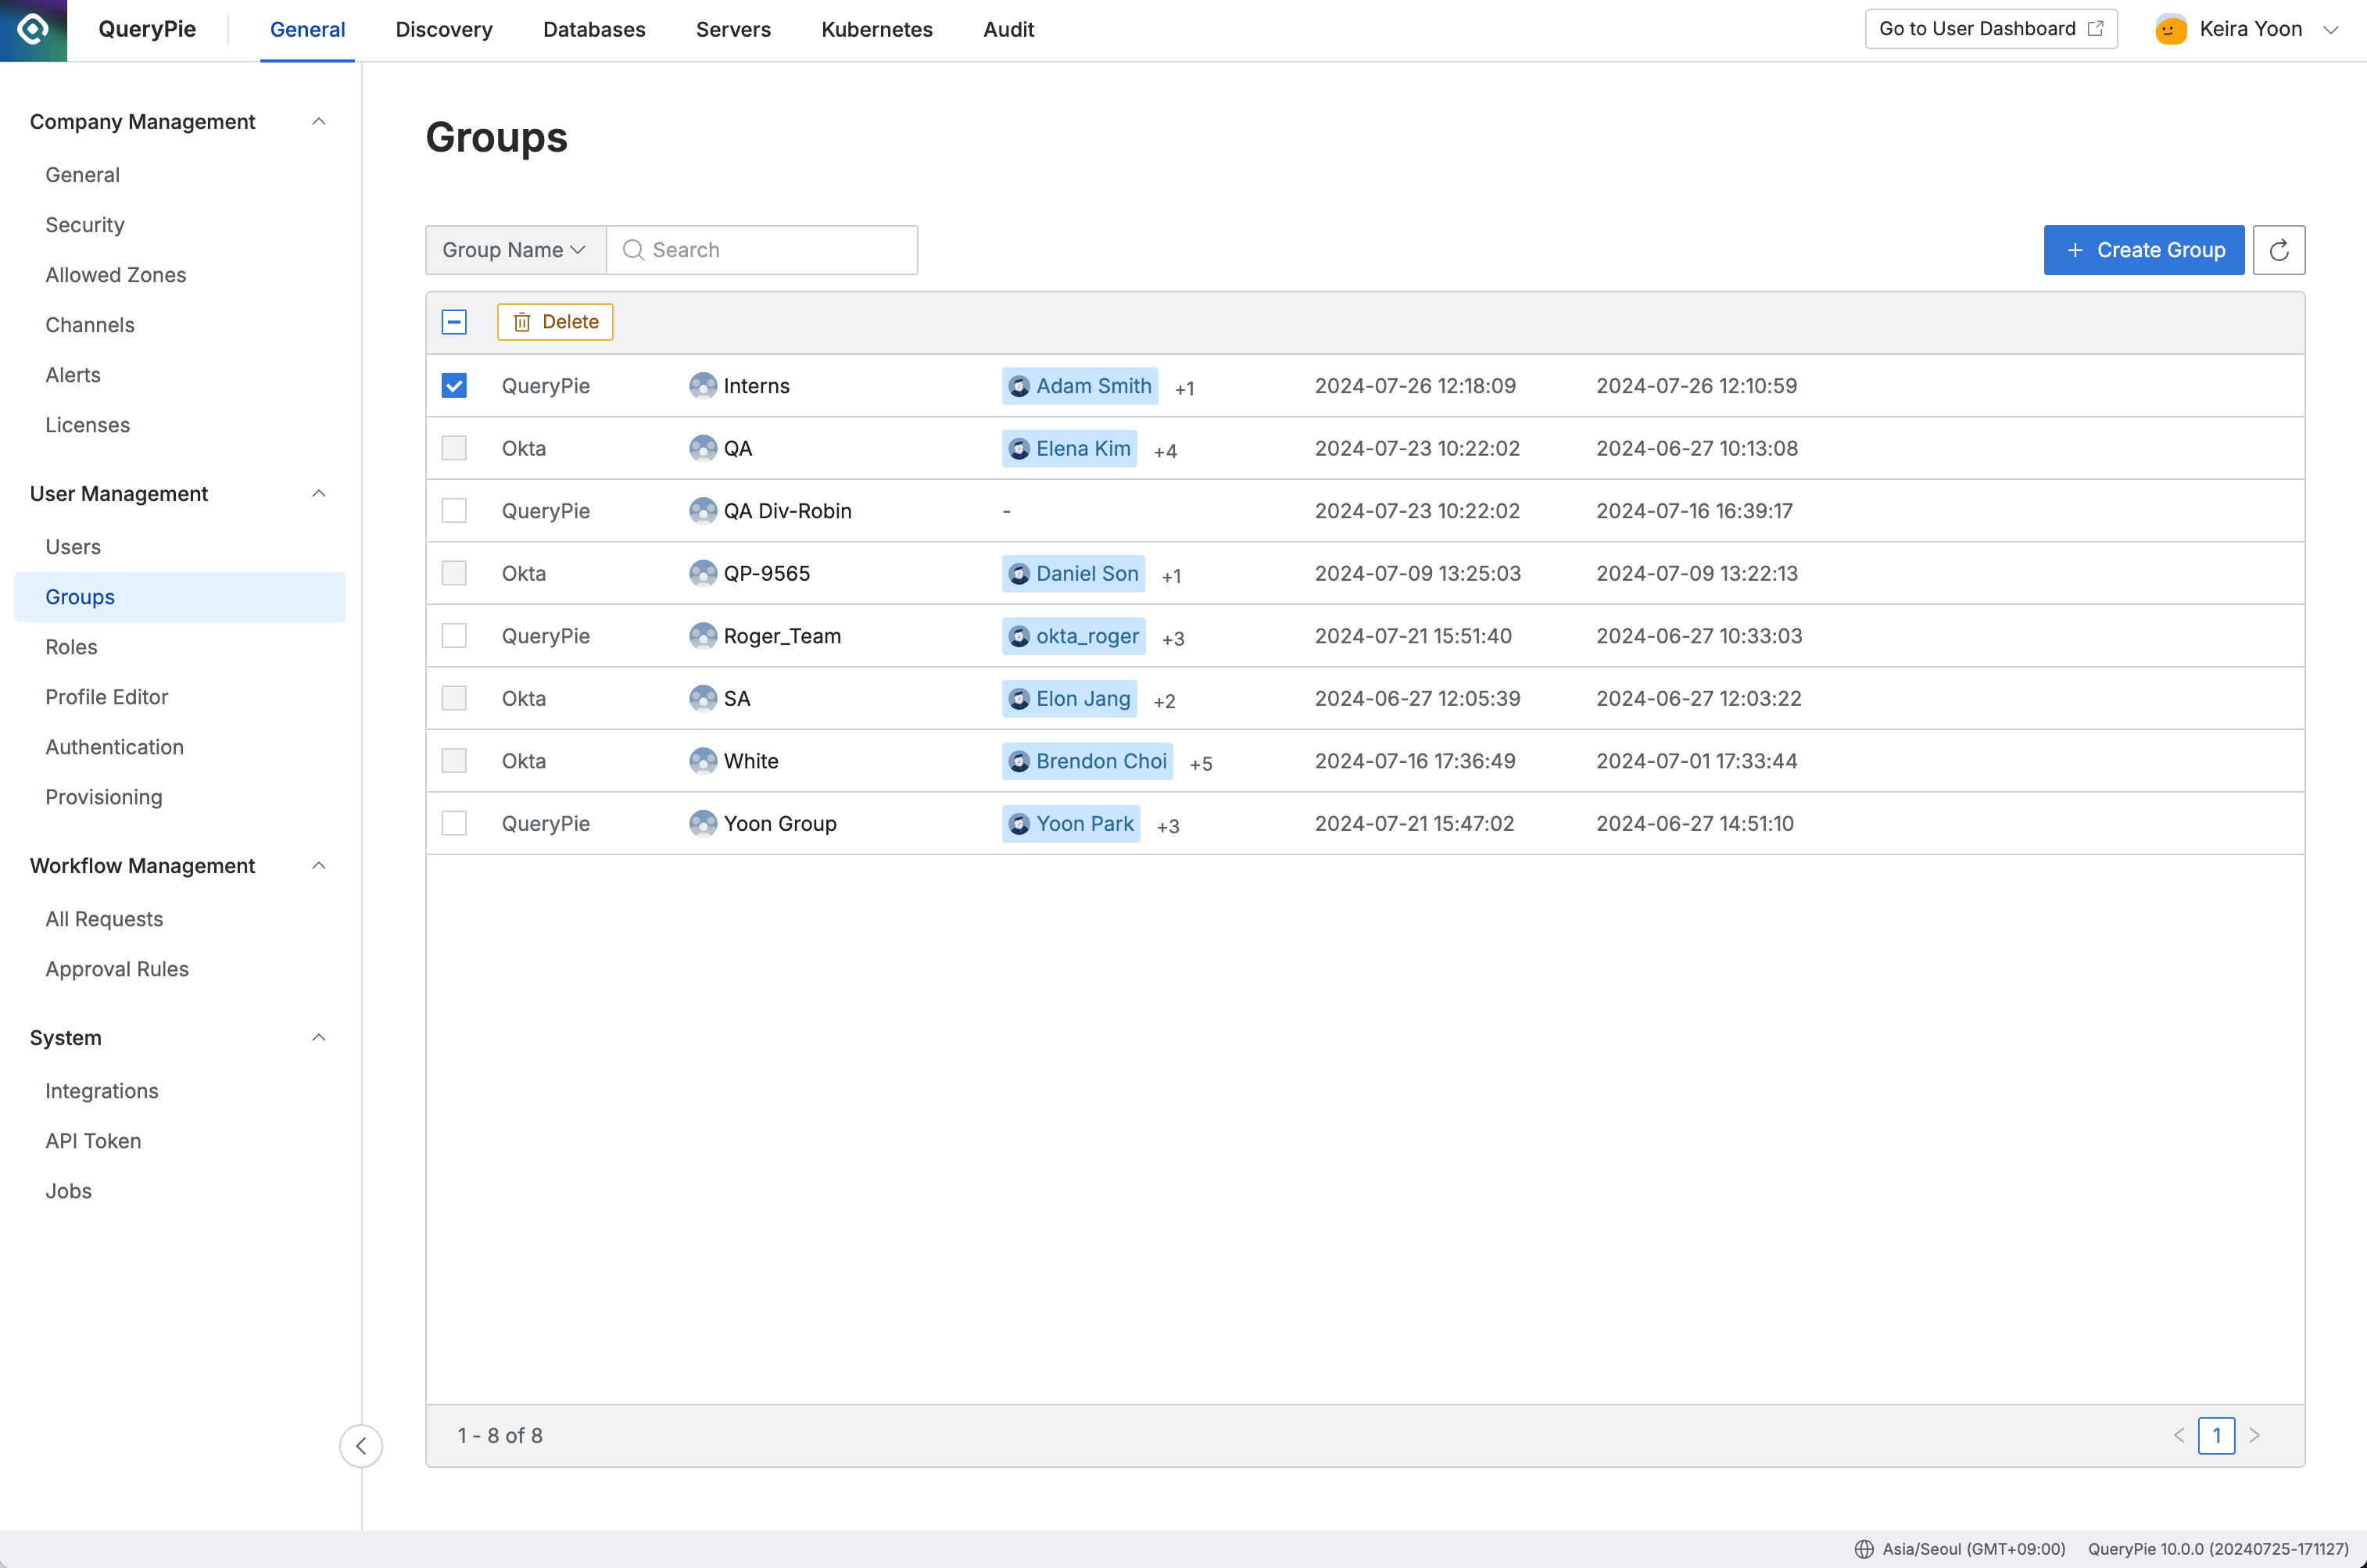
When you enter the Administrator > General > User Management > Groups page, you can view the group list. You can search by group name. The viewable information is as follows:
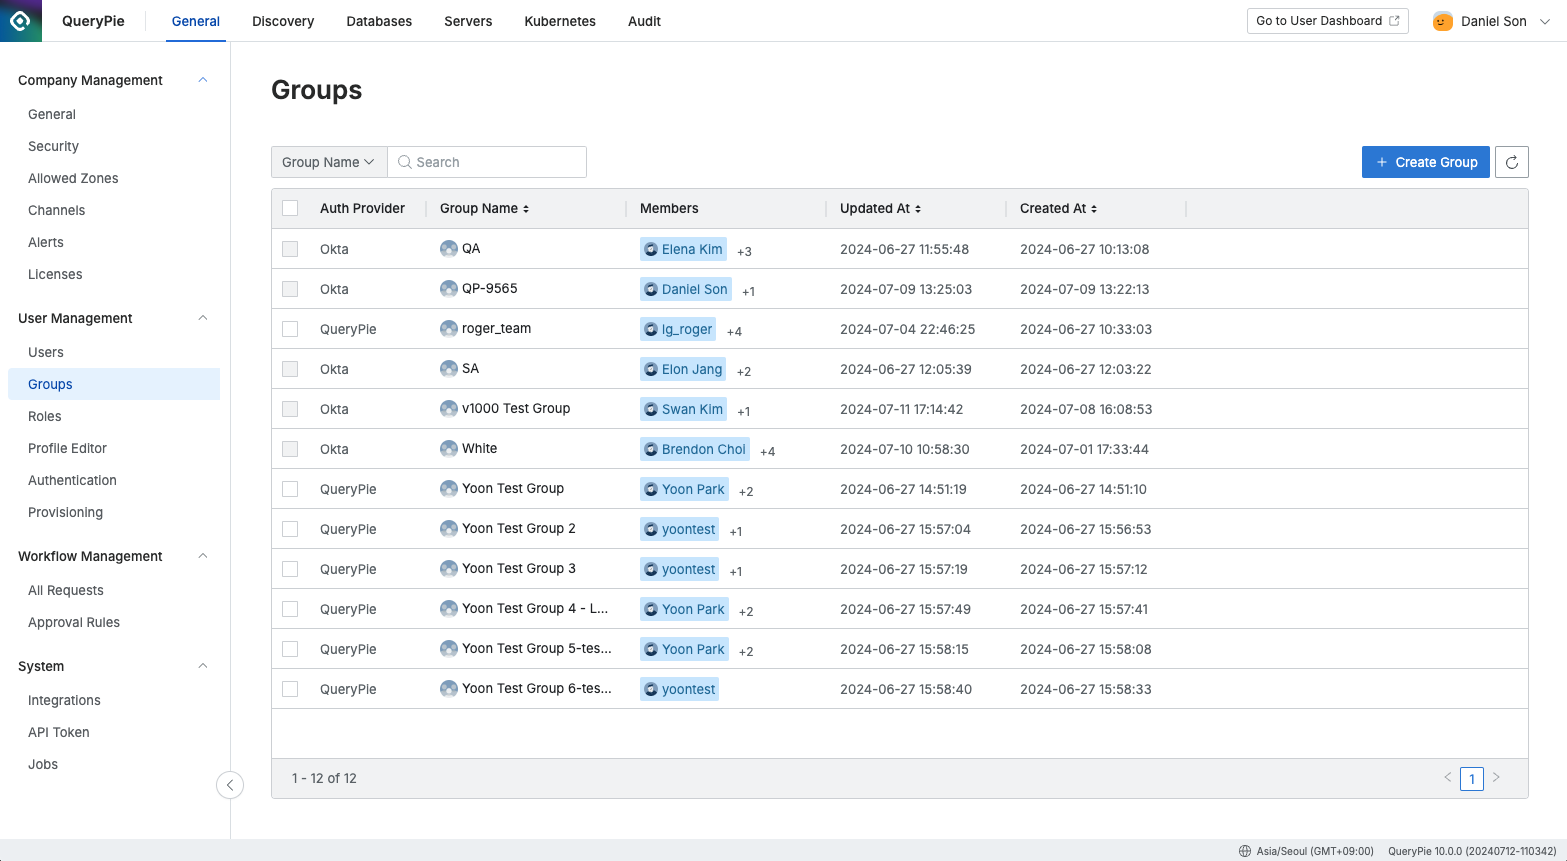
Administrator > General > User Management > Groups
- Auth Provider: User authentication provider
- Displays the IdP Type set in QueryPie or User Management > Authentication.
- For manually registered groups, it displays as QueryPie.
- For groups integrated from IdP, it displays as the respective ID Provider name.
- Group Name: Group name
- Members: List of users belonging to the group
- Updated At: Date and time when group information was last changed
- Created At: Group creation date and time
Manually Adding Groups
Click the Create Group button in the top right of the Groups page to display a modal. Enter the desired name and click the Save button to complete group creation.
User addition or deletion is only possible for manually added groups.
For groups synchronized from IdP, only viewing is supported, and user list and group management must be performed in the IdP.
Adding Users to Groups
Click on the group you want to add users to in the list to open a Drawer where you can view detailed information.
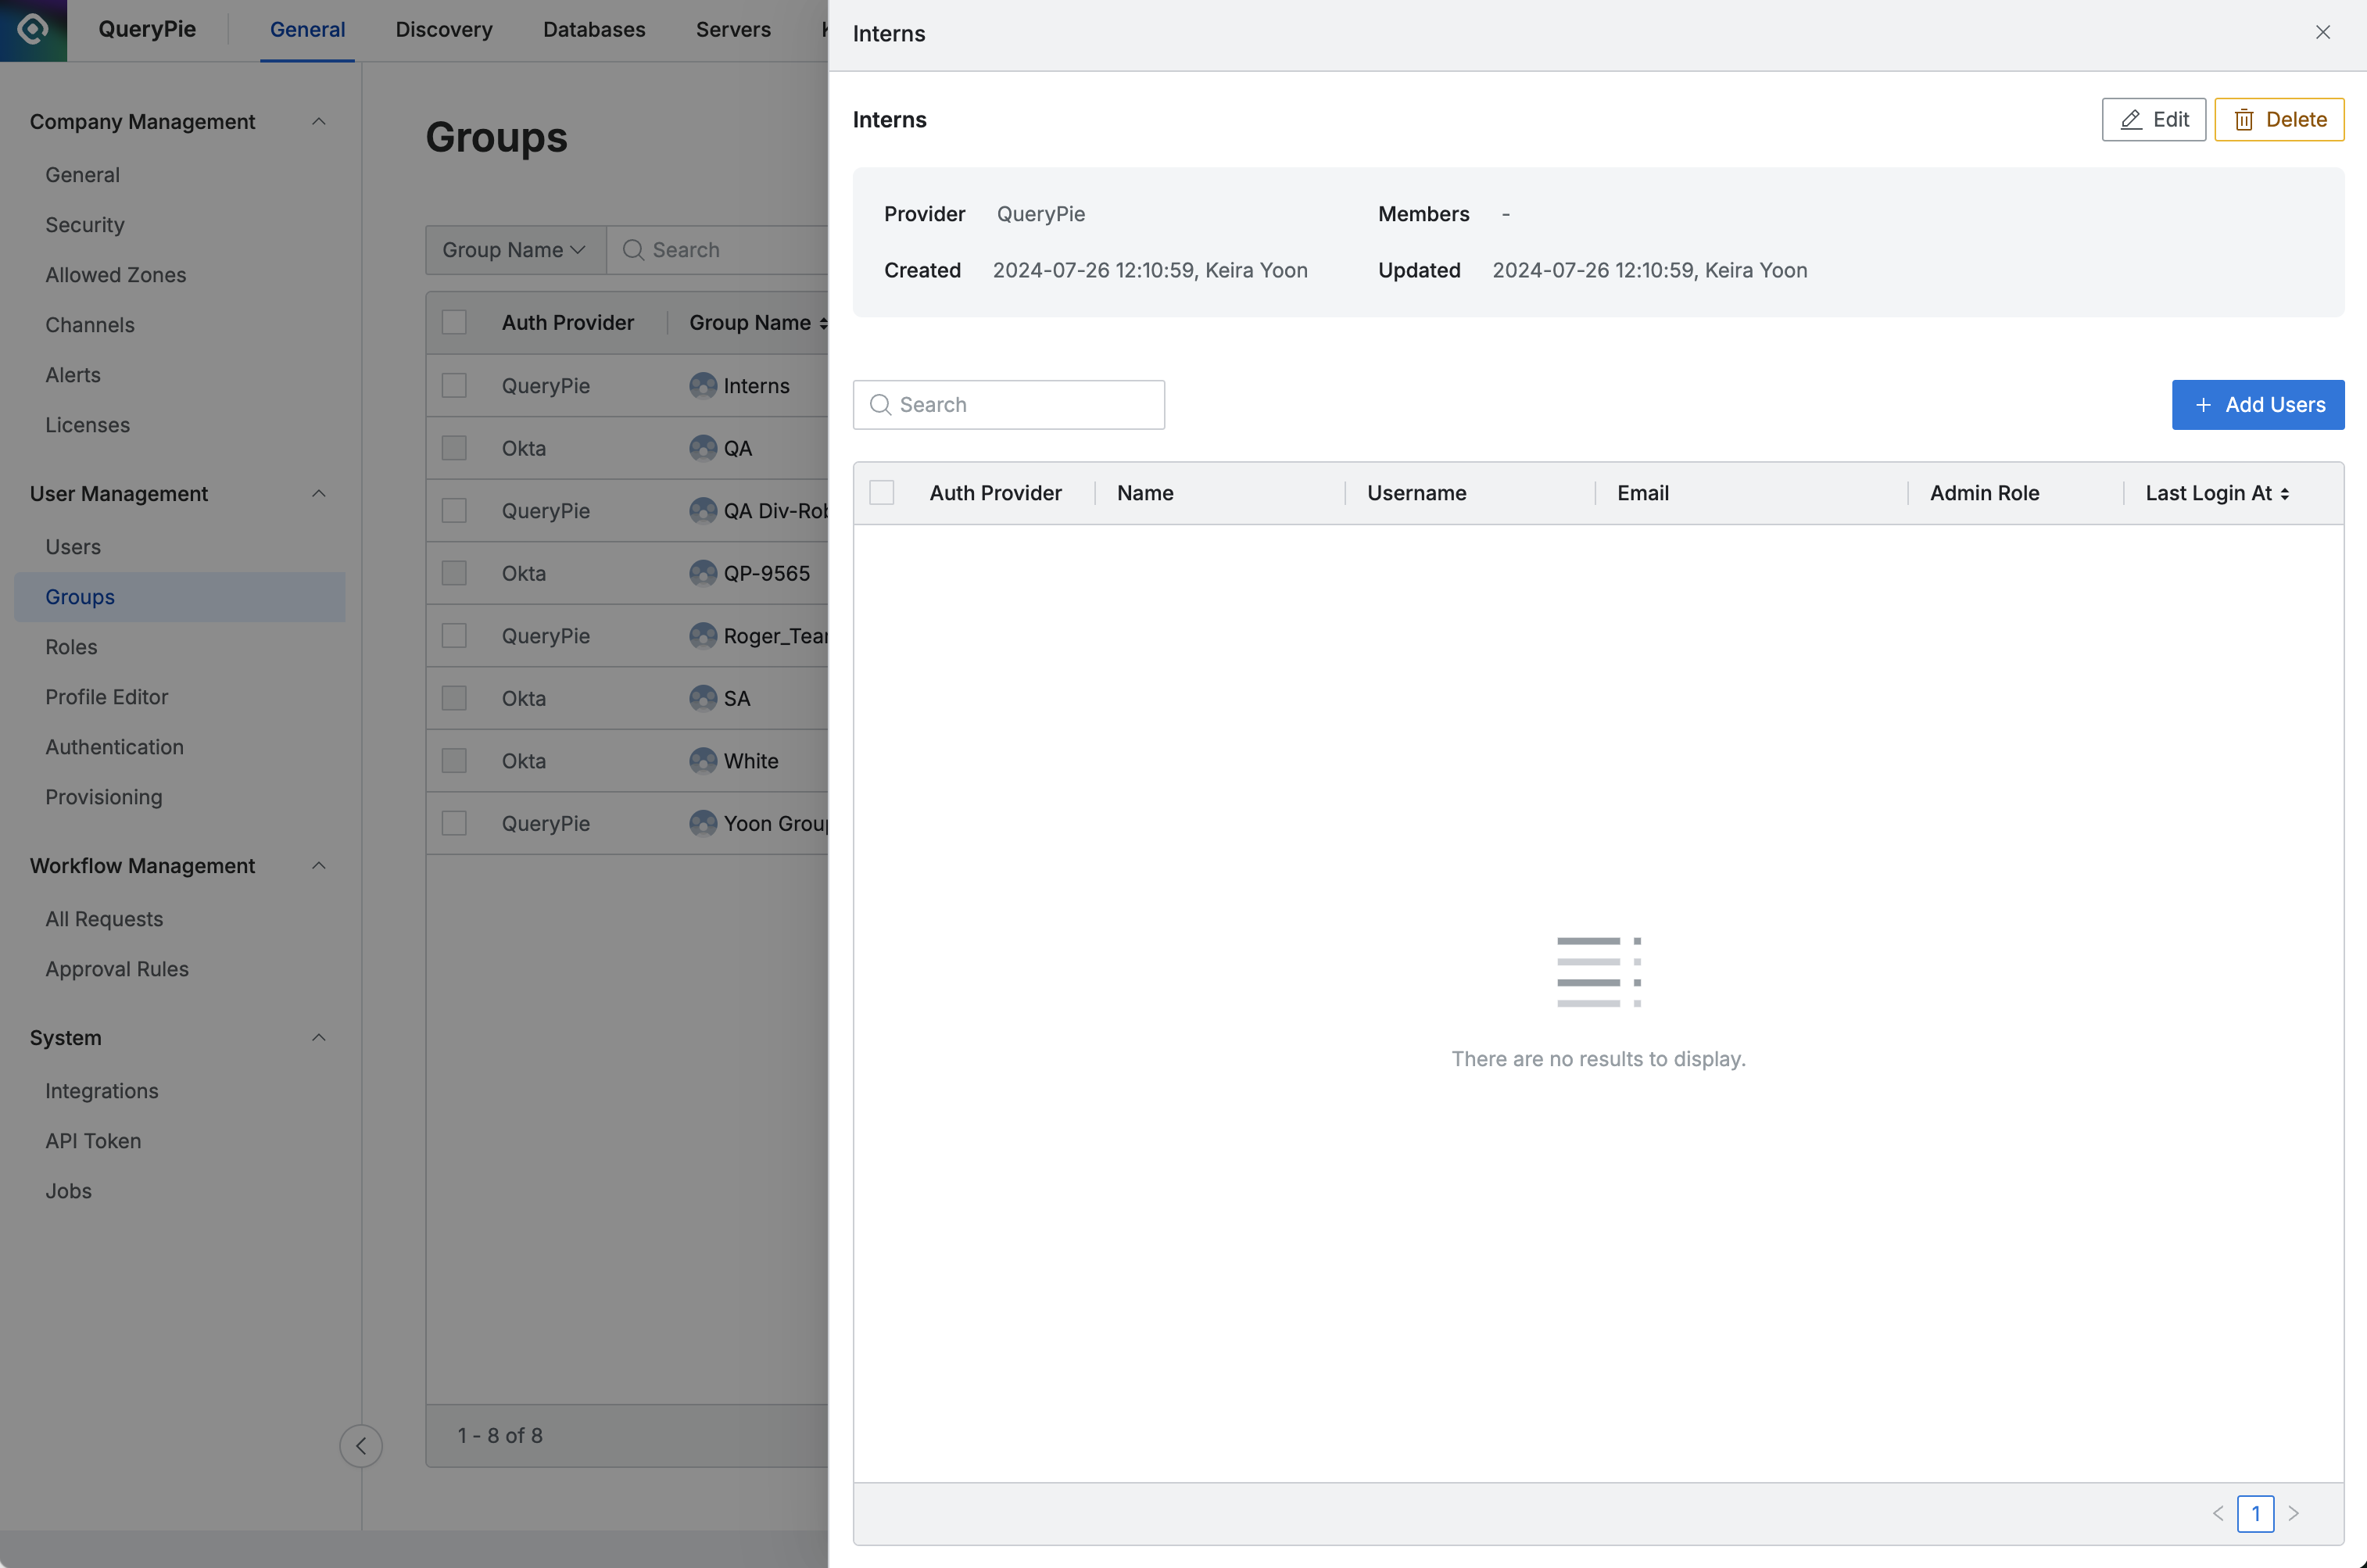
Administrator > General > User Management > Groups > Details
- Click the
+ Add Usersbutton to display the user addition popup.- You can search for users by name or email.
- From 11.2.0, inactive users synchronized through LDAP are also included in search results. Inactive users are displayed with
(Inactive)text next to their name. - Click on the user you want to add to change to added status.
- Click the
Check allbutton at the bottom to select all users.
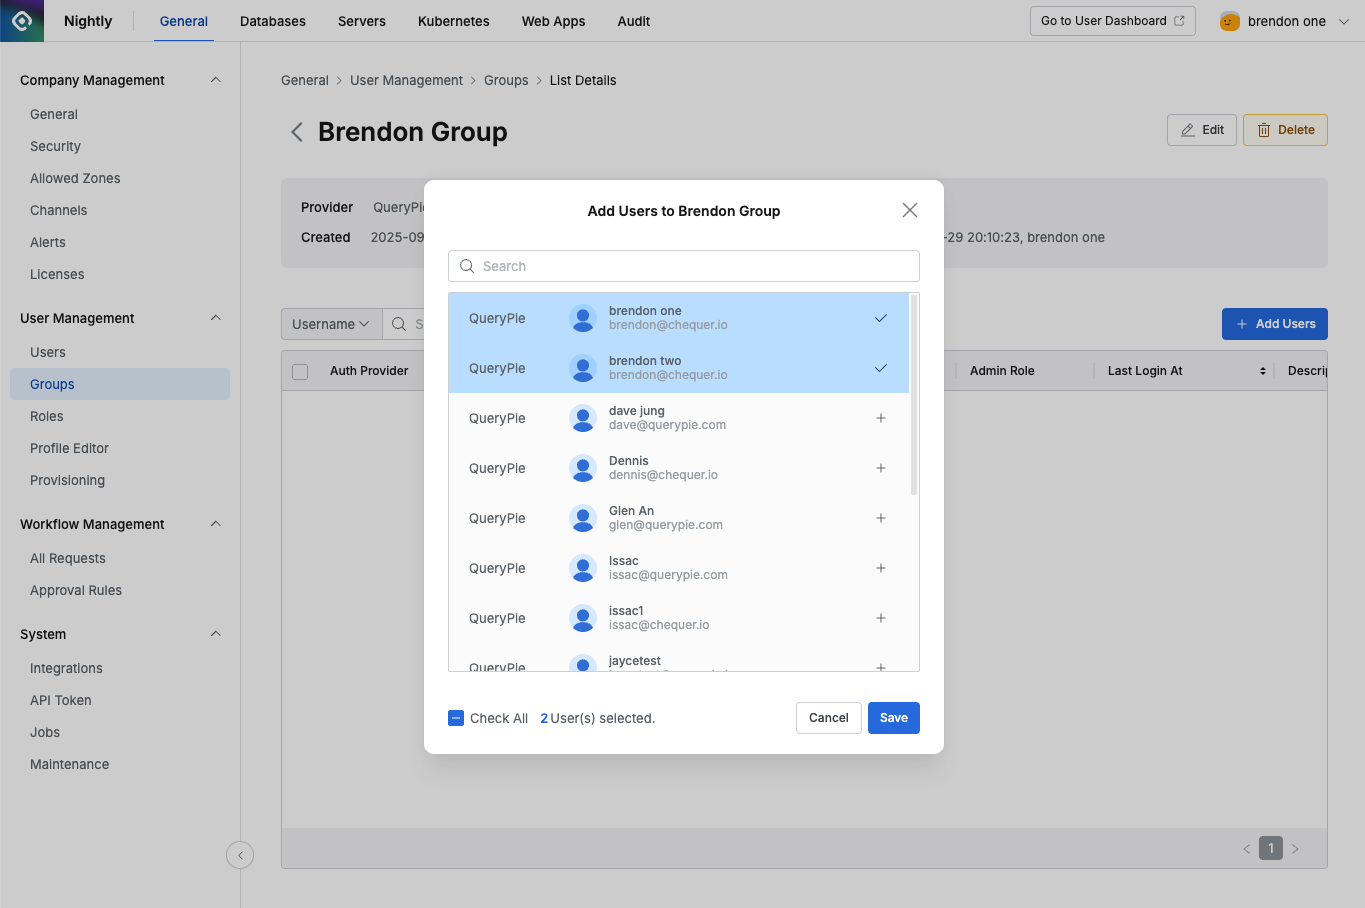
Adding users to group
- Click the
Savebutton to save the group changes. You can verify the added users in the group list and detailed information Drawer.
Q. I want to add a specific user to a group, but they don’t appear in the modal. A. The user addition modal only displays active users. Check in the Users page whether the user’s account status is Inactive.
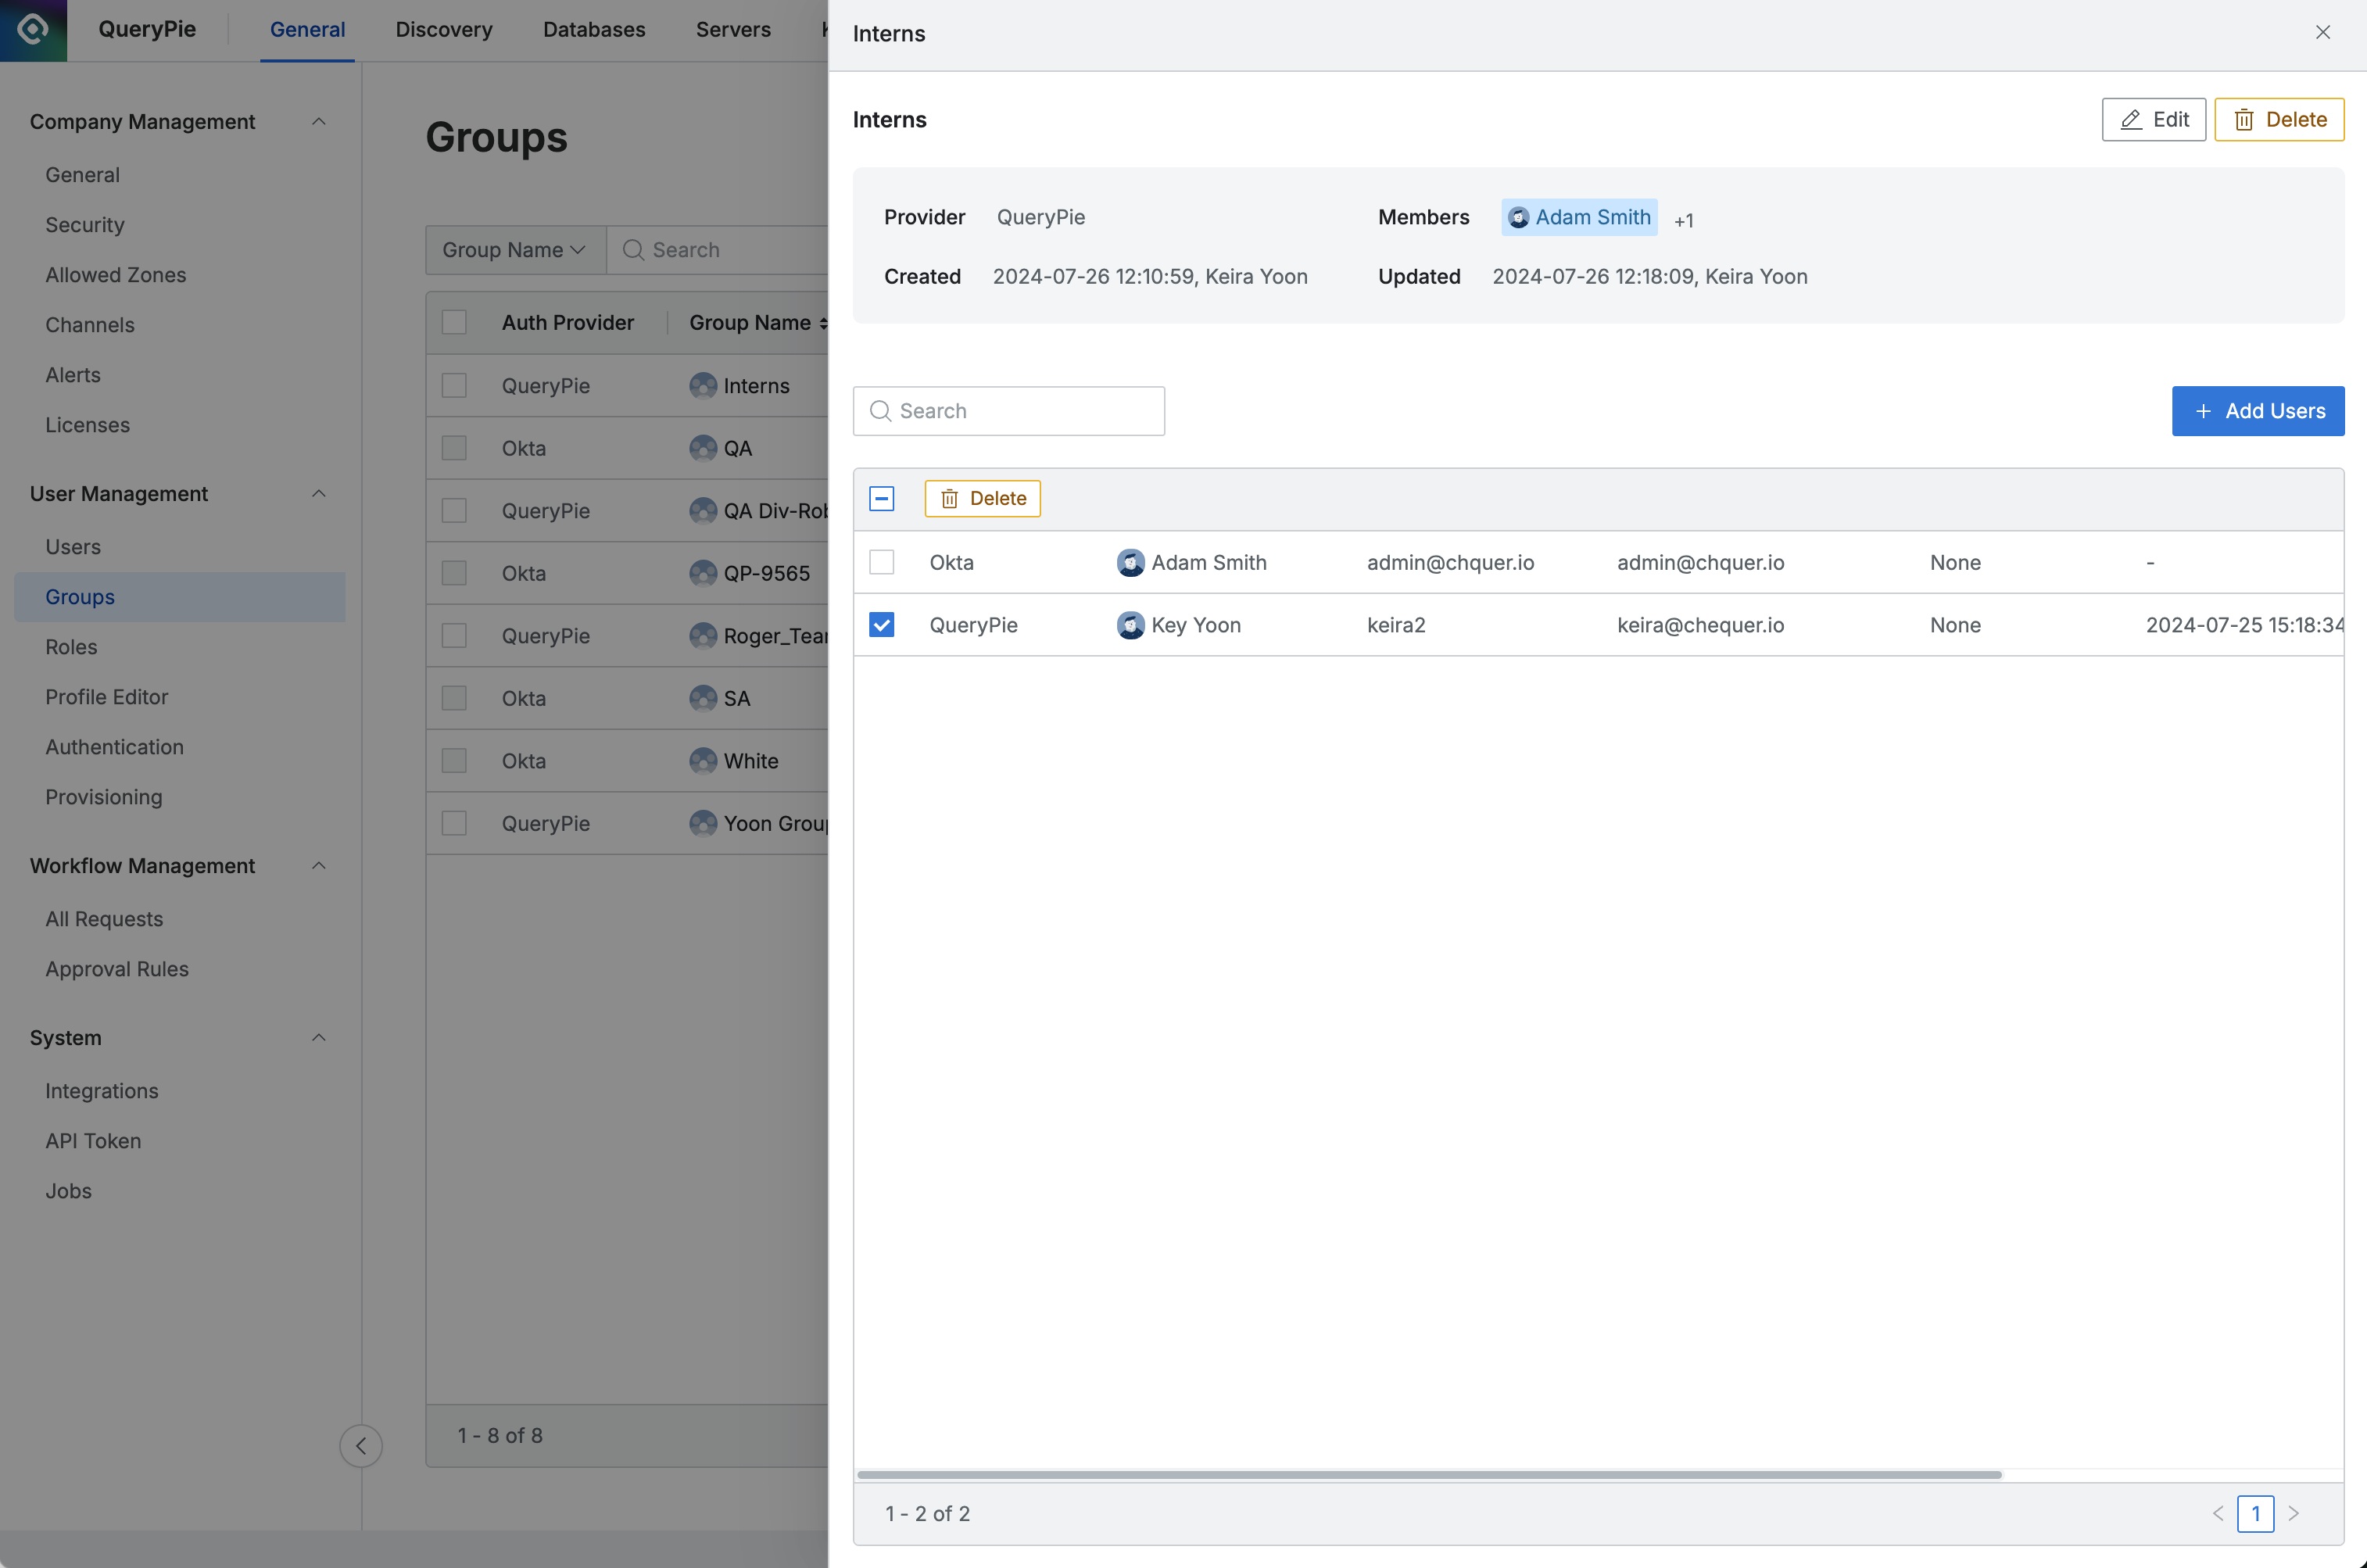
Removing Users from Groups
- In the group details page, select the users you want to remove with checkboxes, then click the
Deletebutton displayed in the table header. - Click the
OKbutton in the user removal confirmation modal. - When user removal is complete, you can verify it in the user list within the Drawer and the Group list.
Administrator > General > User Management > Groups > Details
Changing Group Name
Click the Edit button at the top of the group details Drawer to display the edit modal.
Change the group name and click the Save button to save.
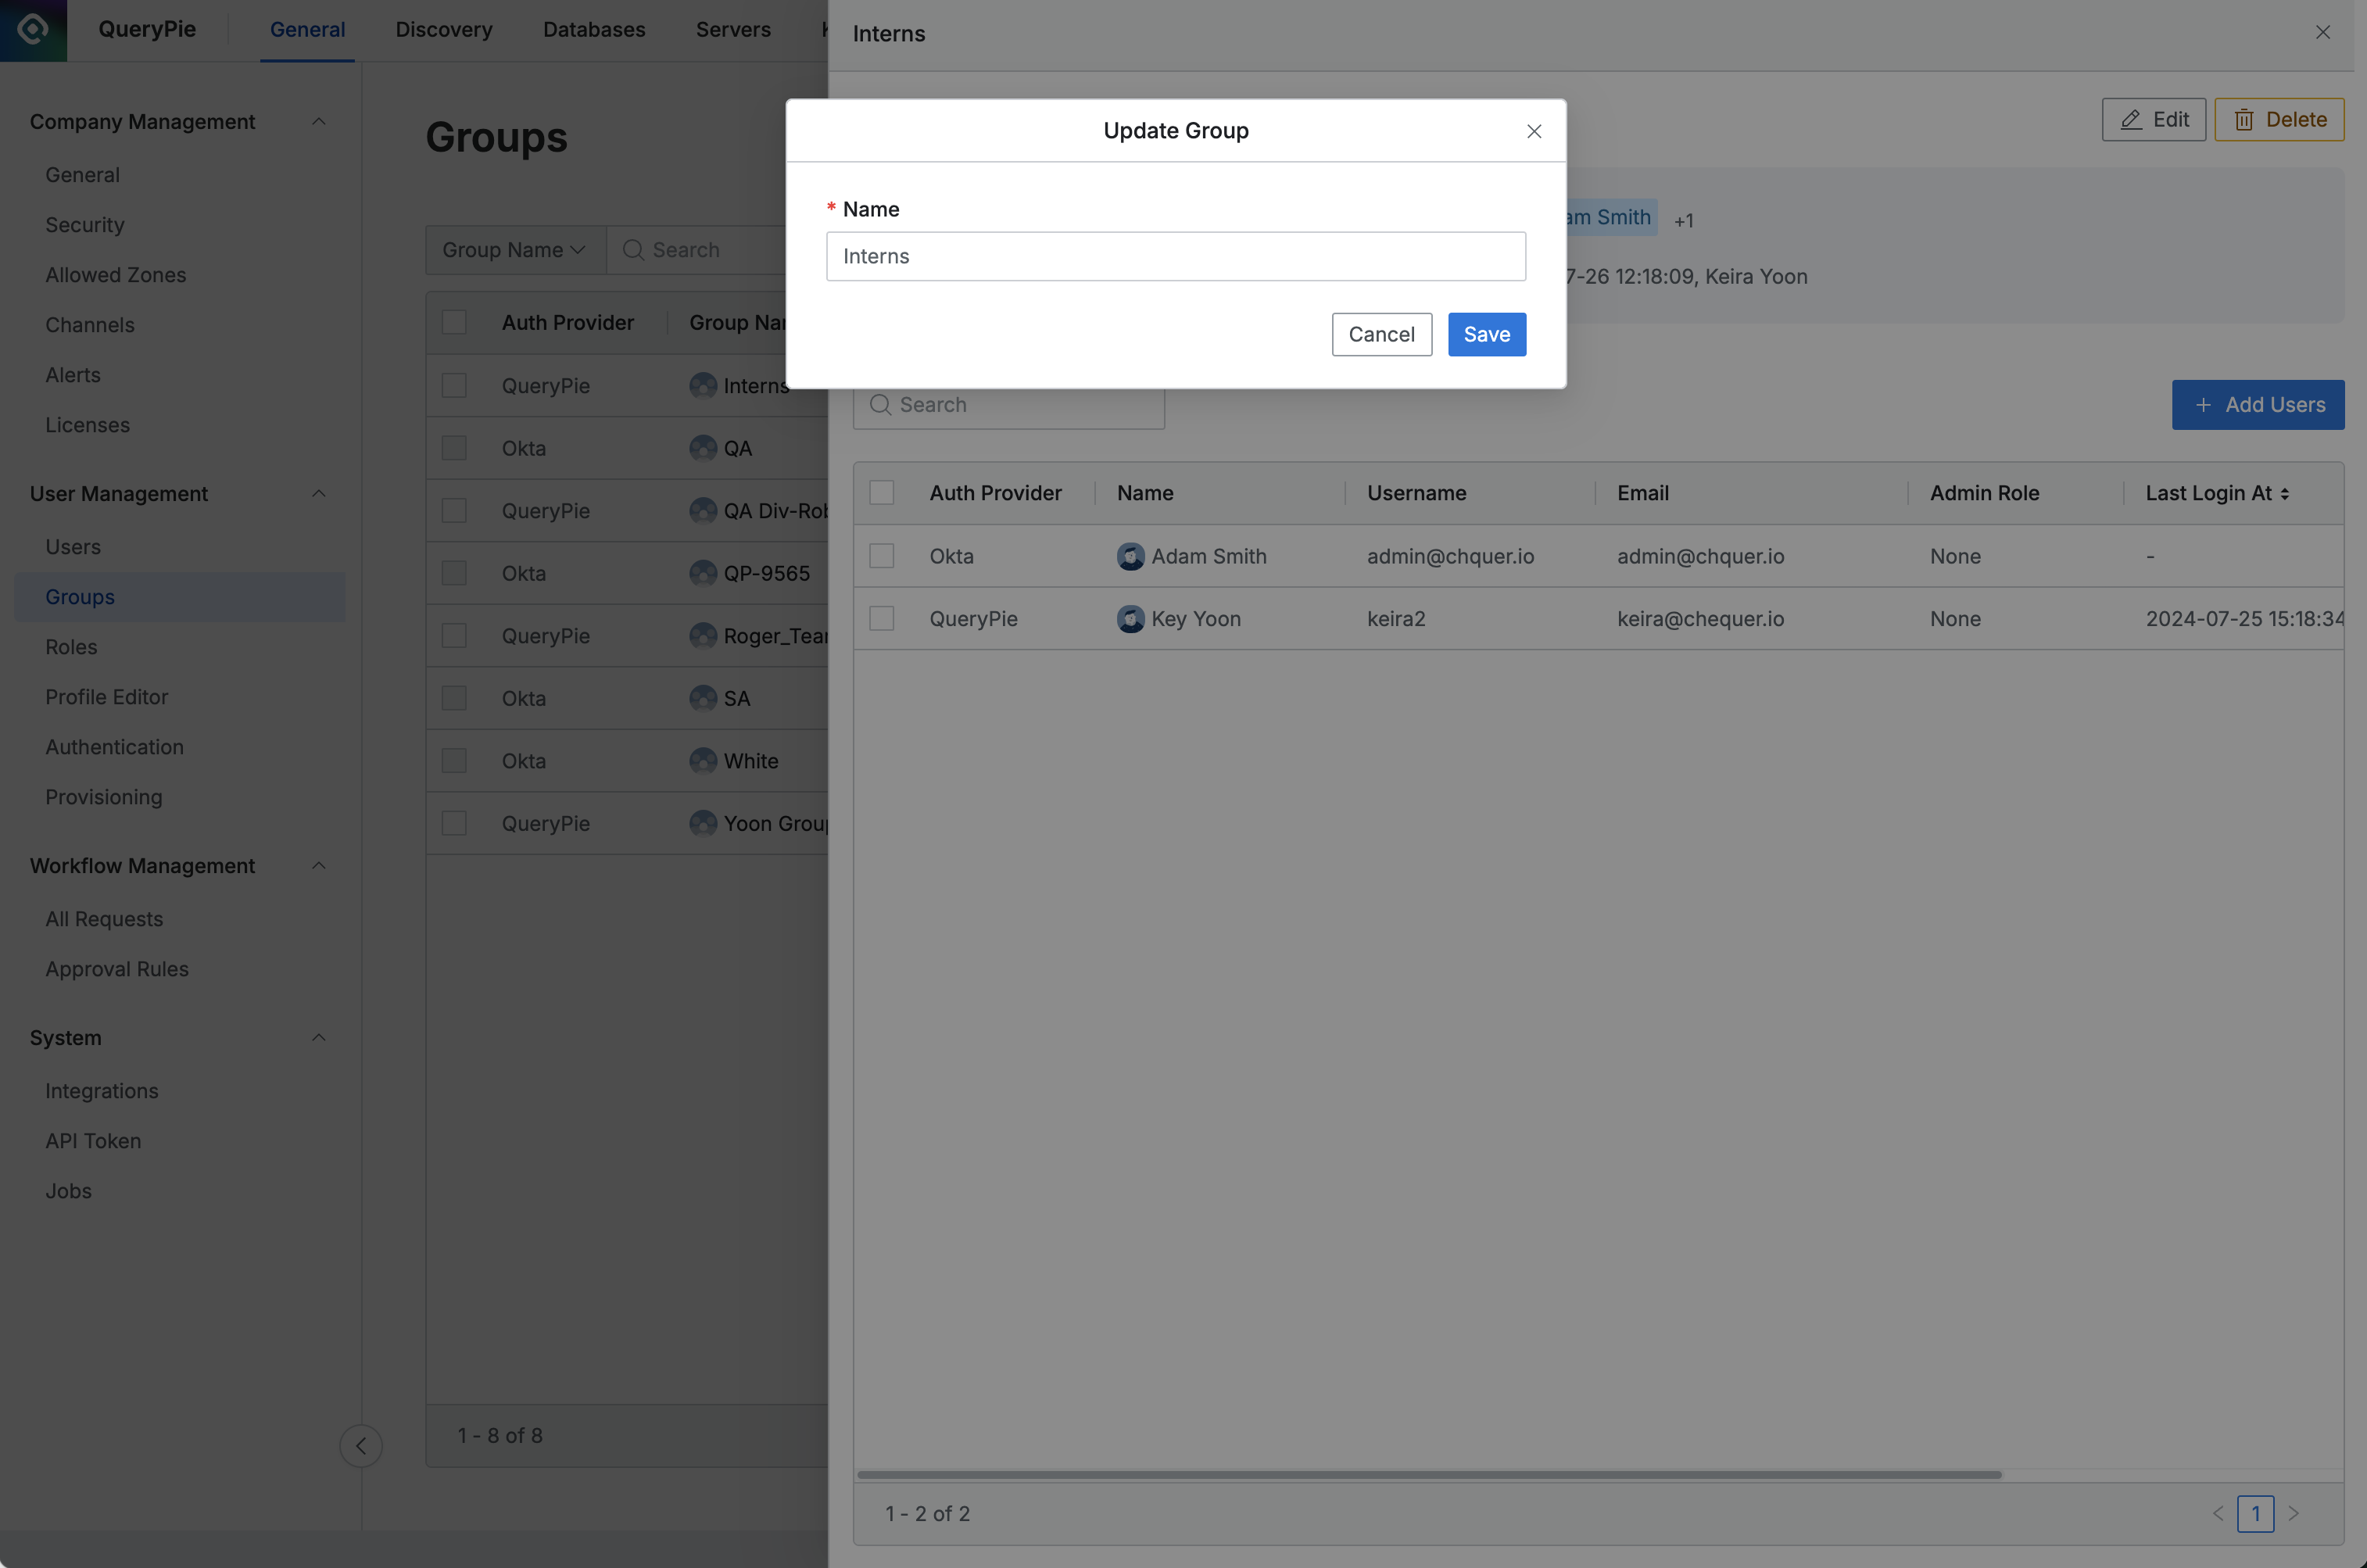
Administrator > General > User Management > Groups > Details > Update Group
Deleting Groups
Select the group you want to delete with a checkbox in the Groups list.
The Delete button appears in the table header.
Click the button and click the OK button in the confirmation modal to complete deletion.
Group name changes and deletion are only possible for groups manually added in QueryPie.
When a group is deleted, users belonging to the group are not deleted, but permissions and roles granted through the group are immediately revoked. Group deletion cannot be undone, so please proceed with caution.