QueryPie ACP Community Edition
🧭 Before You Start
QueryPie Community Edition allows you to experience the core features provided in QueryPie Enterprise.
- Database Access Controller
- System Access Controller
- Kubernetes Access Controller
- MCP (Model Context Protocol) Access Controller
However, Community Edition supports up to 5 active users. (If you need to register more than 5 users, please consider upgrading to Standard Edition or Enterprise Edition .)
QueryPie runs as a general web application and also includes proxy-based network server functionality.
🖥️ Recommended Server Specifications
For smooth installation and operation of QueryPie Community Edition, we recommend the following system environment.
Type | Specifications |
|---|---|
Basic Specifications |
|
Trial Use |
|
Recommended Specifications for Production Environments with Multiple Users |
|
OS | Linux with Docker or Podman |
ARM64 Architecture CPU environments or macOS environments are recommended for trial use and testing purposes for developers.
For detailed requirements, please refer to the following document: Prerequisites
🐳 Installation Method
1. Execute Command in Terminal
After connecting to the Linux server’s terminal, execute the following command from the home directory:
bash <(curl -s https://dl.querypie.com/setup.v2.sh)⏱️ Installation usually takes about 7~10 minutes.
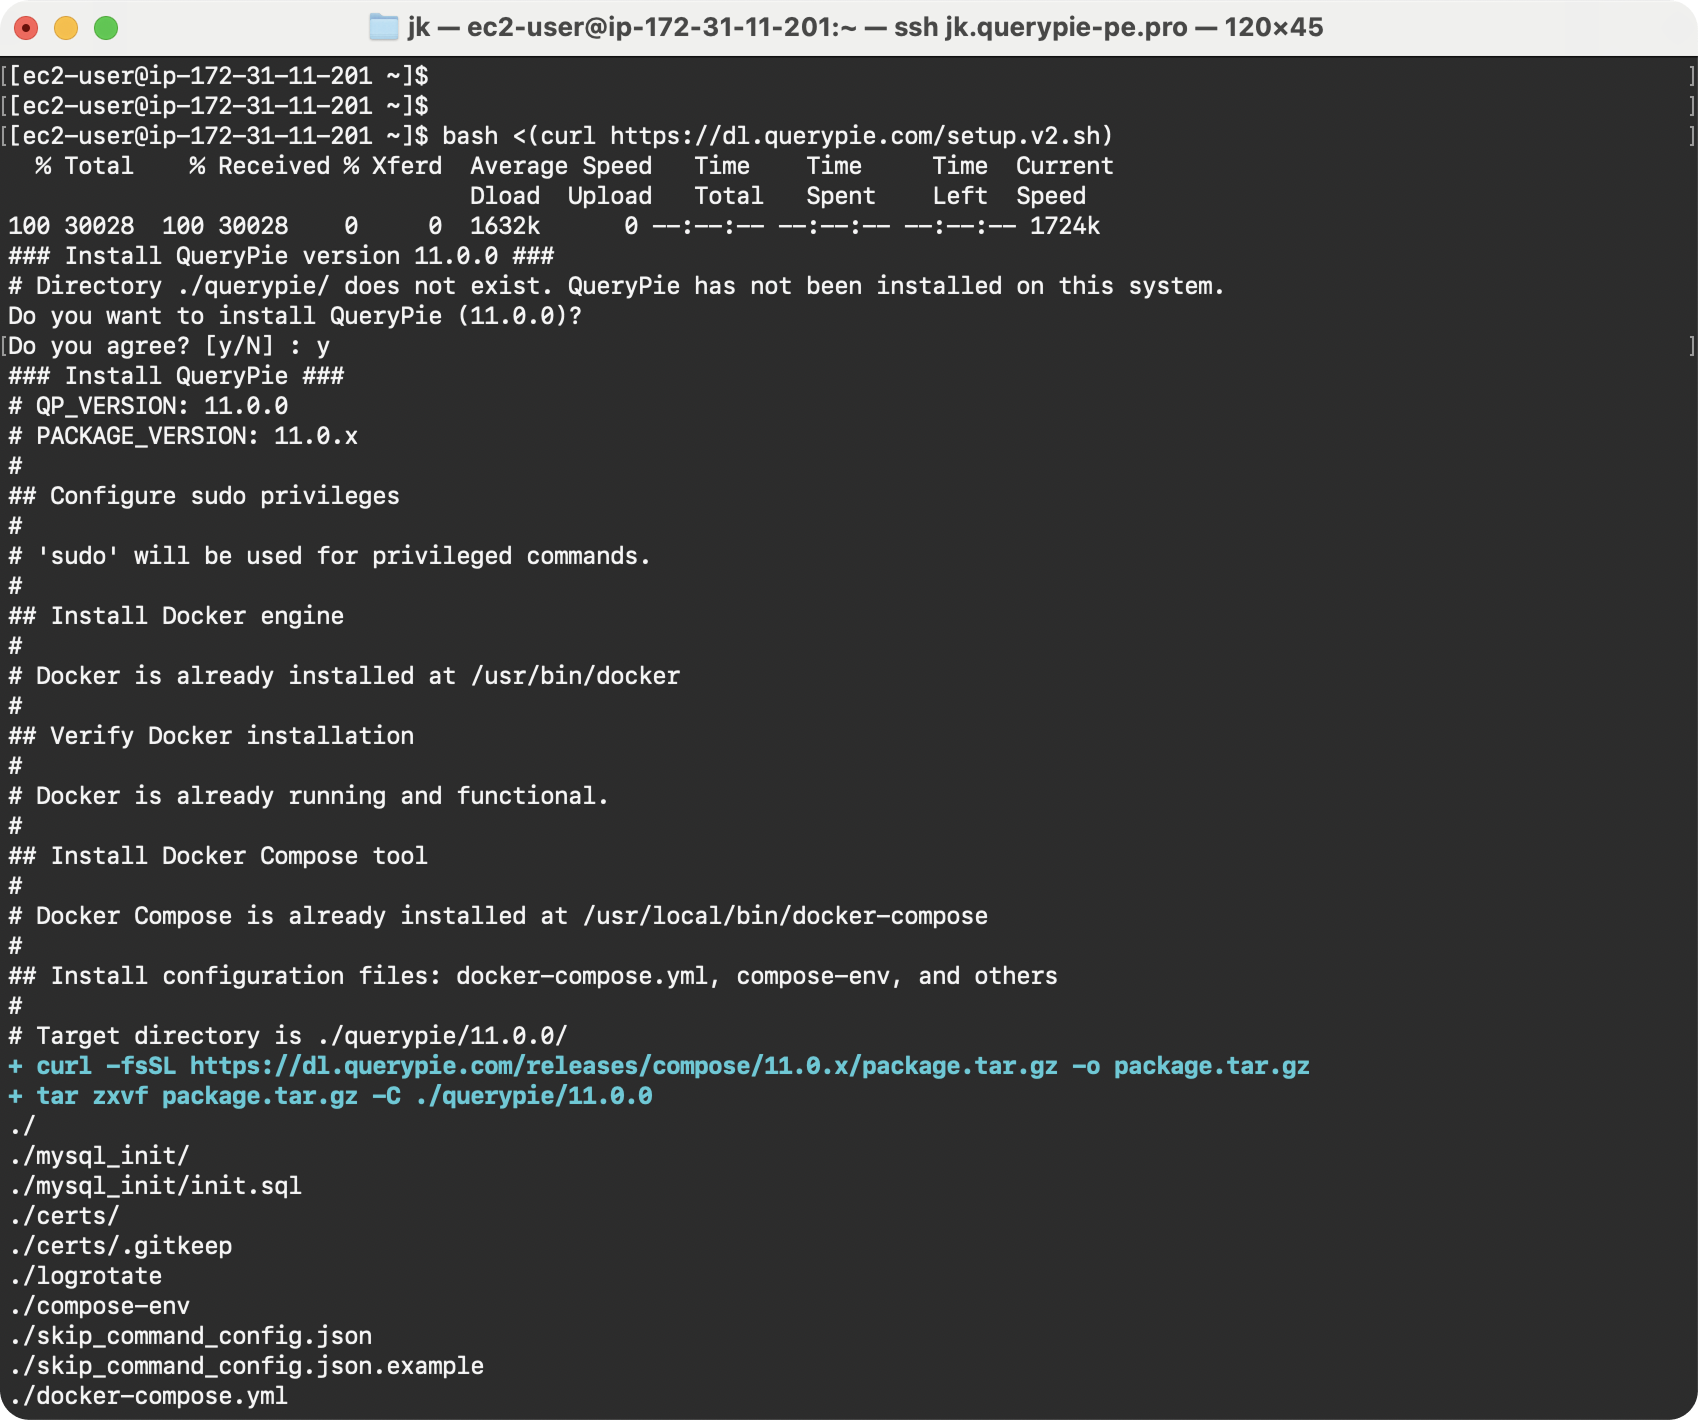
Screen showing installation has started
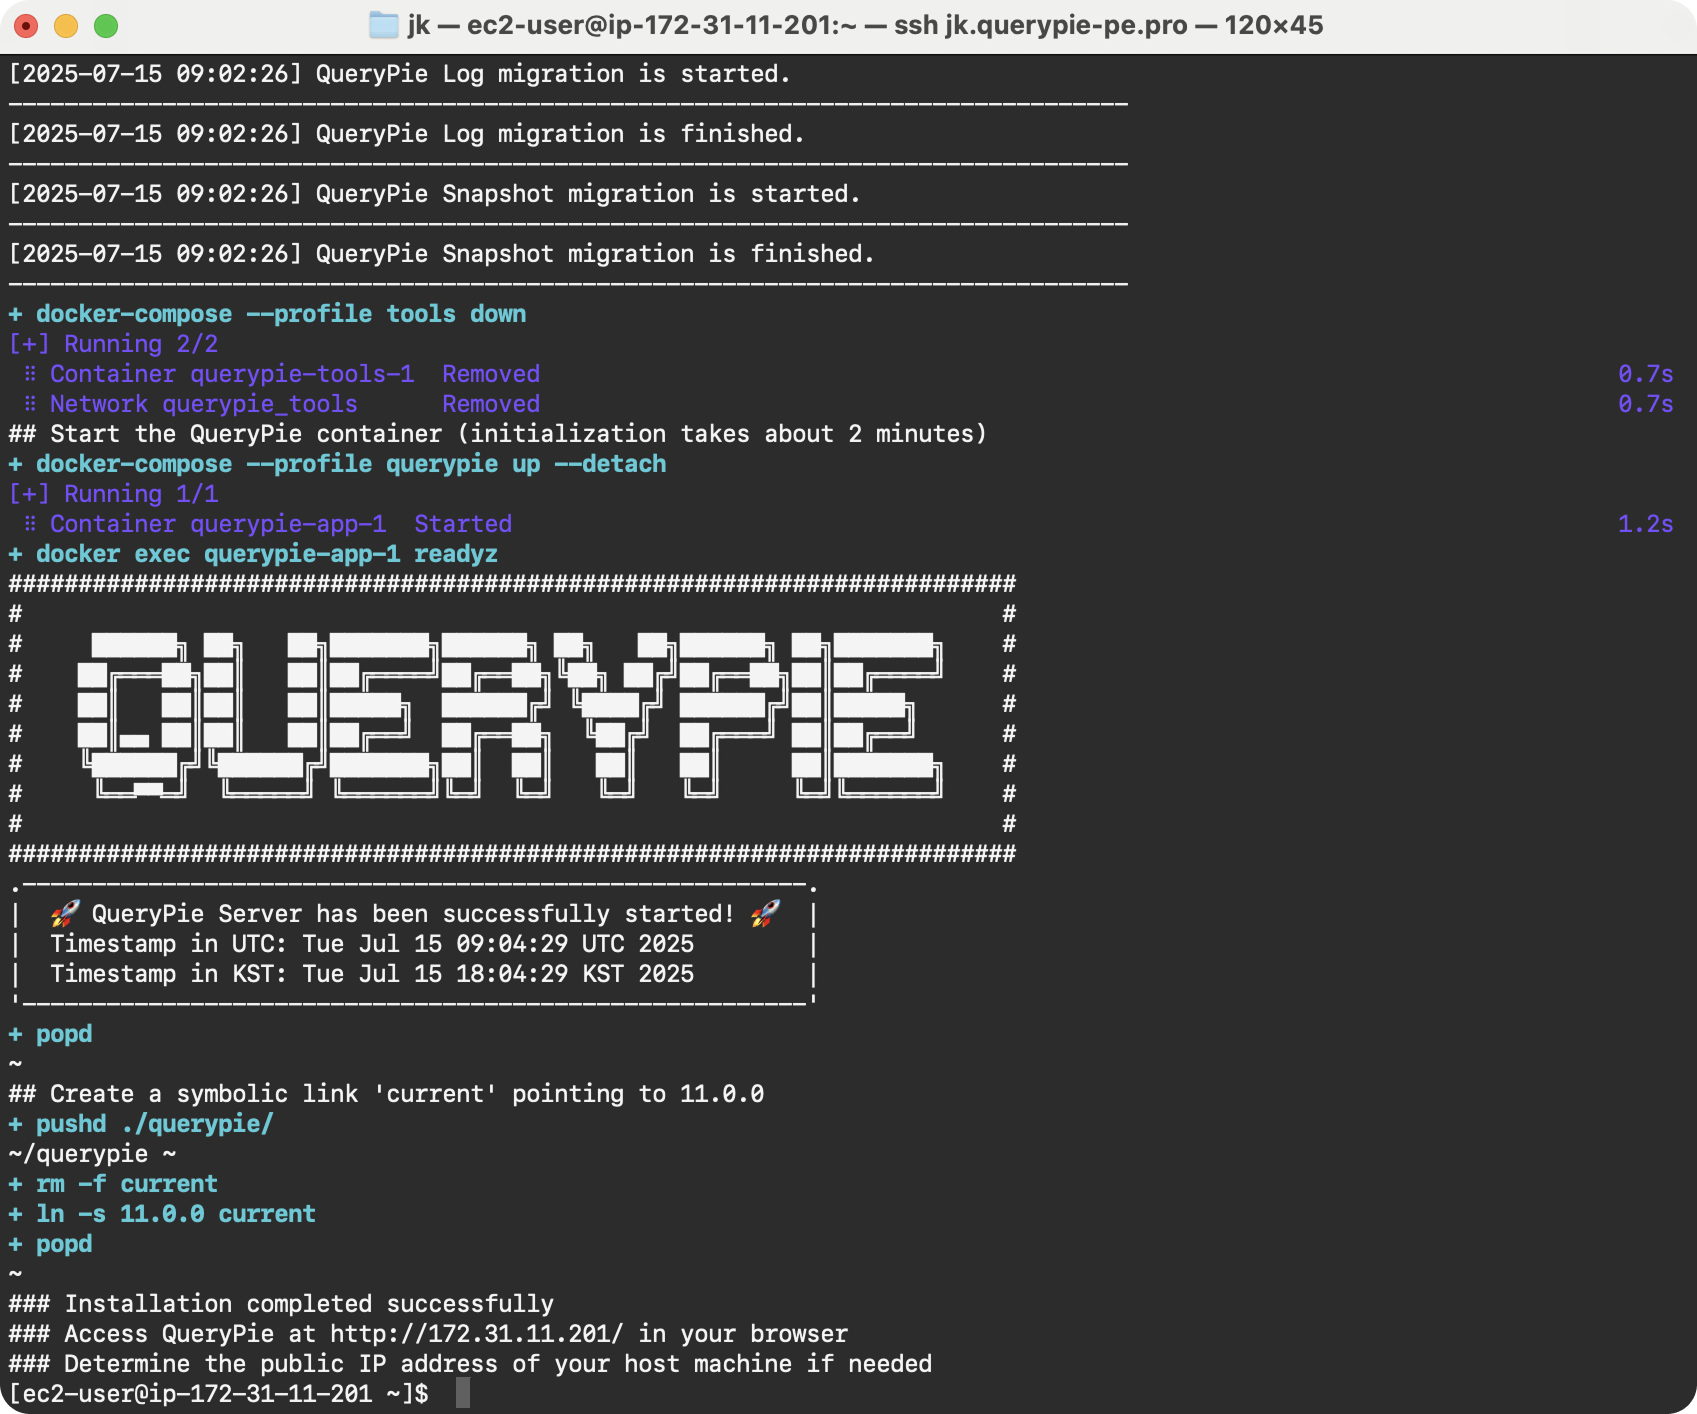
Screen showing installation has completed
2. Obtain License During Installation
QueryPie Community Edition requires license registration.
While installation is in progress, submit a license application form , and a .crt text file will be sent to the email address you entered during application.
3. Access After Installation
After installation is complete, access the following address in your browser:
http://<server IP address>:8000
or
https://<server IP address>:8443
The IP address of the Linux server where QueryPie is installed must be accessible from user PCs.
4. License Registration
Upload the .crt file received by email, or copy and paste the PEM format text content.
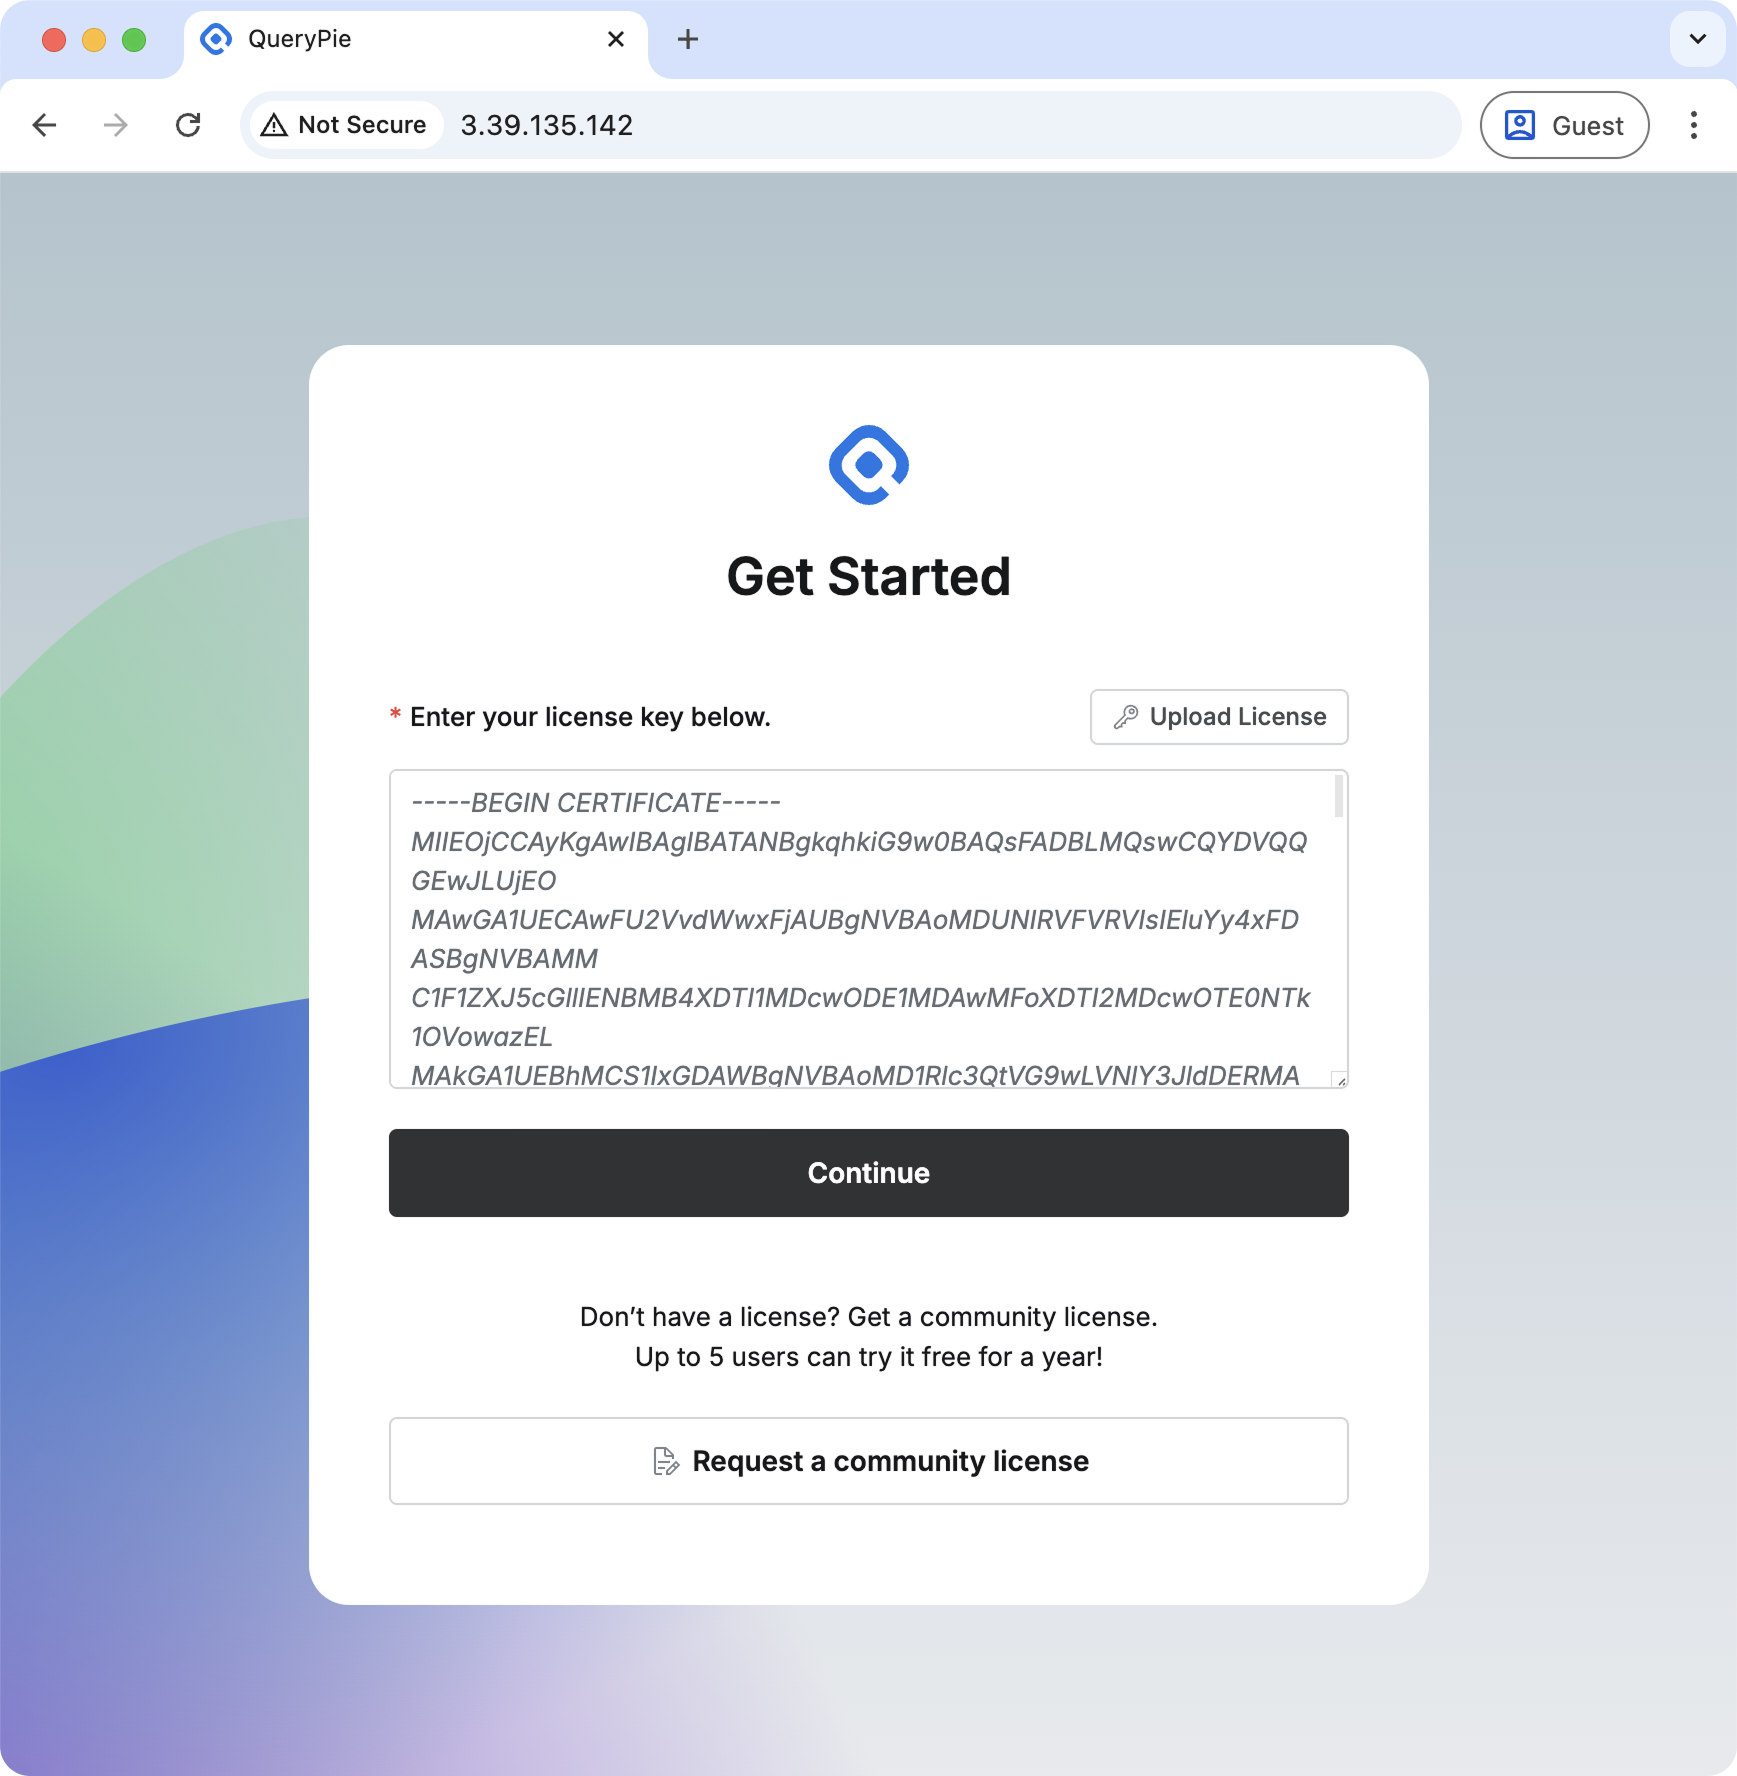
License input screen in PEM format
License Information
- To use QueryPie, you must register a valid license after installation.
- Licenses are provided as text files with
.crtextension. - Licenses are sent to the email address entered during application.
- Each license is valid for 1 year from the date of issuance.
- Licenses are issued to the applicant and cannot be transferred to third parties.
5. Login
Log in with the default account. For security, you will be asked to change your password on first login. After setting a new password, you can use the service.
- ID:
qp-admin - Password:
querypie

Initial login screen
After logging in with the qp-admin account, change the default password to a different password.

Initial password change screen
6. Installation Complete 🎉
Installation has been successfully completed.
Please refer to the administrator manual for environment configuration: Administrator Manual
To navigate to the administrator page, click the Go to Admin Page button in the top right corner.
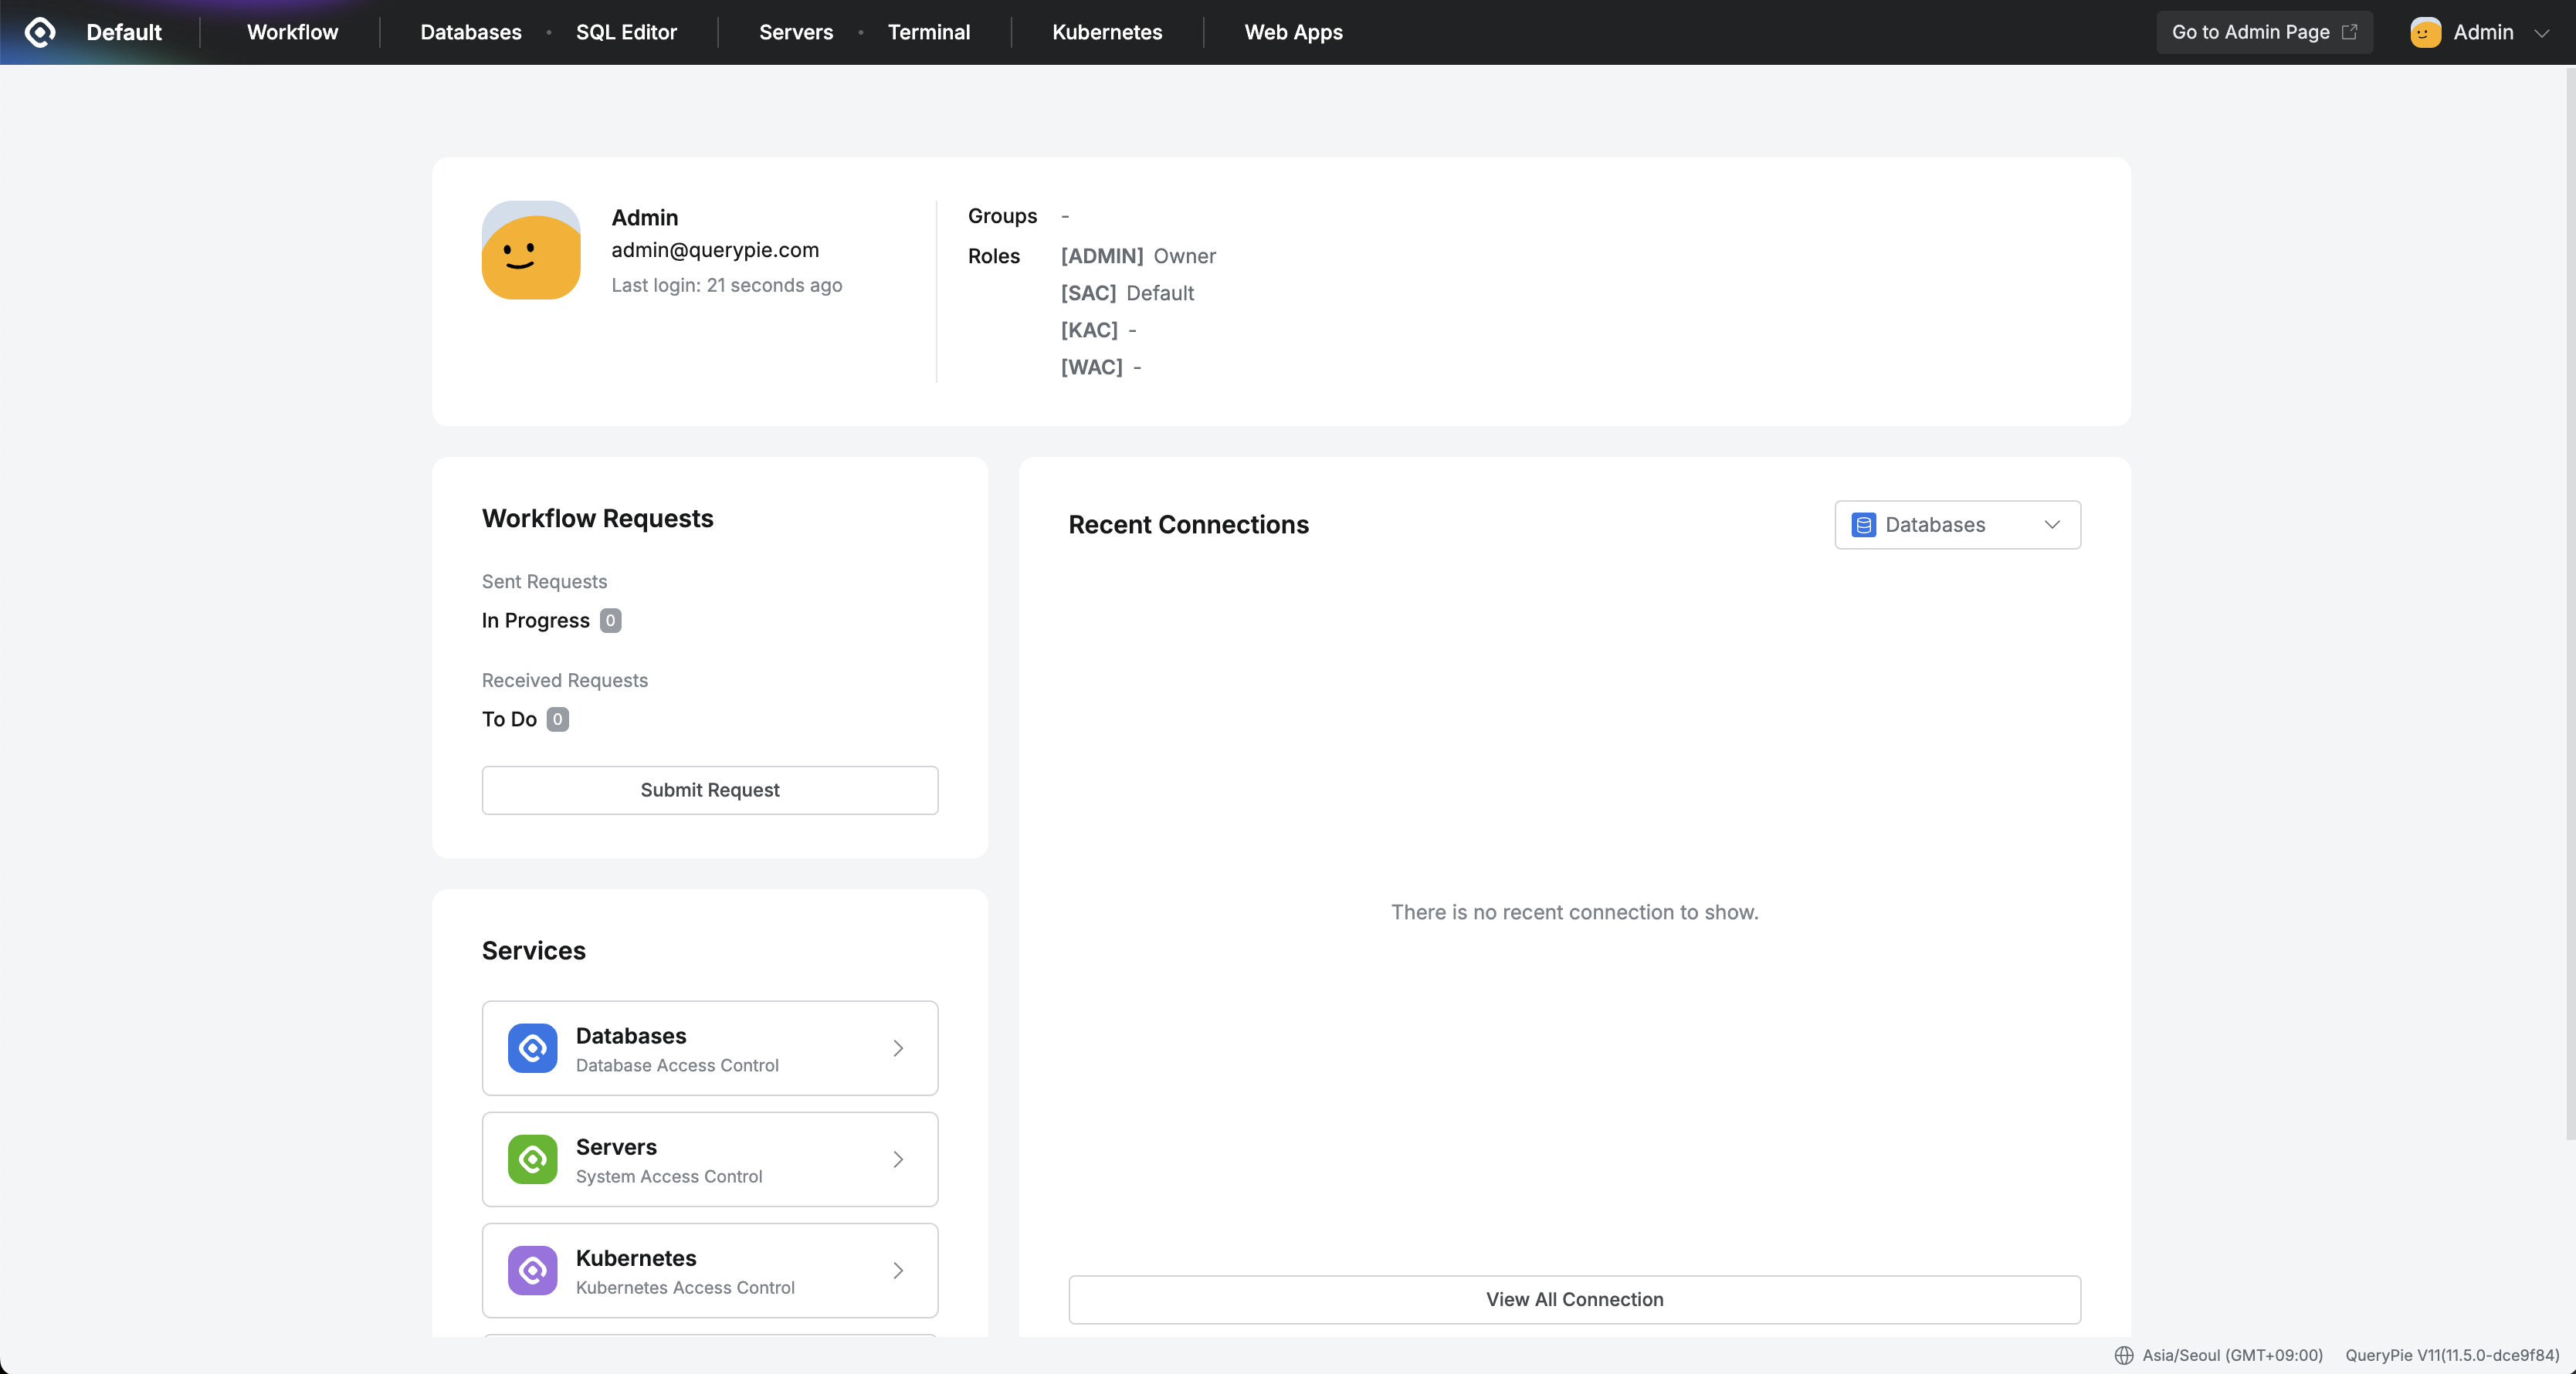
User dashboard displayed after login
Installation Location of QueryPie ACP Community Edition
- Mac, Linux: Folder where the installation script was executed/querypie/<installed version>
- Example: /Users/<username>/querypie/<installed version> or /home/<username>/querypie/<installed version> (when the installation script was run from the user’s home directory)
Manual Start of QueryPie ACP Community Edition
- Navigate to the installation location.
currentis a symbolic link to the installation version path.
cd ~/querypie/current ## This is an example when installed under the home directory.- Manual start: Start in the order of database start → app start.
docker compose --profile=database up -d
docker compose --profile=app up -d- Verify normal startup
docker compose --profile=app exec app readyzIf started normally, a screen similar to the following will be displayed.
When started normally
Manual Stop of QueryPie ACP Community Edition
- Navigate to the installation location.
currentis a symbolic link to the installation version path.
cd ~/querypie/current ## This is an example when installed under the home directory.- Manual stop: Stop in the order of app stop → database stop.
docker compose --profile=app down
docker compose --profile=database down- Verify normal shutdown
docker compose psSelective Application of Stop Methods
docker compose --profile=app down
docker compose --profile=database down
Using down as above deletes and recreates containers and networks.
(New IDs)
Therefore, if there is no need to delete and recreate, use stop instead of down.
docker compose --profile=app stop
docker compose --profile=database stop
💬 Support and Inquiries
If you have questions about QueryPie Community installation and use, you can contact us directly through GitHub Discussion . Thank you for your interest and continued use.