User Agent
By installing QueryPie Agent, you can use SQL Clients like DataGrip and DBeaver, SSH Clients like iTerm and SecureCRT, and 3rd party applications like Lens and k9s.
Downloading and Running Agent App
1. After logging into QueryPie, click the profile in the top right and click the Agent Download button.
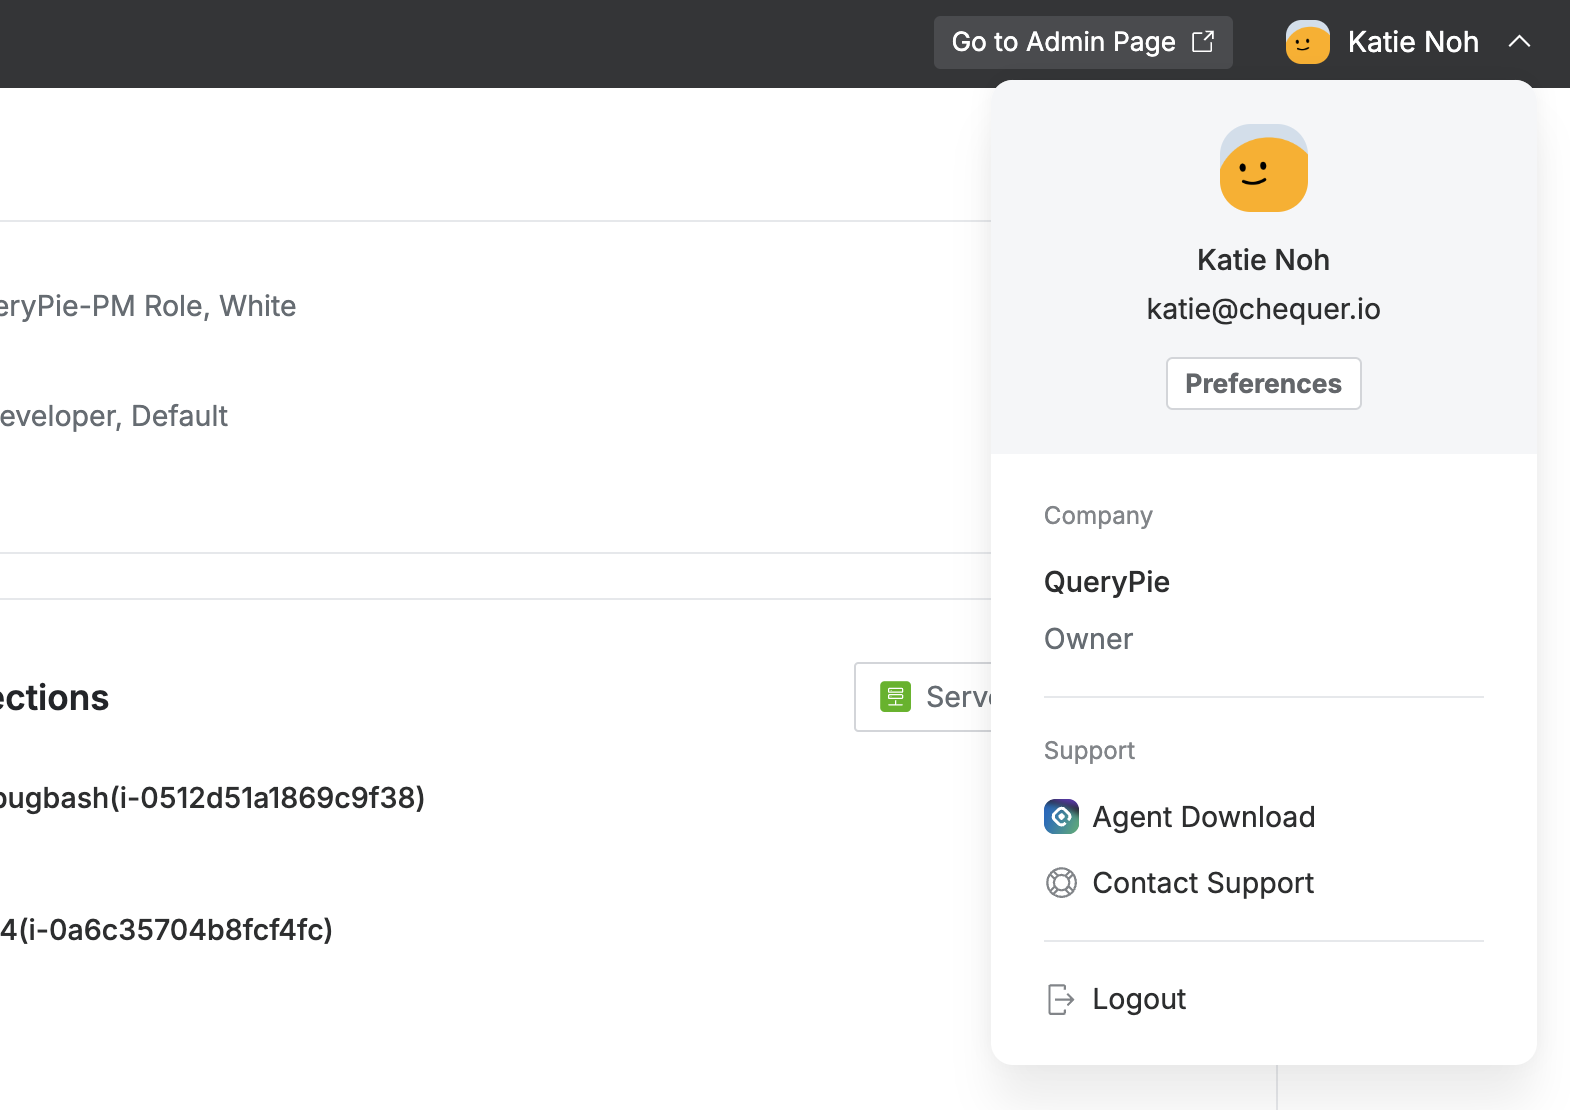
QueryPie Web > Profile Menu
2. Download the installation file that matches your PC’s operating system.
Download the installation file from Step 1 in the QueryPie Agent Downloads popup window. Copy the QueryPie URL shown in Step 3.
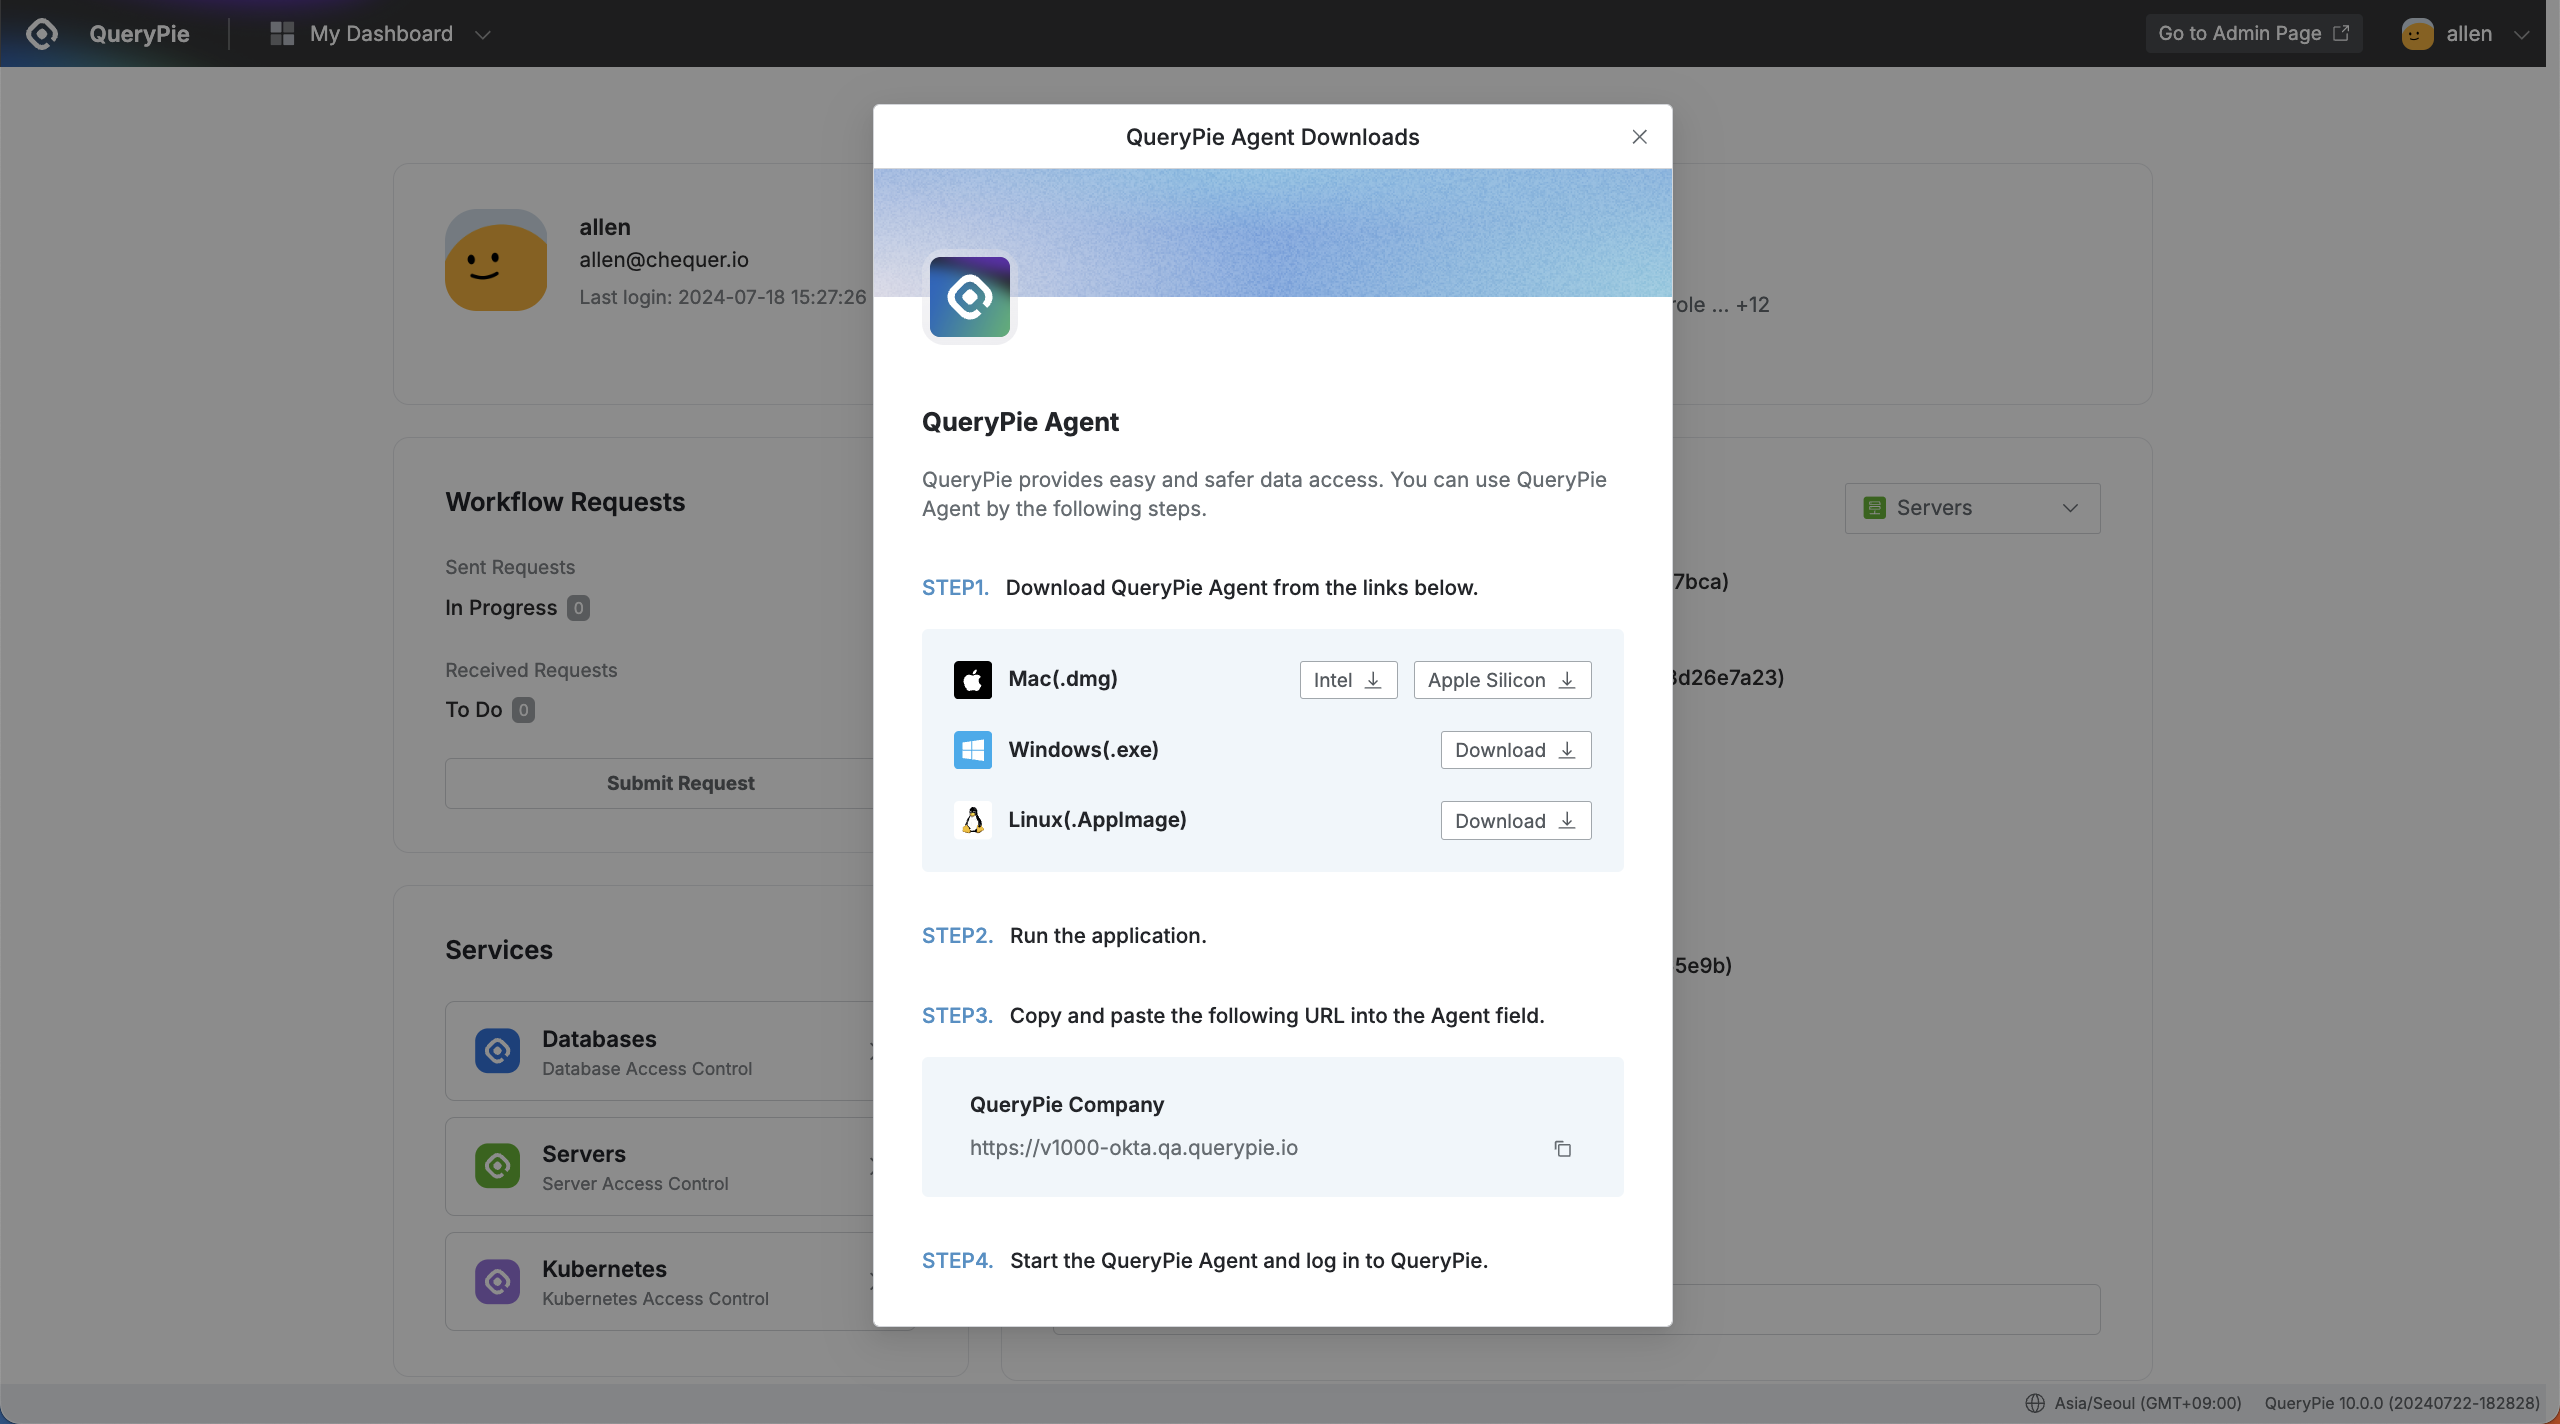
QueryPie Web > Agent Downloads Popup Window
QueryPie Agent supports Mac, Windows, and Linux OS.
3. Run the downloaded QueryPie Agent installer to complete the installation.
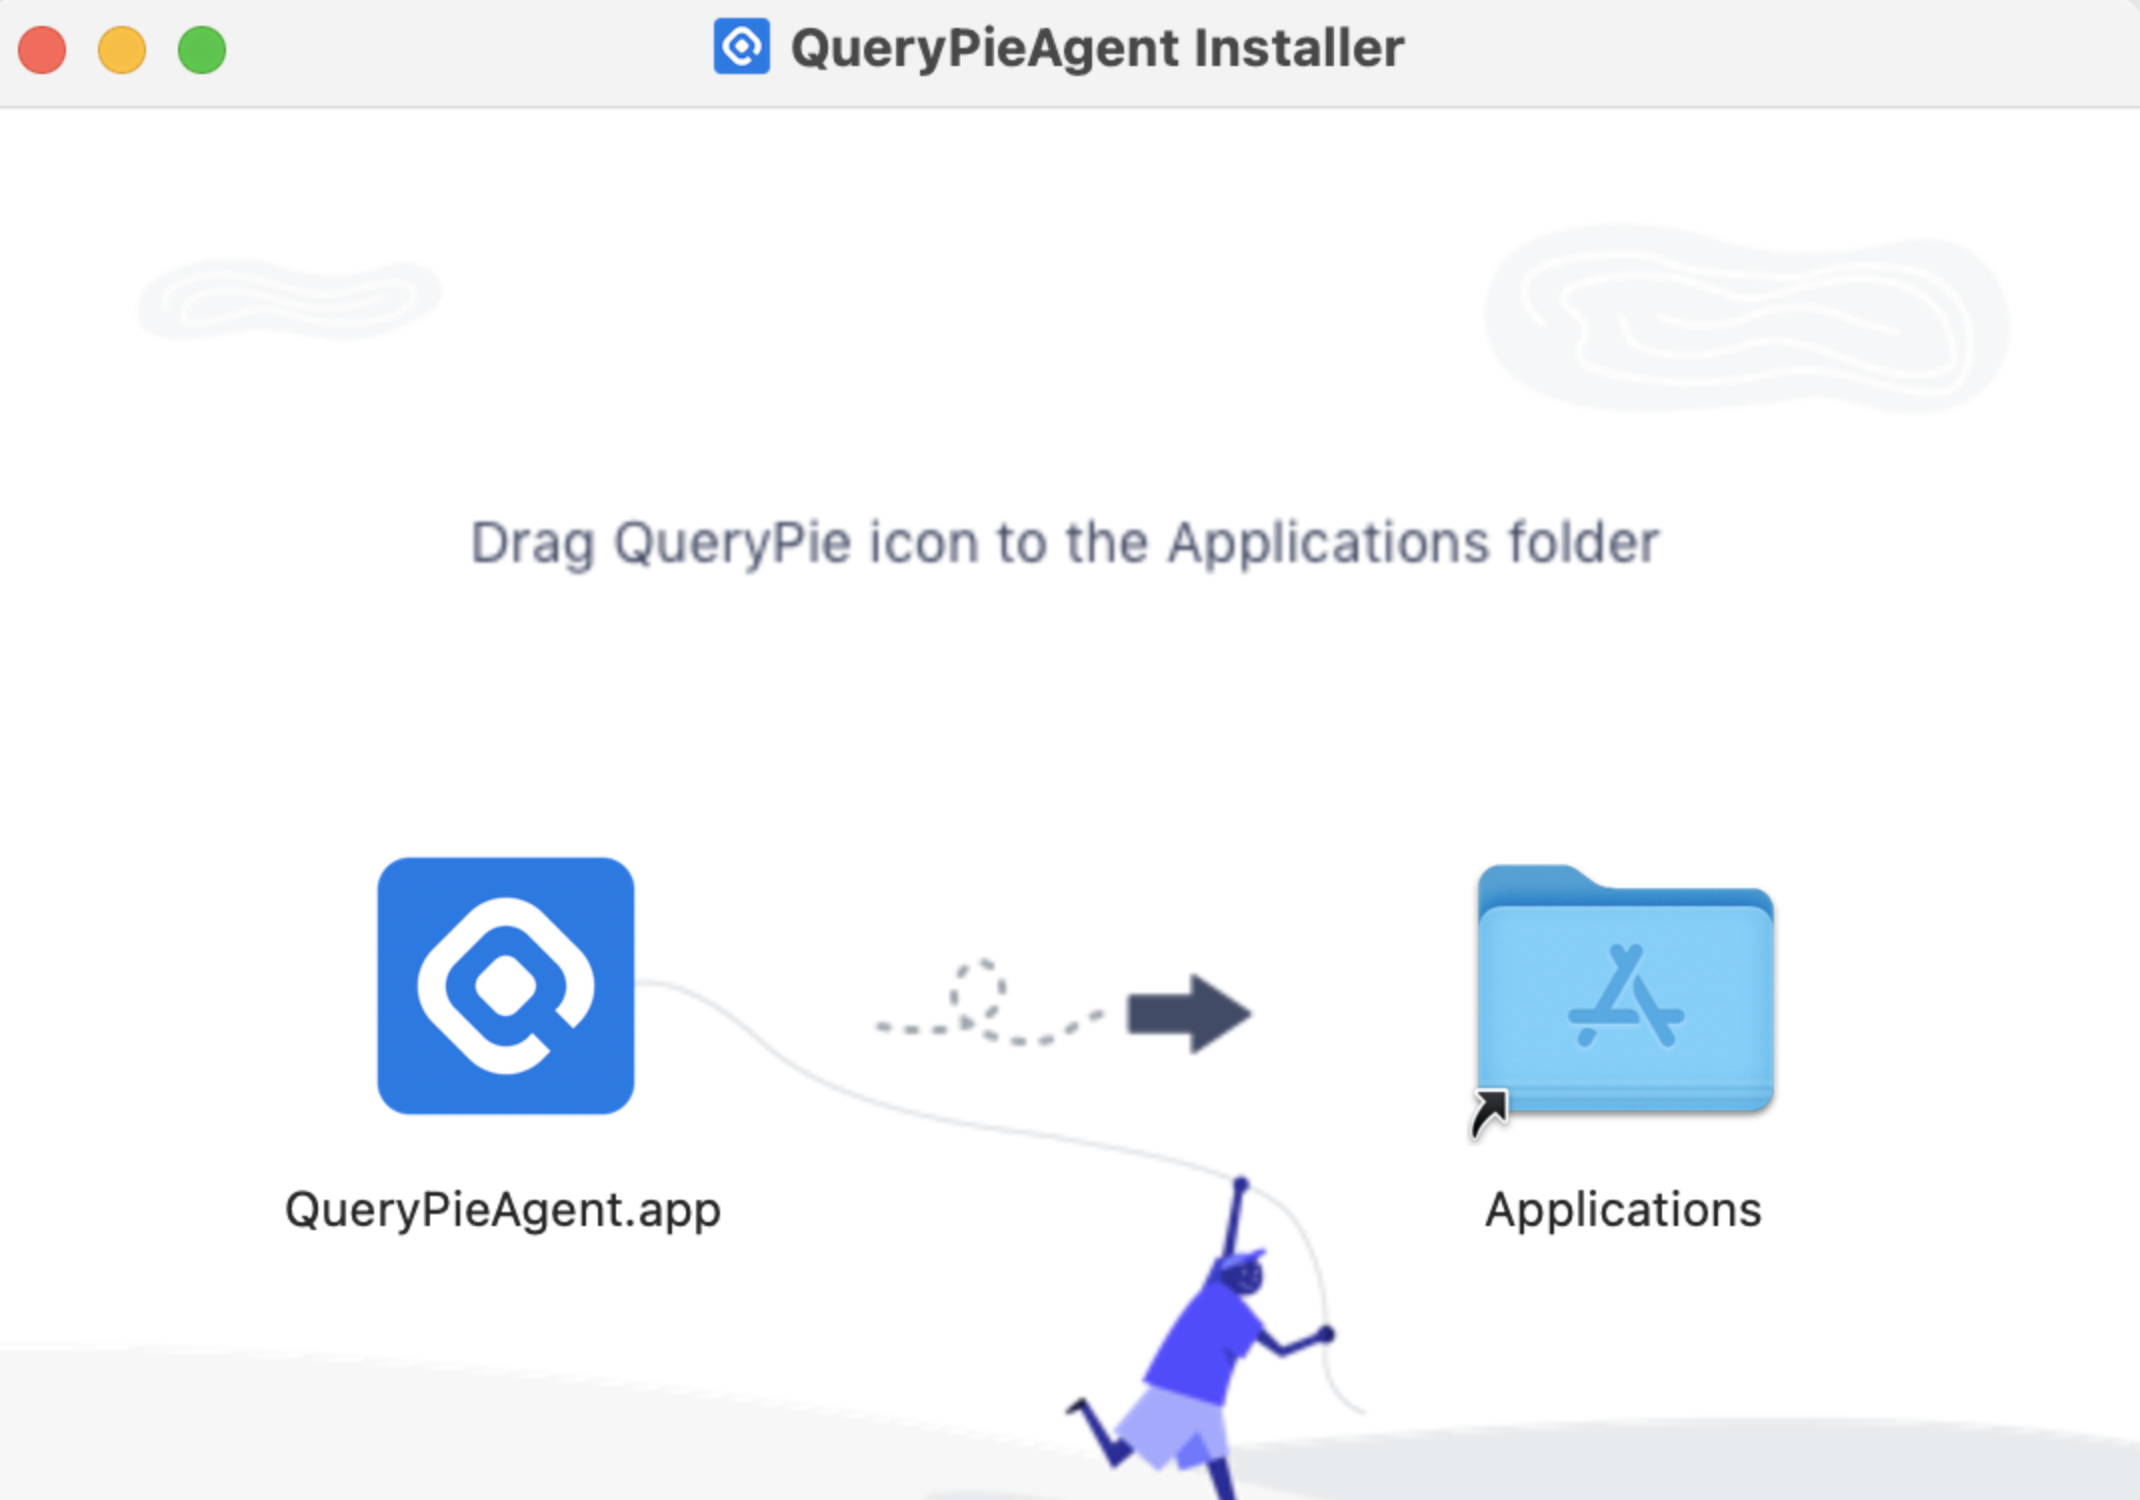
Mac OS Installer
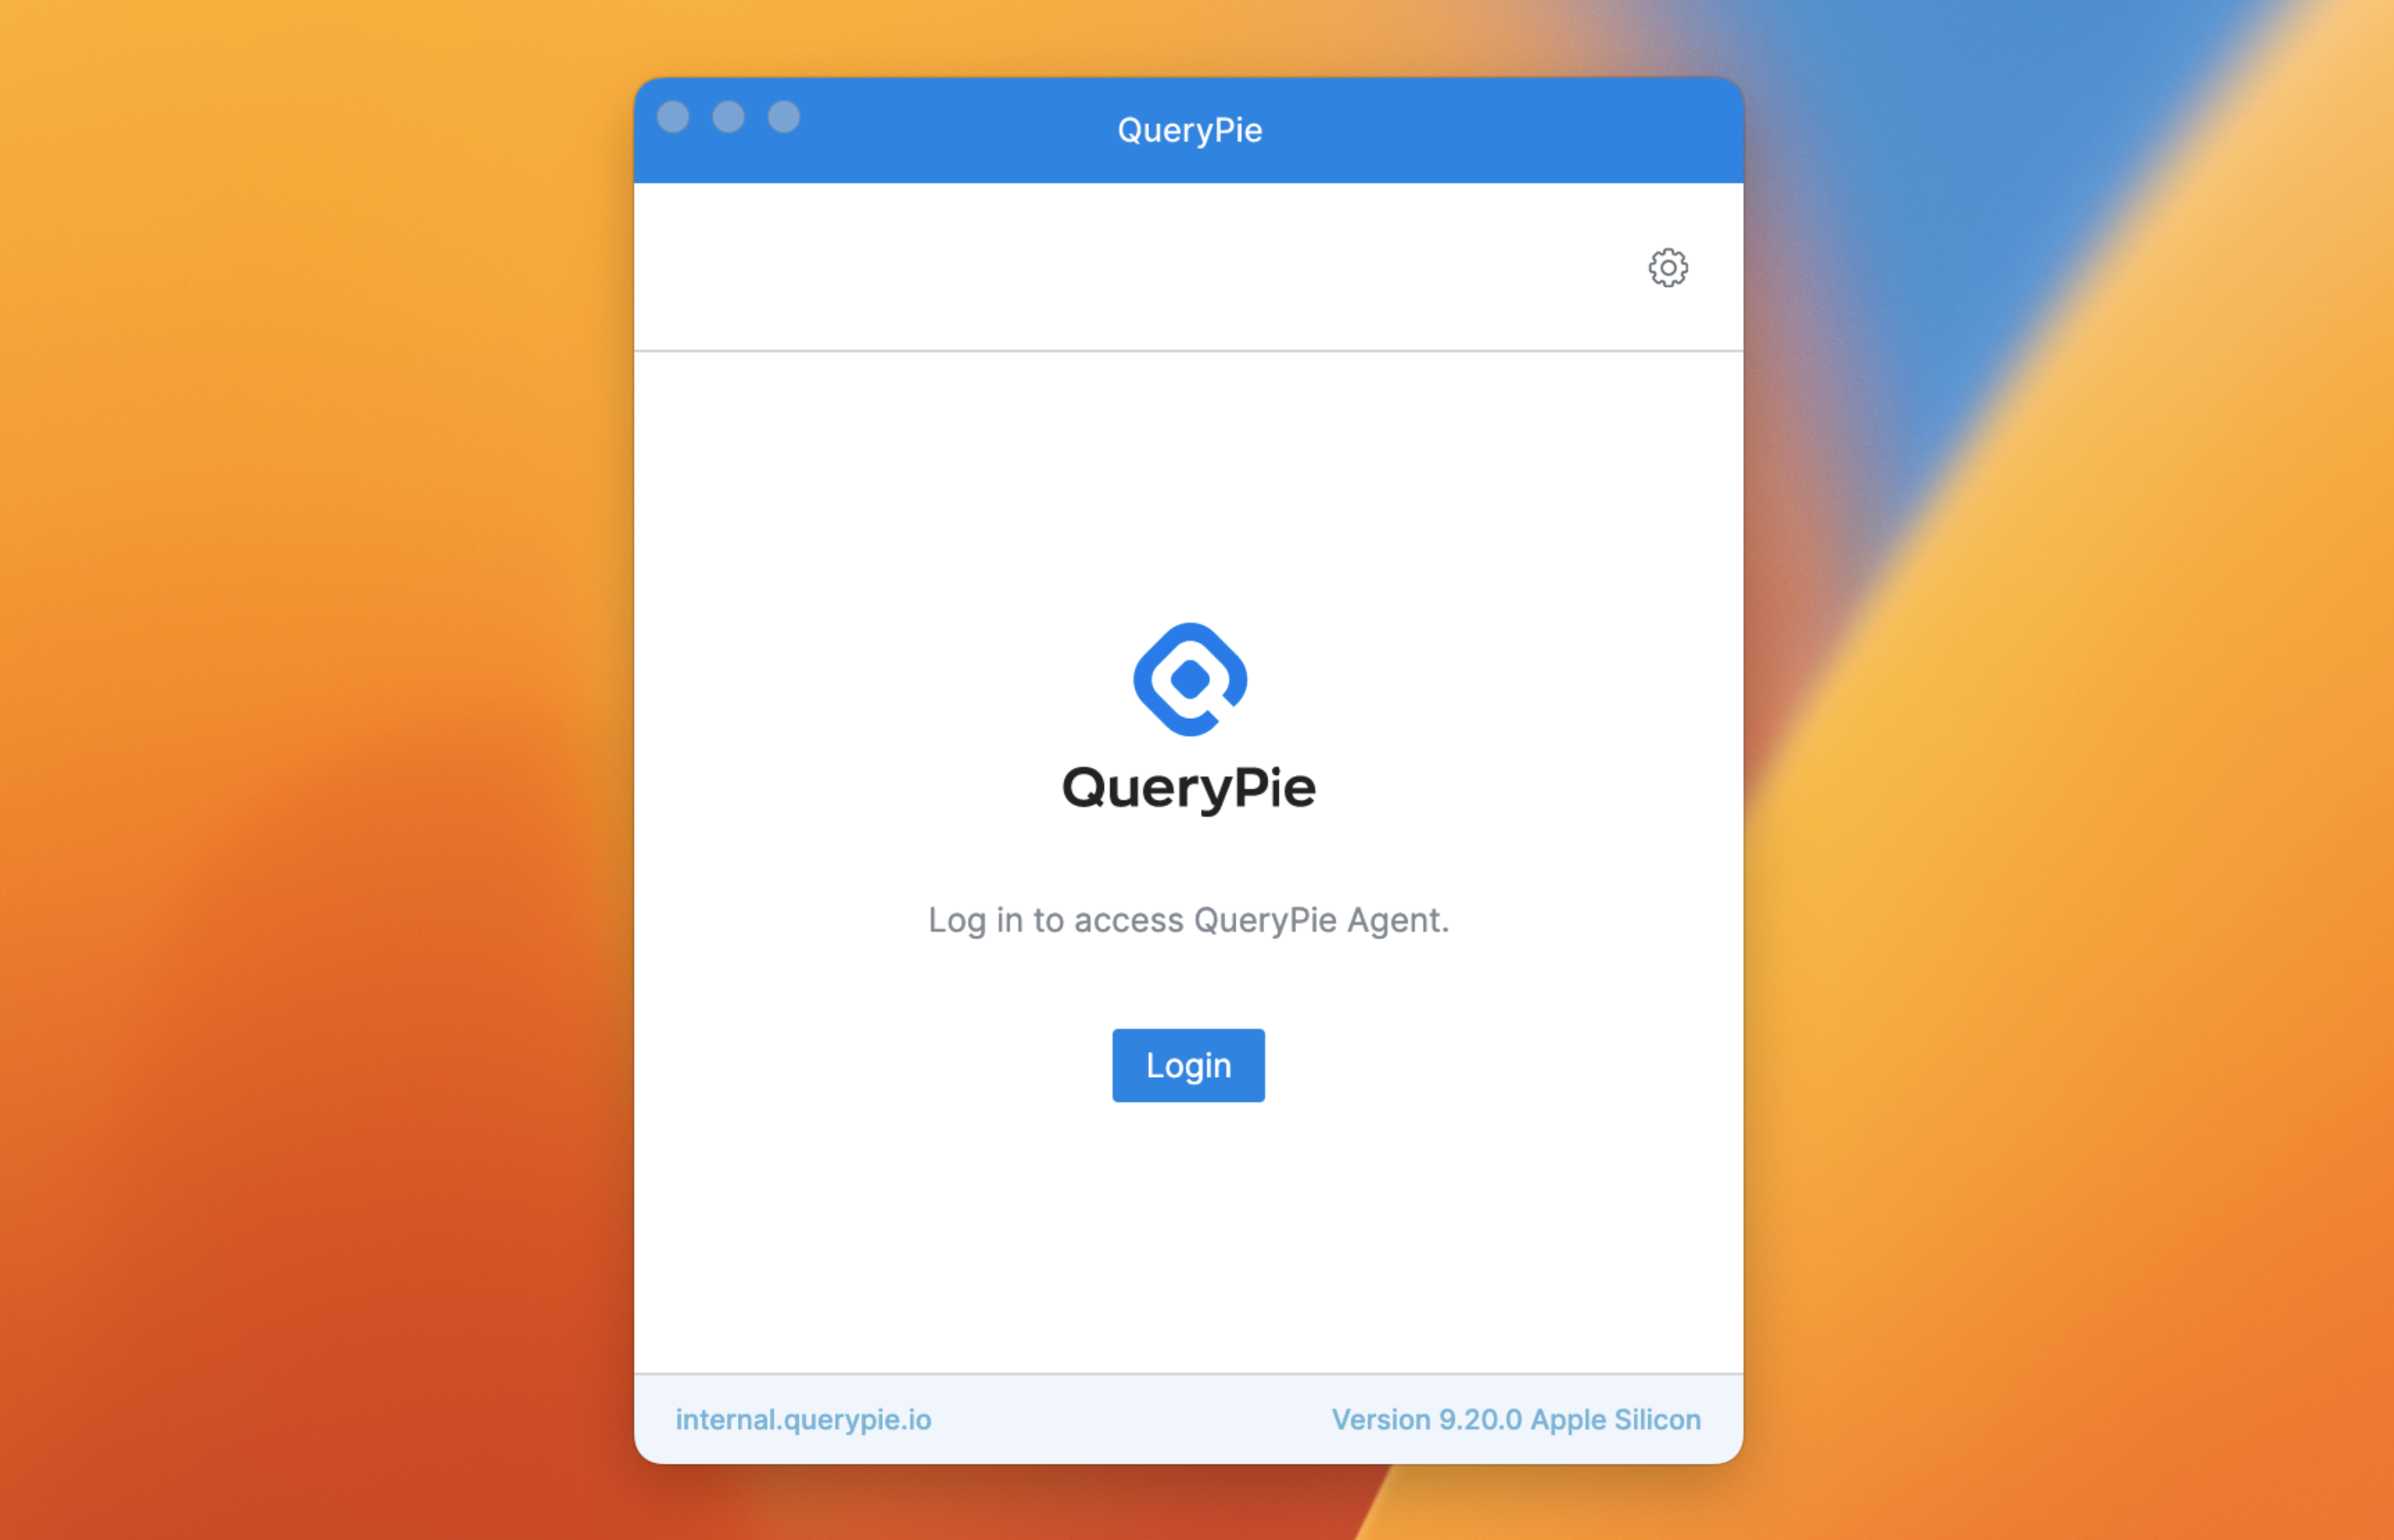
4. Run the installed QueryPie Agent.
Enter the previously copied QueryPie URL in the QueryPie Host input field and click the Next button to enter the login screen.
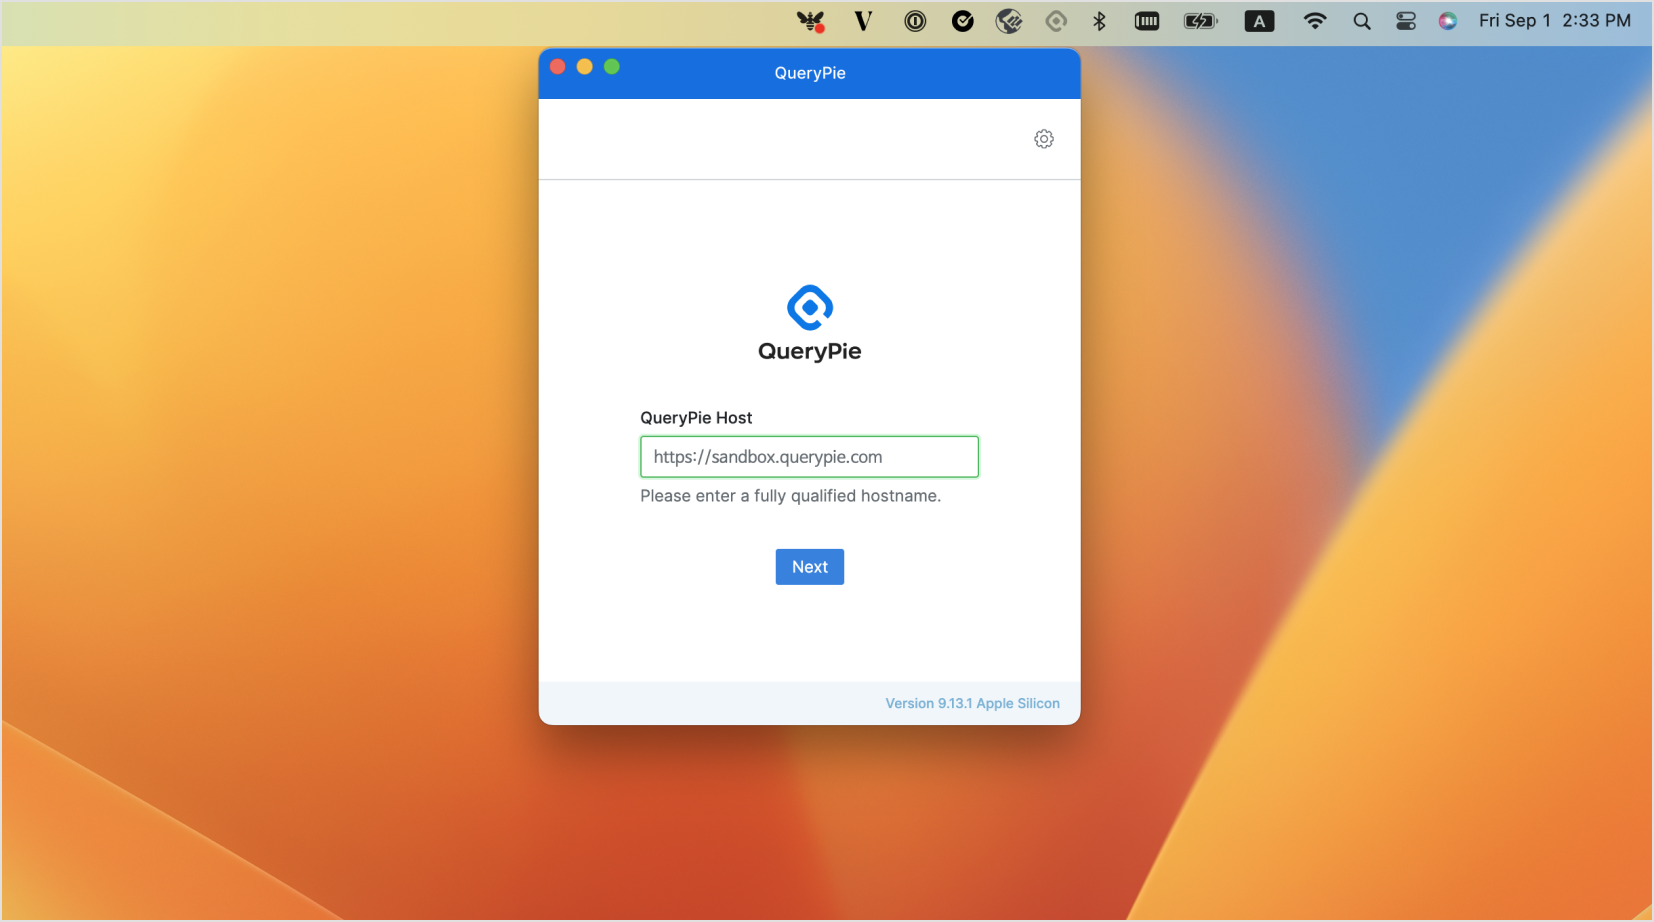
Agent > QueryPie Host Input
Logging into QueryPie Agent
1. Click the Login button on the login screen within the Agent app.
2. When the web browser opens, enter your authentication information on the login page and click the Continue button.
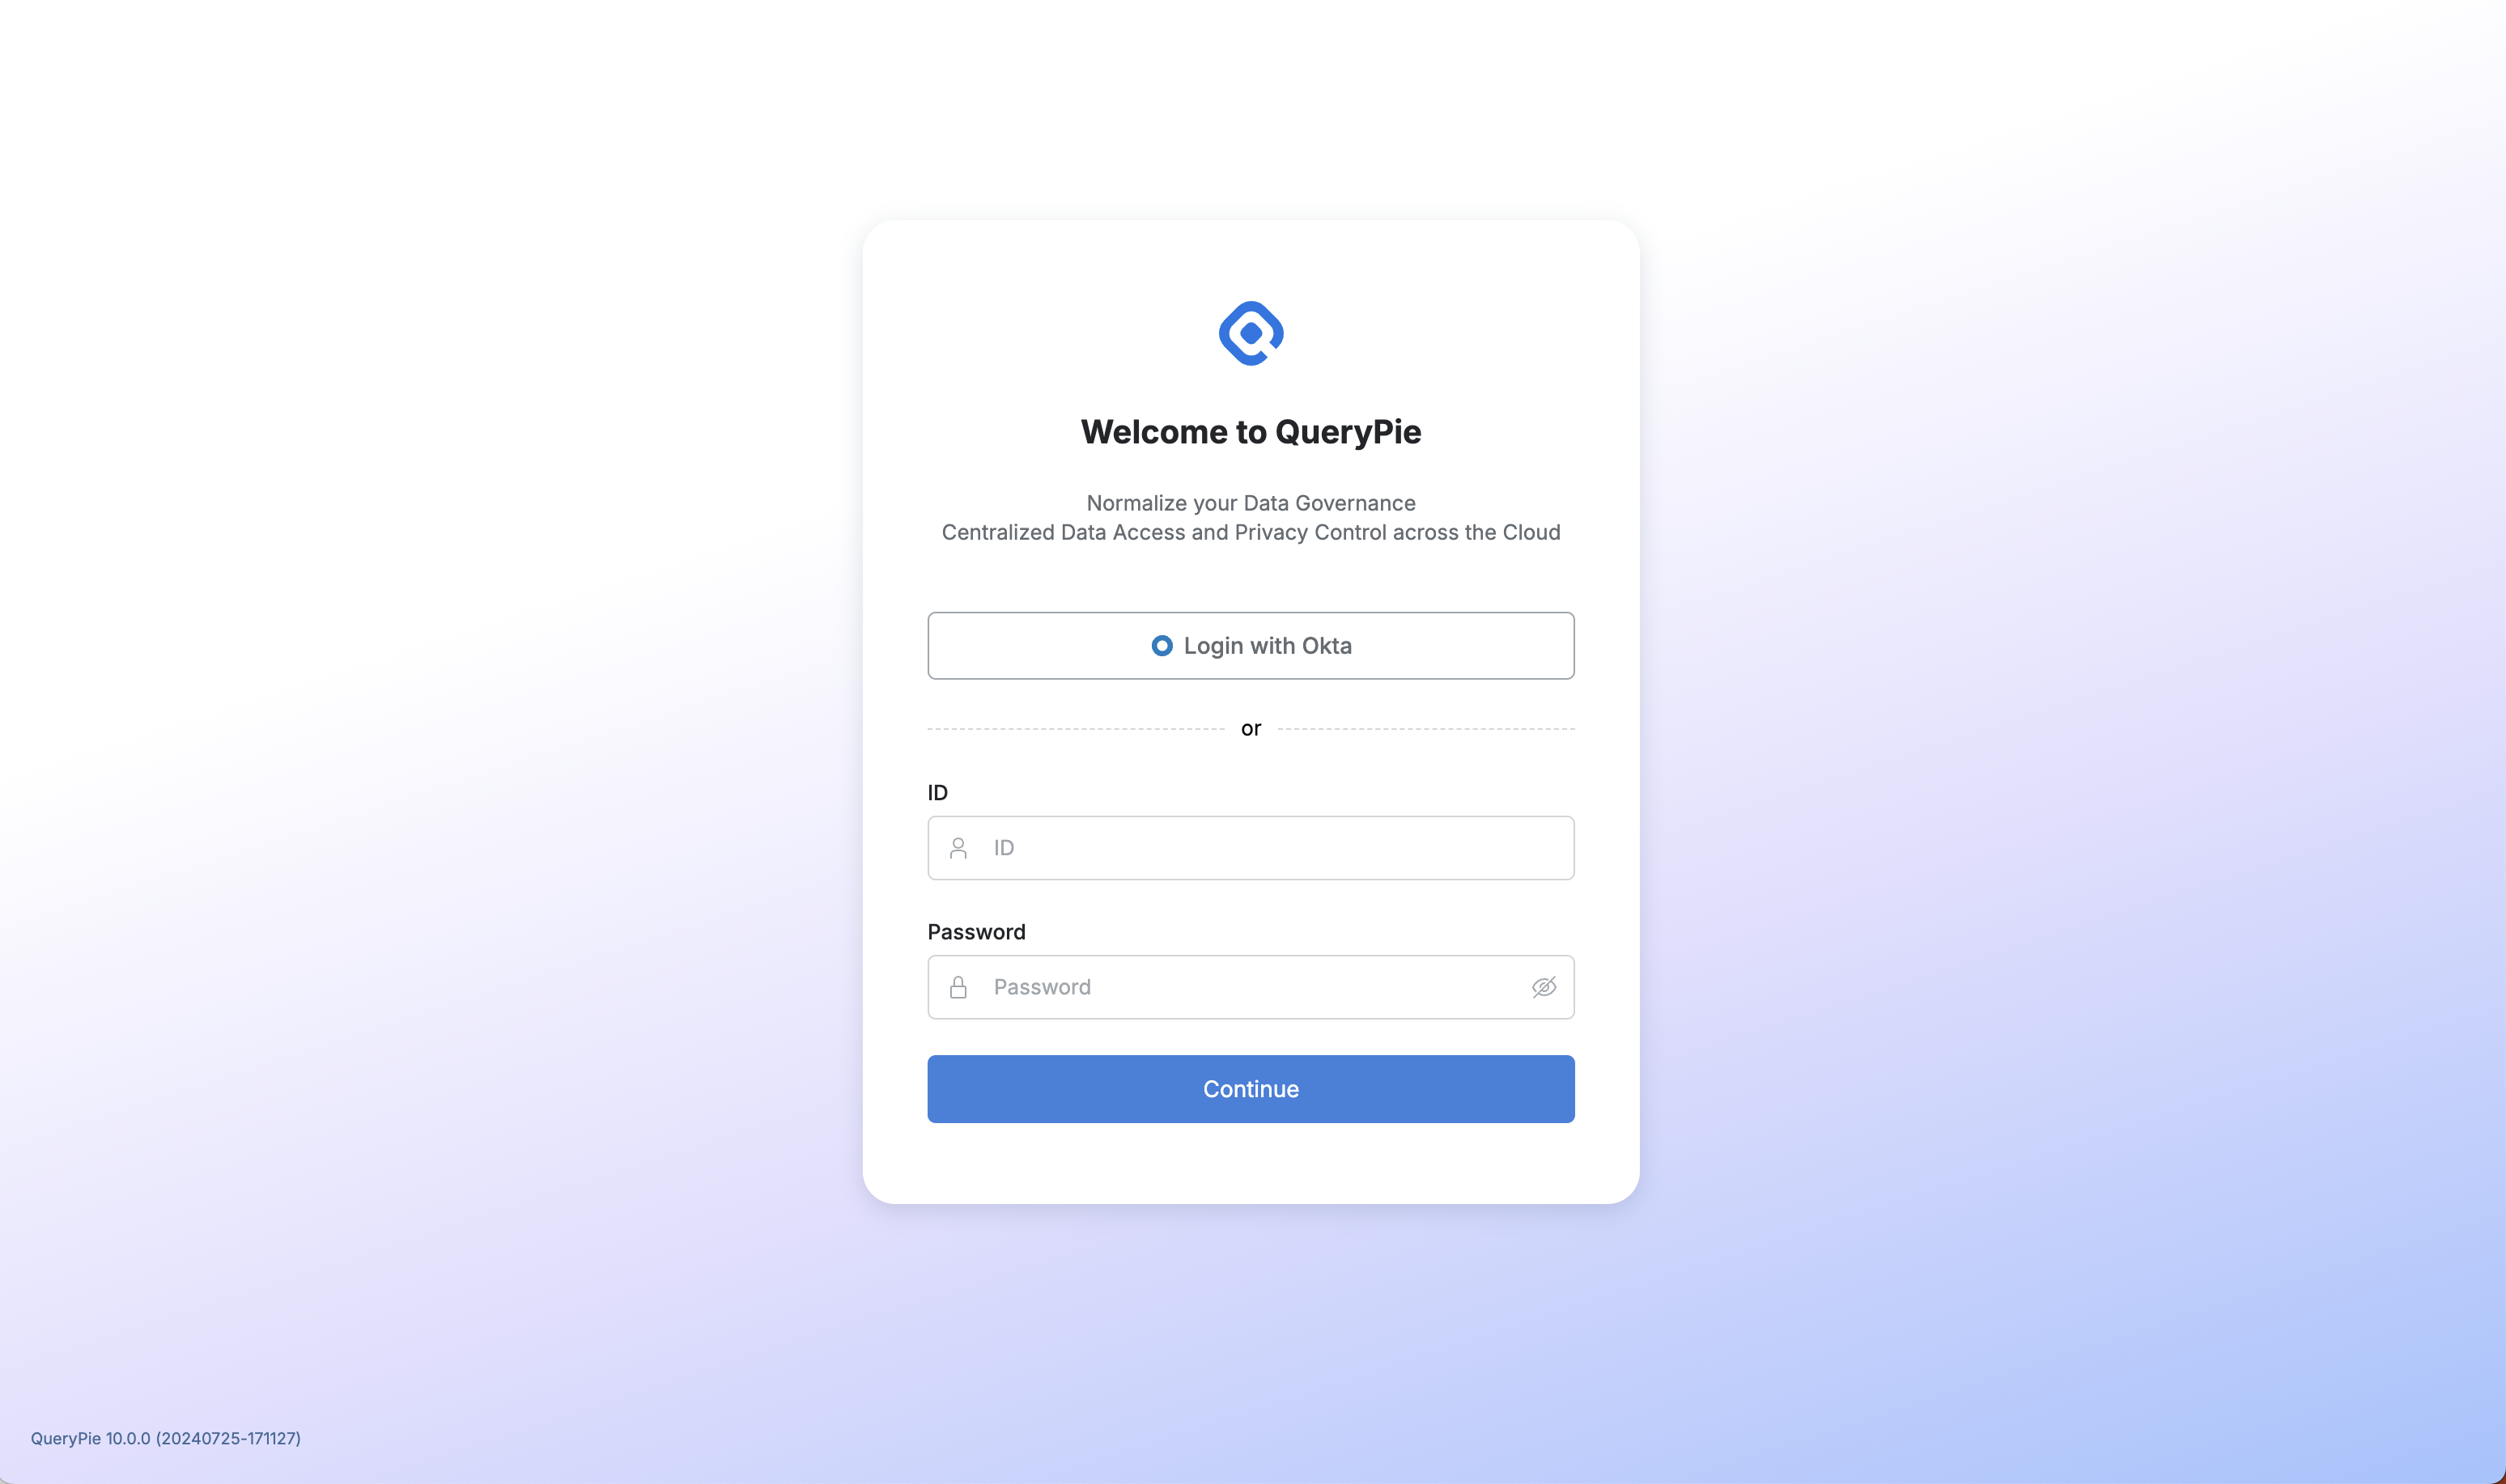
QueryPie Web > Agent Login Page
3. Upon successful login, the login success screen is displayed as shown below, and then you return to the Agent.
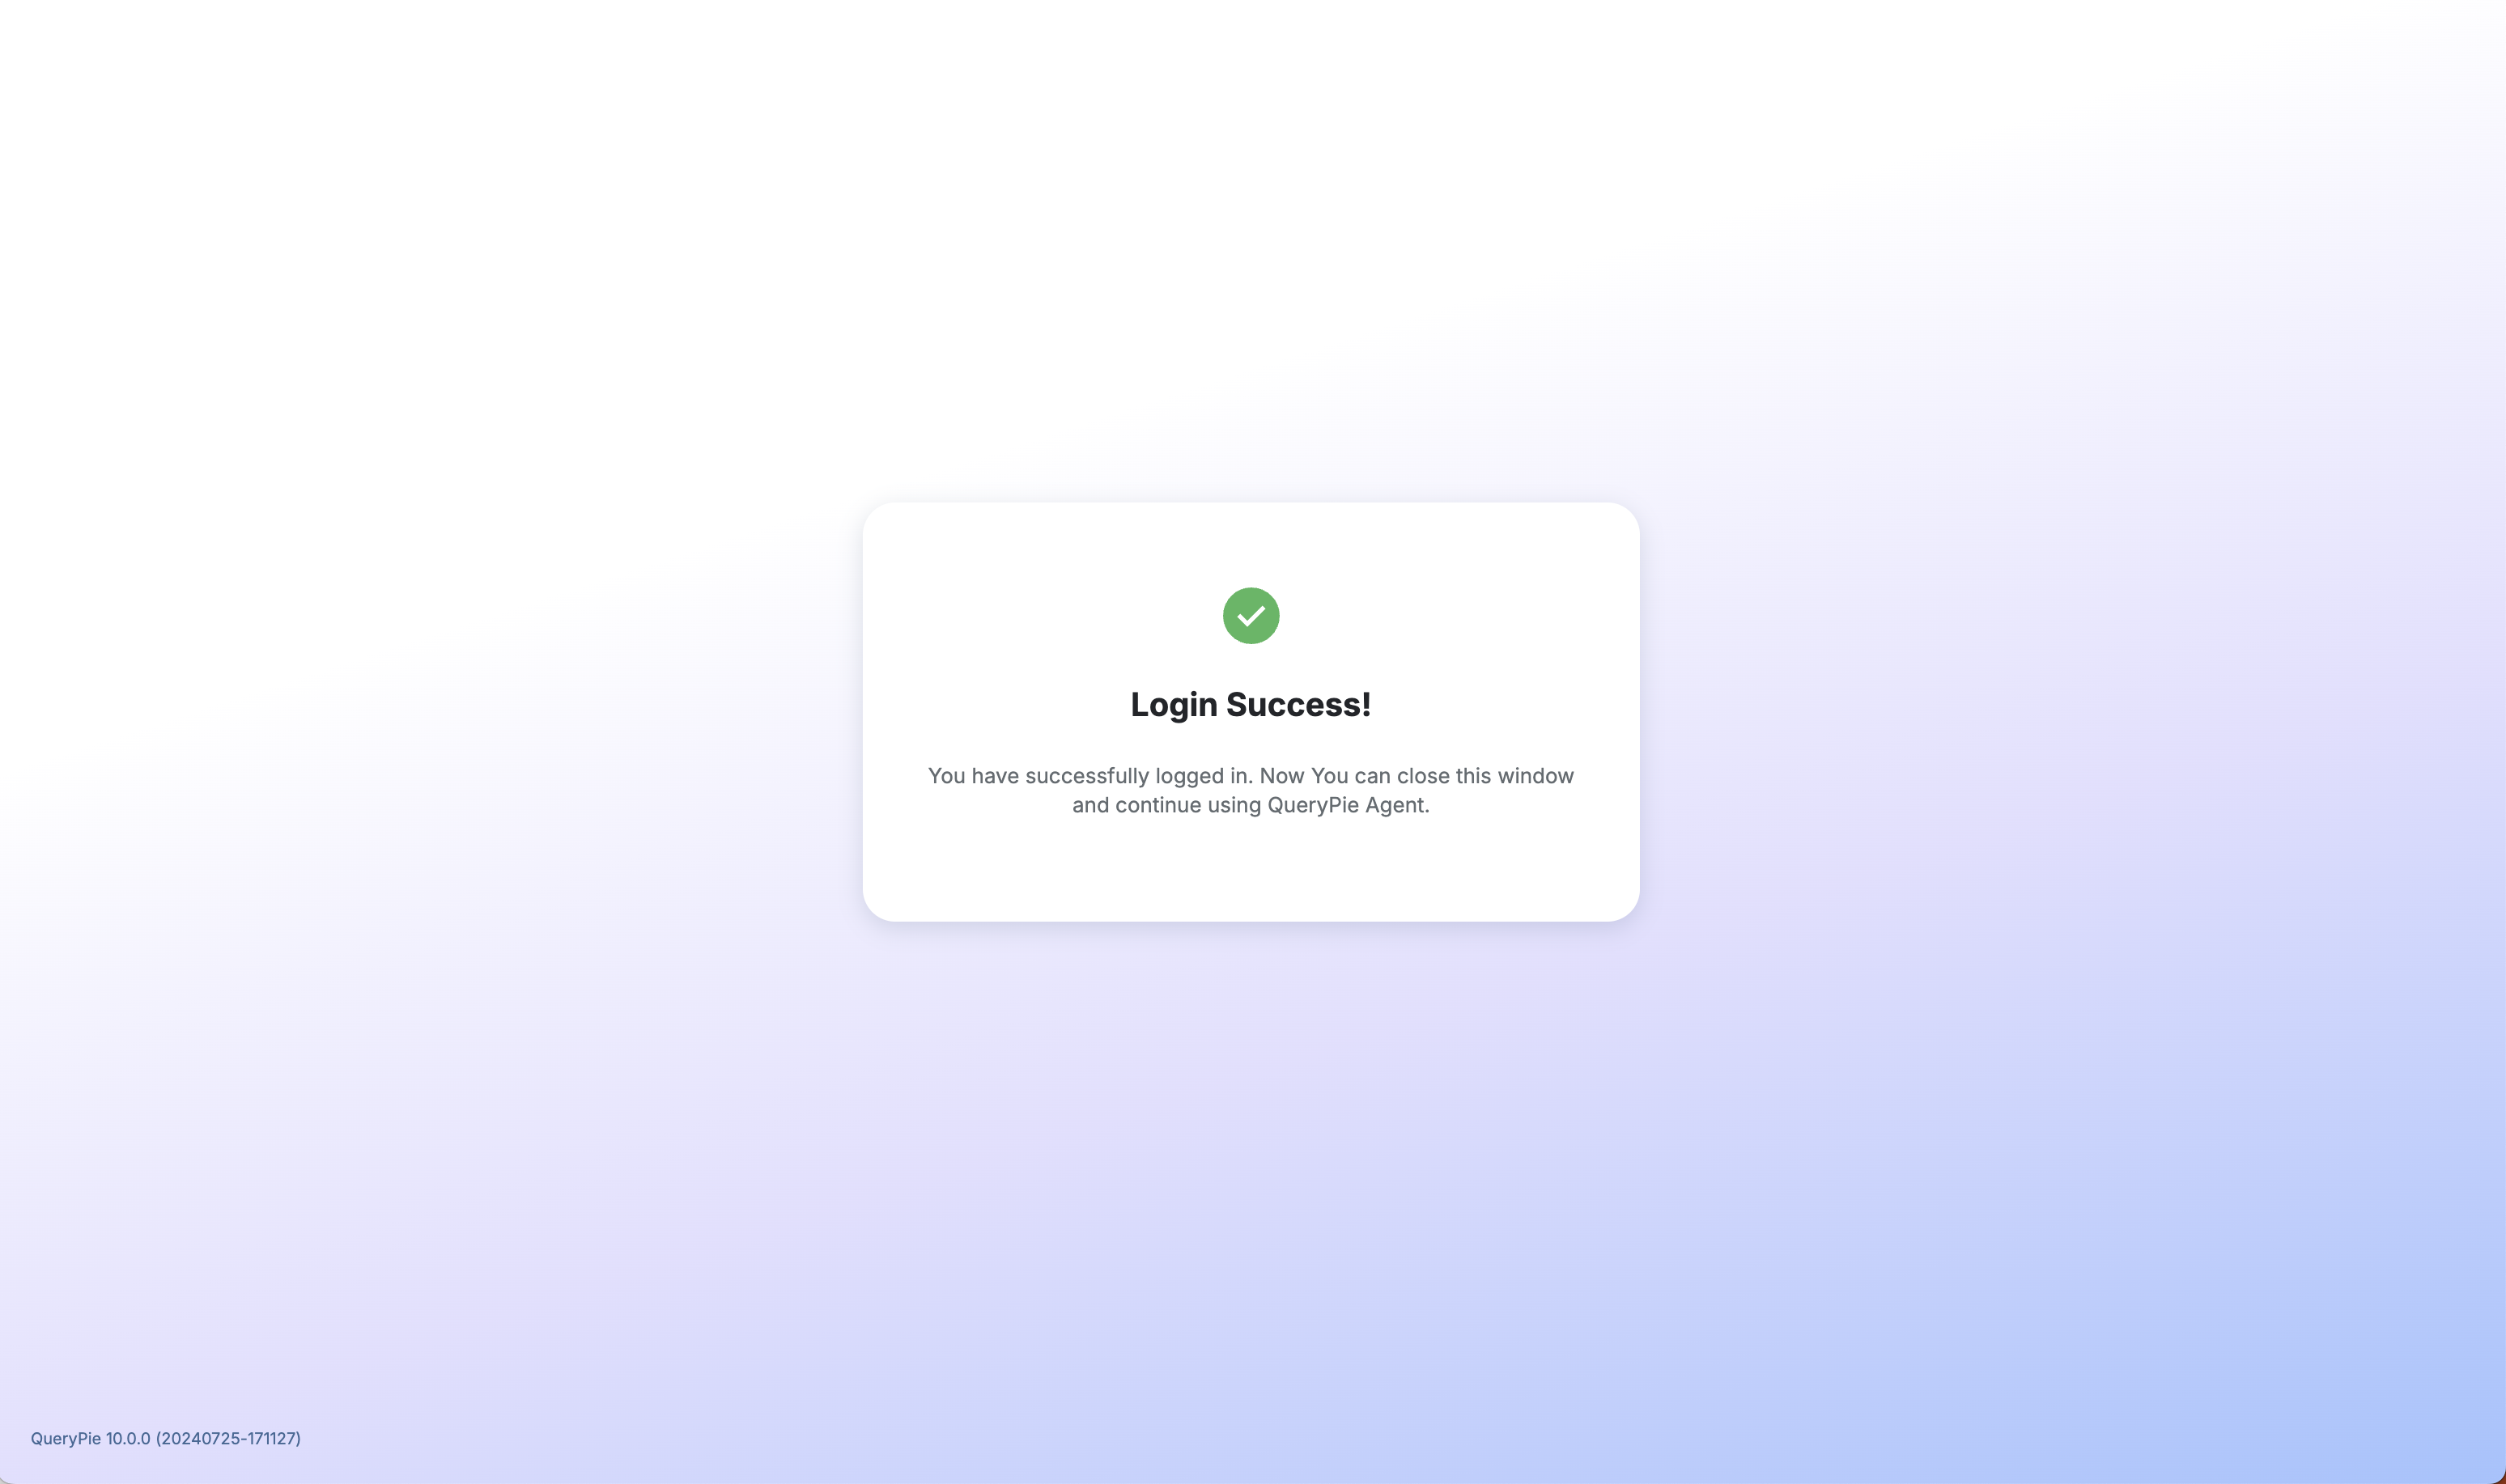
QueryPie Web > Agent Login Success Page
4. Explicitly perform Agent opening to transfer authentication information to the Agent.
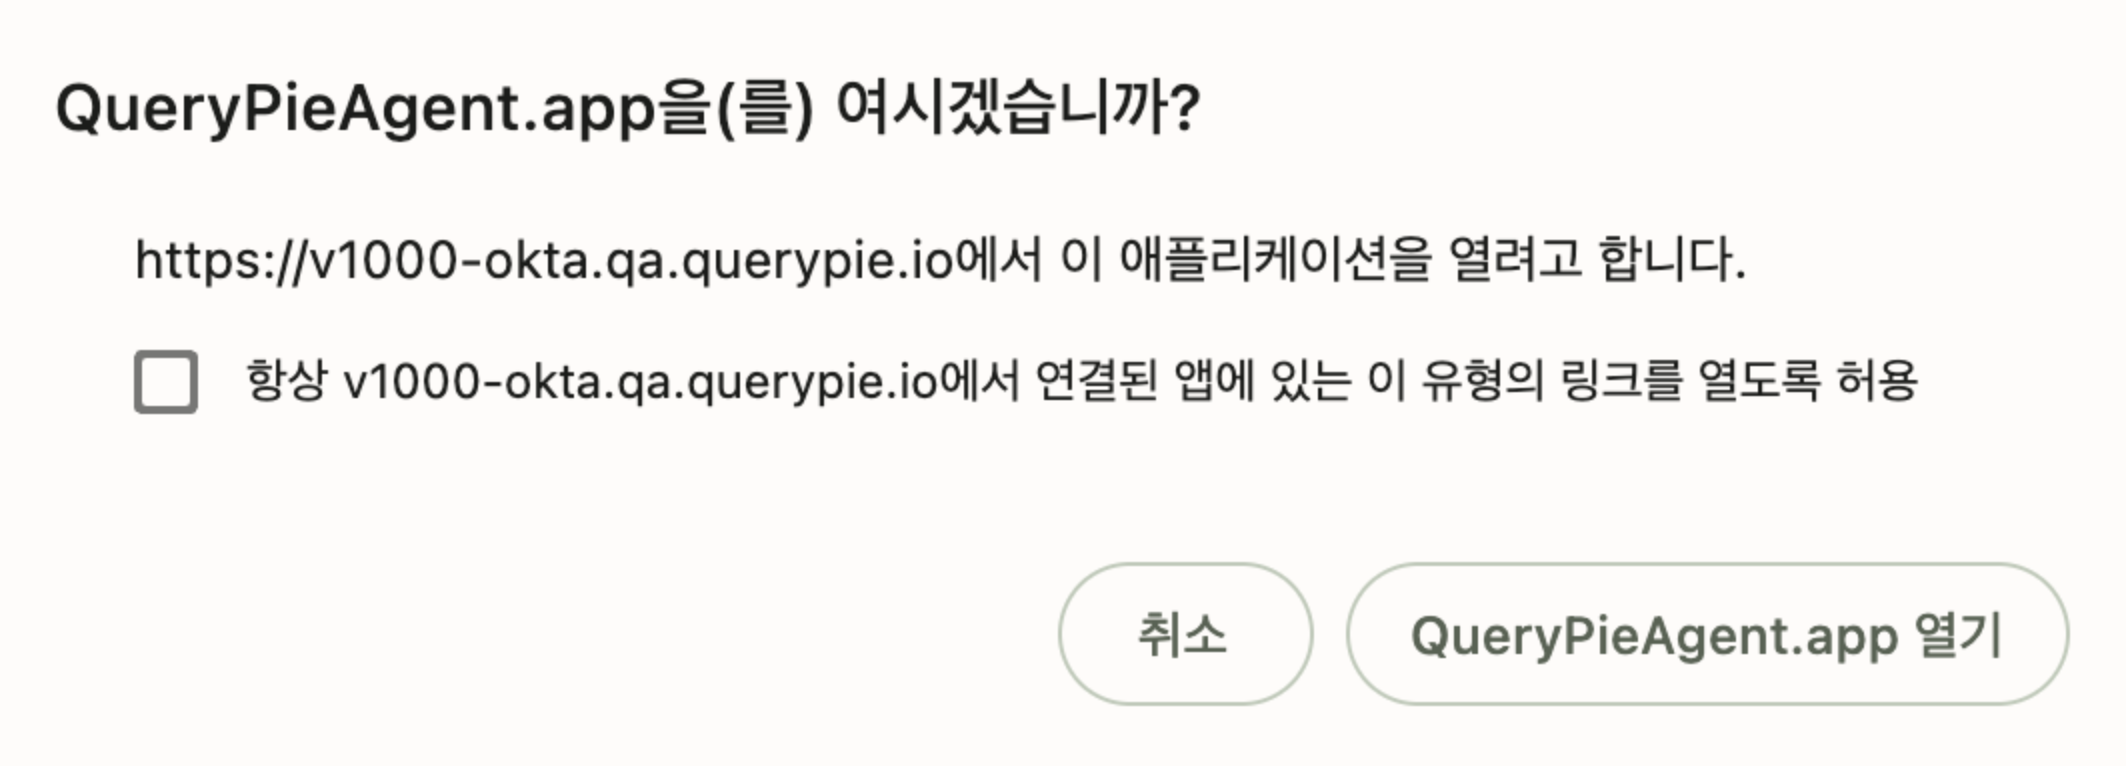
Chrome - Agent App Open Modal
Connecting to Database through Agent
1. Check the connection information for authorized connections in the Database tab within the Agent app.
After login is completed normally, you can check the connection information for authorized connections in the Database tab within the Agent app.
Click the Port assigned to the connection you want to connect to, and you can check the Proxy Credentials information for that connection.
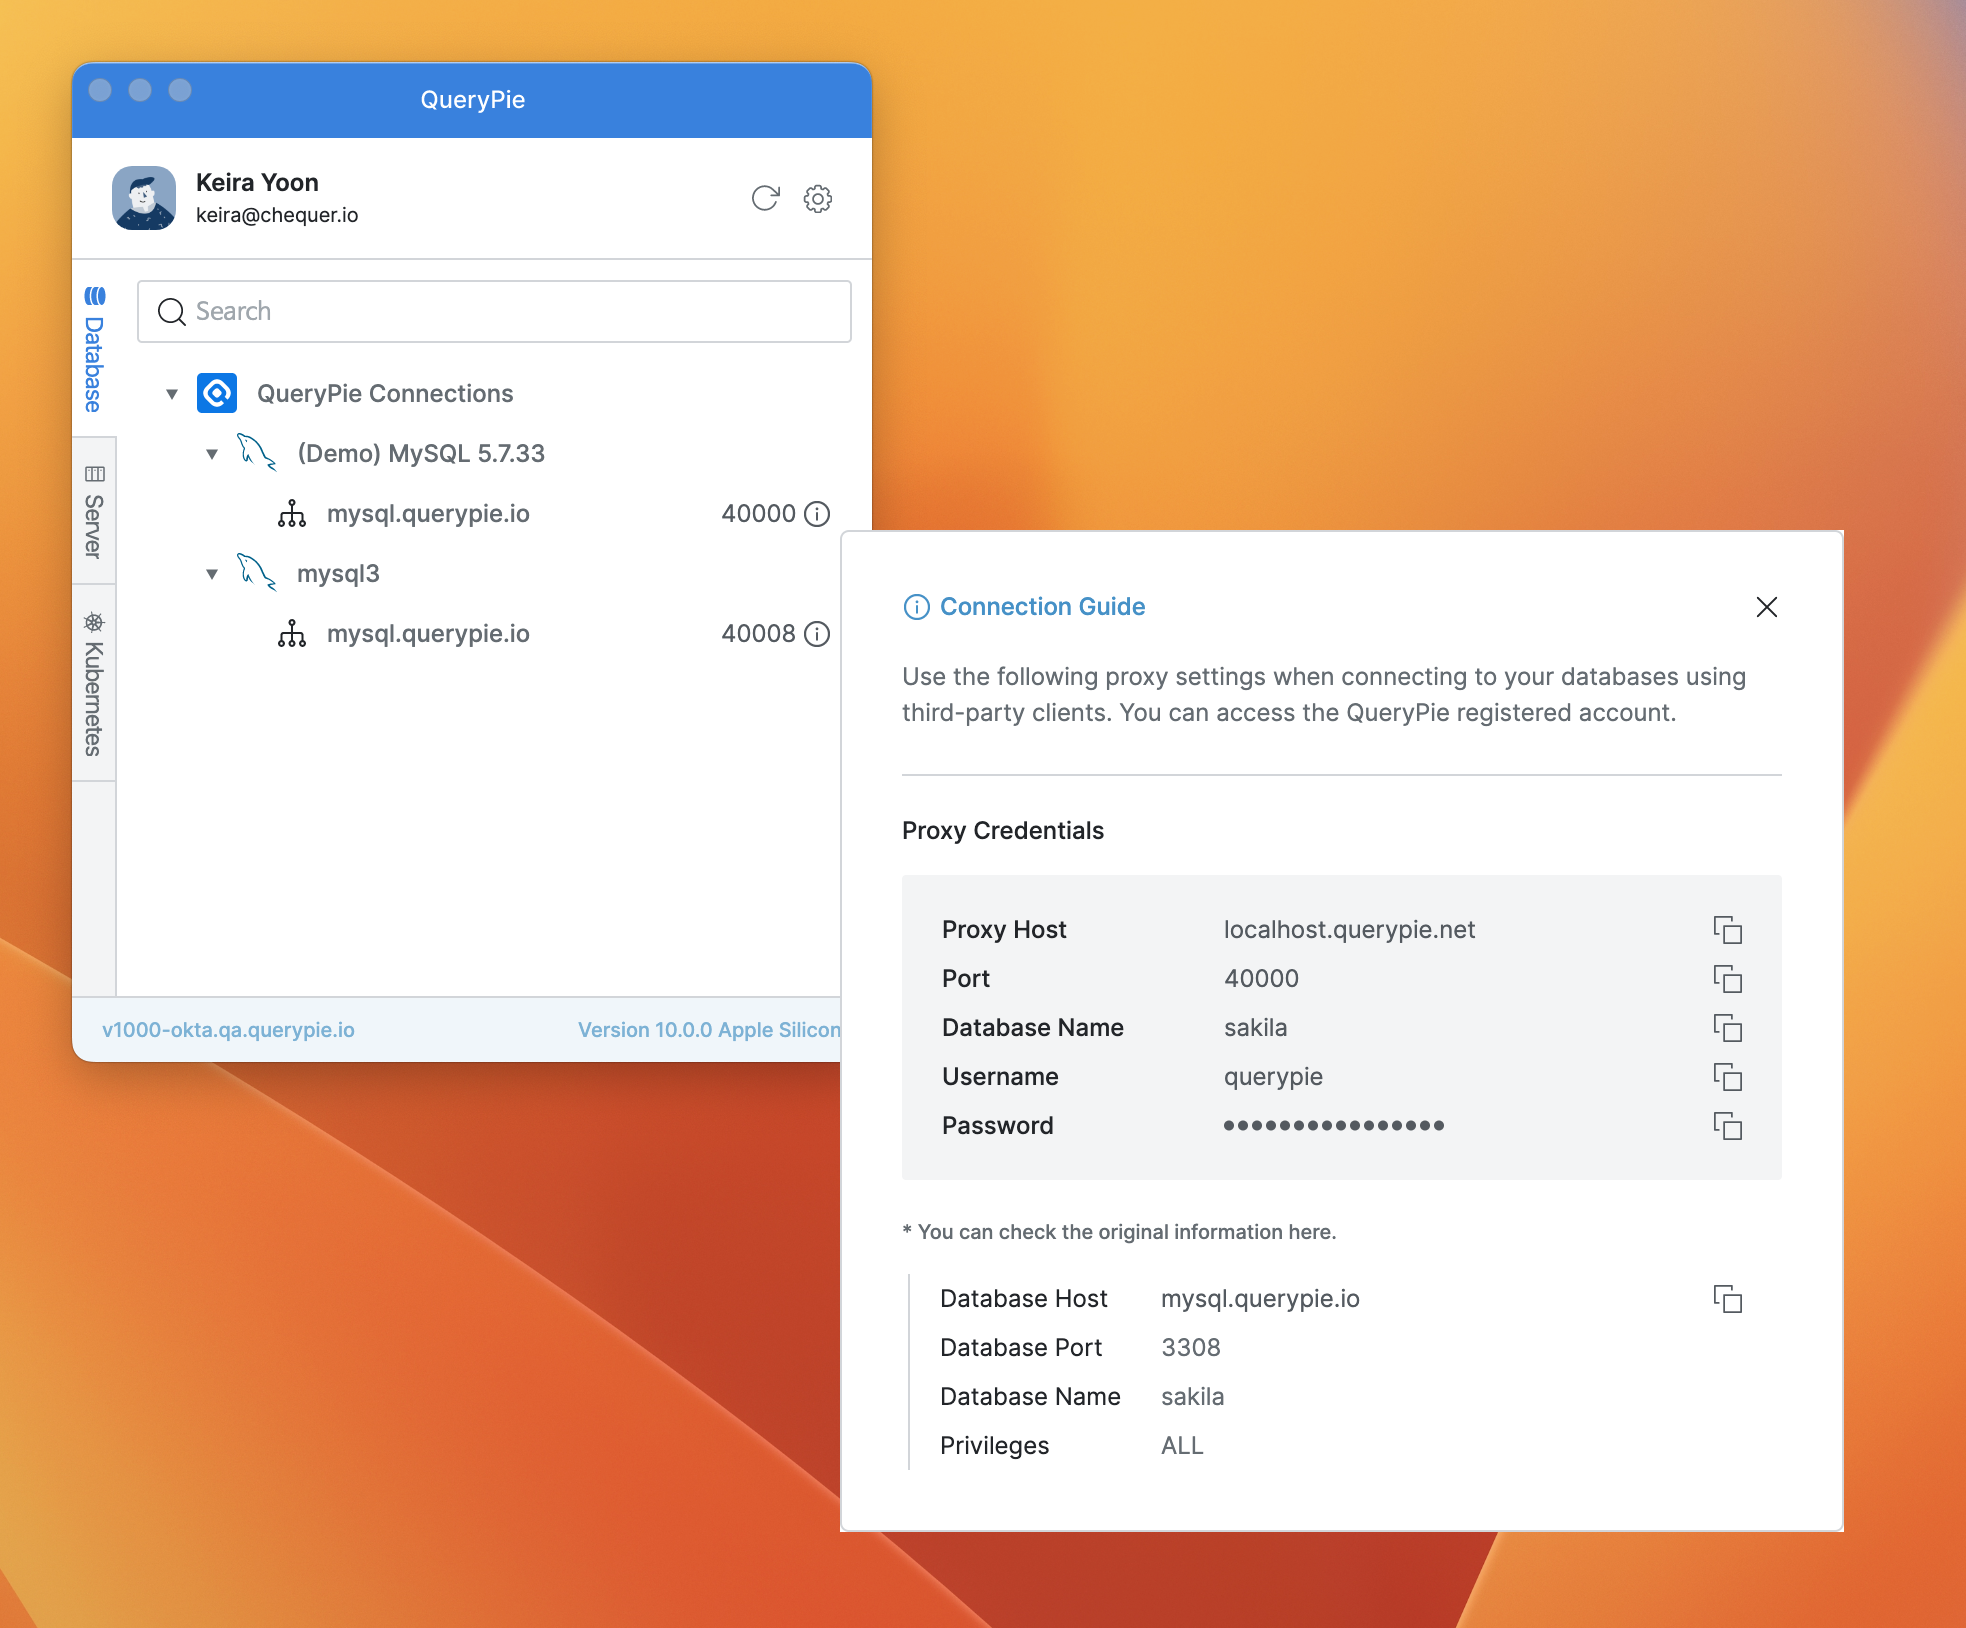
Agent > DB Connection Information
2. Enter the above connection information into a 3rd party client to connect to the DB connection.
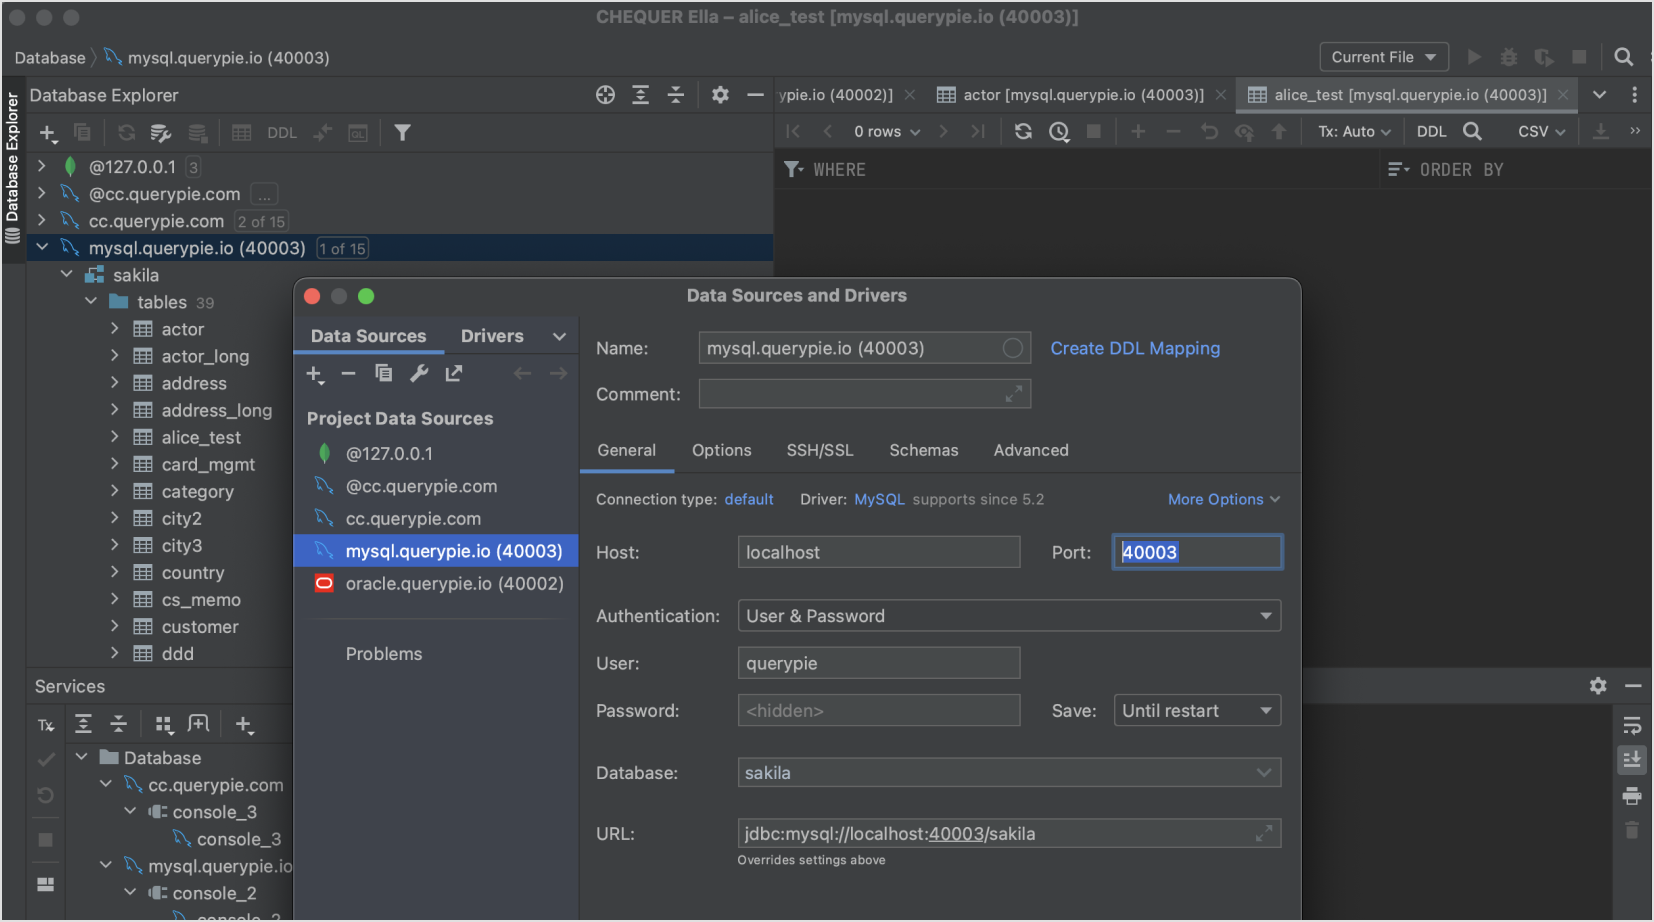
DB Connection Access Using 3rd Party Client
Server Access through Agent
After login is completed normally, you can check authorized servers in the Server tab within the Agent app.
1. Selecting Server Role
Click the Role button below the user profile area to choose the desired role and click the OK button. When selecting the Default role, use the server permissions assigned through Workflow > Server Access Request.
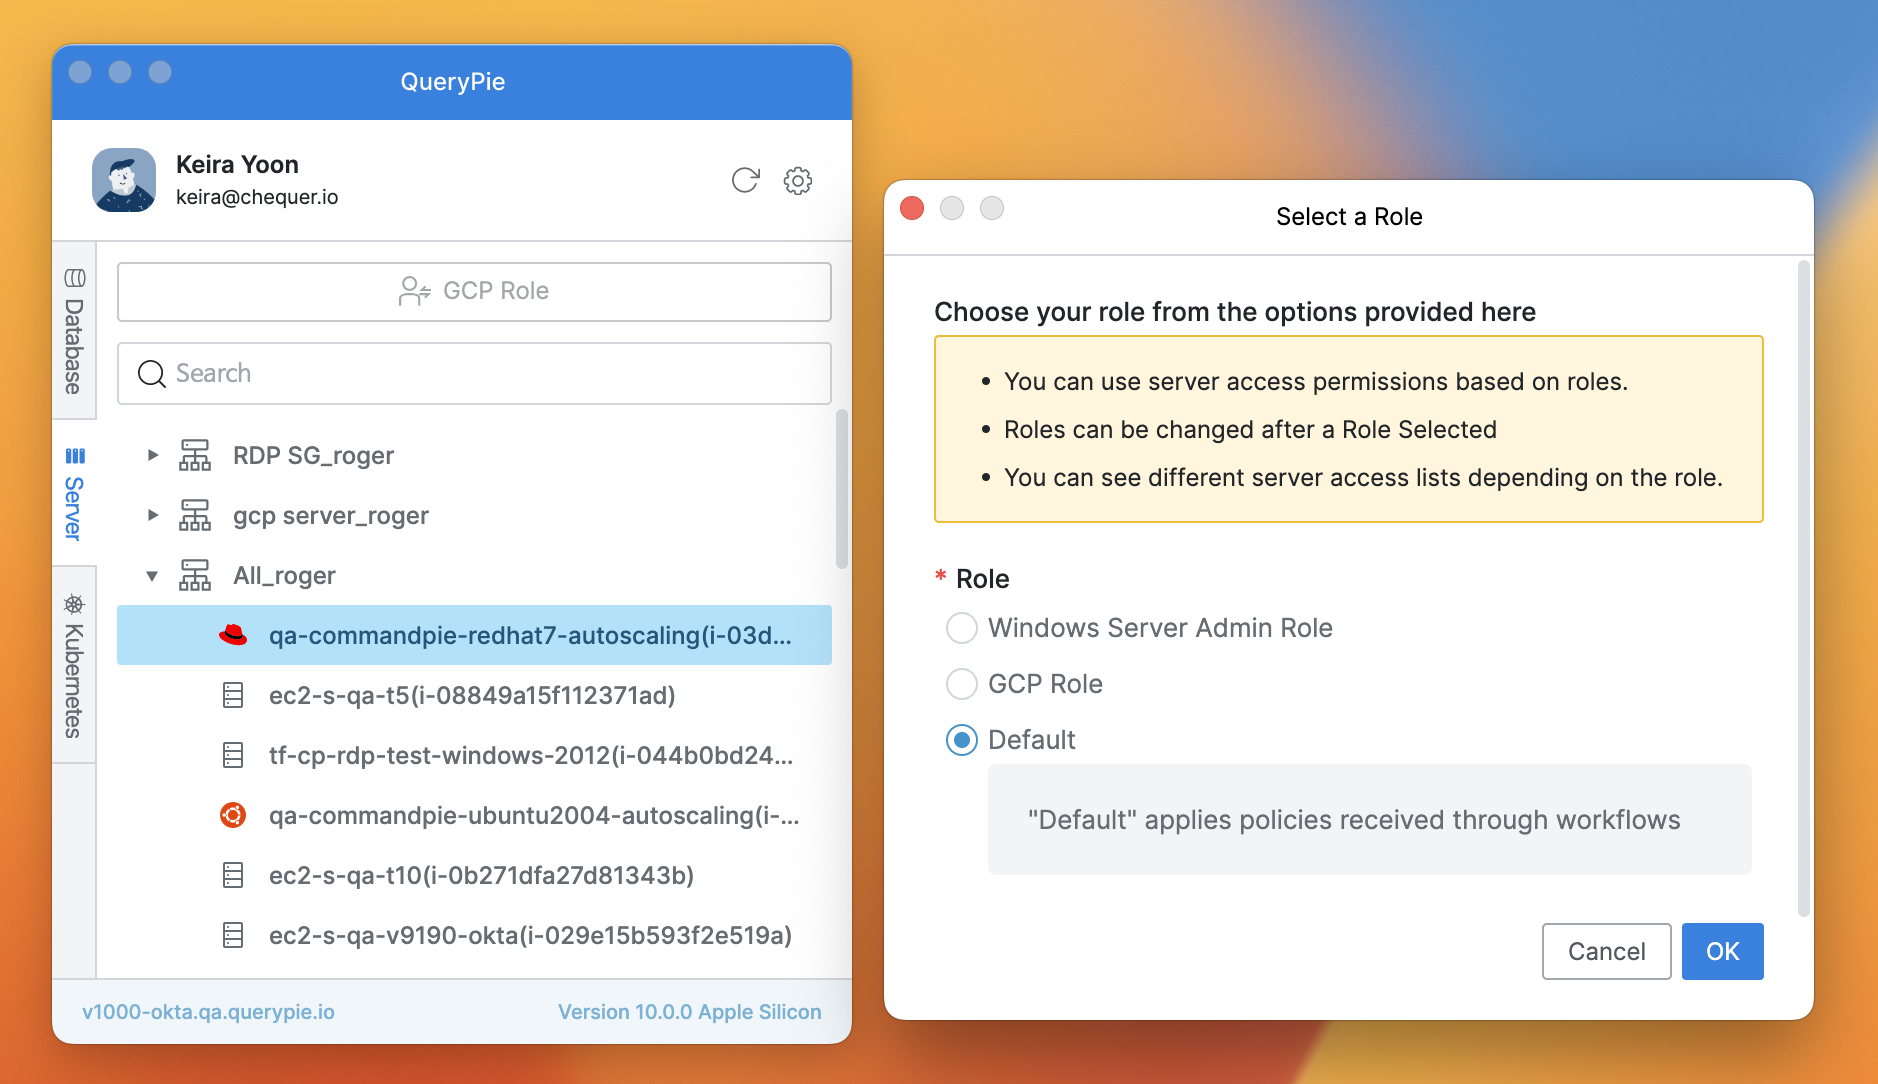
Agent > Server > Select a Role
If you have two or more roles, you must complete role selection first before using the Server function after Agent login.
2. Connecting to Server through Agent
Right-click on the server you want to connect to and select the Open Connection with menu to choose the terminal tool you want to use.
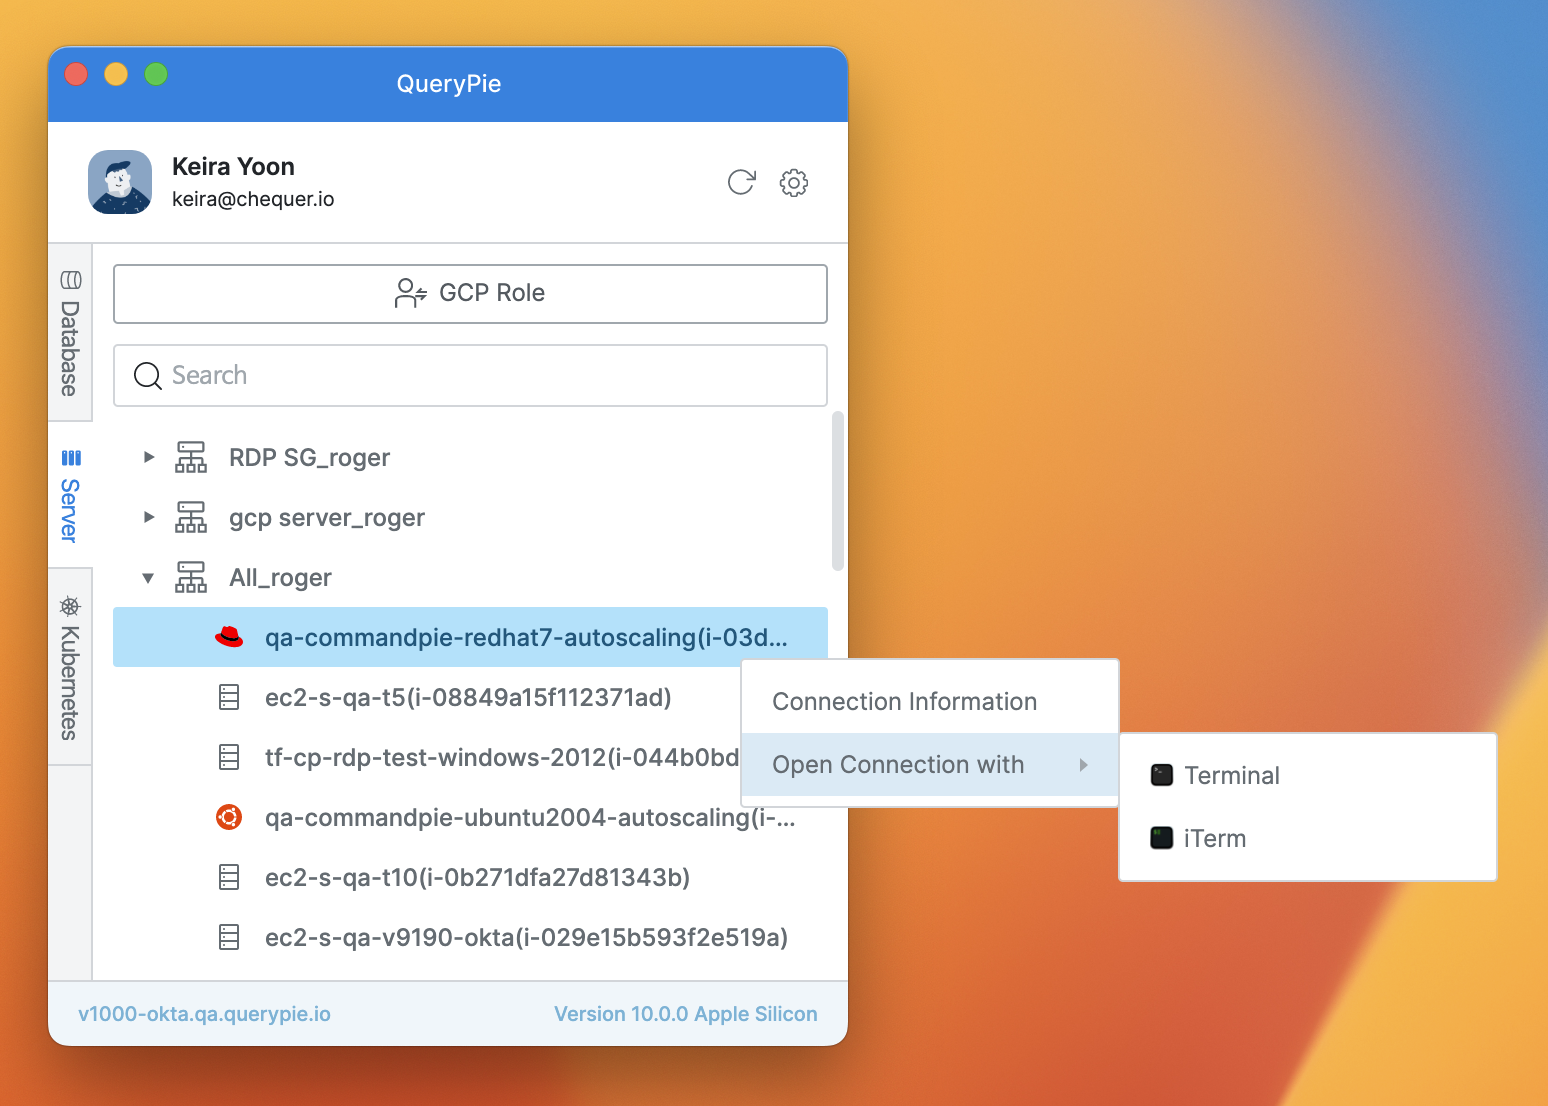
Agent > Server > Open Connection with
If there are multiple accounts that can access that server, an Account selection window opens.
Select the account you want to use, and enter the password if necessary, then click the OK button to open the session.
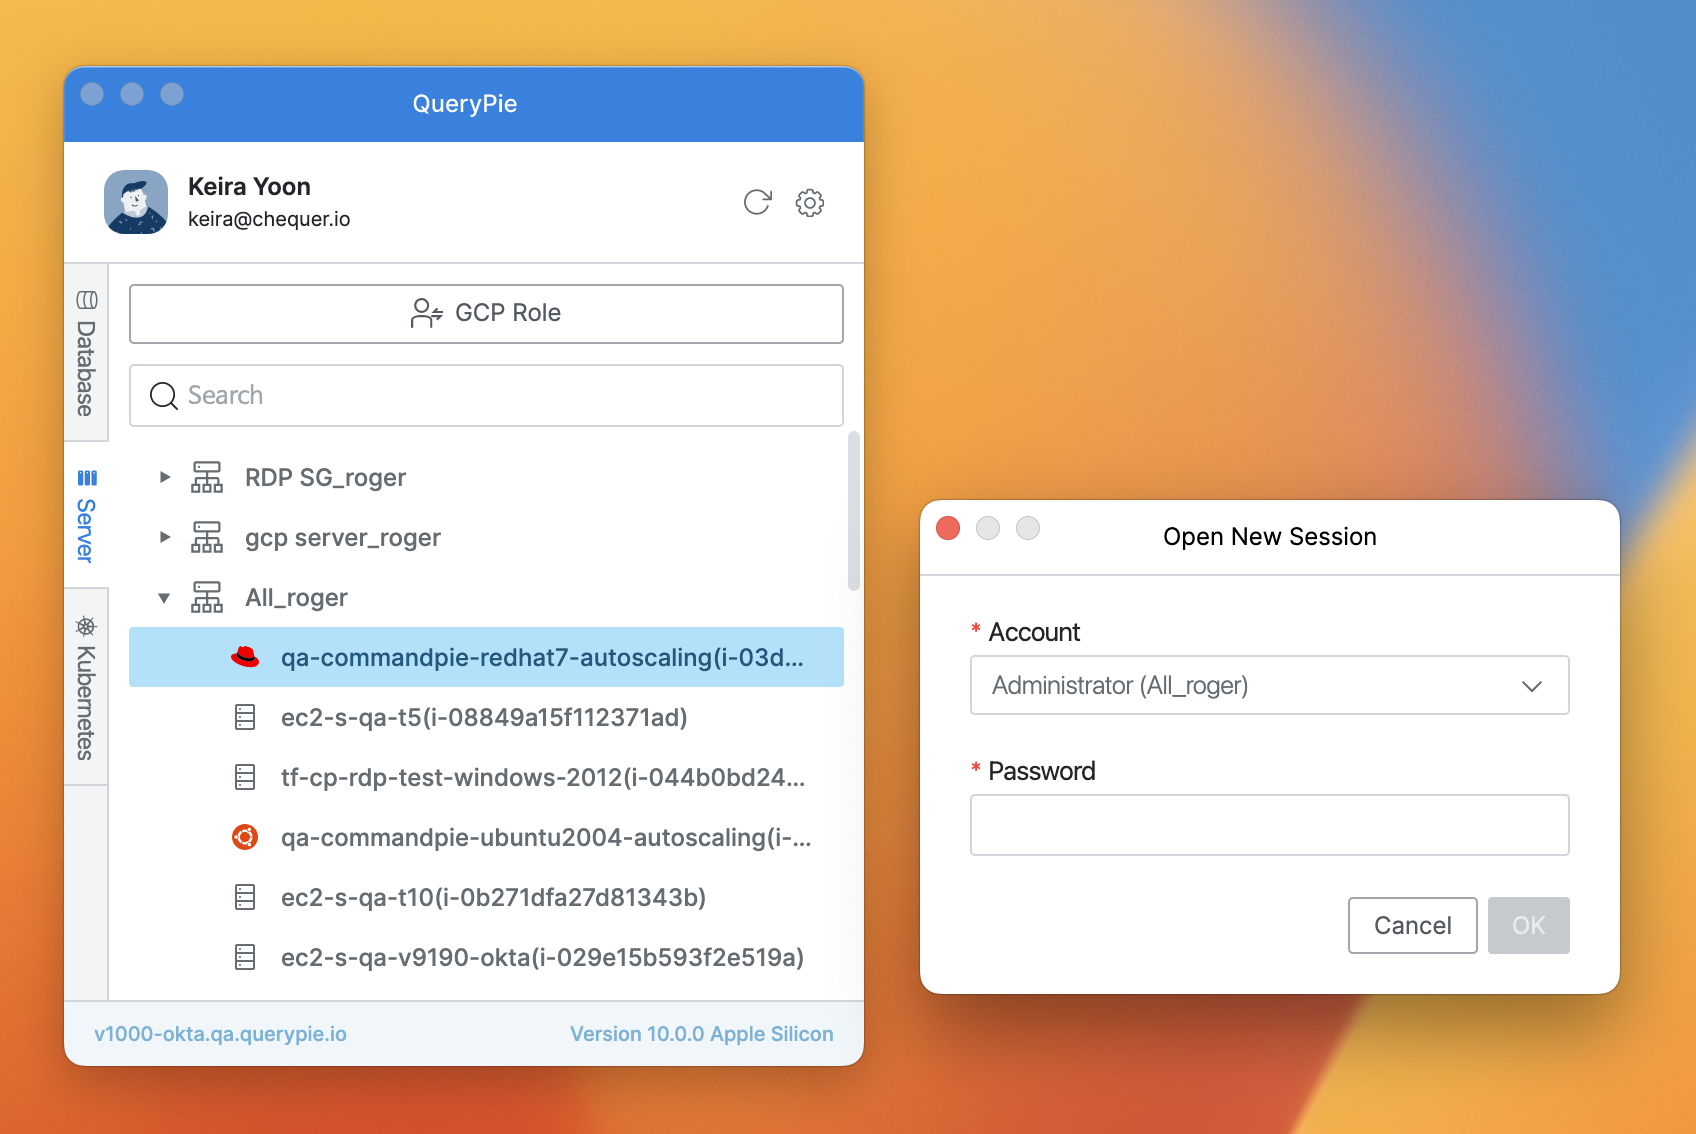
Agent > Server > Open New Session
3. Setting Up Seamless SSH
Seamless SSH is a feature that allows you to connect to servers through QueryPie while maintaining existing terminal usability.
You can easily set up seamless SSH by creating a config file in the .ssh folder using the following method.
3.1. Open a terminal and navigate to the .ssh folder.
$ cd .ssh3.2. Open the vi editor to create a config file in the .ssh folder.
$ vi config3.3. Enter the following content, then press Esc and type :wq to save and exit the vi editor.
Host {{Server Name}}
  Hostname {{Server URL}}
  Port {{Server SSH Port}}
  ProxyCommand qpa ssh %r %h %p
When writing the config file, specify the server by entering the server name, URL, and port for each server you want to set up Seamless SSH.
If URLs and ports don’t overlap between servers, you can also enter as follows to connect.
Host *
  ProxyCommand qpa ssh %r %h %p
3.4. The setup is now complete.
When you select a role in Agent > Server tab, you can connect to the server using the existing ssh command.
$ ssh deploy@{{Server Name}}Kubernetes Access through Agent
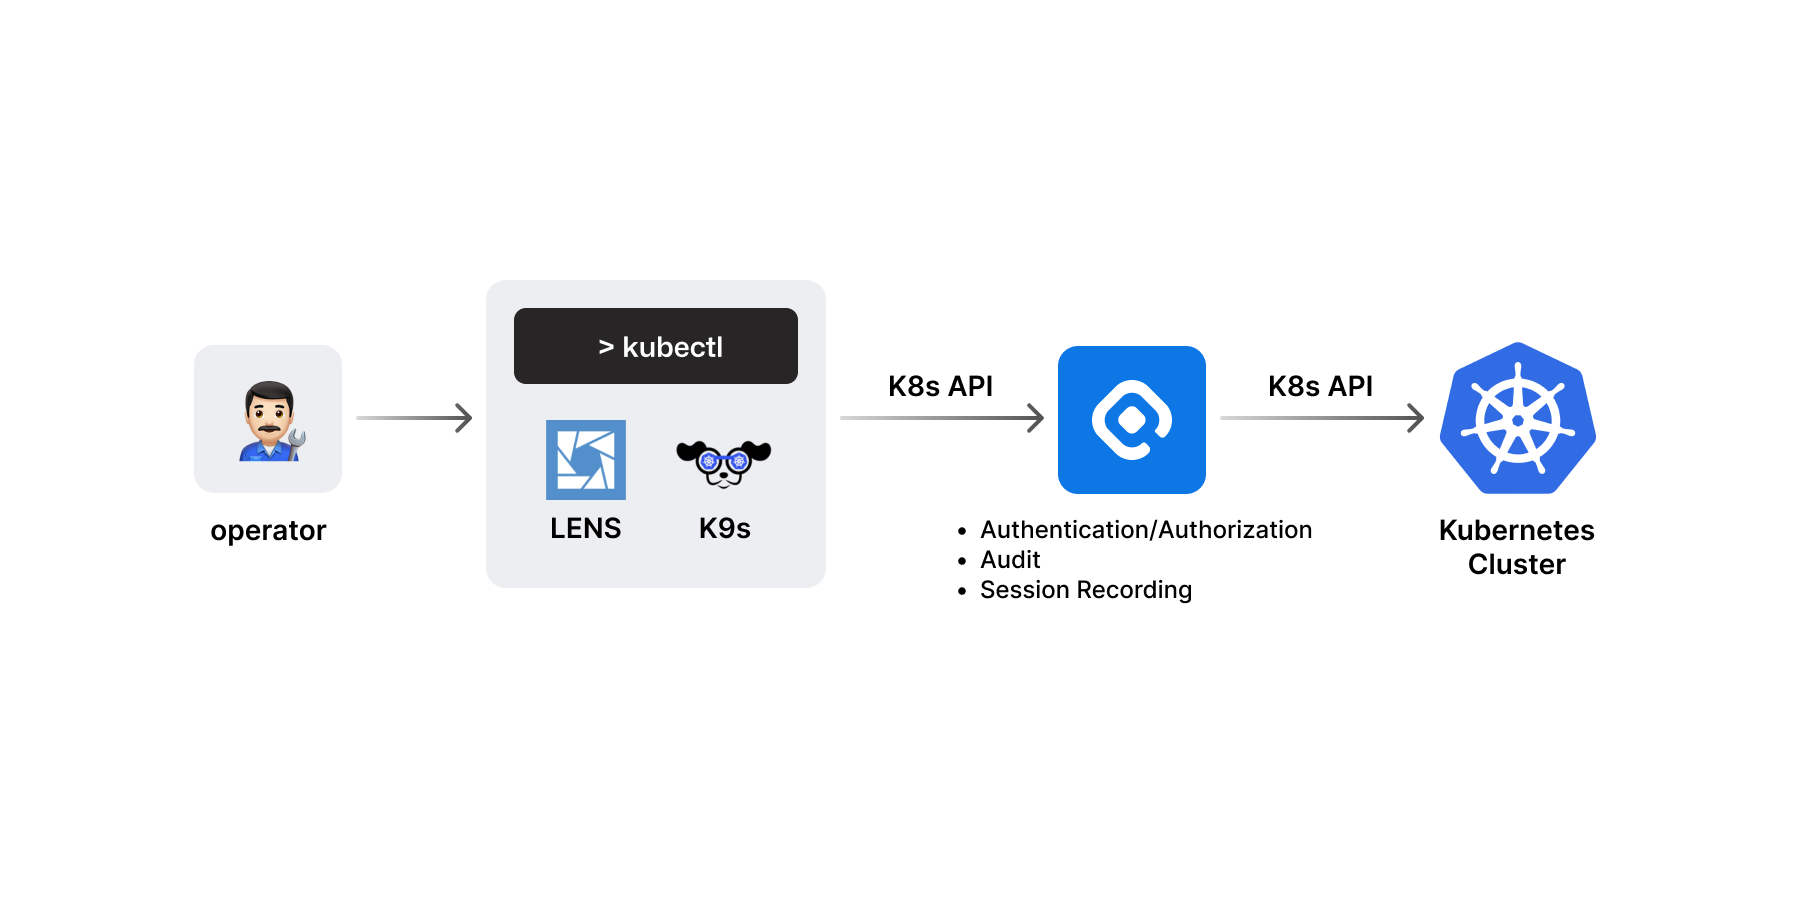
Authorized users automatically receive a kubeconfig file according to current policies when running the agent.
Through this, you can access Kubernetes API resources using Kubernetes Client tools (kubectl, lens, k9s, etc.).
The agent displays a list of accessible clusters and shows the policies applied to each cluster.
You can also check and modify the location of the kubeconfig file and change the file path through the settings menu.
1. Selecting Kubernetes Role
Click the Role button below the user profile area to open the role selection modal.
Choose the desired role and click the OK button.
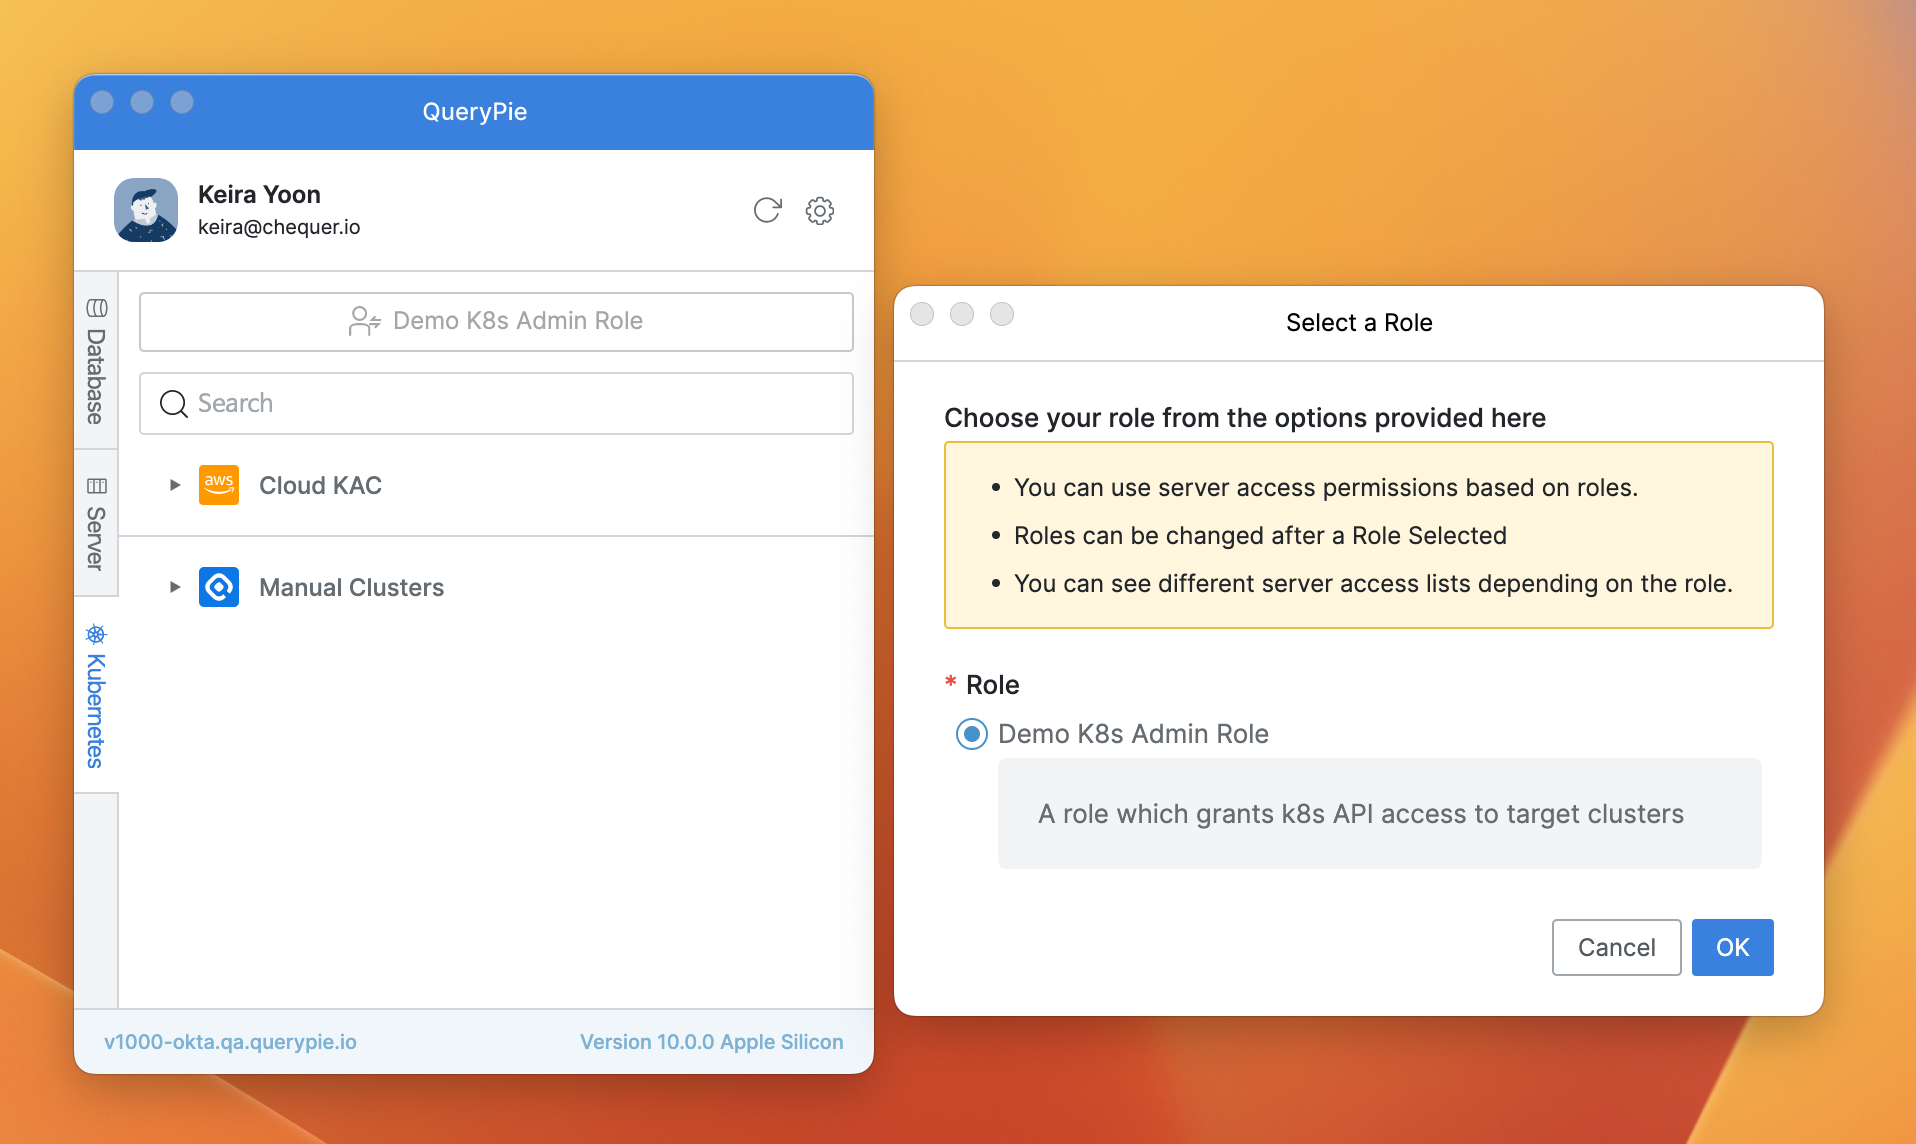
Agent > Kubernetes > Select a Role
If you have two or more roles, you must complete role selection first before using the Kubernetes function after Agent login.
2. Viewing Policy
Resources accessible according to the selected role are displayed.
Click the 🔍 button on the right of each cluster to display the Policy Information popup window where you can check the detailed list of policies applied to that cluster.
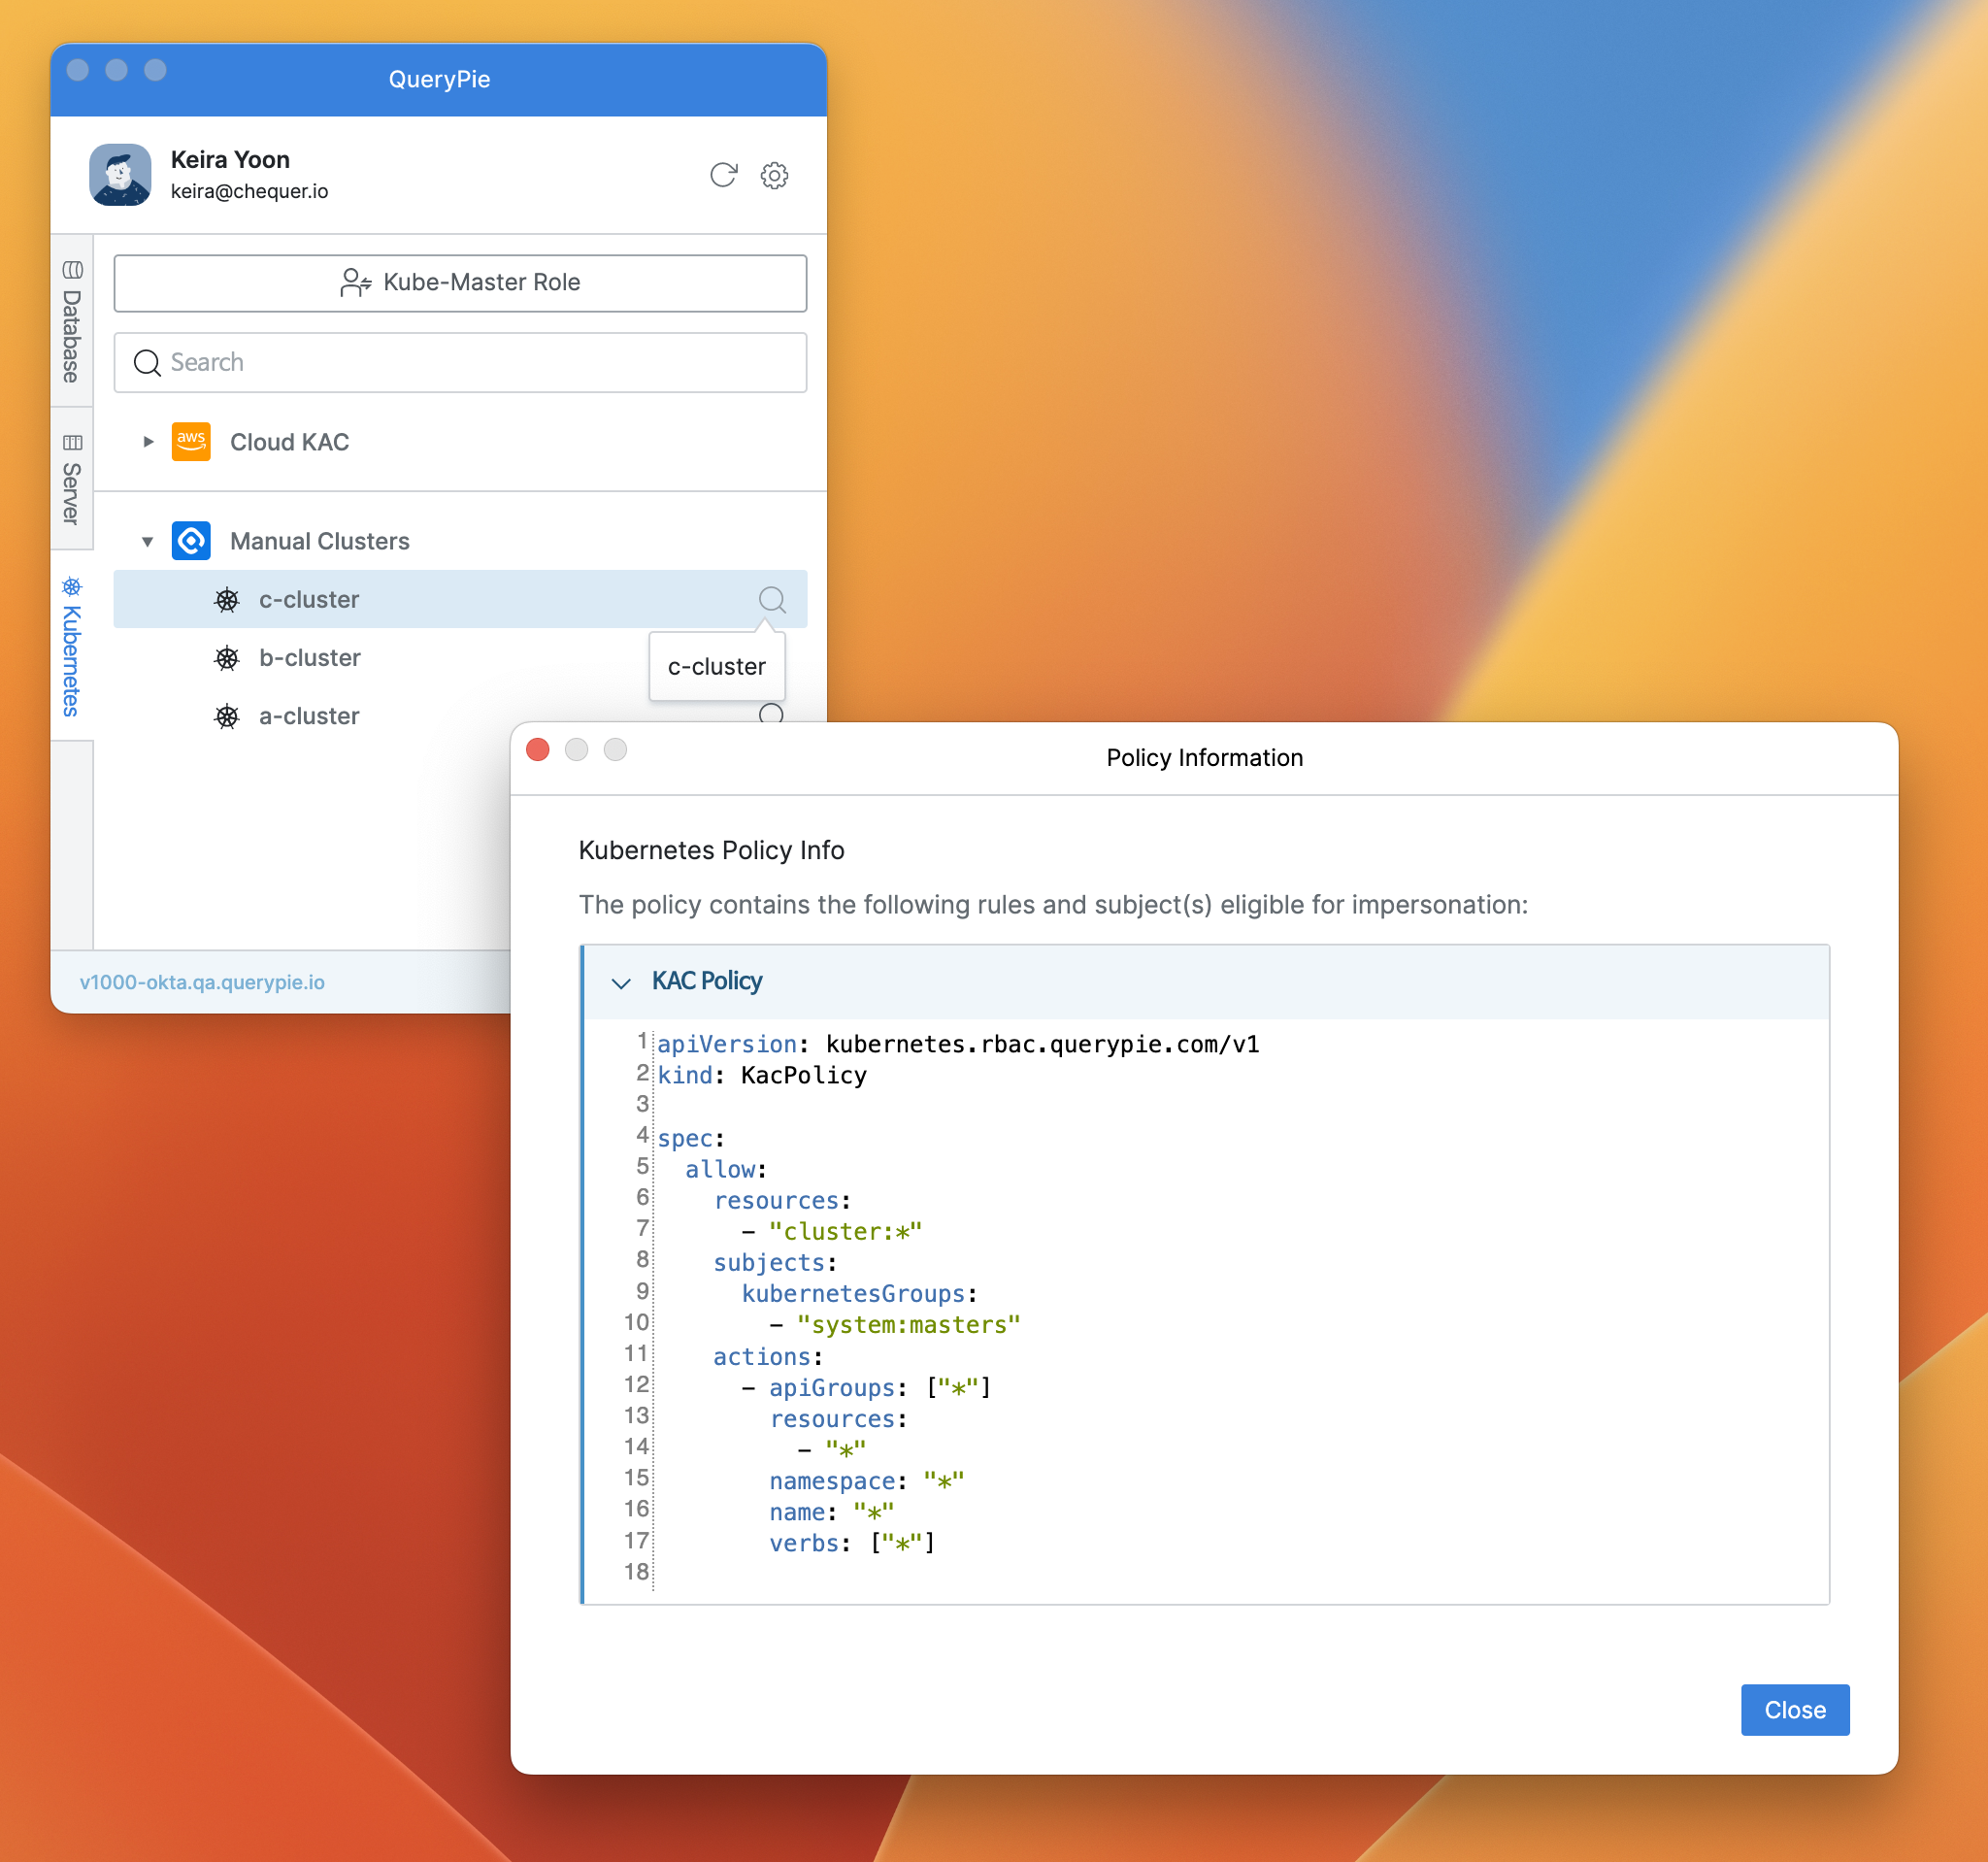
Agent > Policy Information
3. Setting Kubeconfig Path
Click the KubeConfig Path button in the Agent settings menu to open the Kubeconfig path configuration modal.
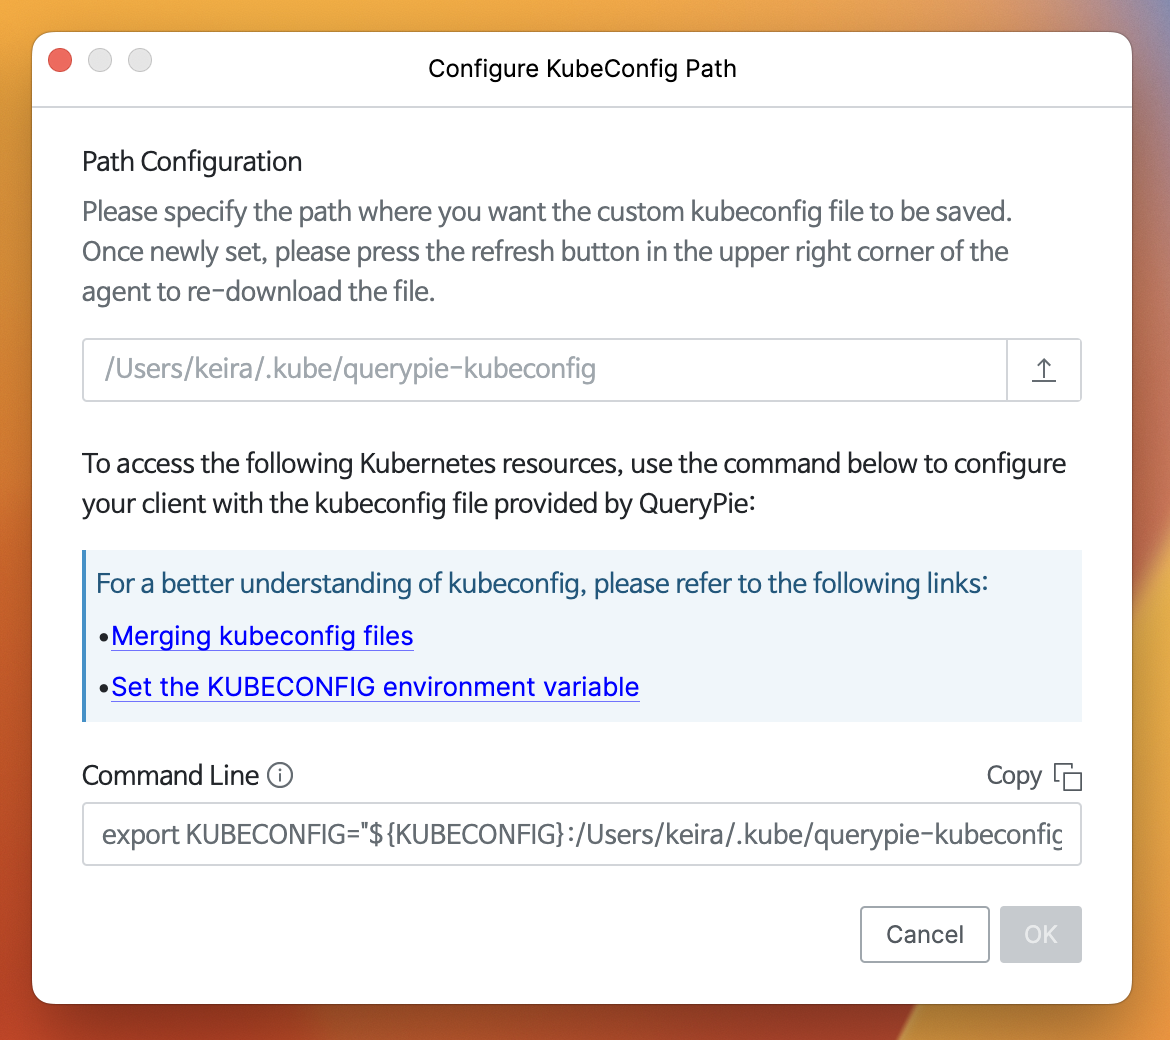
Agent > Settings > Configure Kubeconfig Path
- Path Configuration : You can specify the storage path for the Kubeconfig file.
- The default value is
$HOME/.kube/querypie-kubeconfig. - Click the
Uploadbutton on the right of the path field to display a popup where you can specify a local file path.
- The default value is
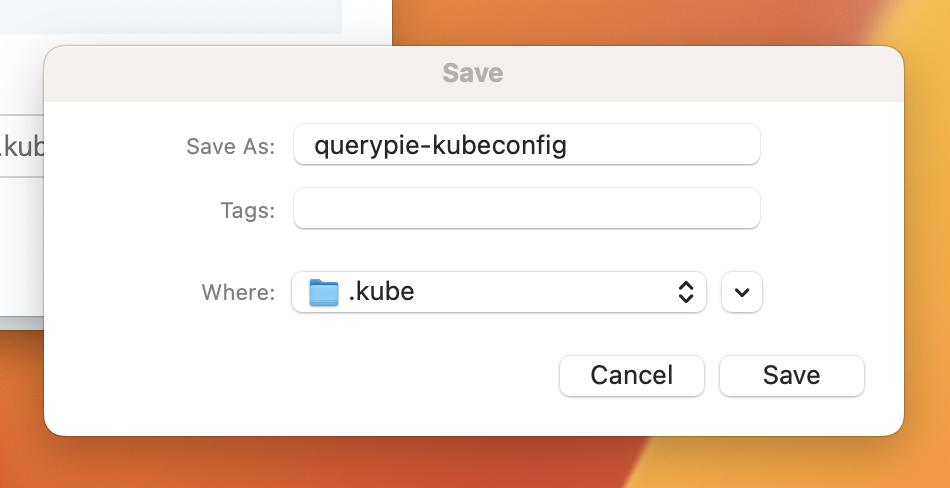
Path Selection Popup
- Where : Click the
🔽button on the right to specify the desired folder. - Save As : Enter the name of the Kubeconfig file. If not changed, the default value is applied.
- Command Line : Provides a command line for declaring the KUBECONFIG environment variable.
- When setting the KUBECONFIG environment variable for the first time, you must change the default
"${KUBECONFIG}"value in the command line to"${HOME}/.kube/config"before use.
export KUBECONFIG="${HOME}/.kube/config:${HOME}/.kube/querypie-kubeconfig"- When changing the user-specified kubeconfig path provided by QueryPie, you must redeclare the environment variable with the new path.
export KUBECONFIG="${KUBECONFIG}:<user-specified-path>"- For more detailed information about kubeconfig, please refer to the following links.
- Reference: Organizing Cluster Access Using kubeconfig Files
- Reference: Configure Access to Multiple Clusters
- Copy the command line with
Copy, declare it in the client, and switch the context to an accessible cluster.
export KUBECONFIG="${KUBECONFIG}:${HOME}/.kube/querypie-kubeconfig"Resetting QueryPie Agent Settings
Resetting settings will initialize the QueryPie Host information you entered, allowing you to enter it again.
Reset from Agent Settings Menu
Click the ⚙️ button on the right of the profile area to open the settings menu. Click the Reset All Settings button.
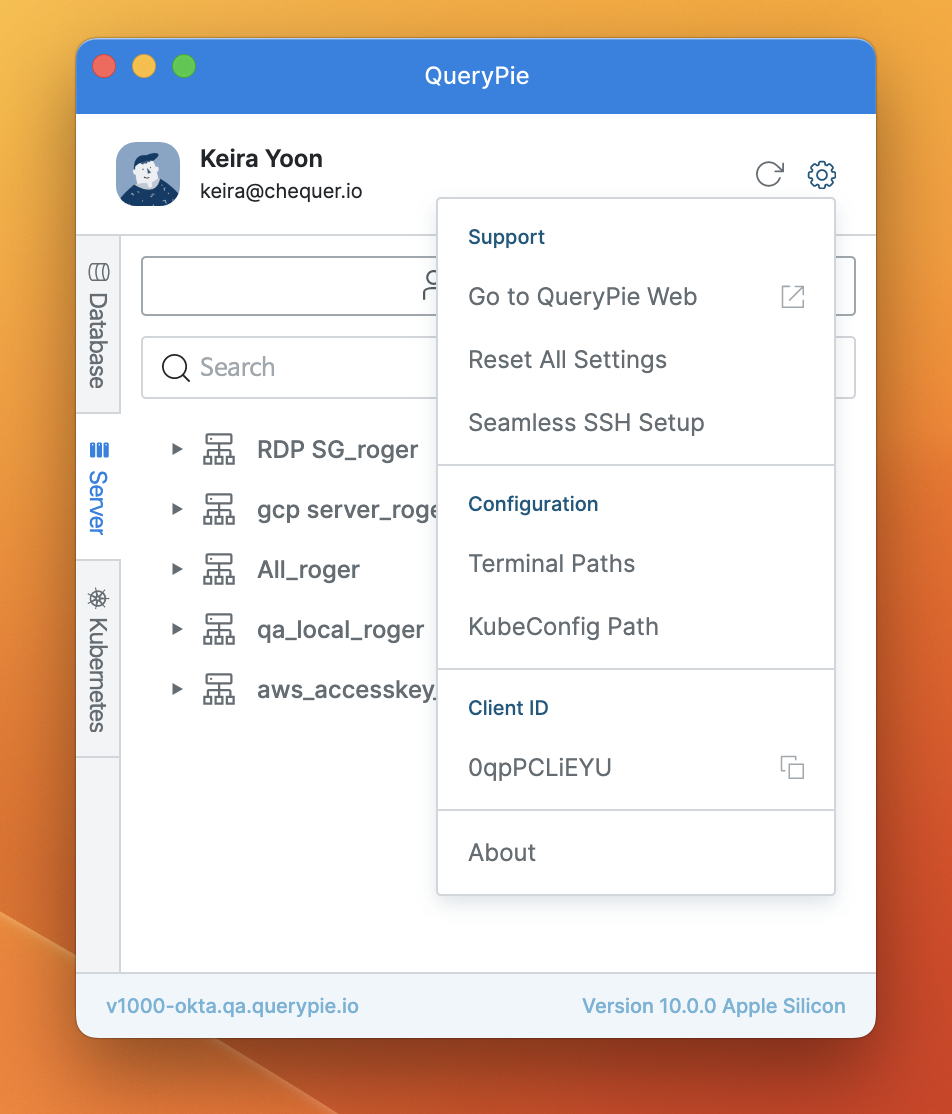
Agent > Settings
(Mac) Reset from App Menu in Menu Bar
Click the QueryPie Agent icon in the menu bar to open the app menu. Click the Reset All Settings button.
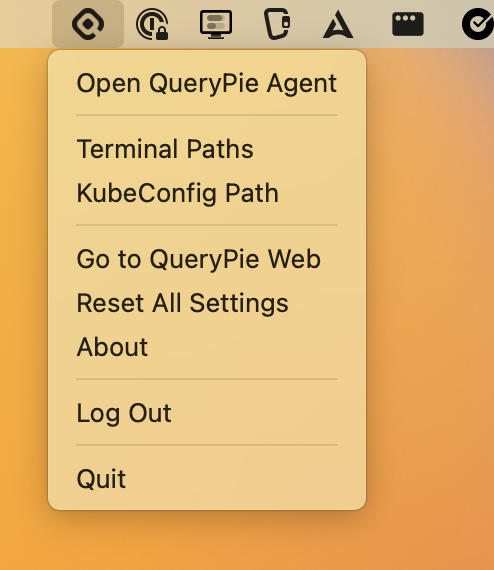
Agent > App menu