Checking Access Permission List
Overview
Users can view at a glance the list of authorized Kubernetes clusters sorted by Cloud Provider and download and install a dedicated QueryPie Agent that supports Kubernetes API calls.
Selecting Role
Users can check the permissions granted to them in the Kubernetes menu after logging into QueryPie.
QueryPie Web > Kubernetes Access Control > Kuber > Select a Role
QueryPie Web > System Access Control > Kubernetes > Select a Role
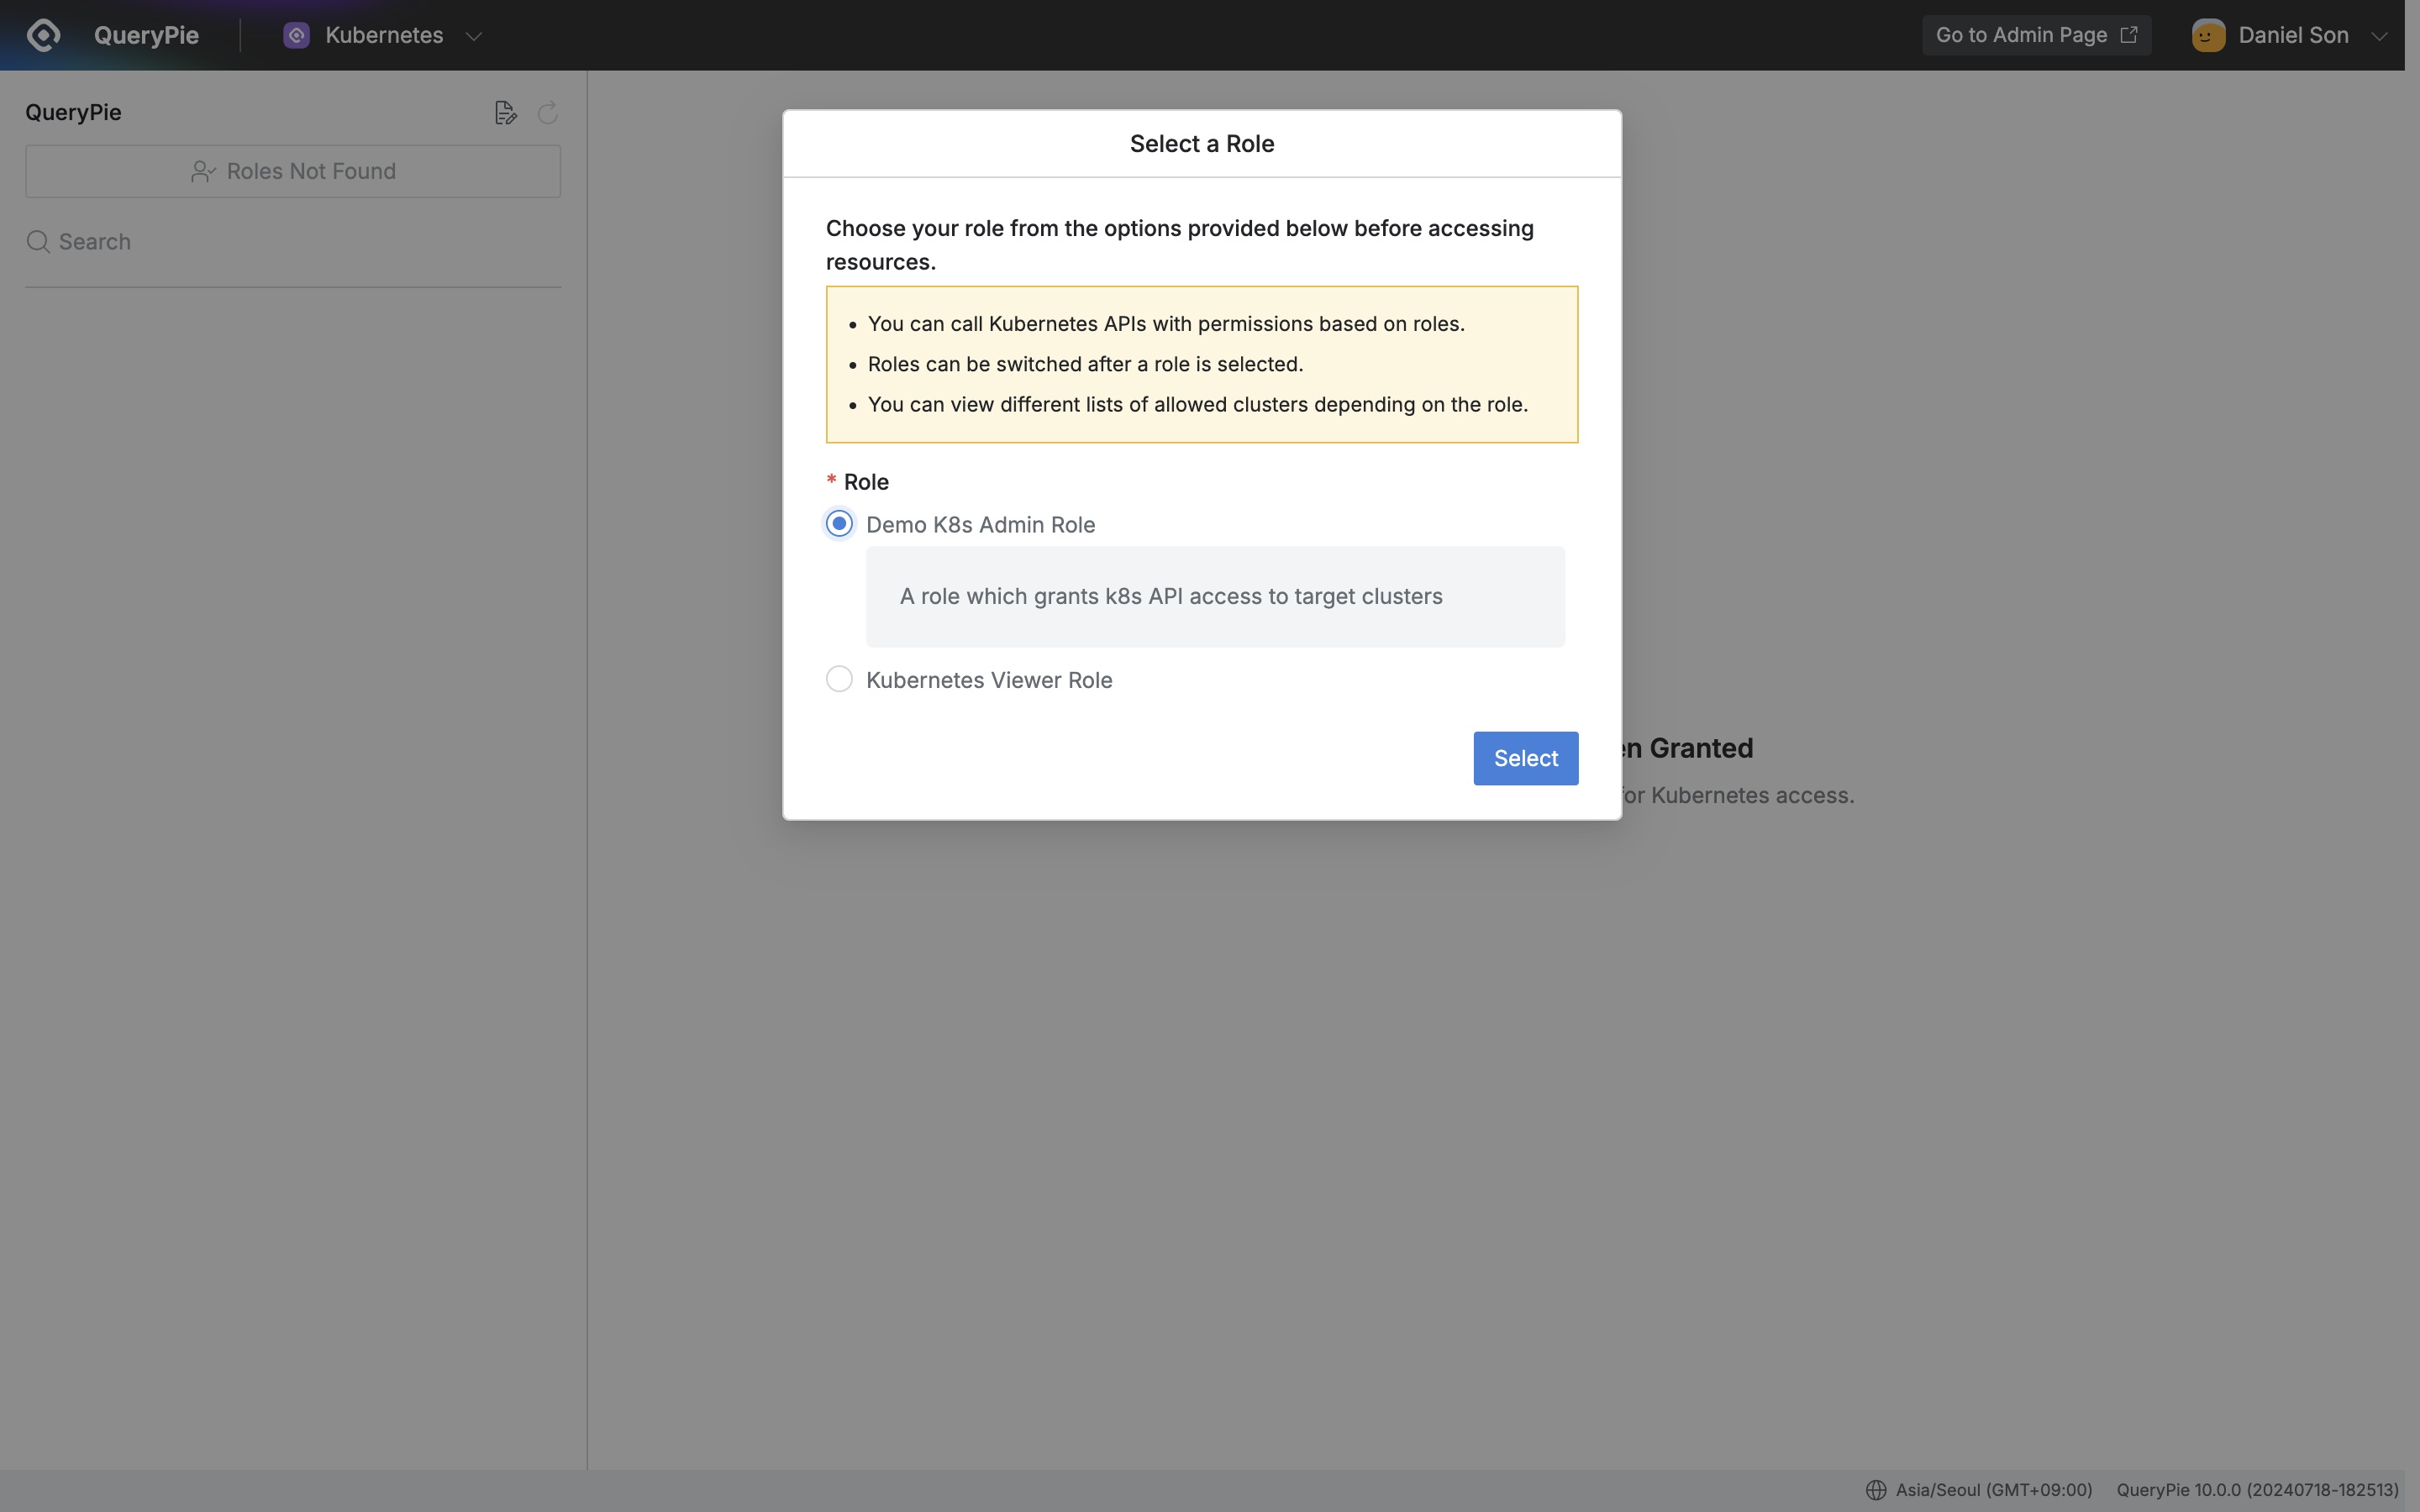
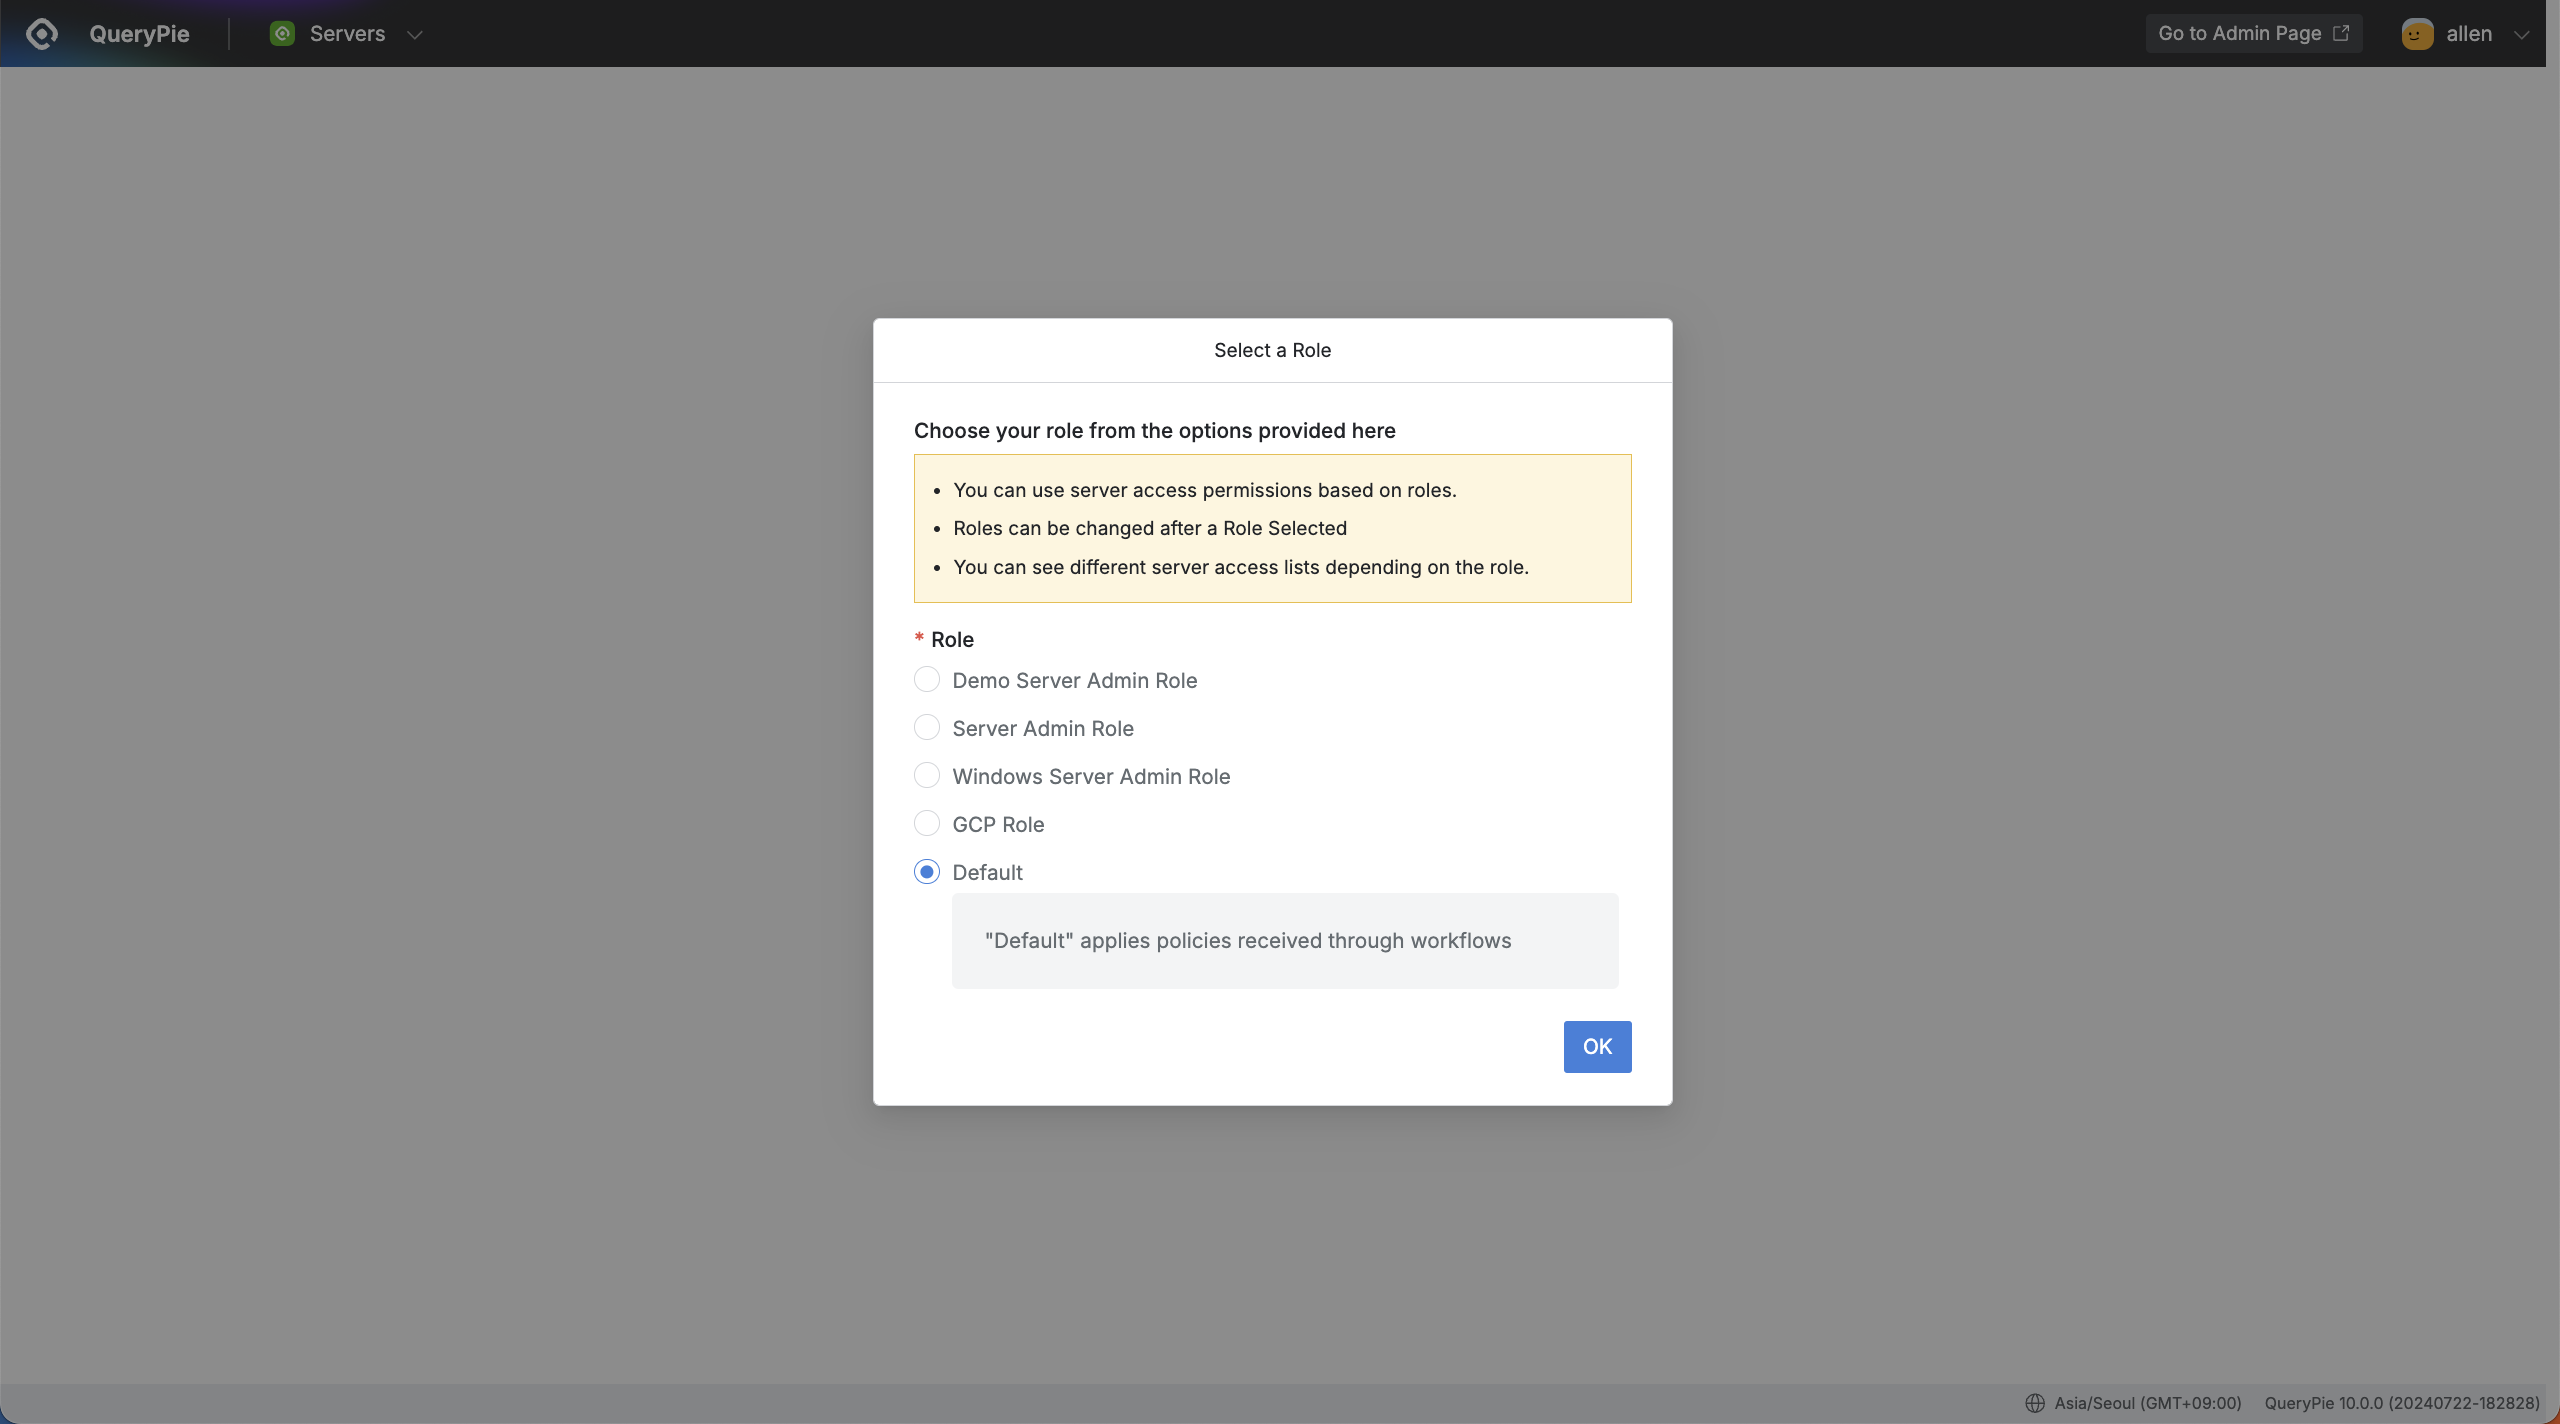
- When you first access the Kubernetes menu, the Role selection screen is displayed. Select the Role for which you want to check permissions.
- Access permissions vary by Role, and if you don’t have a granted Role, the left list is not displayed.
- In this case, you can apply for appropriate permissions through the Access Role Request form in the Workflow menu.
Checking Access Permission List
QueryPie Web > System Access Control > Kubernetes
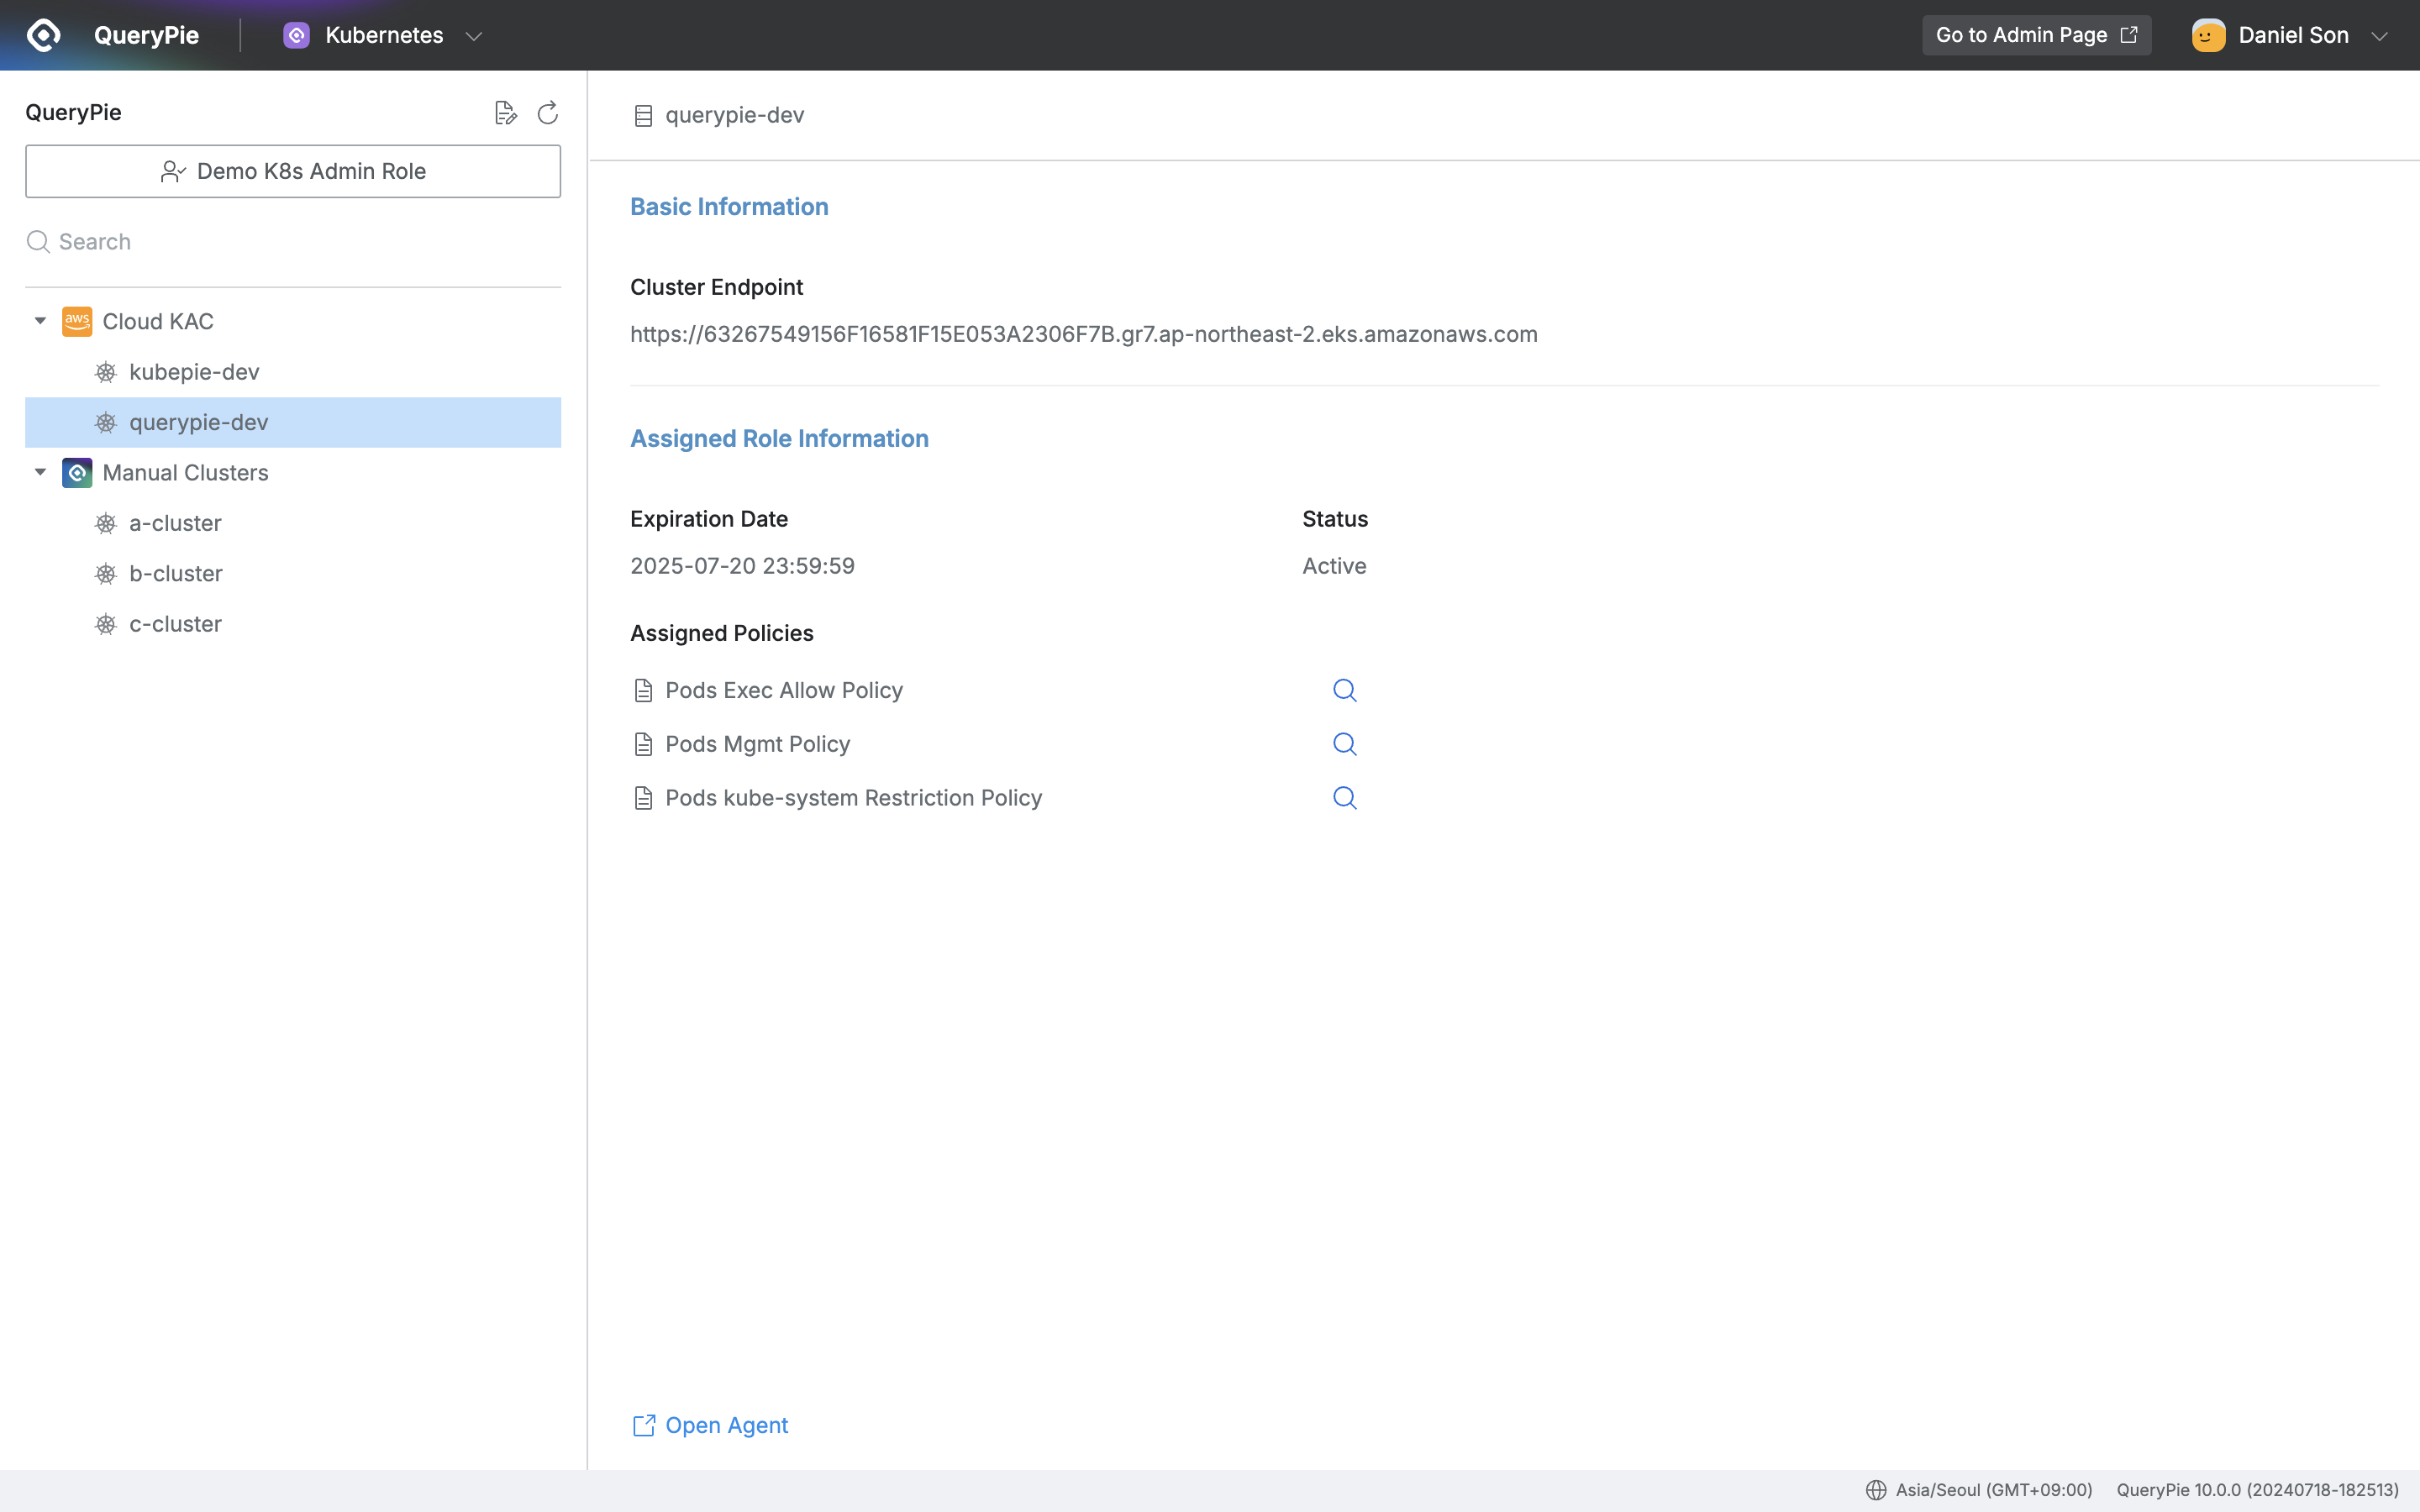
- After selecting a Role, the list of Kubernetes clusters accessible to the current user is displayed in the left panel, sorted by Cloud Provider.
- When you select an individual cluster from the cluster list, you can check the following detailed information on the right page.
- Cluster Endpoint : Displays the Kubernetes cluster API URL.
- Expiration Date : Displays the permission expiration date.
- Status : Displays the permission status.
- Assigned Policies : Lists the policies involved in access permissions for that cluster at the bottom. Click the magnifying glass icon on the right of the policy name to check in detail how the policy is configured.
- Open Agent : Click Open Agent to run or install the agent.
You can check how to install the Agent in the Agent Manual.
Last updated on