Data Paths
Overview
The Data Paths menu allows you to assign and manage tags for tables and columns. These configured tags are used for data classification and policy application.
Key Features
- Tagging Targets : Tags can be applied at table and column levels.
- Application Limitations : Tags are not supported at database and schema levels.
- Table Access Control: You can grant permissions in whitelist mode so that only tables with assigned tags are accessible.
- Data Classification : You can classify data by purpose and characteristics through tags.
- Access Control Integration : You can set access control policies based on assigned tags.
Assigning Tags to Tables
Table tagging can be managed in the Data Paths menu, allowing you to systematically classify and manage tables through tags.
- Click Data Paths under the Policy Management section in the left sidebar.
- The Tables tab is selected by default.
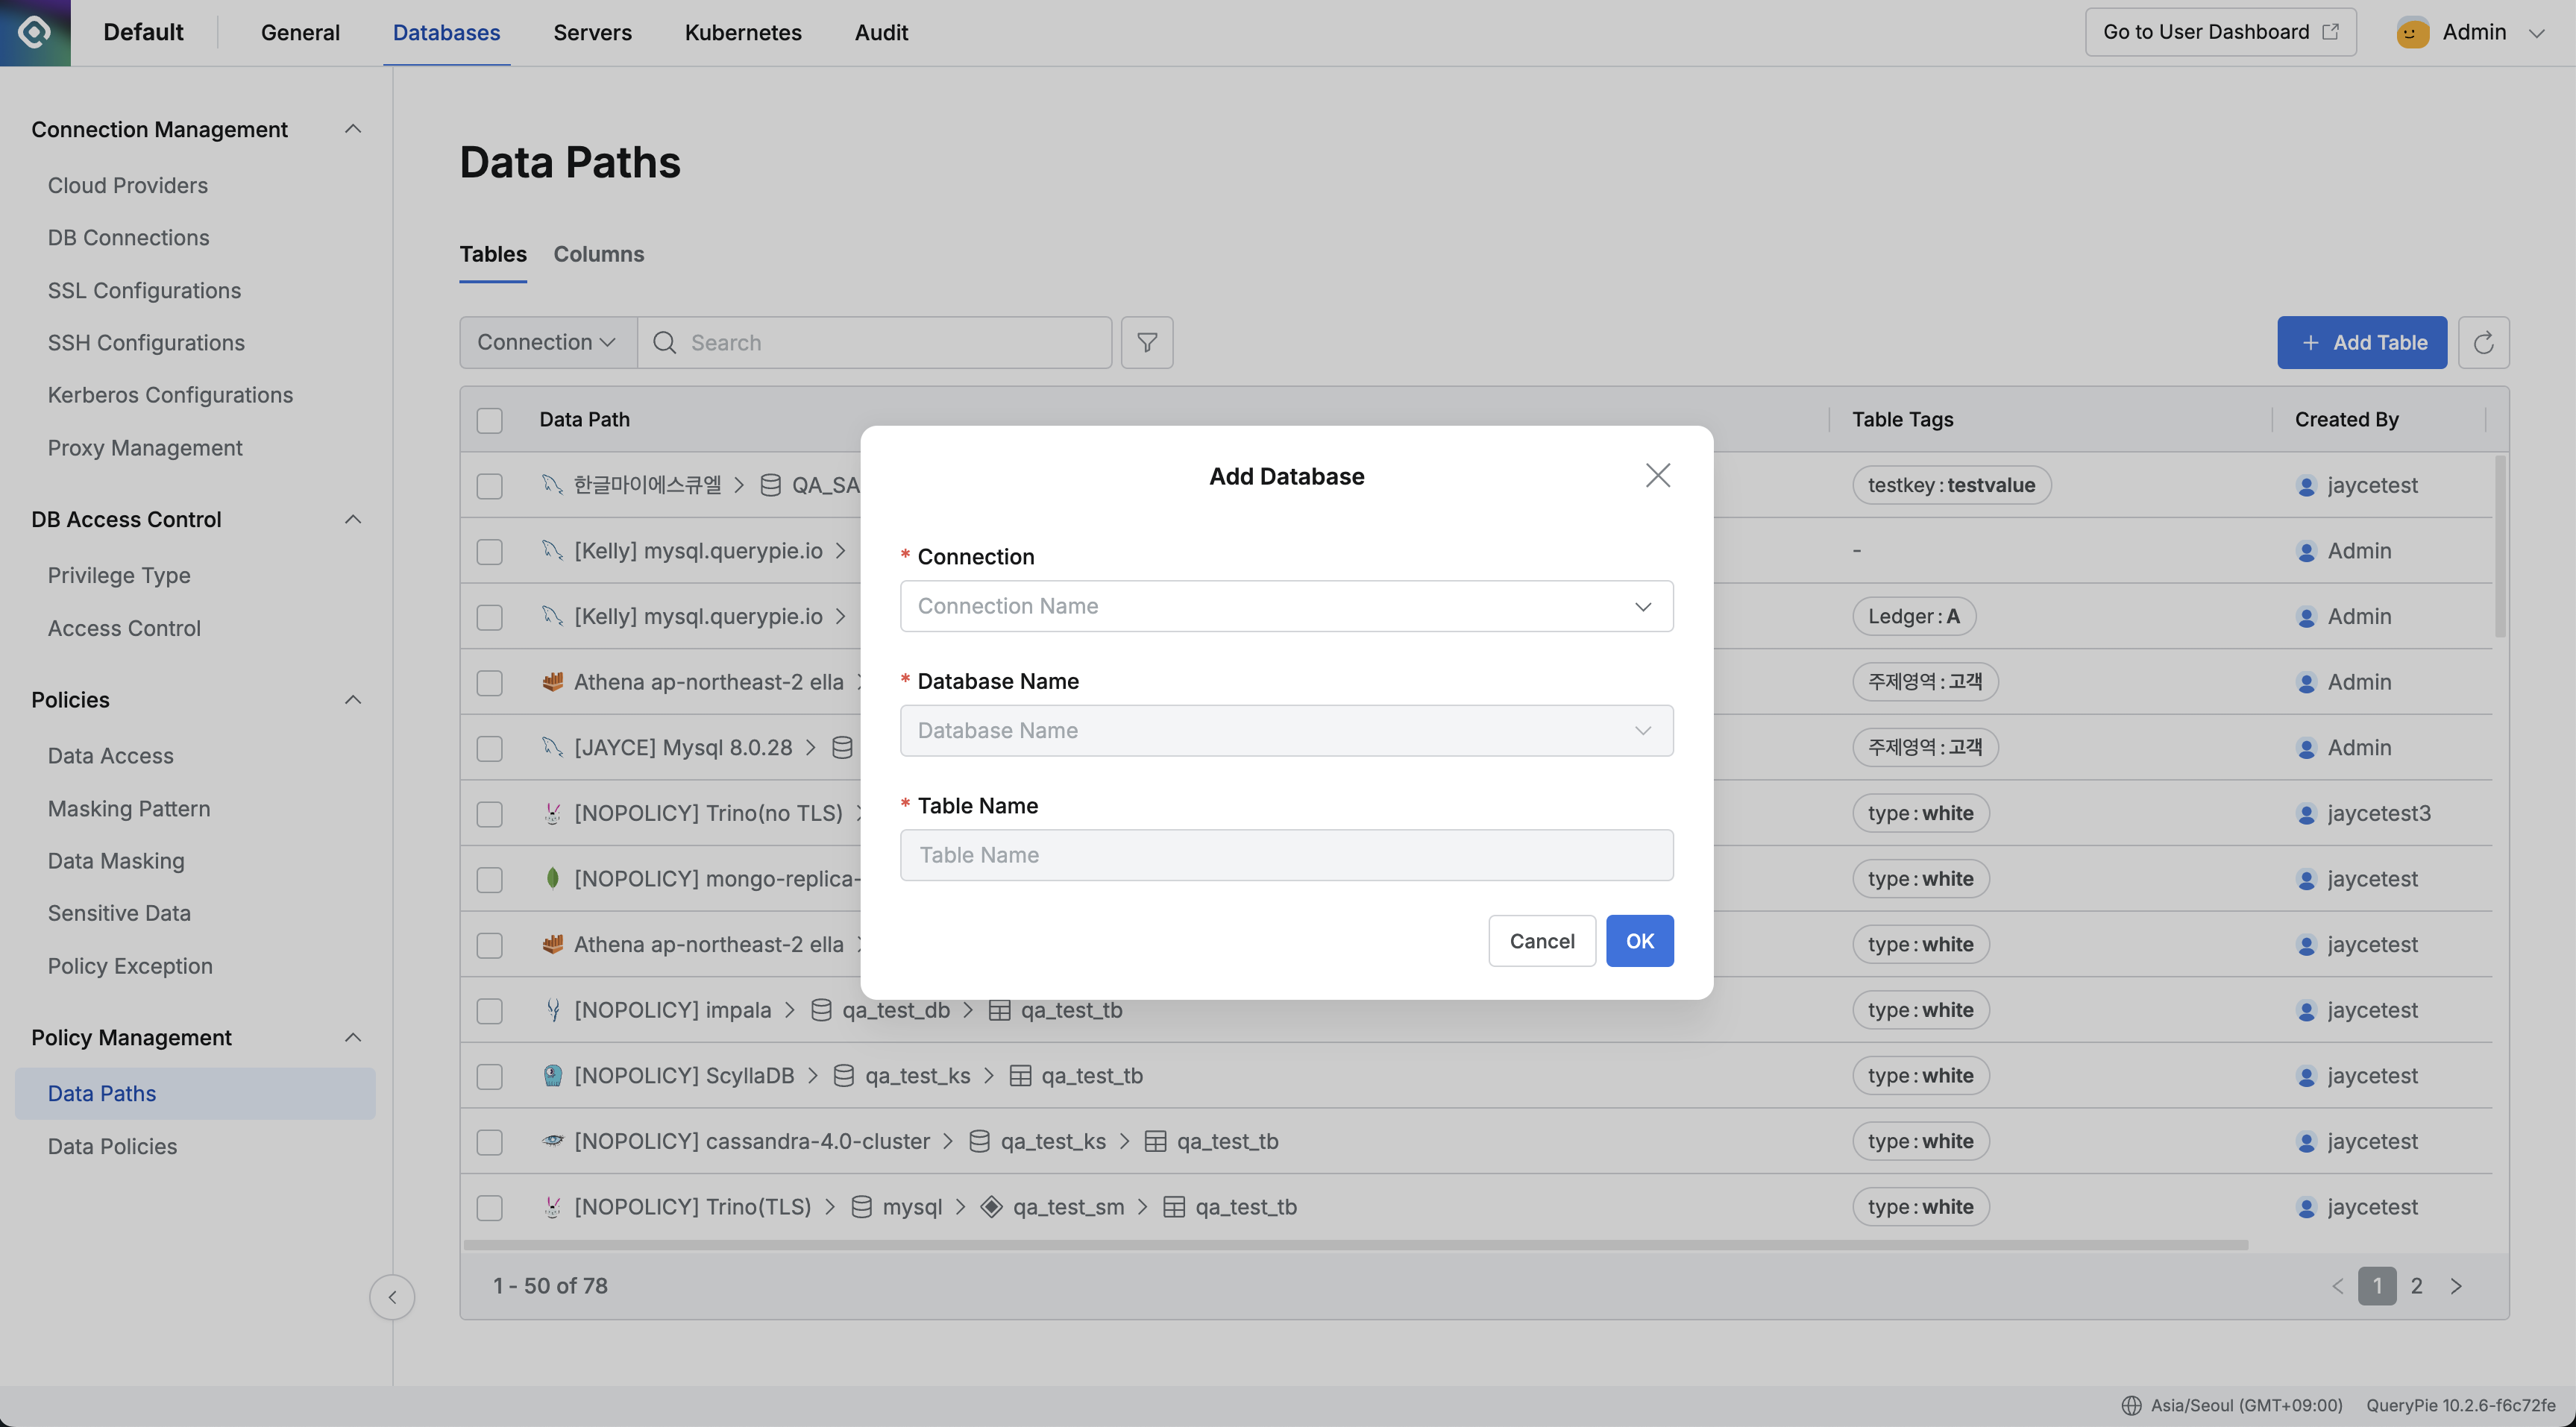
- Click the Add Table button in the top right.
- Enter the following information in the popup window:
- Connection : Select database connection from dropdown.
- Database Name : Select database name from dropdown.
- Table Name : Select the table to assign tags to.
- After entering all information, click the OK button to add the table.
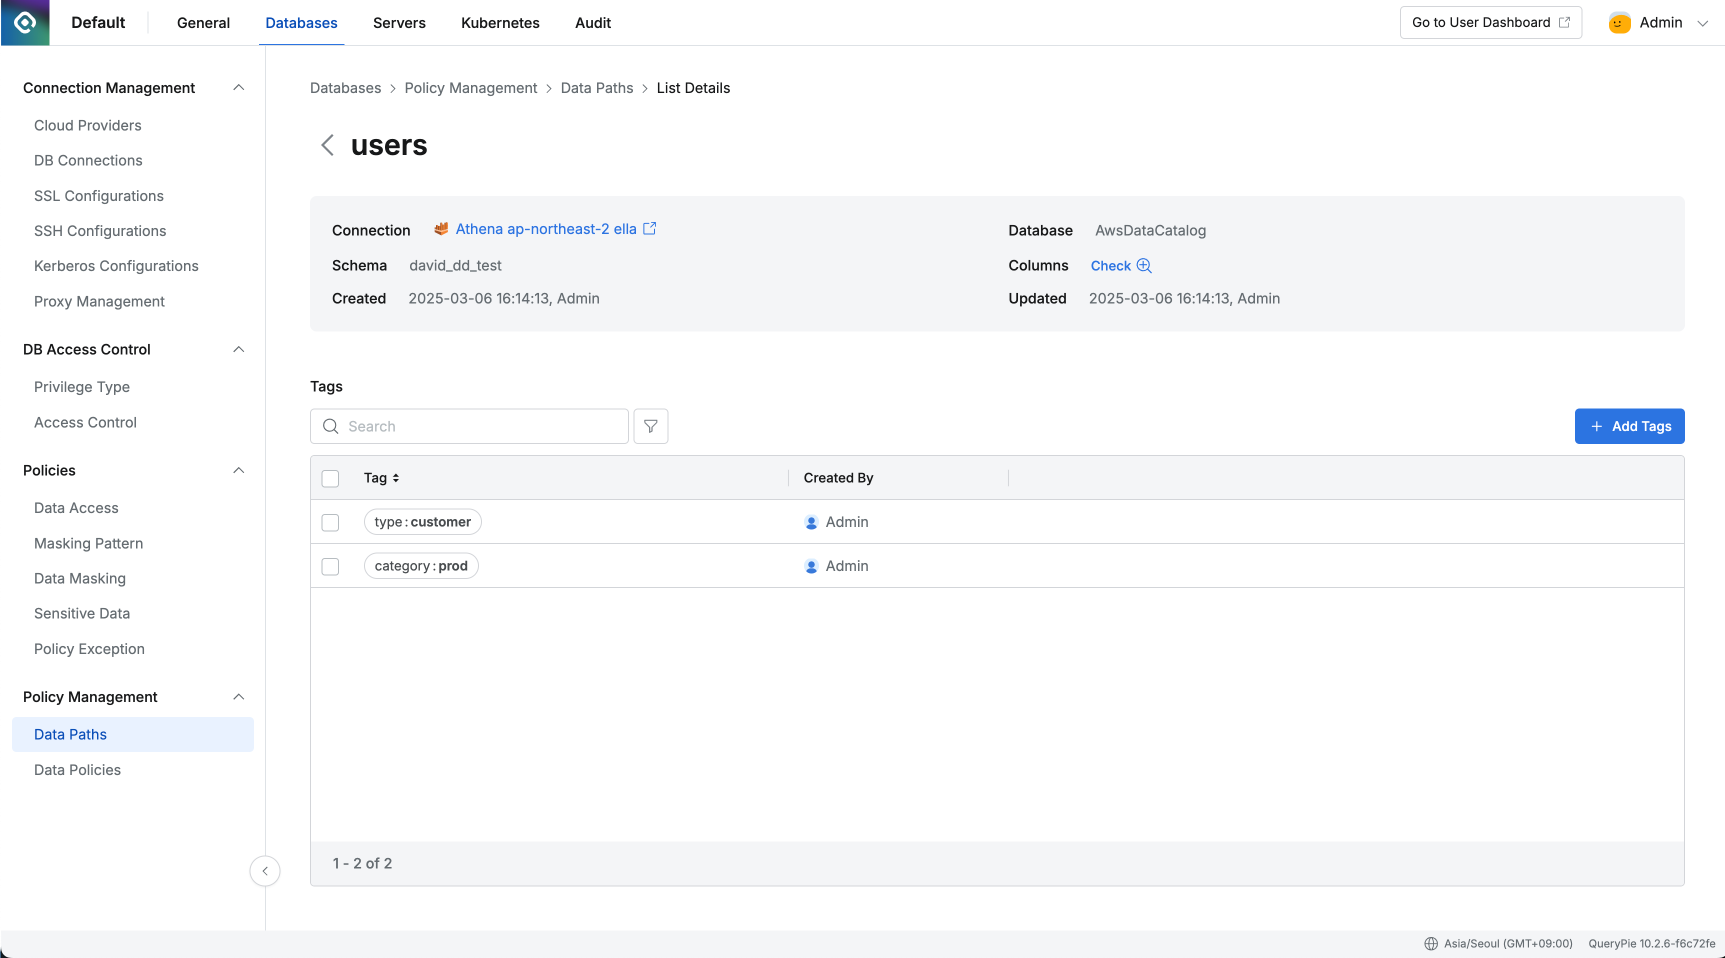
- When the table is added, it appears in the list, and you can click the “Add Tags” button on the detail page to add new tags.
- Tags can be added in Key:Value format.
- Basic information of the selected table is displayed at the top of the page.
- When selecting Connection, it navigates to the detail page of the corresponding connection.
- When clicking Column Check, the table column list appears on the right.
In the table detail screen, you can only manage tags for the table. Column tags are managed in the column detail screen.
Assigning Tags to Columns
Column tagging can also be managed in the Data Paths menu. You can systematically classify columns through tags and effectively apply policies such as masking in bulk.
- Data Paths menu’s top tabs, select the Columns tab.
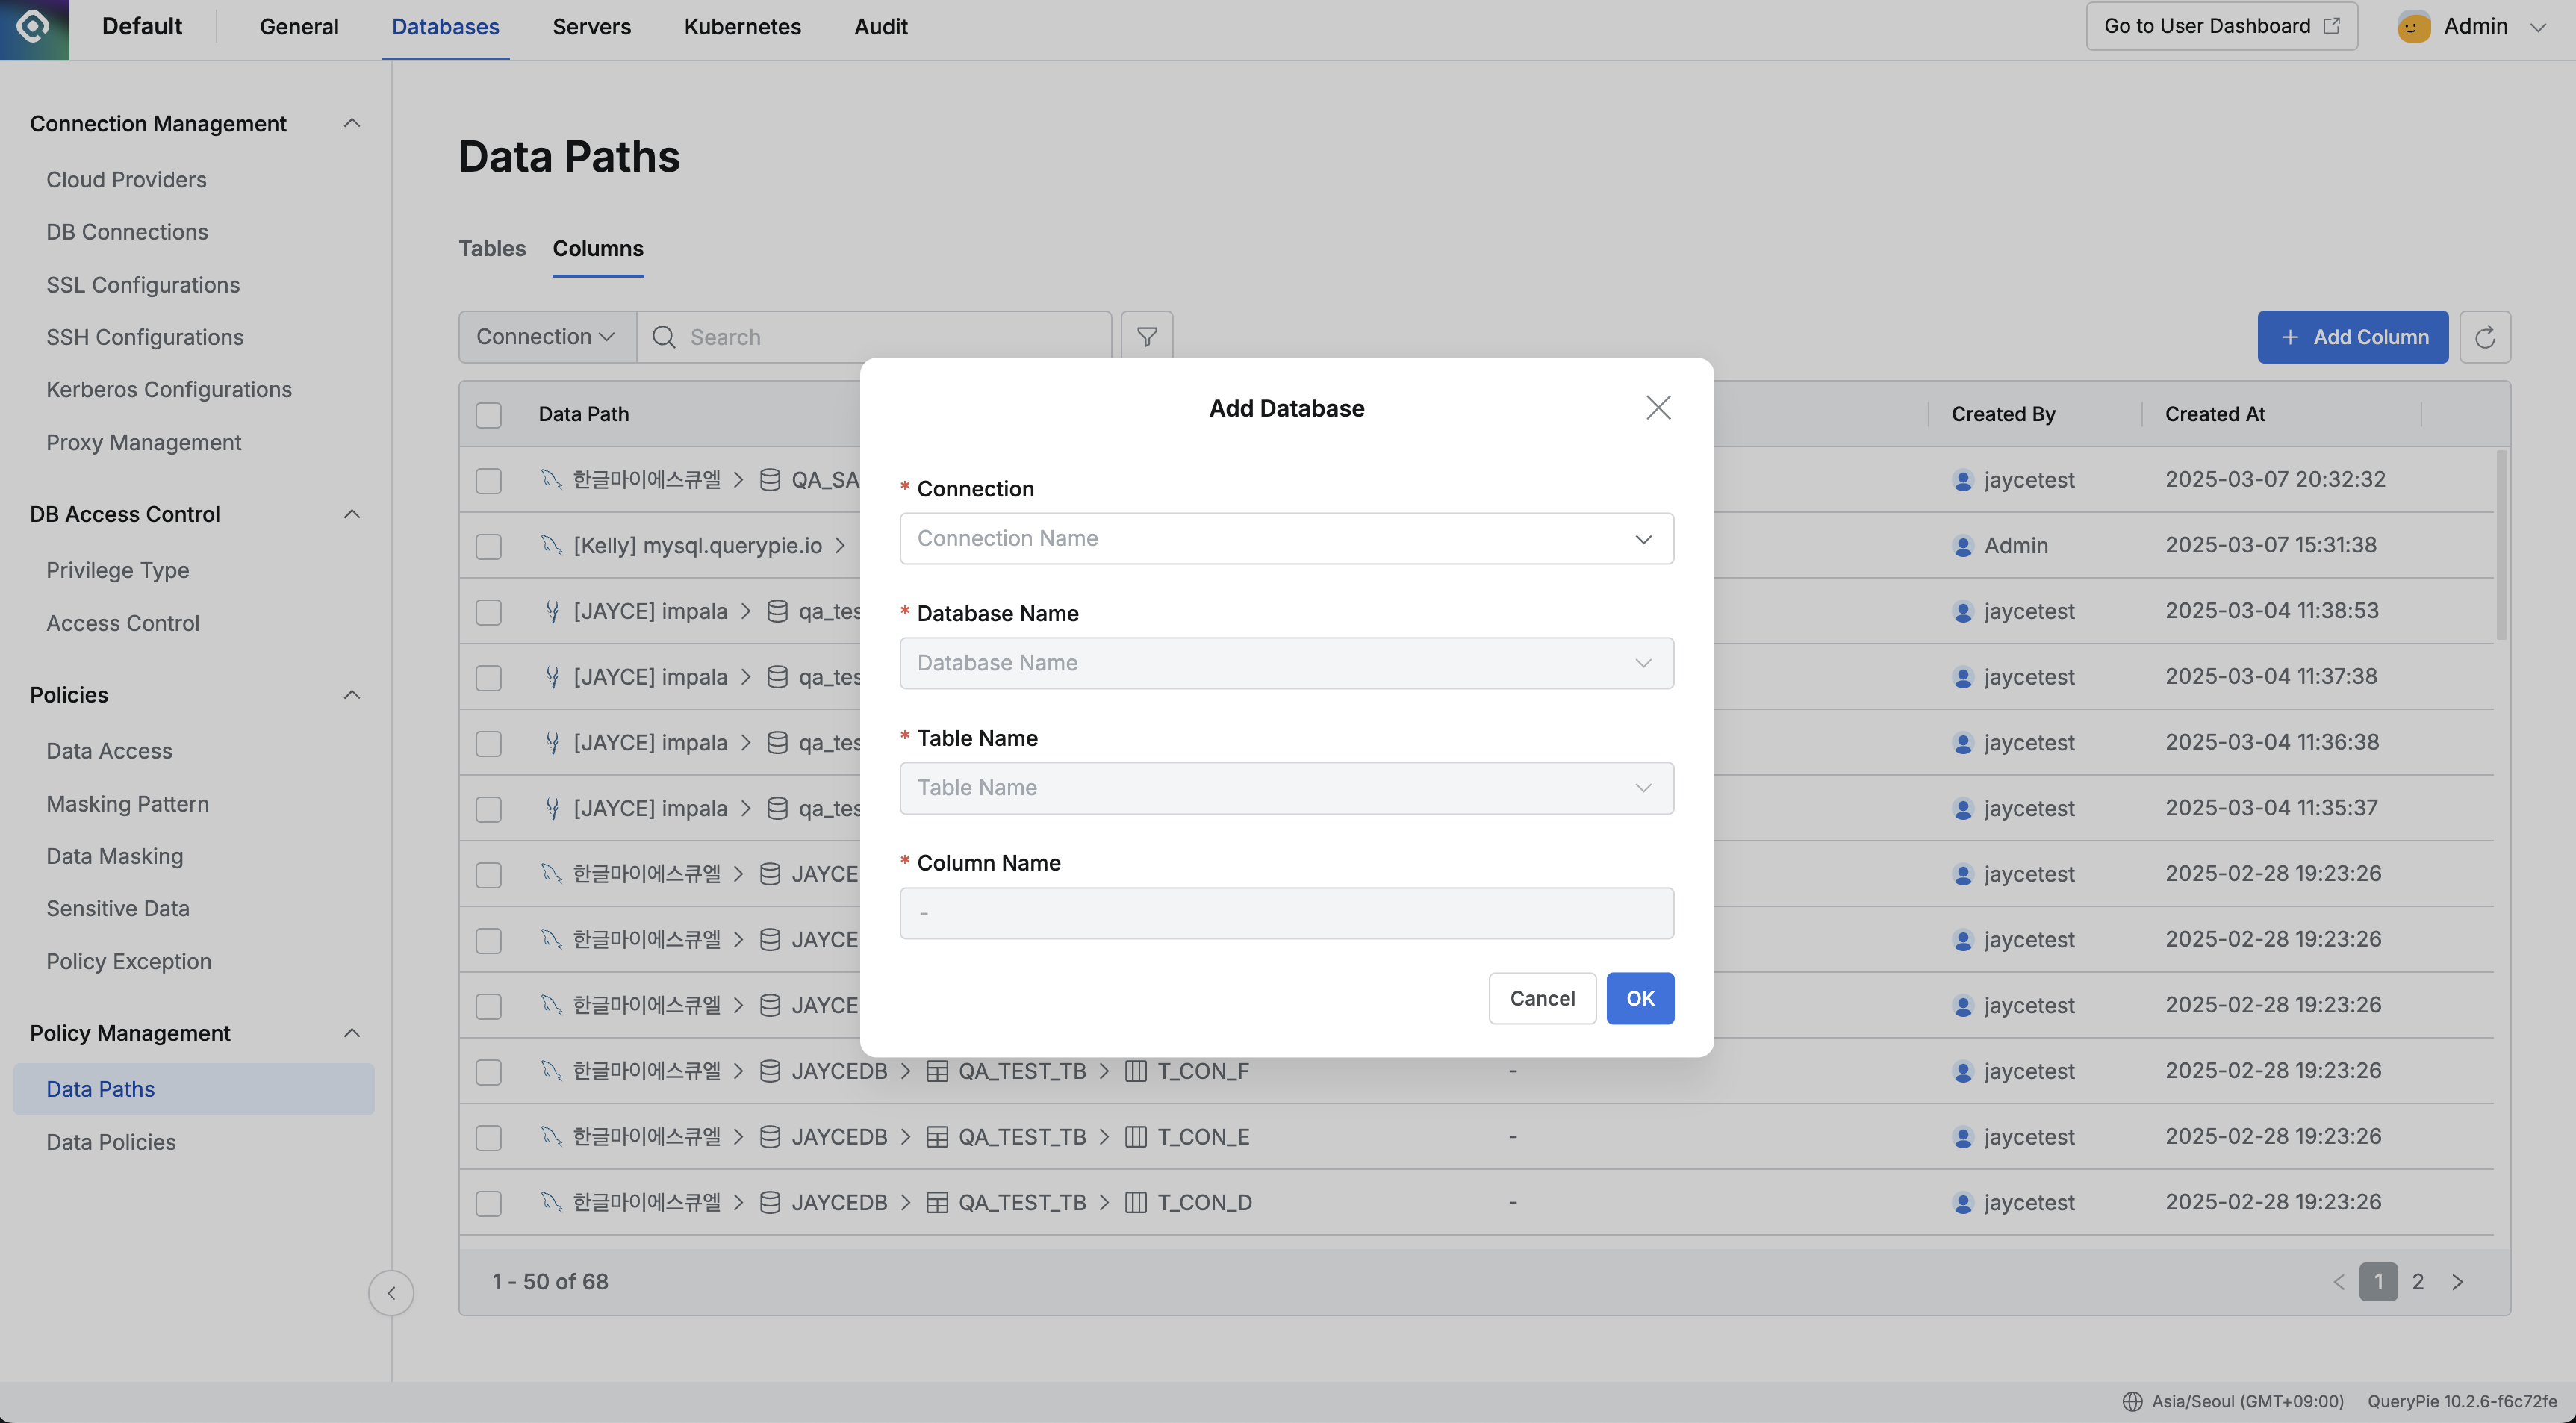
- Click the Add Column button in the top right.
- Enter the following information in the popup window:
- Connection : Select database connection from dropdown.
- Database Name : Select database name from dropdown.
- Table Name : Select the table to assign tags to.
- Column Name : Select the column name to assign tags to.
- After entering all information, click the OK button to add the column.
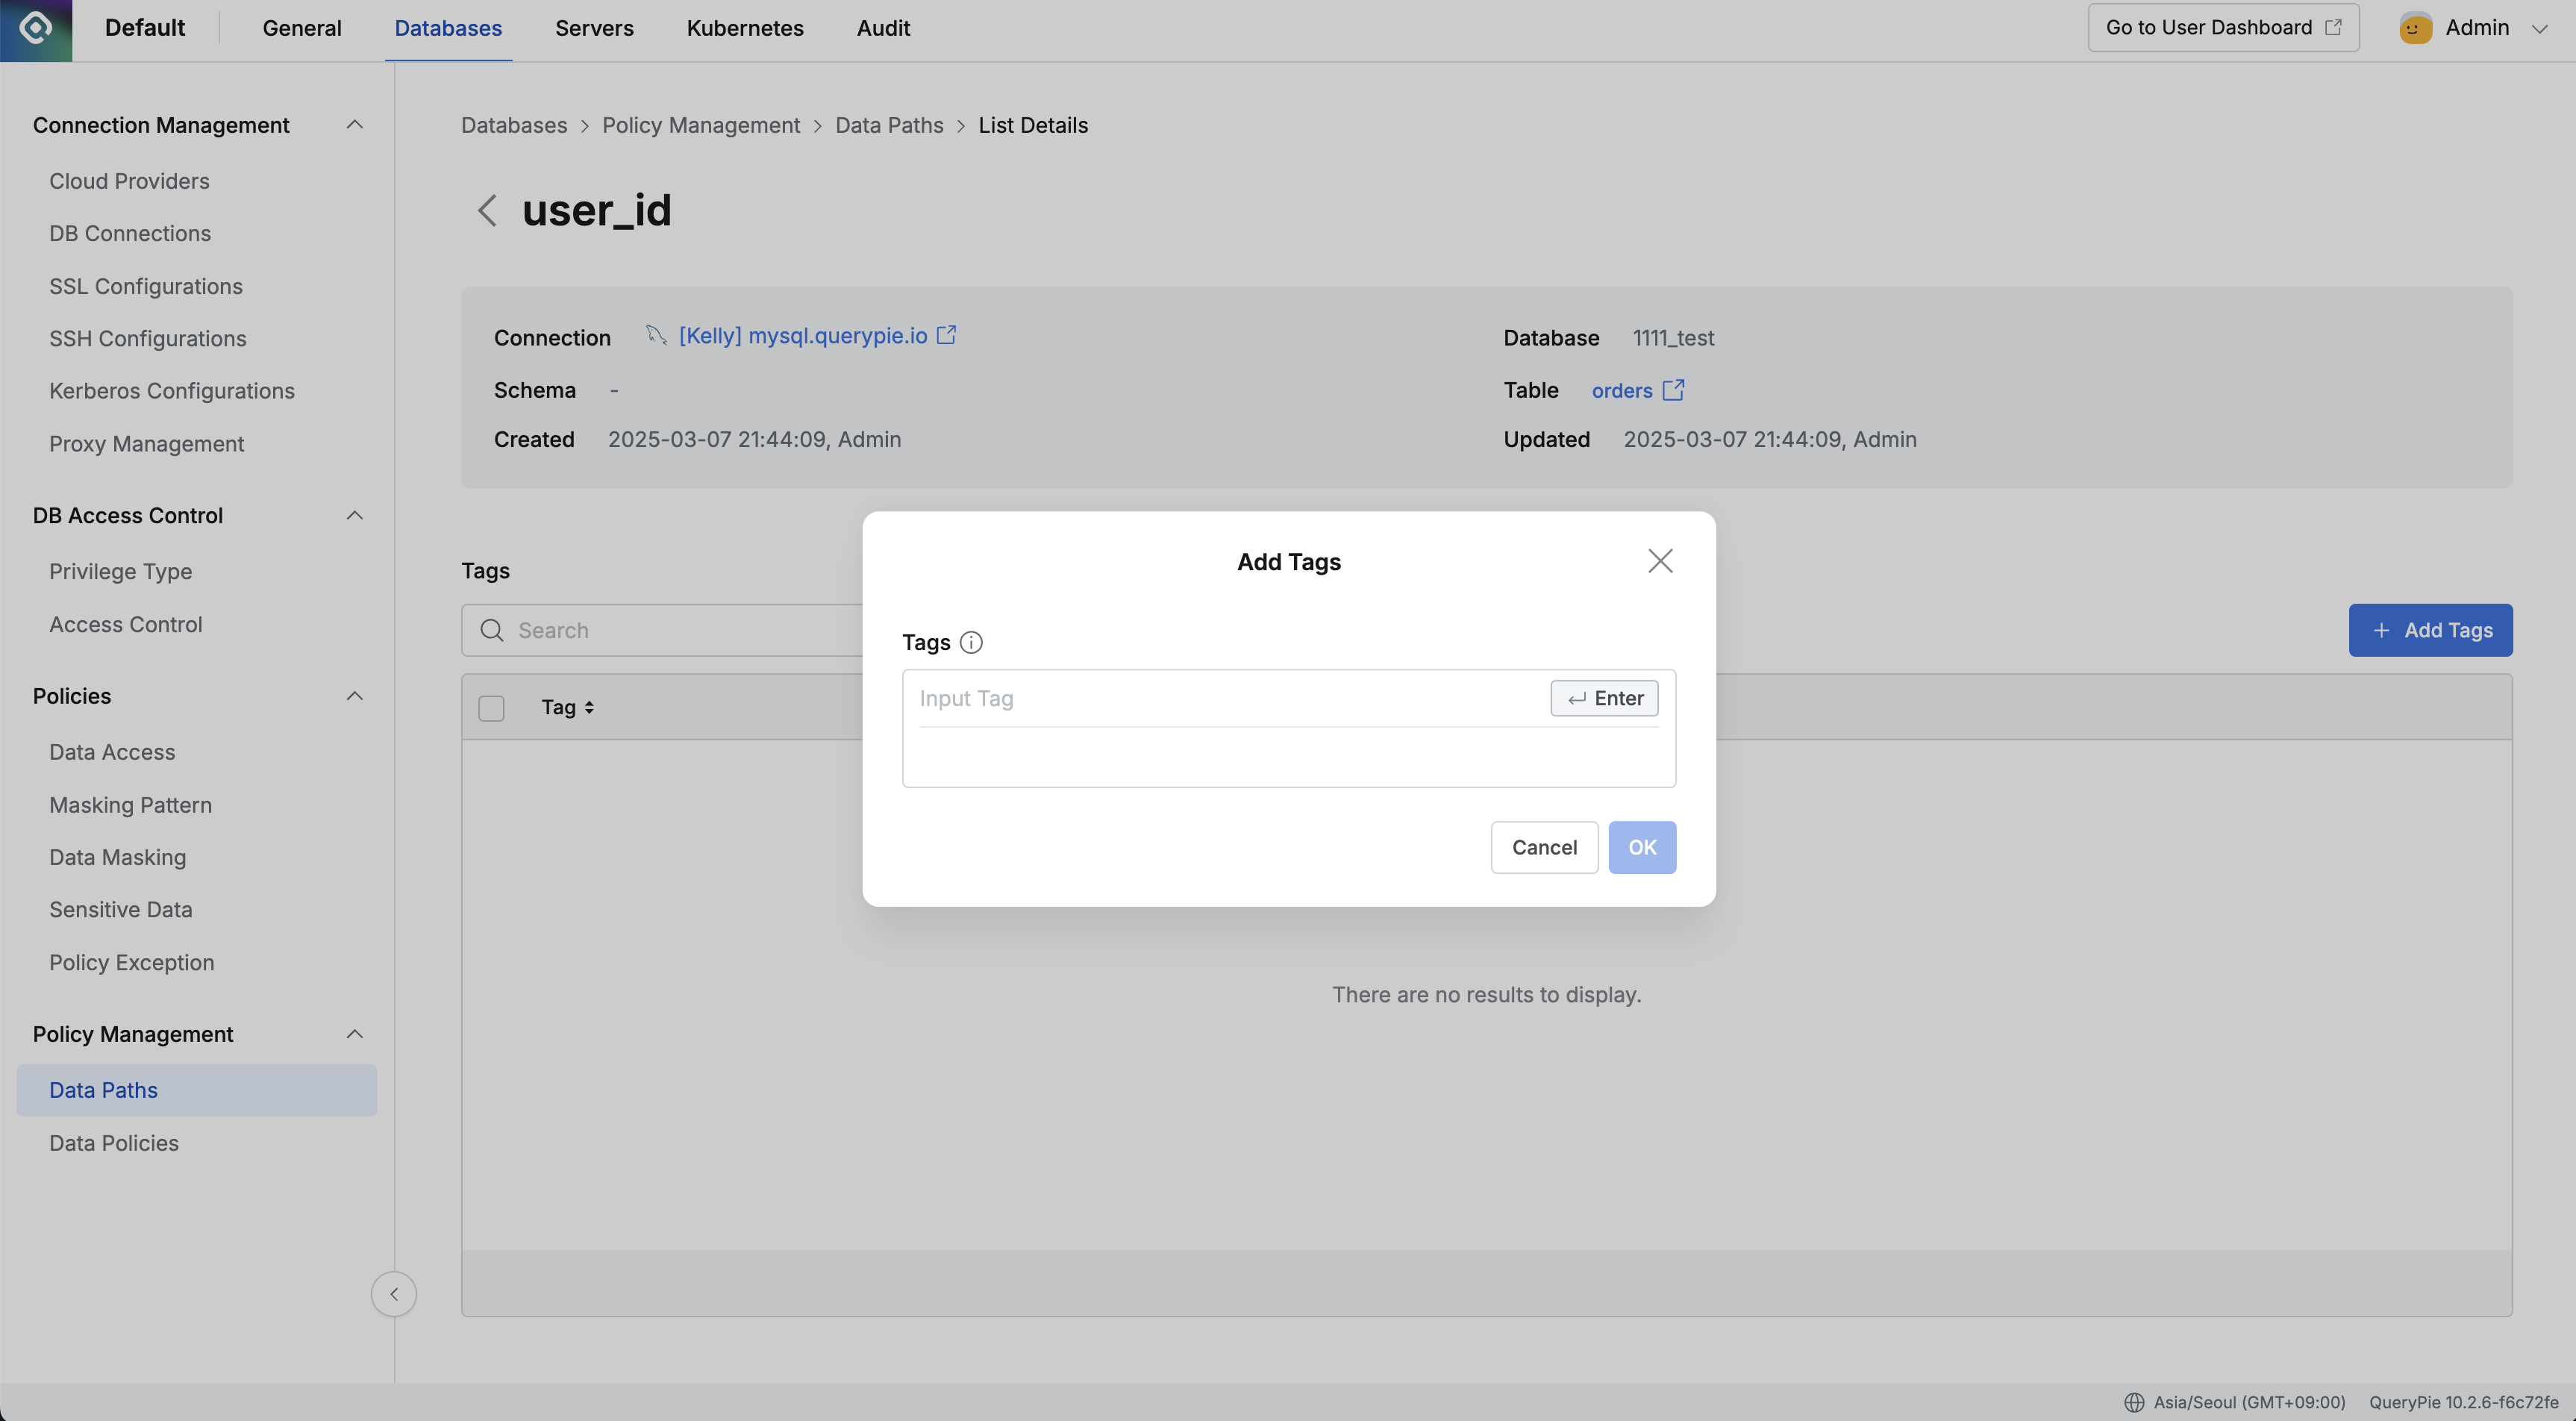
- When the column is added, it appears in the list, and you can click the “Add Tags” button on the detail page to add new tags.
- Tags can be added in Key:Value format.
- Basic information of the selected column is displayed at the top of the detail page.
- When selecting Connection, it navigates to the detail page of the corresponding connection.
- When clicking Column, it navigates to the table detail page.
Important : When adding a column while the referenced table is not yet added to Data Paths, the corresponding table is automatically added to Data Paths together. Therefore, you don’t need to add the table separately first, and the required table is automatically created during the column addition process.
Relationship Between Tables and Columns - Automatic Table Creation Feature
QueryPie provides the following automation features when adding columns to improve user convenience:
- Automatic Table Creation : When adding a column, if the referenced table is not registered in Data Paths, the corresponding table is automatically added to Data Paths.
- Single Process : Thanks to this feature, users can process everything at once during the column addition process without going through two steps of adding the table first and then adding the column.
- Consistency Maintenance : The relationship between automatically created tables and added columns is automatically set, maintaining consistency in data structure.
Granting Table Access Permissions Based on Tags
You can grant table access permissions based on tags set in the Data Paths menu, and it works in whitelist mode. That is, it allows access only to tables with specific tags and restricts access to other tables. This feature enables fine-grained data access control.
The permission granting process consists of two main steps:
- Granting database access permissions to users (Grant Privilege)
- Setting tag-based access control within granted permissions (Access Type)
- Access Control menu, select the user to set access permissions and Grant Permission to grant permissions.
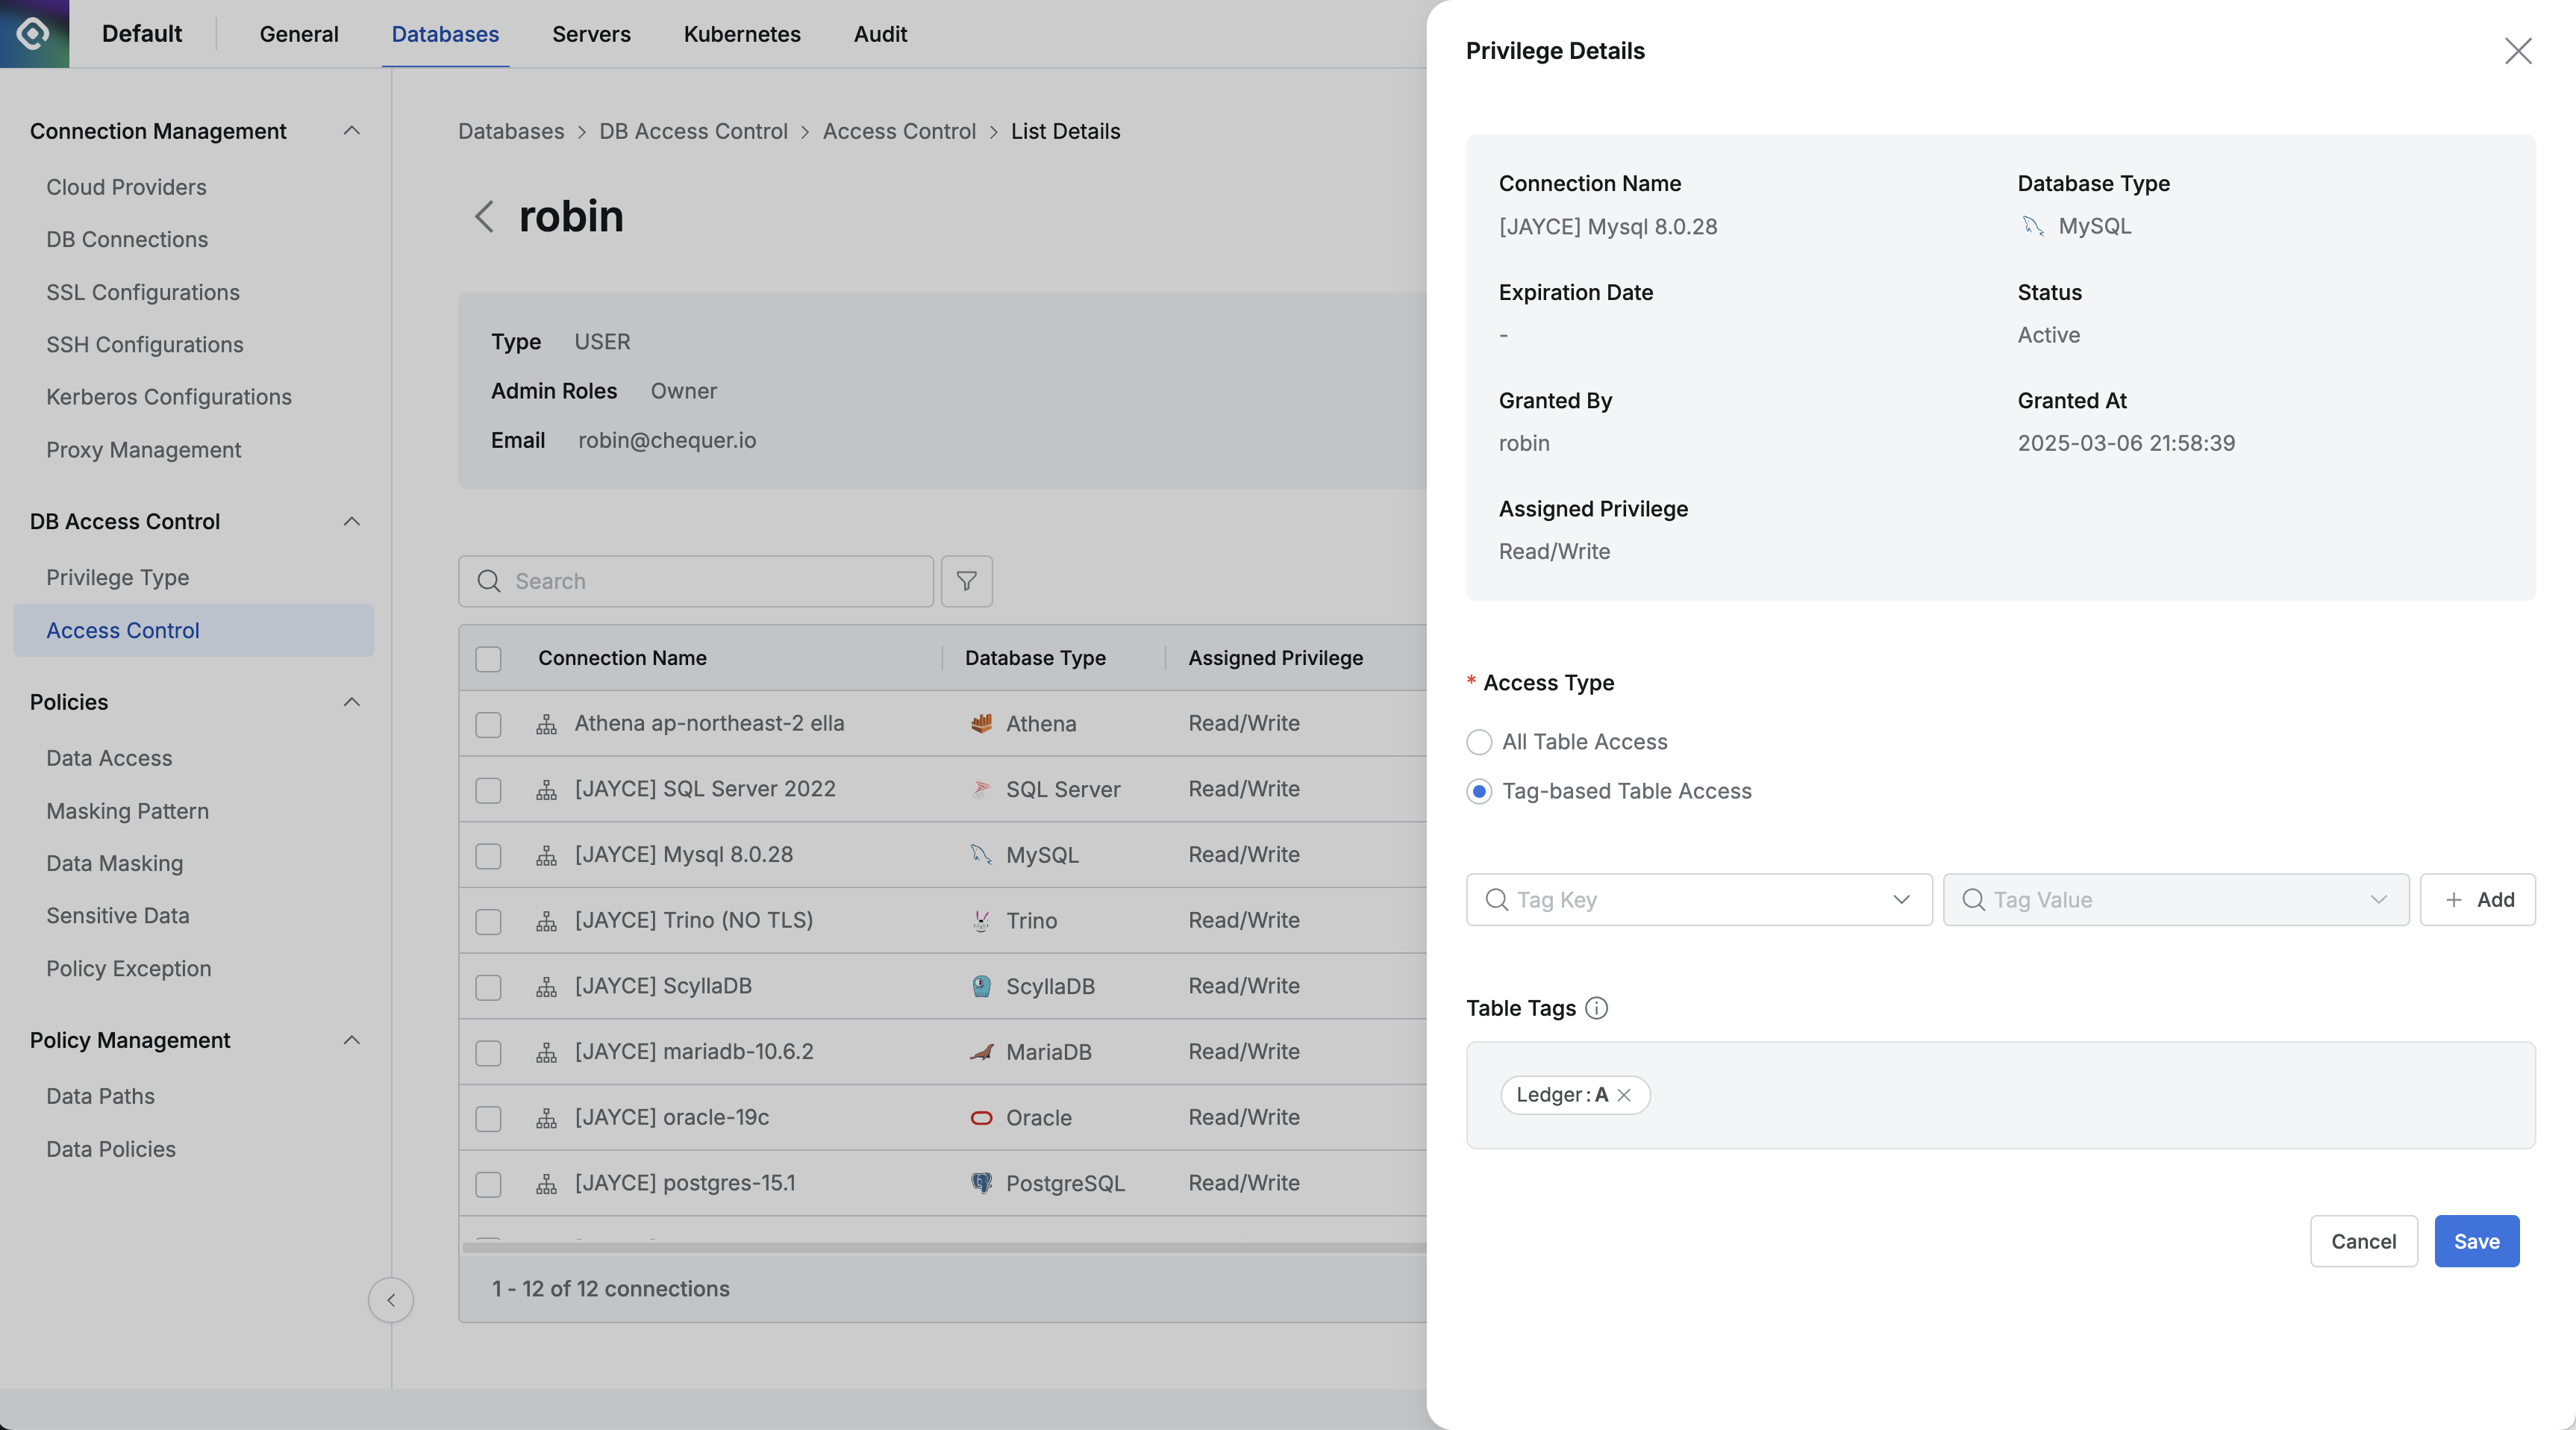
- When you click on the granted permission list, the Privilege Details screen is displayed.
- Access Type section, select the Tag-based Table Access option.
- The default value is set to the All Table Access option. This option grants access to all tables.
- Tag-based Table Access option changes to whitelist mode that allows access only to tables with specific tags.
Permission Application Results
When tag-based table access permissions are set:
- Users can only access tables with the assigned tags.
- Access to tables without those tags is restricted.
Use Cases
Tag-based table access permissions are useful in the following situations:
- Department-based Data Access Management : You can assign specific tags to tables related to each department and set department users to access only tables with those tags.
- Project-based Access Control : You can assign project tags to project-related tables and grant access permissions only to project participants for tables with those tags.
- Data Sensitivity-based Access Control : You can assign tags to tables based on data sensitivity and allow access only to users with appropriate permissions.
Precautions
- Since tag-based access control works in whitelist mode, access to tables without set tags is not possible.
- When multiple tags are added, you can access tables that have at least one of those tags.
- Since tag settings are managed in the Data Paths menu, appropriate tags must be assigned to tables before setting access control.
- Access permission changes are applied immediately after saving.