Connecting to Custom Data Source
Custom Data Source Access Request
- Navigate to the Workflow menu at the top of the user screen.
- Click the
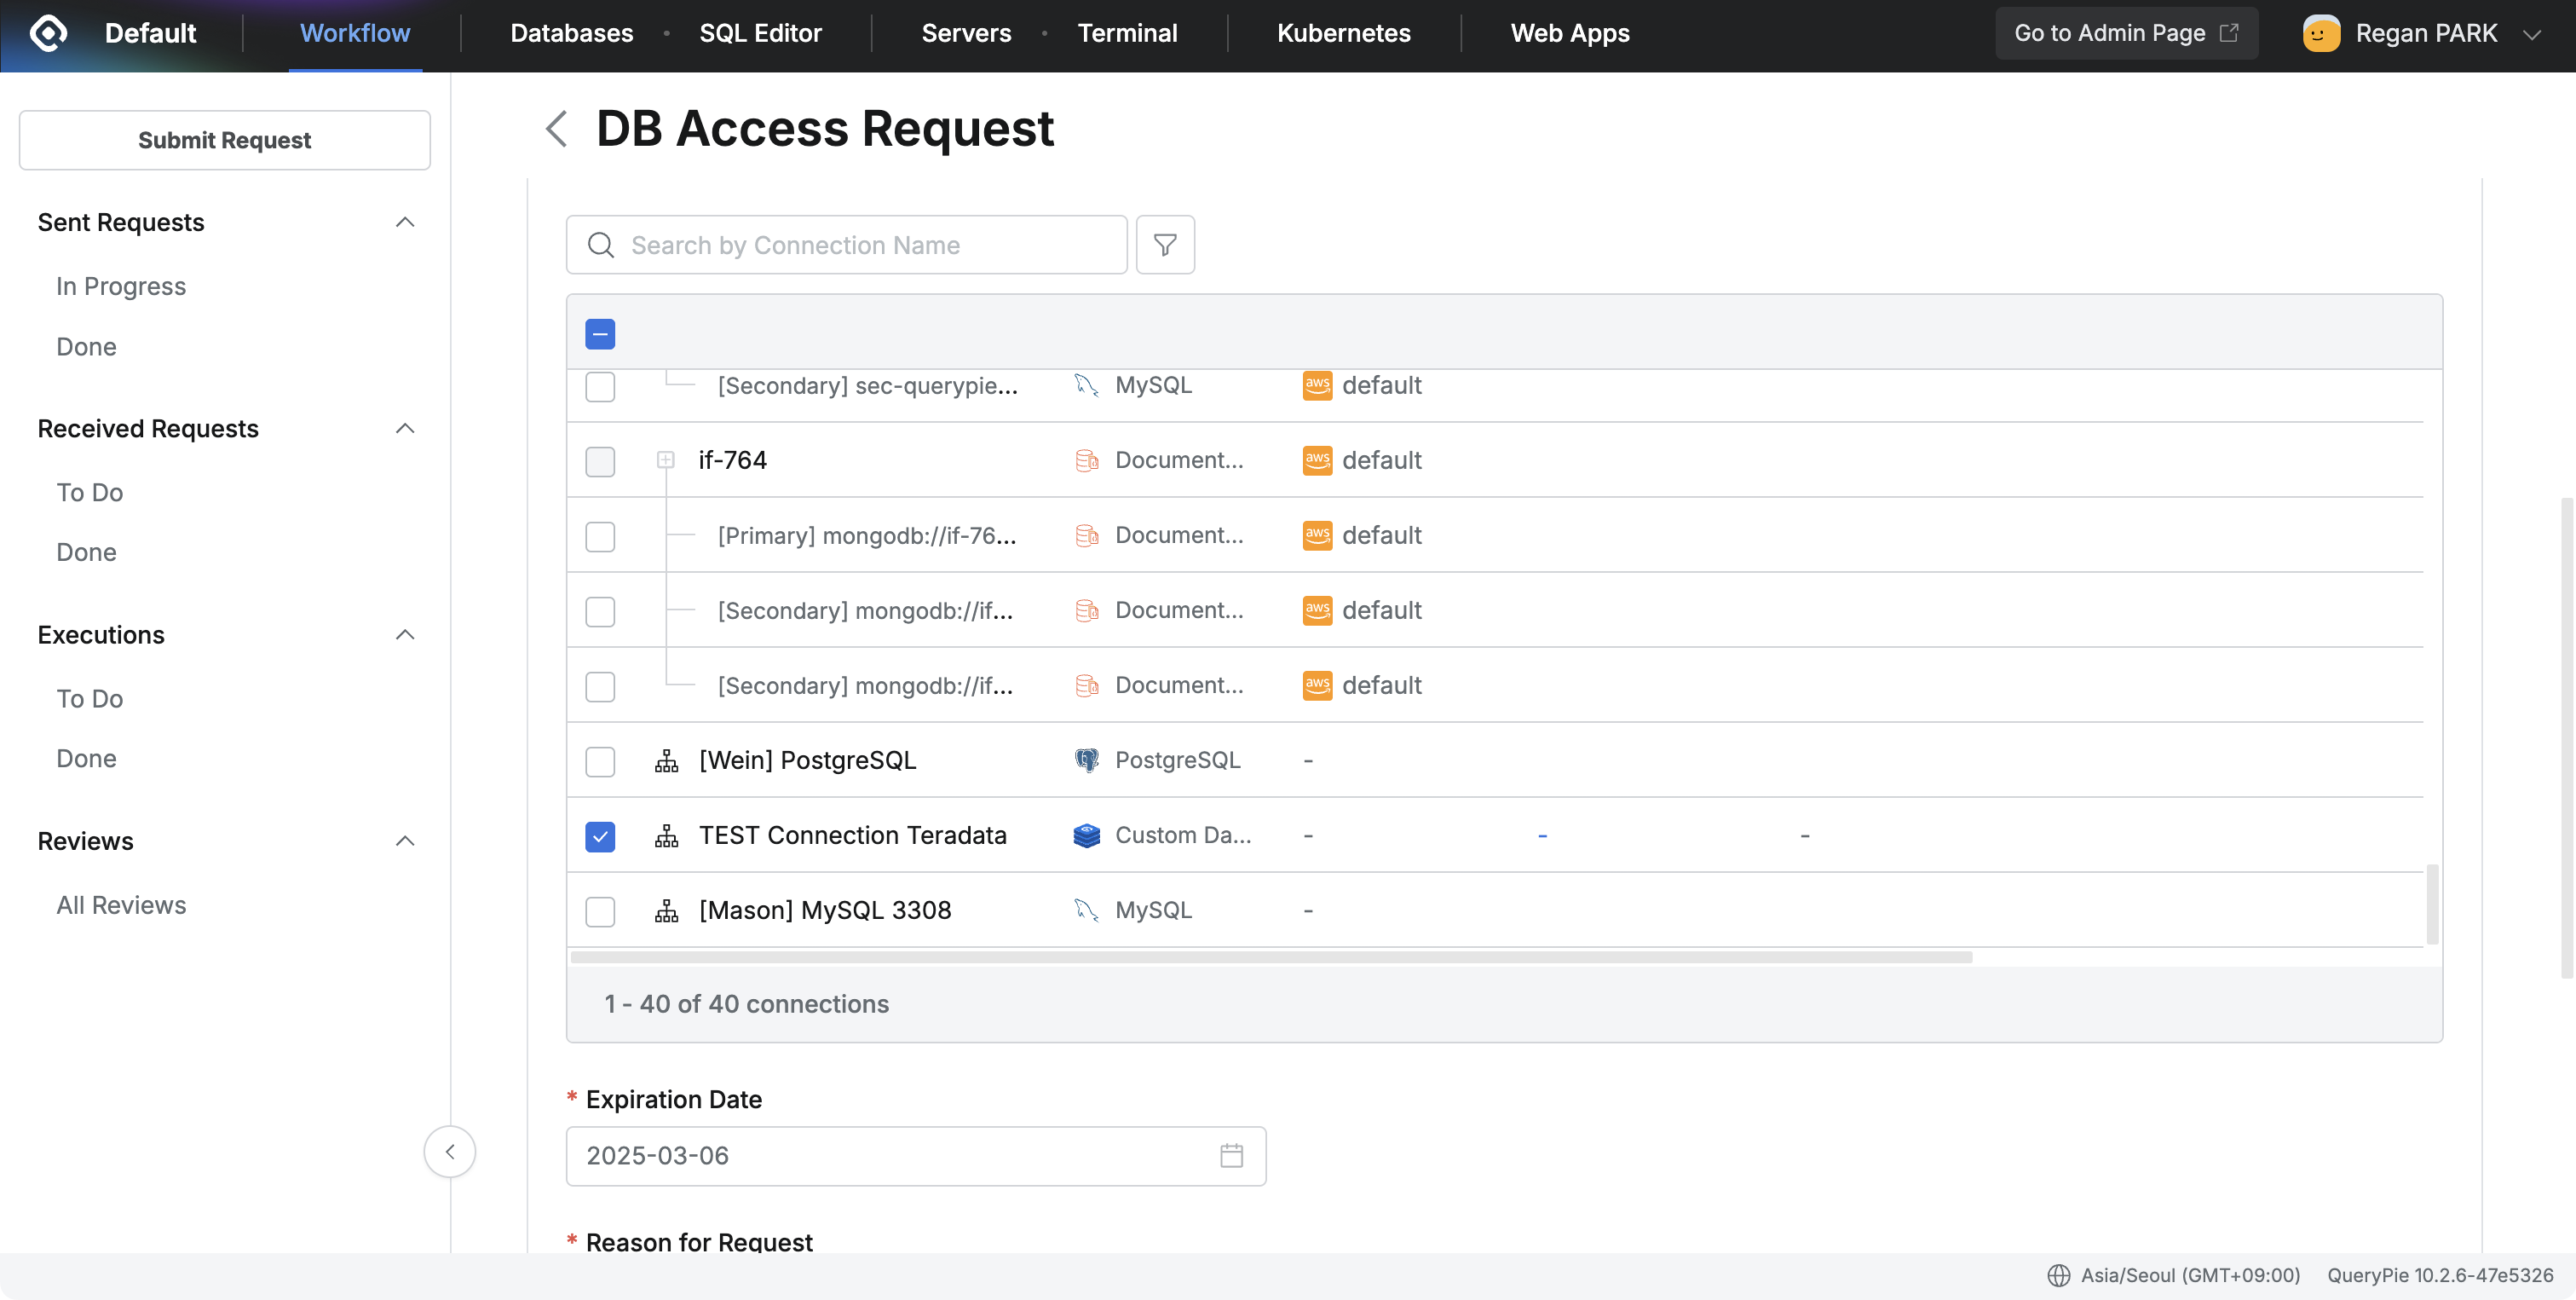
Submit Requestbutton in the top left and select the DB Access Request item.
- Set the Approval Rule according to the situation and write the Title.
- Select an item with Type ‘Custom Data Source’ from the DB Connection list.
- Unlike other vendors, Privilege cannot be selected, so it is displayed as ”-”.
- Set and write the Expiration Date and Reason for Request items according to the situation.
- After completing the writing, click the
Submitbutton at the bottom to complete the application. - After receiving administrator approval, you can check it in the left Workflow > Sent Request > Done menu.
Precautions when making multiple requests with Custom Data Source Type
- When selecting Custom Data Source together with other vendors, they cannot be selected in bulk because the permission types are different.
- In this case, the following message is displayed: “Privileges cannot be applied across different types at once (e.g., General, Redis, Custom Data Source). Please assign privileges separately for each connection.”
- Bulk application is possible between connections of the same permission type.
Connecting through Agent
- Running QueryPie Agent
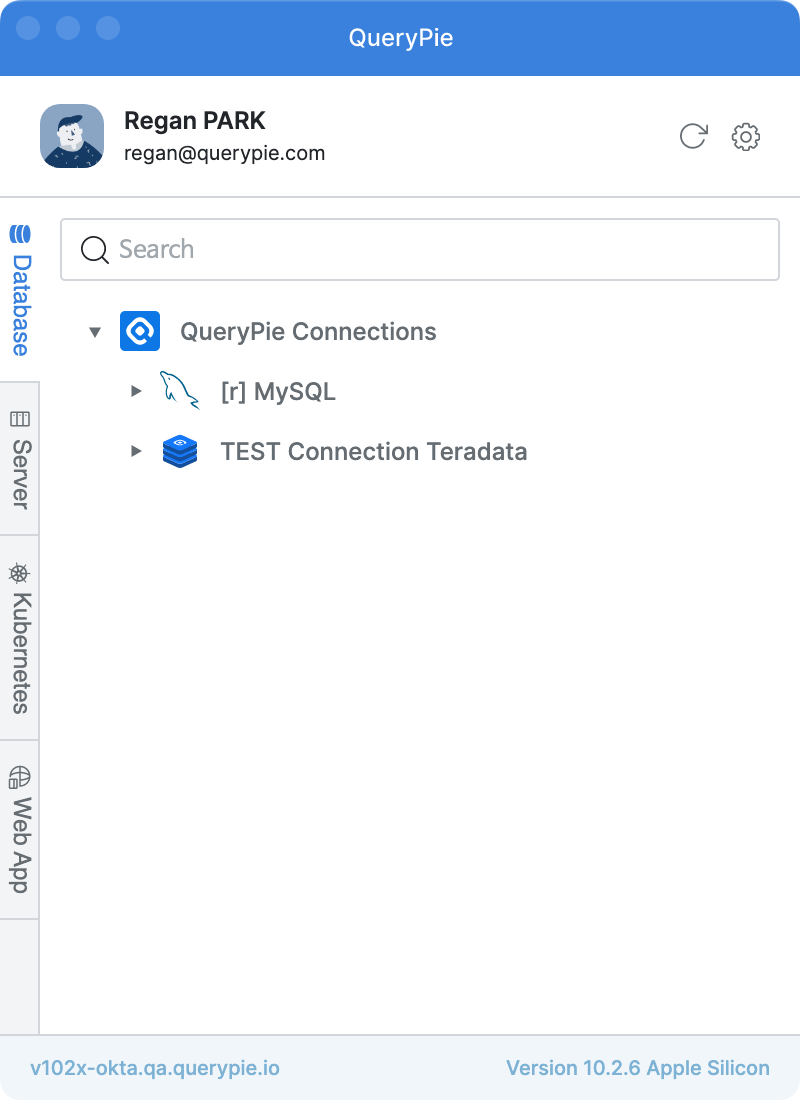
- Run QueryPie Agent.
- You can check Custom Data Source in the Database item.
- Checking Connection Guide
- When you click on the Custom Data Source connection row in Agent, you can see a row containing Port information.
- Right-click on the above row and click Connection Guide to check the connection information.
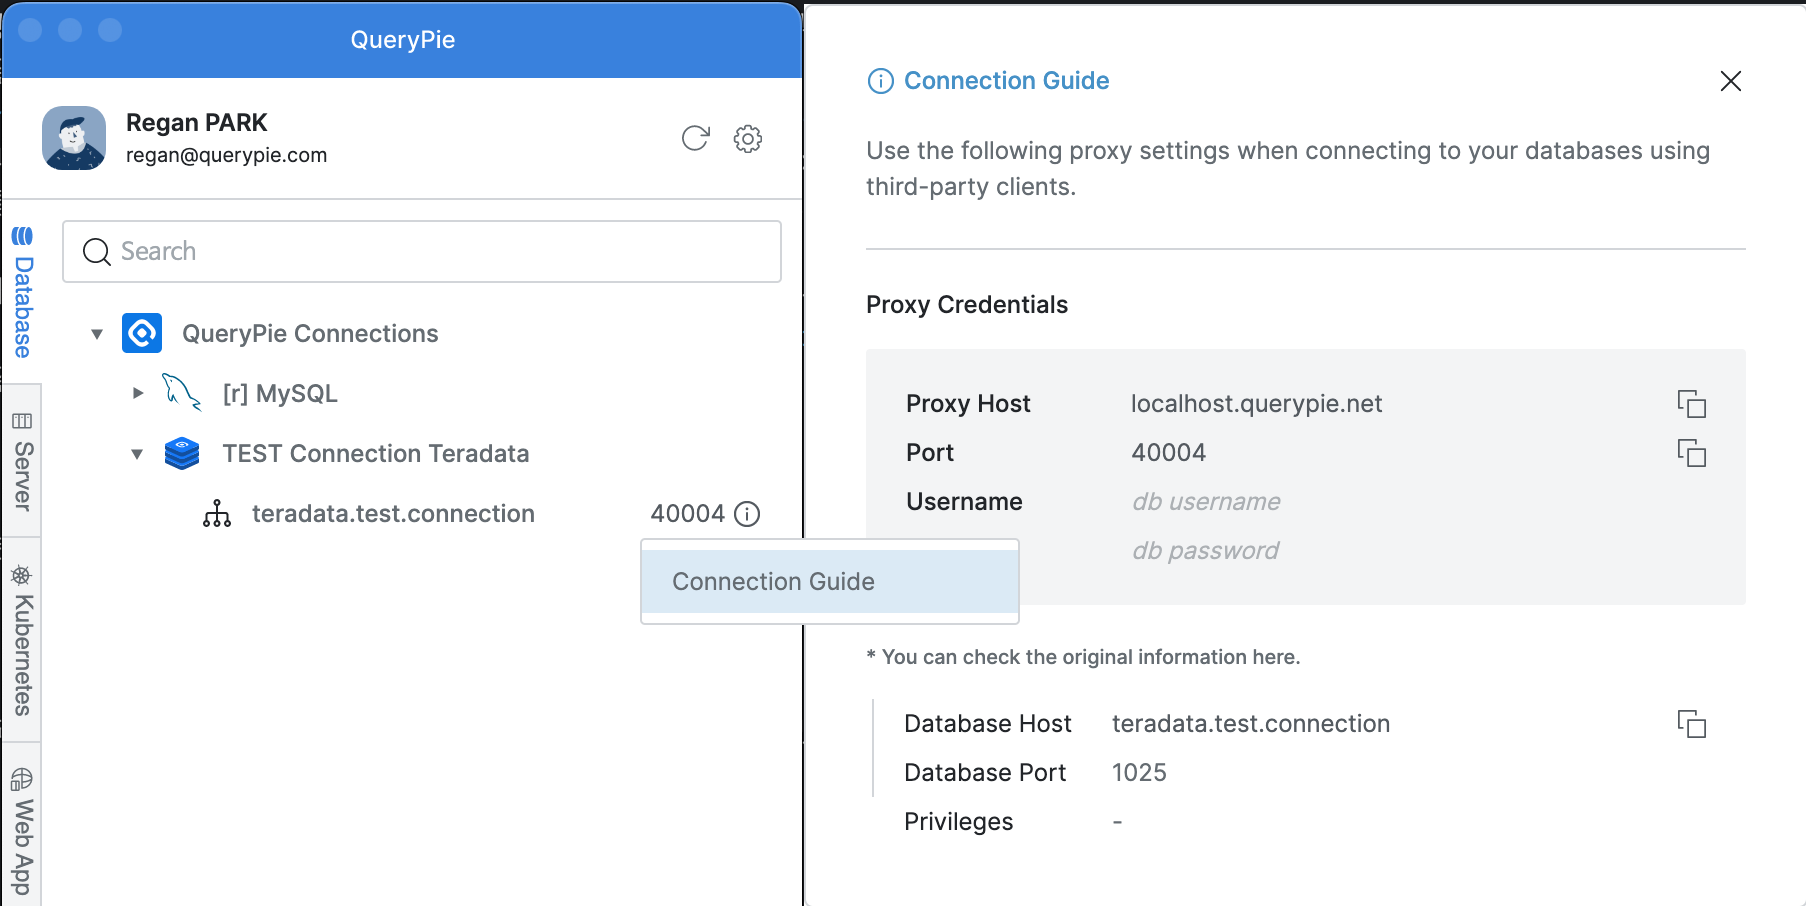
- UID/PW is displayed as unmodifiable db username, db password.
- Privileges are displayed as ”-”.
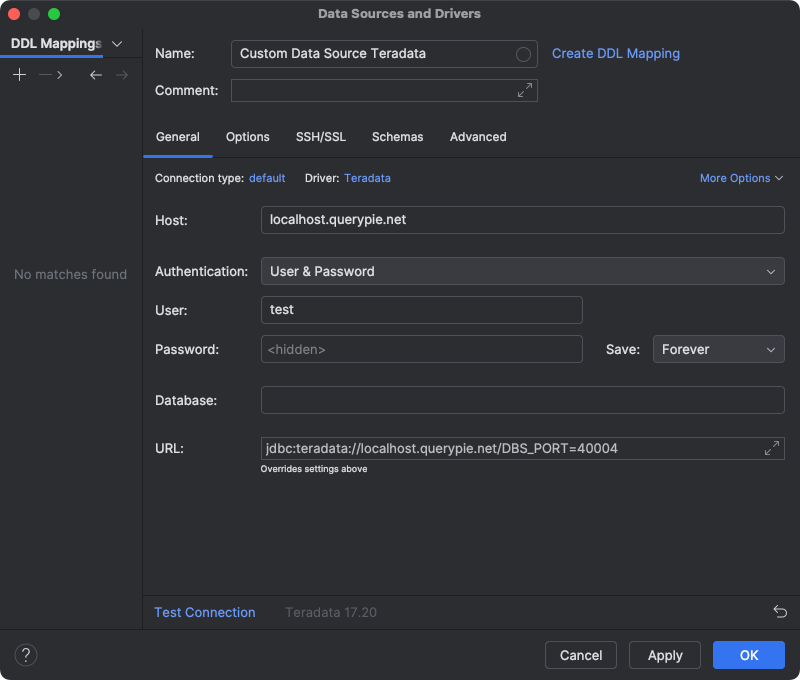
- Connecting in SQL Tool
- Run DataGrip or other SQL Tools.
- Host and Port must be entered with the information specified in the Connection Guide.
- Enter additional information according to the vendor.
Precautions
- Error messages are displayed when attempting to connect outside the access time set by the administrator.
When Attempting to Connect via Web
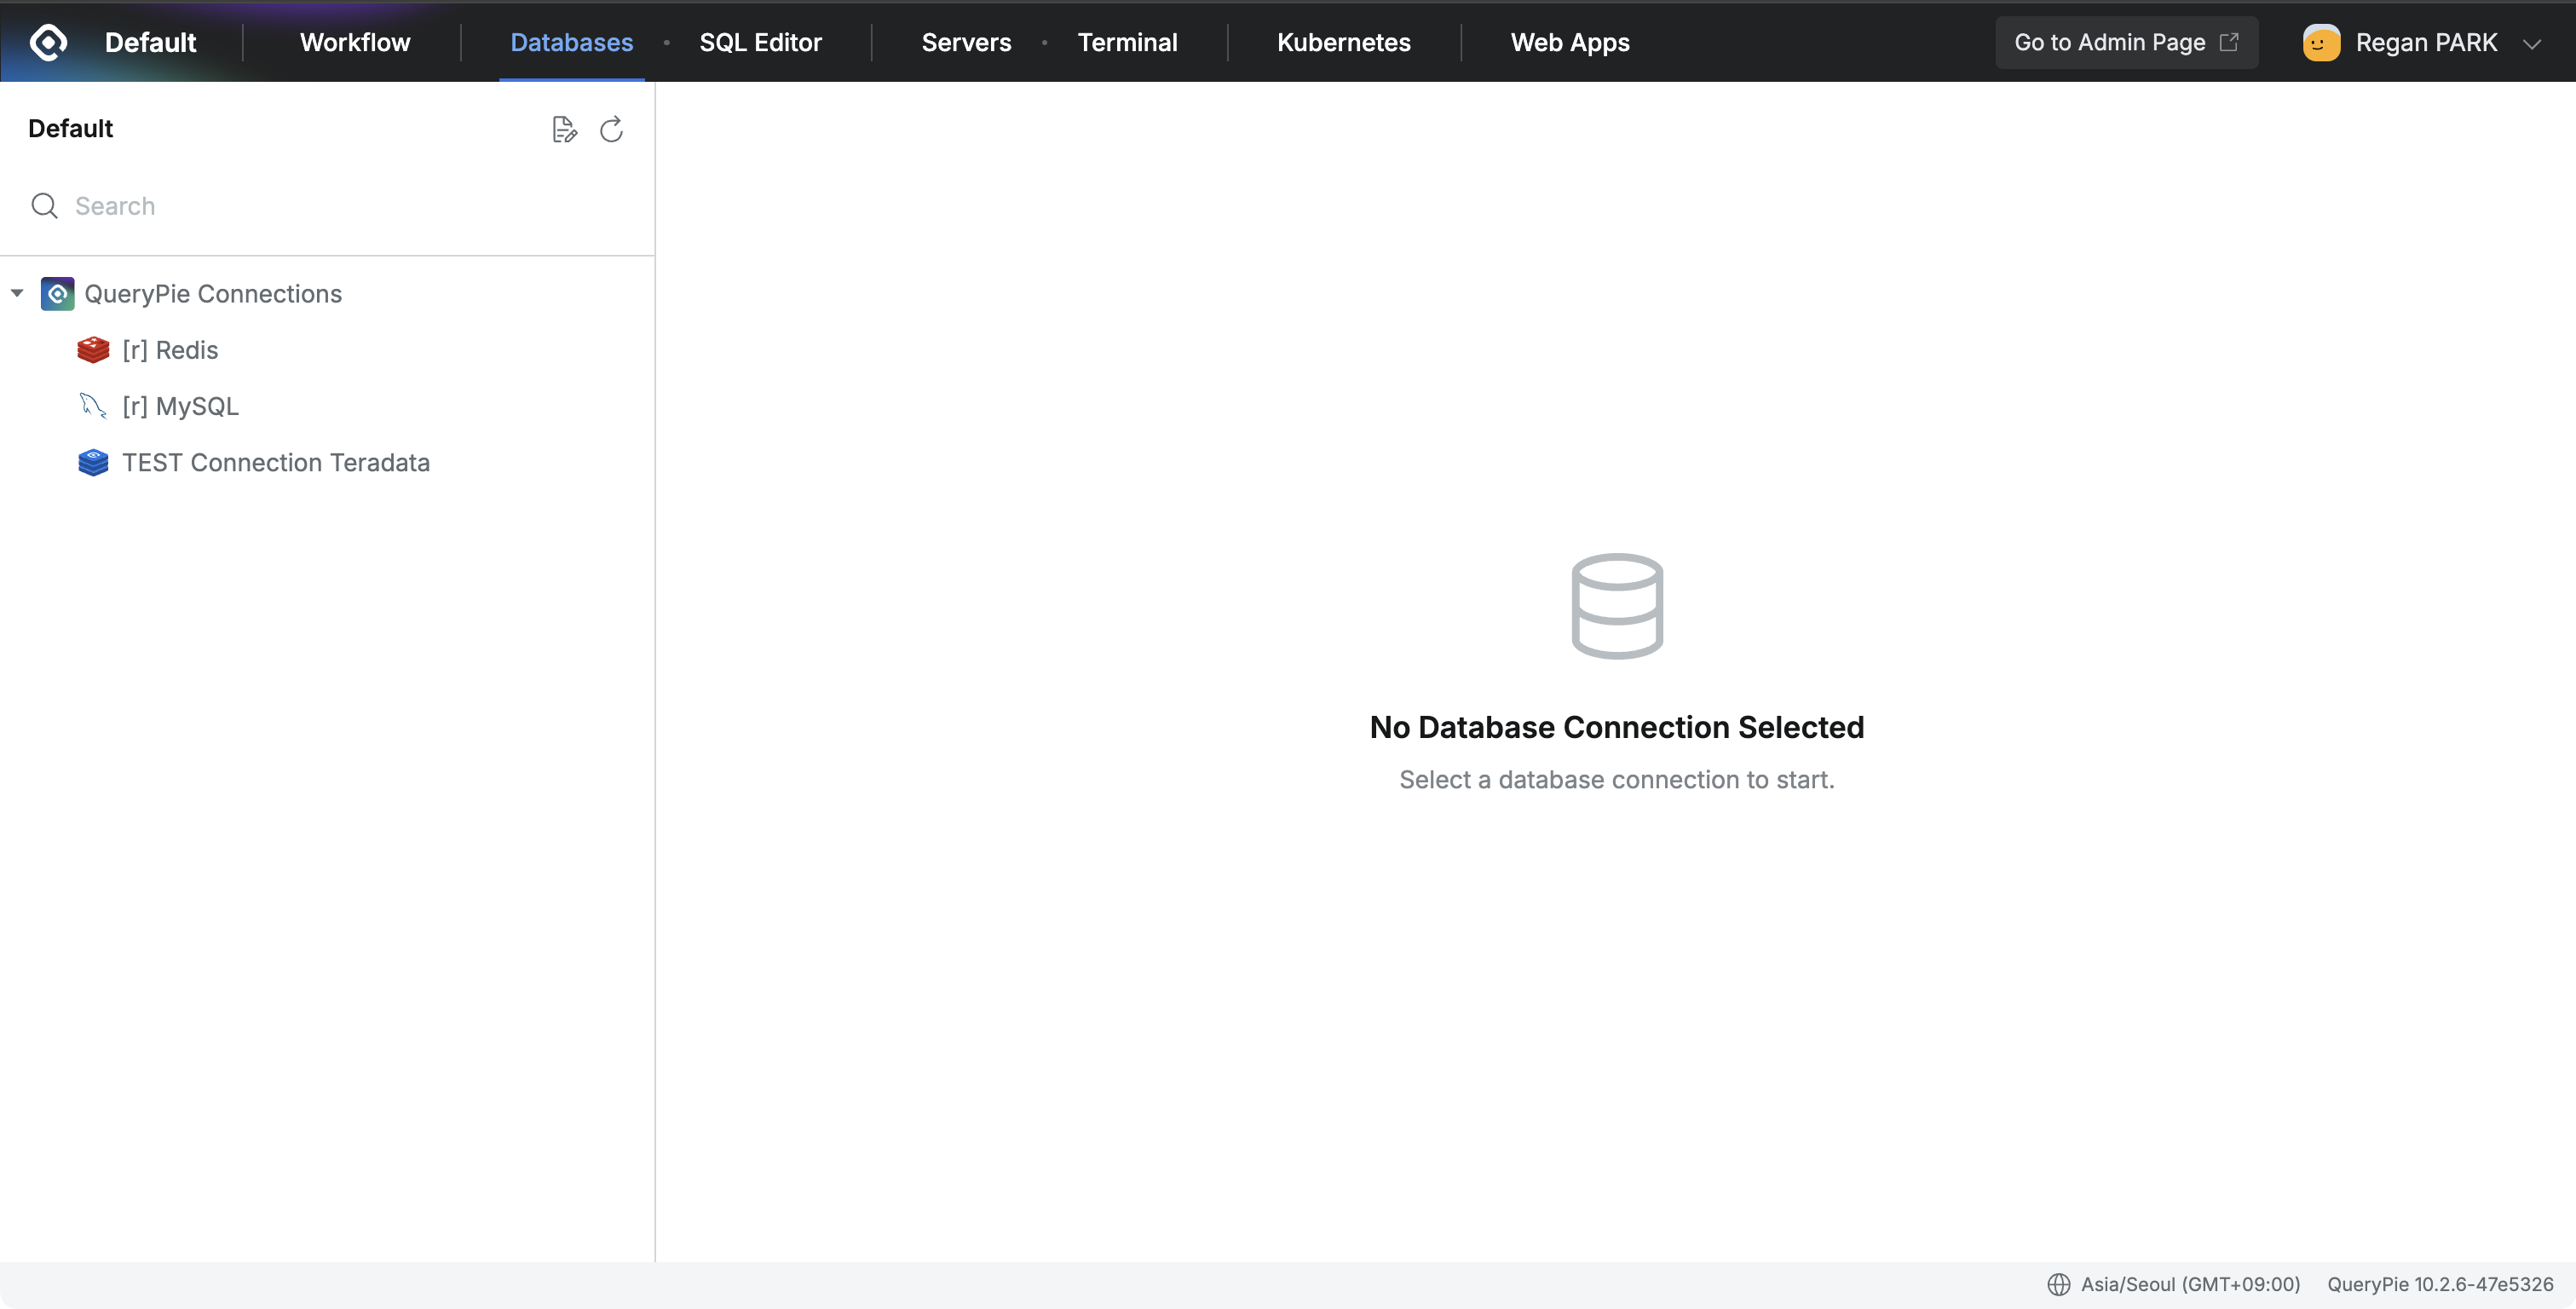
- Checking Web Connection List
- Click Databases at the top of the user screen.
- When you click QueryPie Connections in the left connection list, Custom Data Sources with access permissions are displayed.
- Connection Not Possible Notice
- When selecting Custom Data Source, the Connect button is disabled.
- The following tooltip is displayed and connection via web is not possible:
“Access is only possible through a proxy and cannot be accessed through the web. Please open the QueryPie Agent to connect to the Custom Data Source.”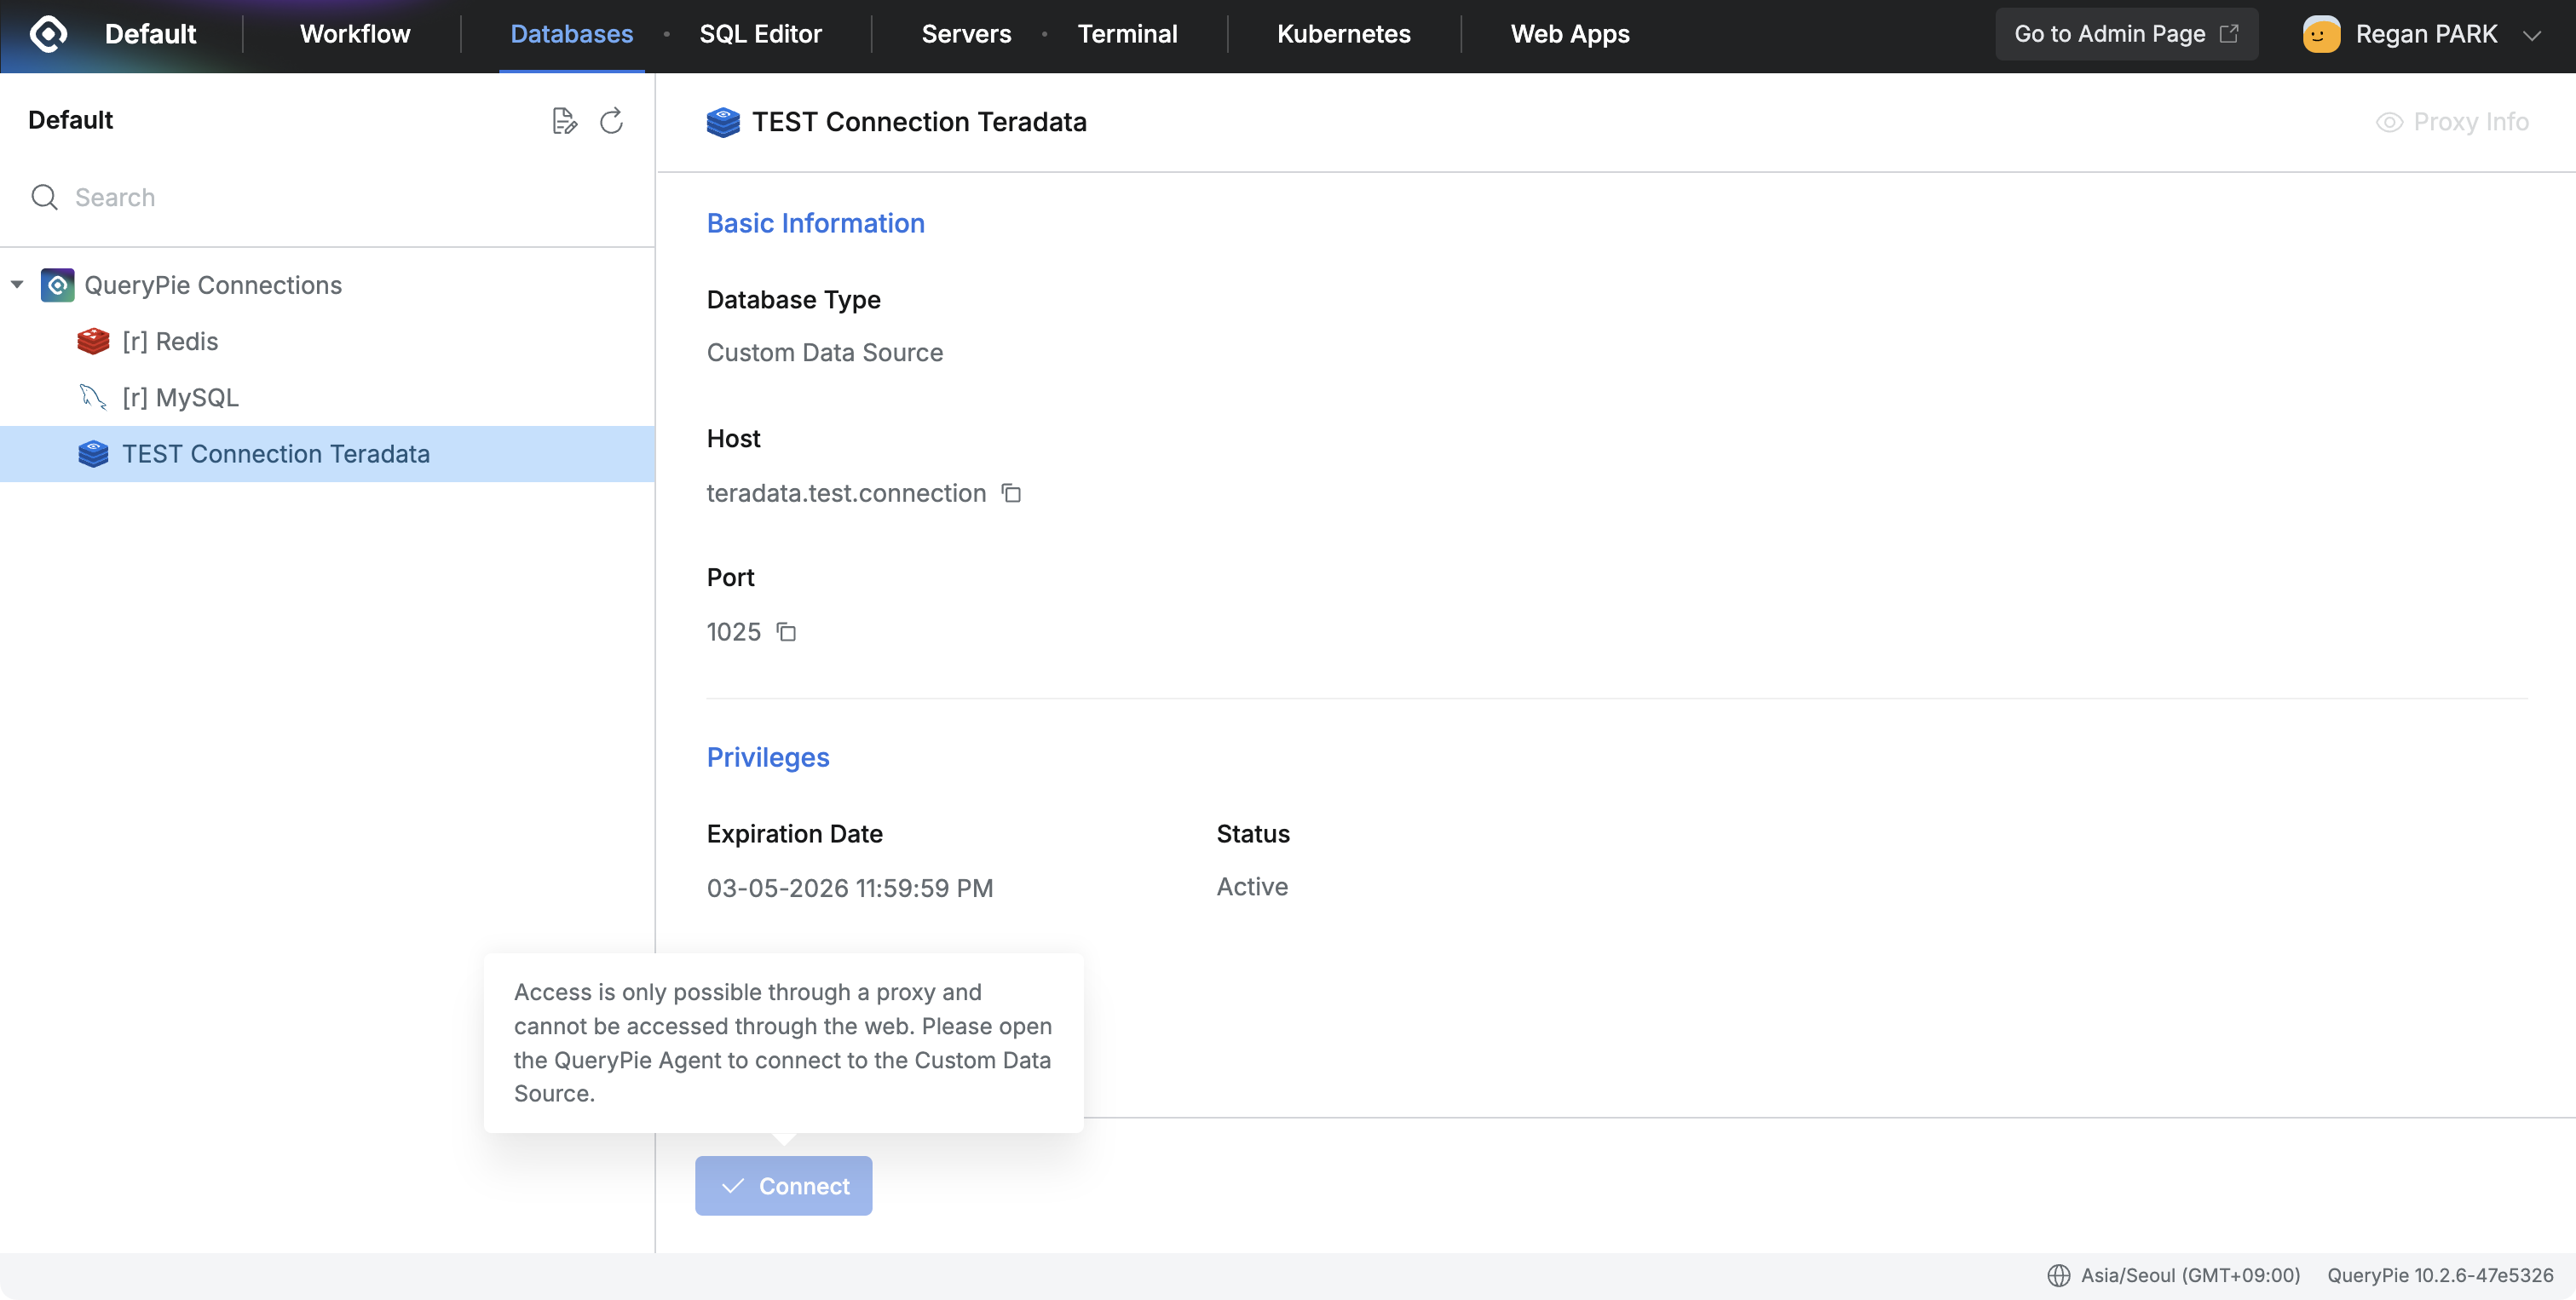
Last updated on