Integrating with Google SAML
Overview
QueryPie supports user integration through SAML 2.0 for Google users. You can grant access permissions and apply policies by synchronizing users.
SAML Configuration in Google Workspace
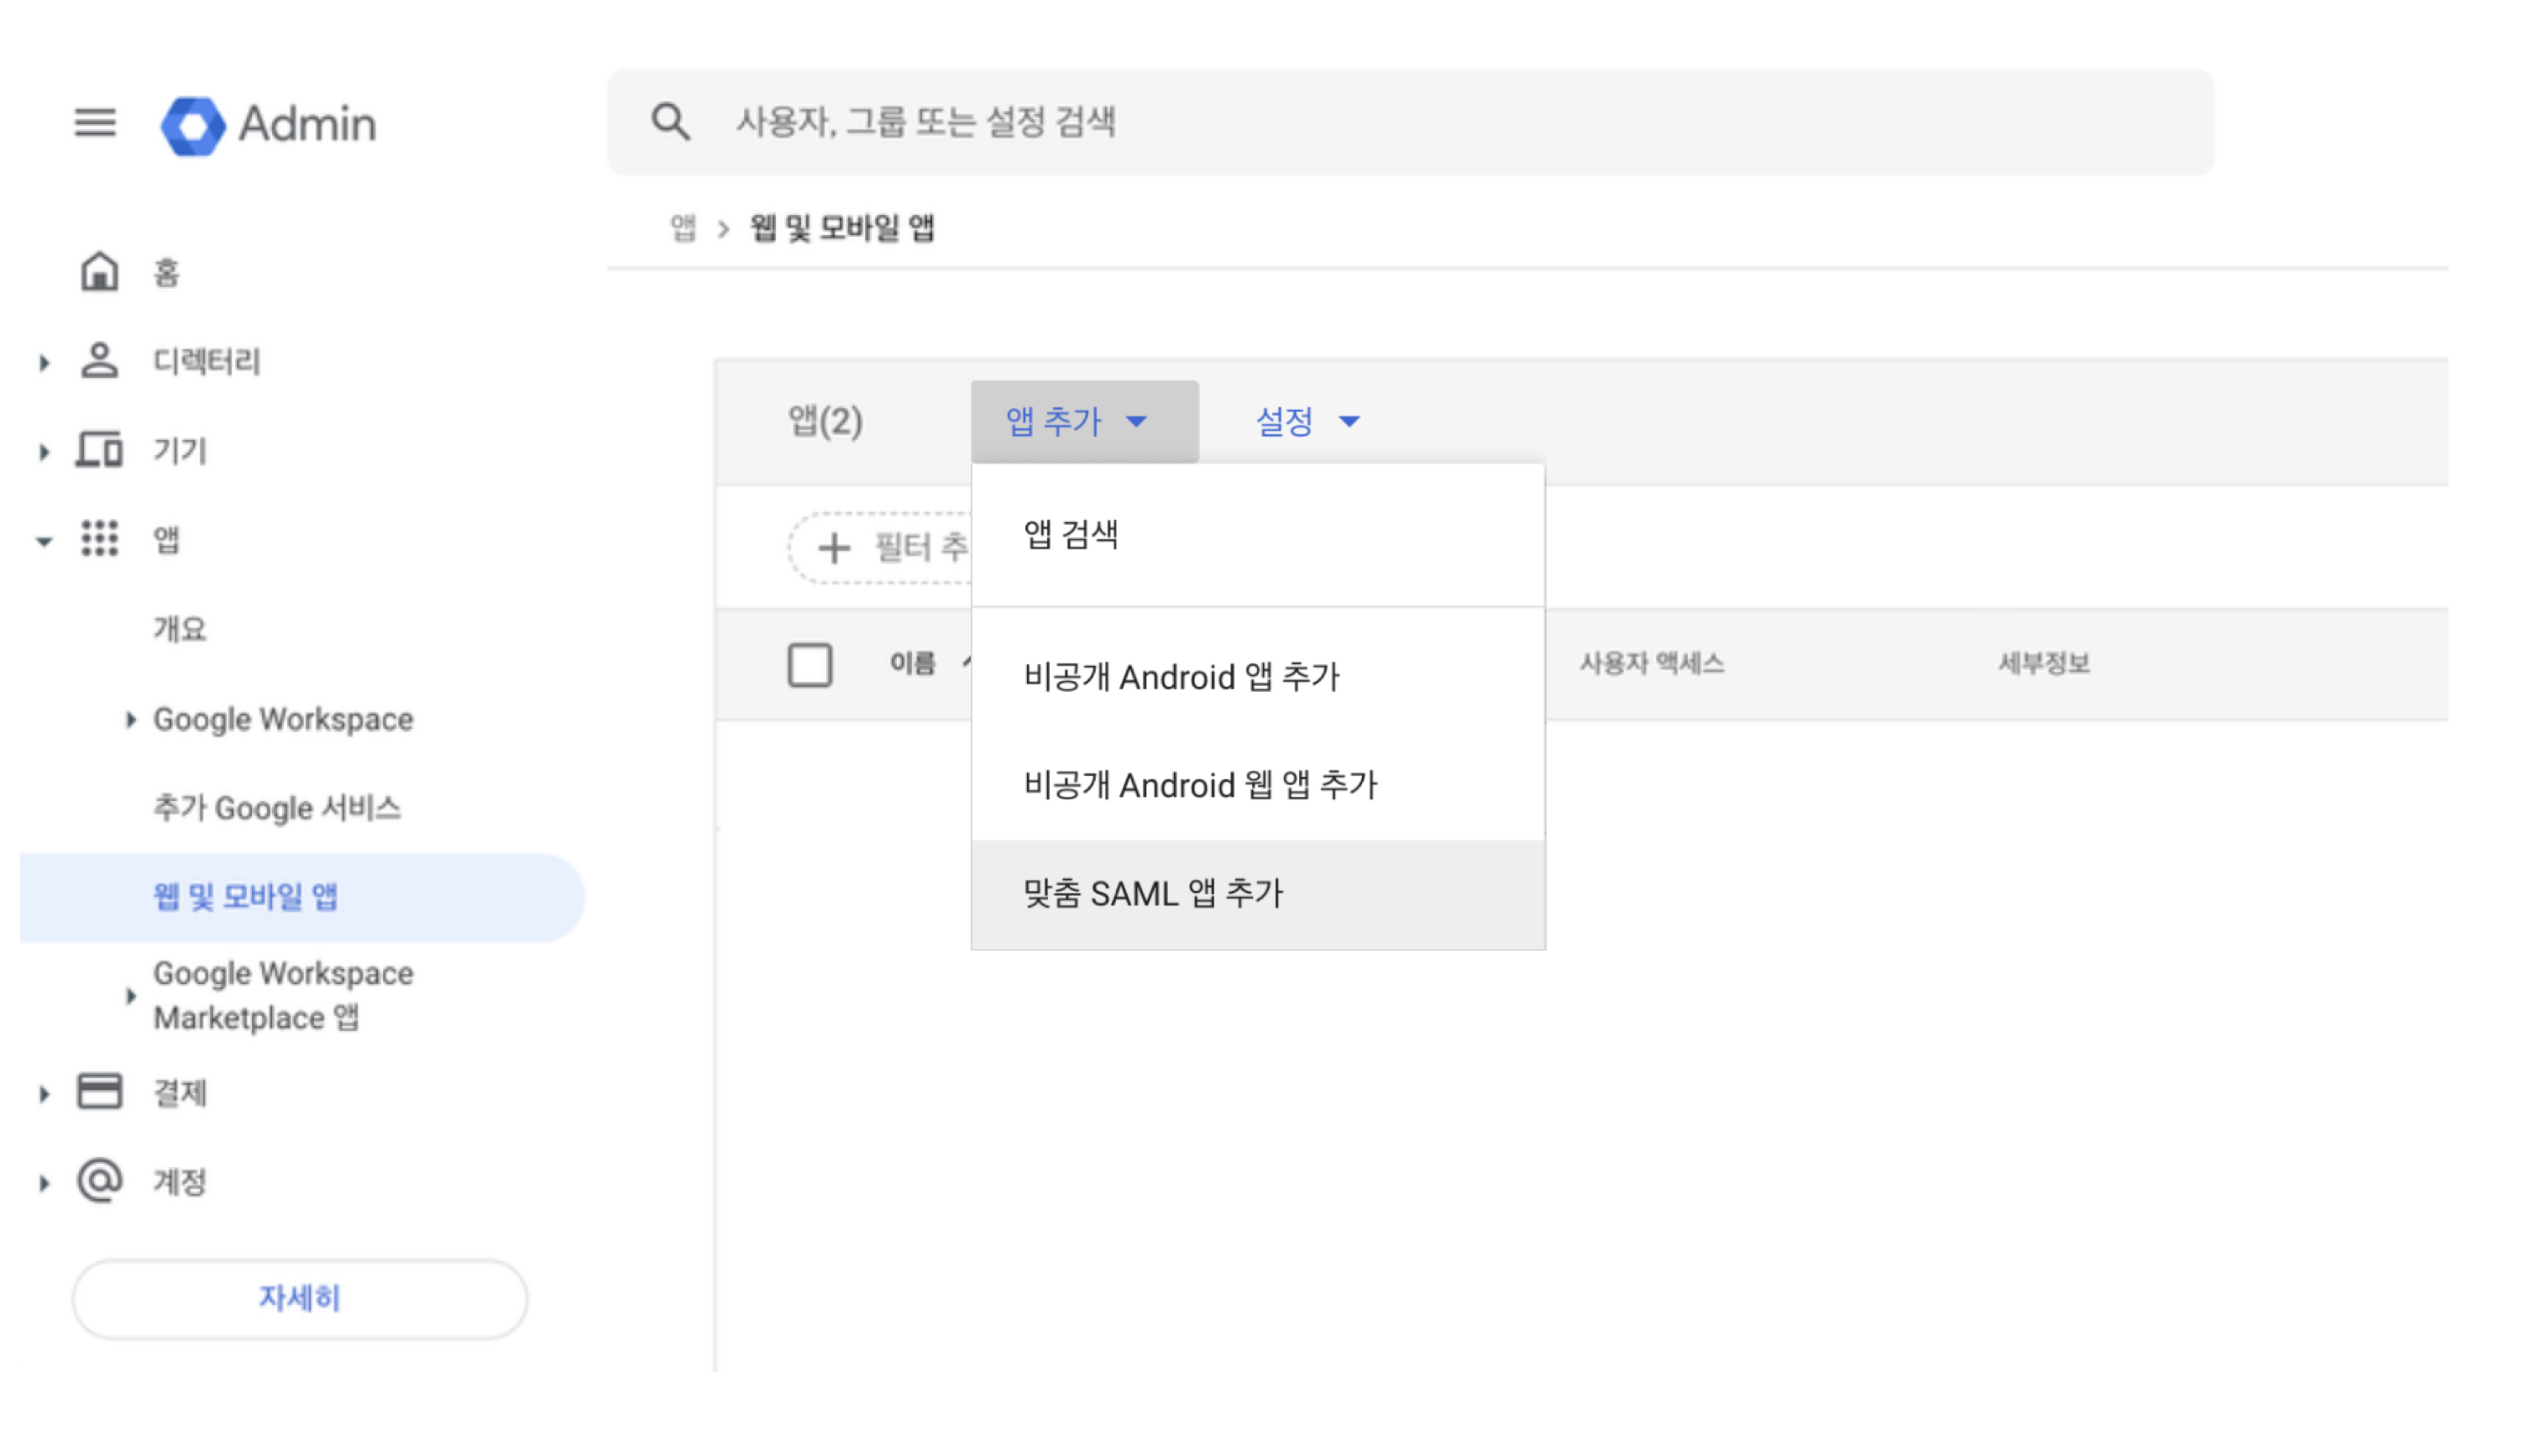
- Access the Google Admin Console homepage and click Apps >
Web and mobile appsin the left menu.

- Click the
Add Appbutton and then clickAdd Custom SAML App.
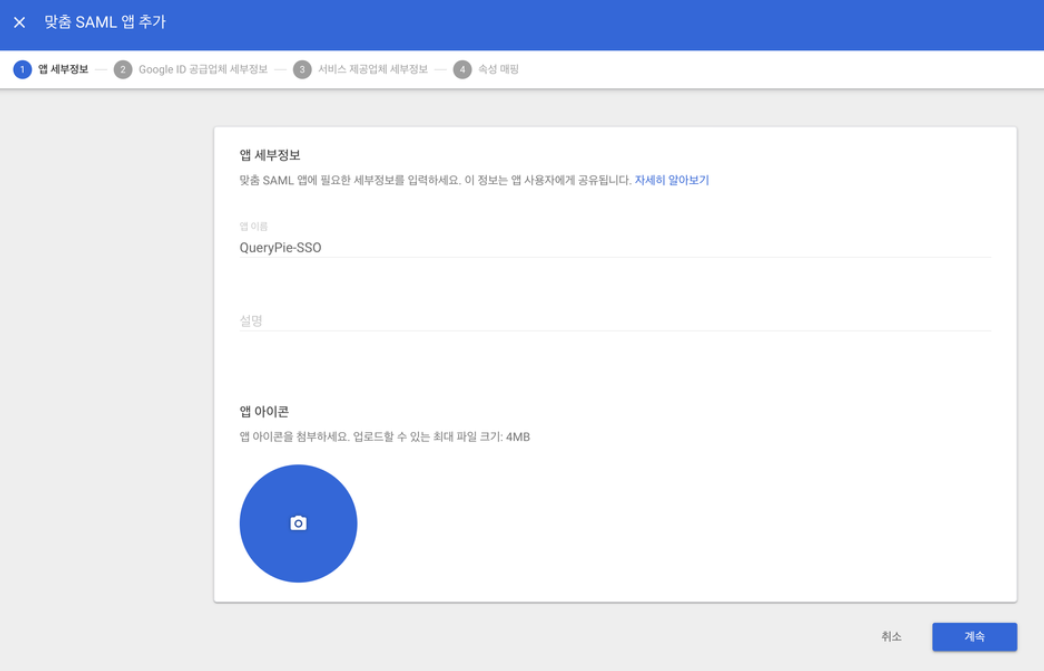
- This is the step 1 page for entering app details.
Enter ‘QueryPie-SSO’ in the App Name field and click the
Continuebutton.
- On the step 2 page, enter the following values.
After entering, click the
Continuebutton to proceed to step 3.

- ACS URL :
https://{QueryPie Host}/saml/sp/acs - Entity ID :
https://{QueryPie Host}/saml/sp/metadata - Start URL (Optional) :
https://{QueryPie Host}/
- On the step 3 page, click the
Add Mappingbutton, enter all four values below, and click theFinishbutton.
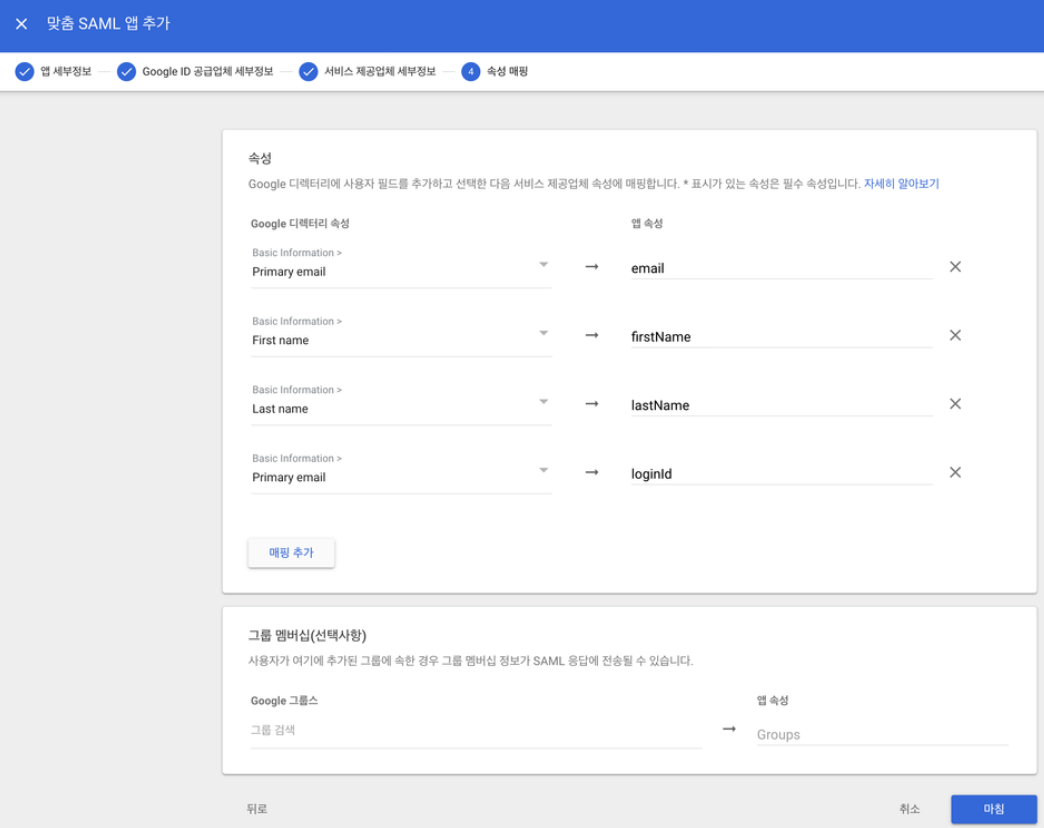
- Basic Information : Primary email → email
- Basic Information : First name → firstName
- Basic Information : Last name → lastName
- Basic Information : Primary email → loginId
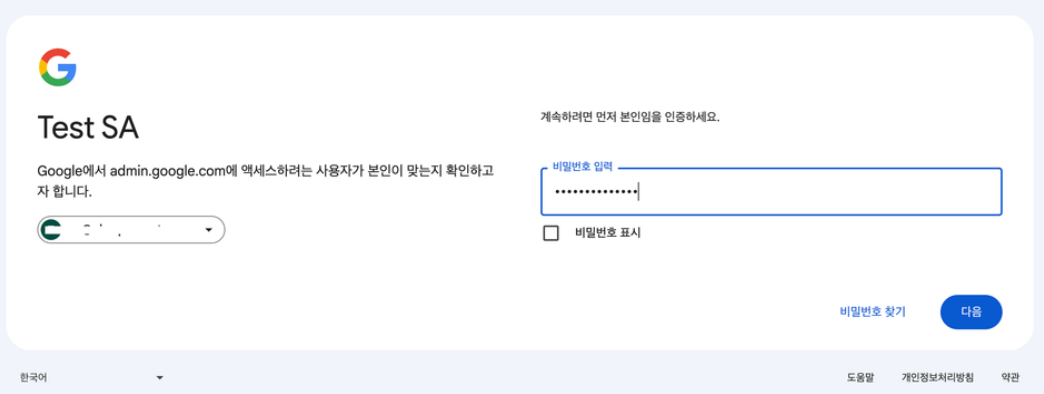
- Enter your Google authentication password and click
Nextto complete creation.
- When creation is successfully completed, the newly added app will be displayed in the list as shown below. Click on the app to enable it.
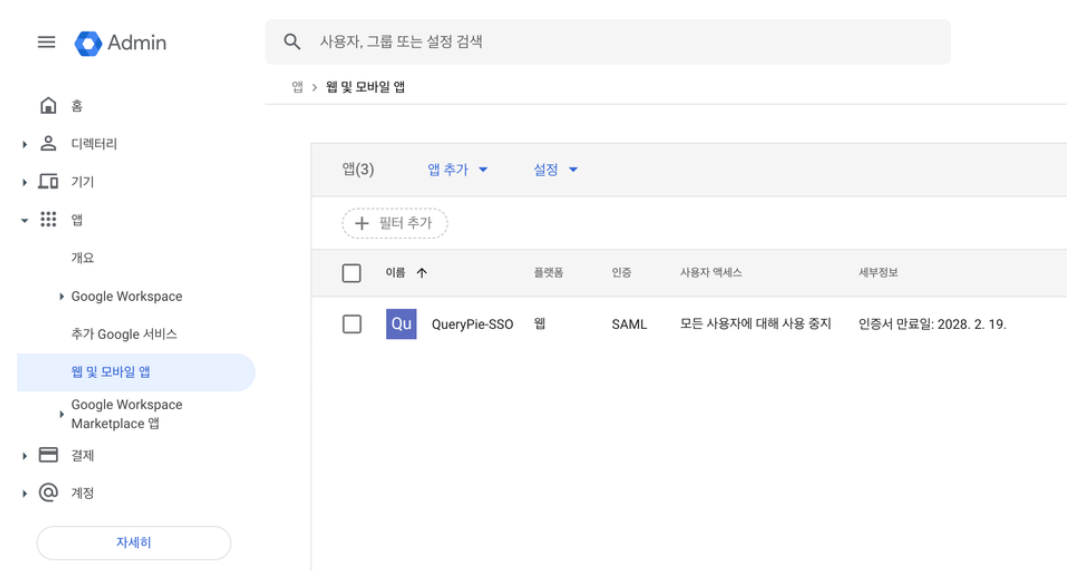
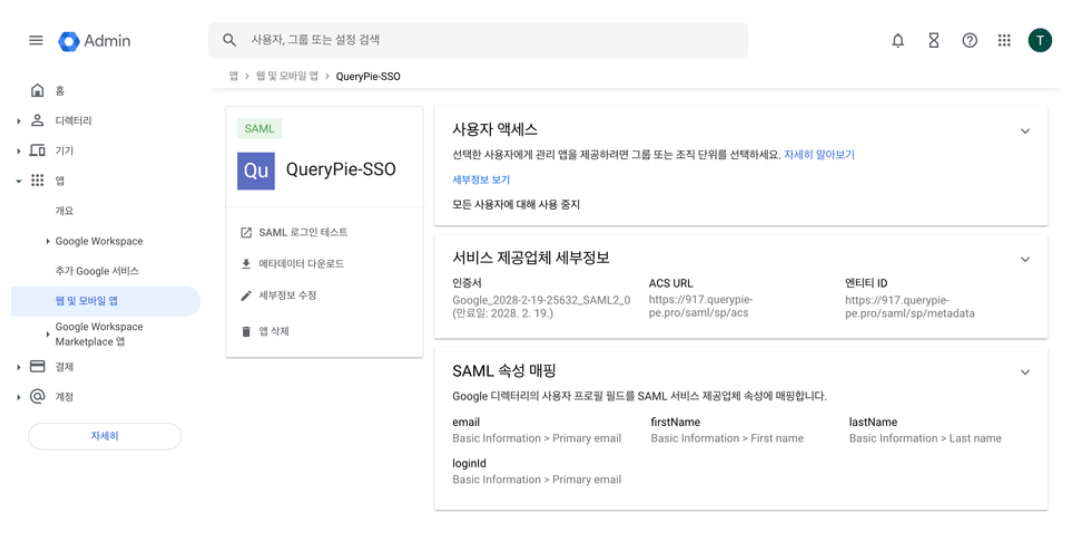
- In the app details, click
Download Metadatato download the file, then click theUser Accessitem.
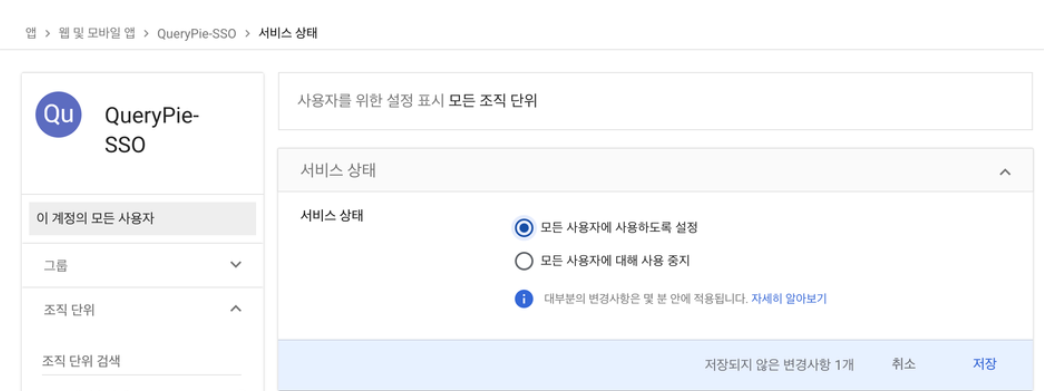
- Select ‘Enable for all users’ in Service Status and click the
Savebutton.
Configuring Authentication Method in QueryPie
- Navigate to QueryPie Admin > General > User Management > Authentication menu and configure as follows.
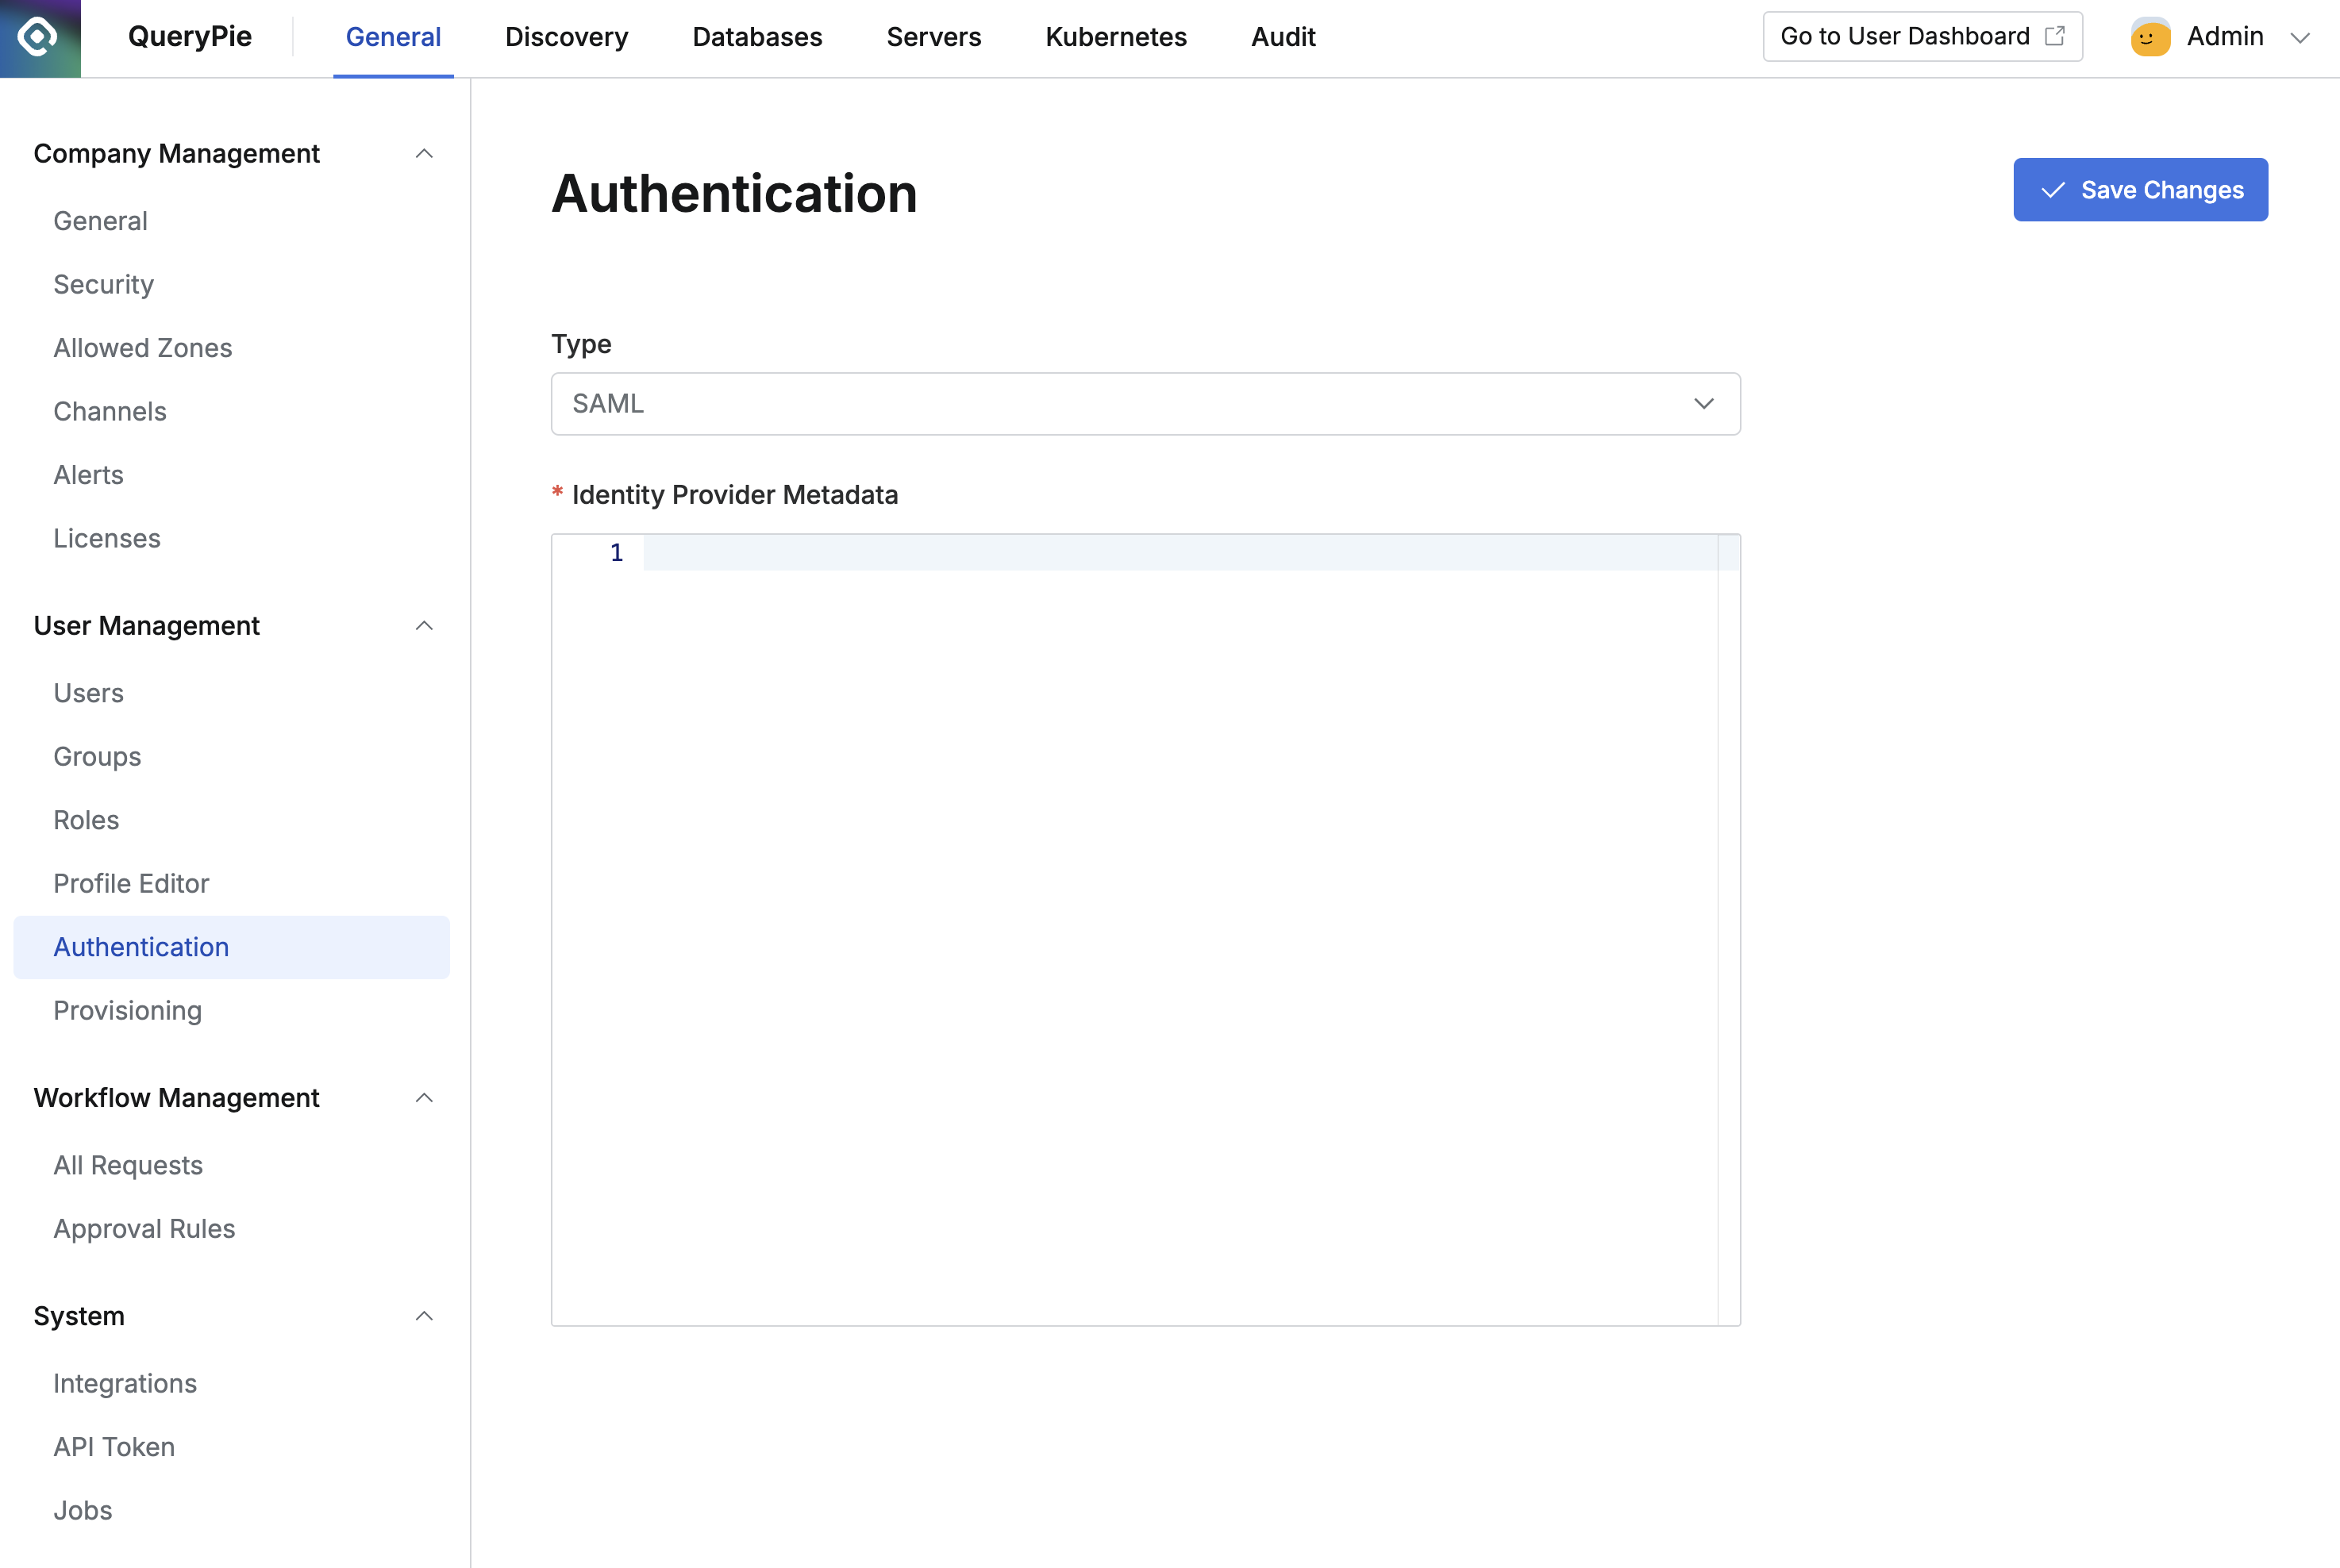
- Type : Select SAML.
- Identity Provider Metadata : Open the file (GoogleIDPMetadata.xml) downloaded from the Google Admin Console homepage, copy the content, and paste it here.
- Click the
Save Changesbutton to complete the setup.
SAML Login in QueryPie
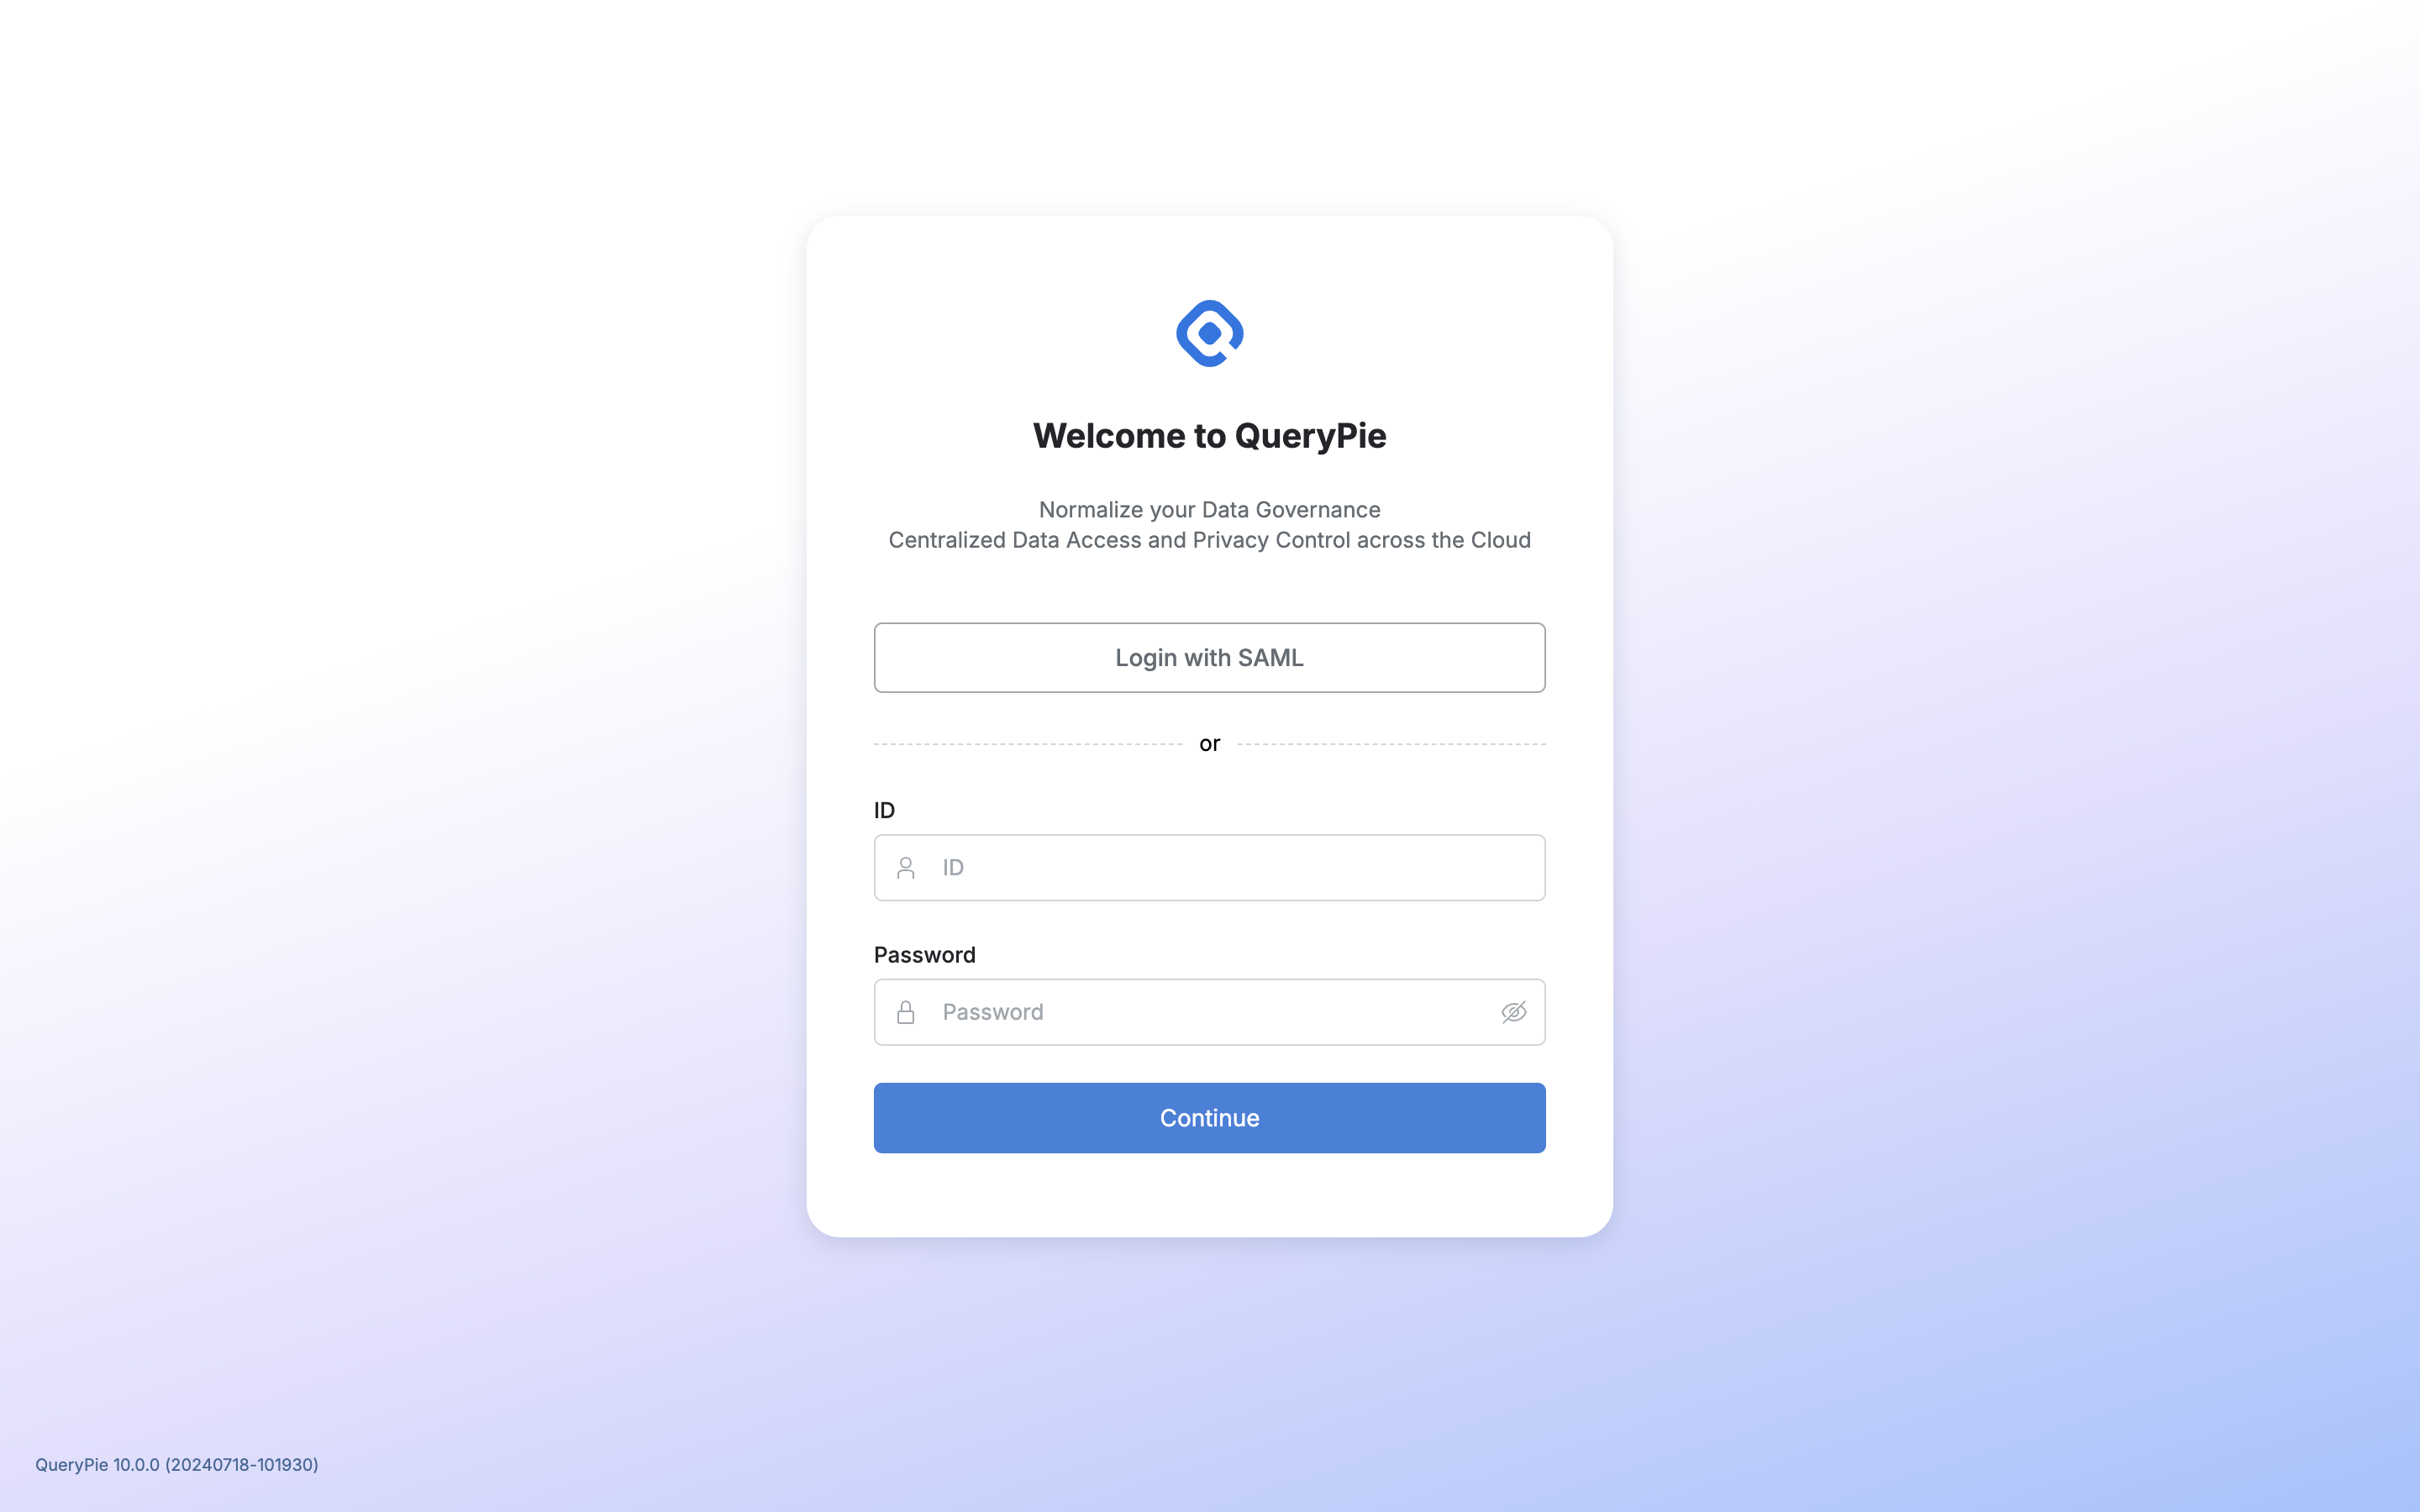
Now you can authenticate with Google and log in to QueryPie through the Login with SAML button on the login page.
Last updated on