Allowed Zones
Overview
The Allowed Zones page allows you to pre-register and manage Allowed Zones to control IP ranges that allow users’ QueryPie web console access and DB connections.
From 11.3.0, the expression has been changed from “IP Band(s)” to “IP Address Range(s)”.
Viewing Registered Allowed Zone List
To view the Allowed Zone list, access the Administrator > General > Company Management > Allowed Zones page. You can search by Allowed Zone name.
Default Allowed Zone is created by default during QueryPie installation and has an allow-all (0.0.0.0/0) value.
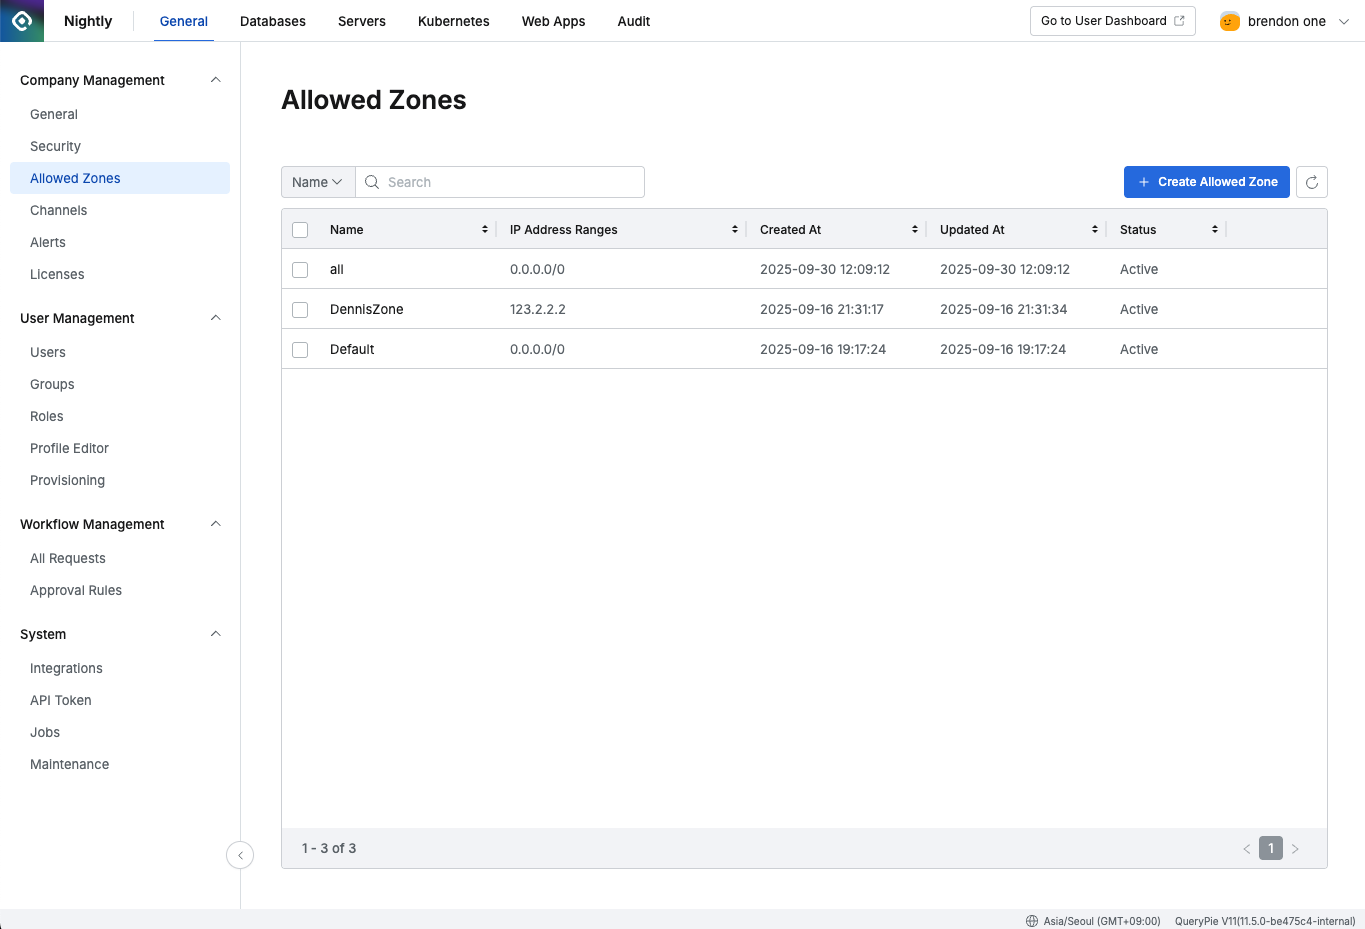
Administrator > General > Company Management > Allowed Zones
Viewing Allowed Zone Details
Click on the item you want to view details for in the Allowed Zones list to open a drawer.
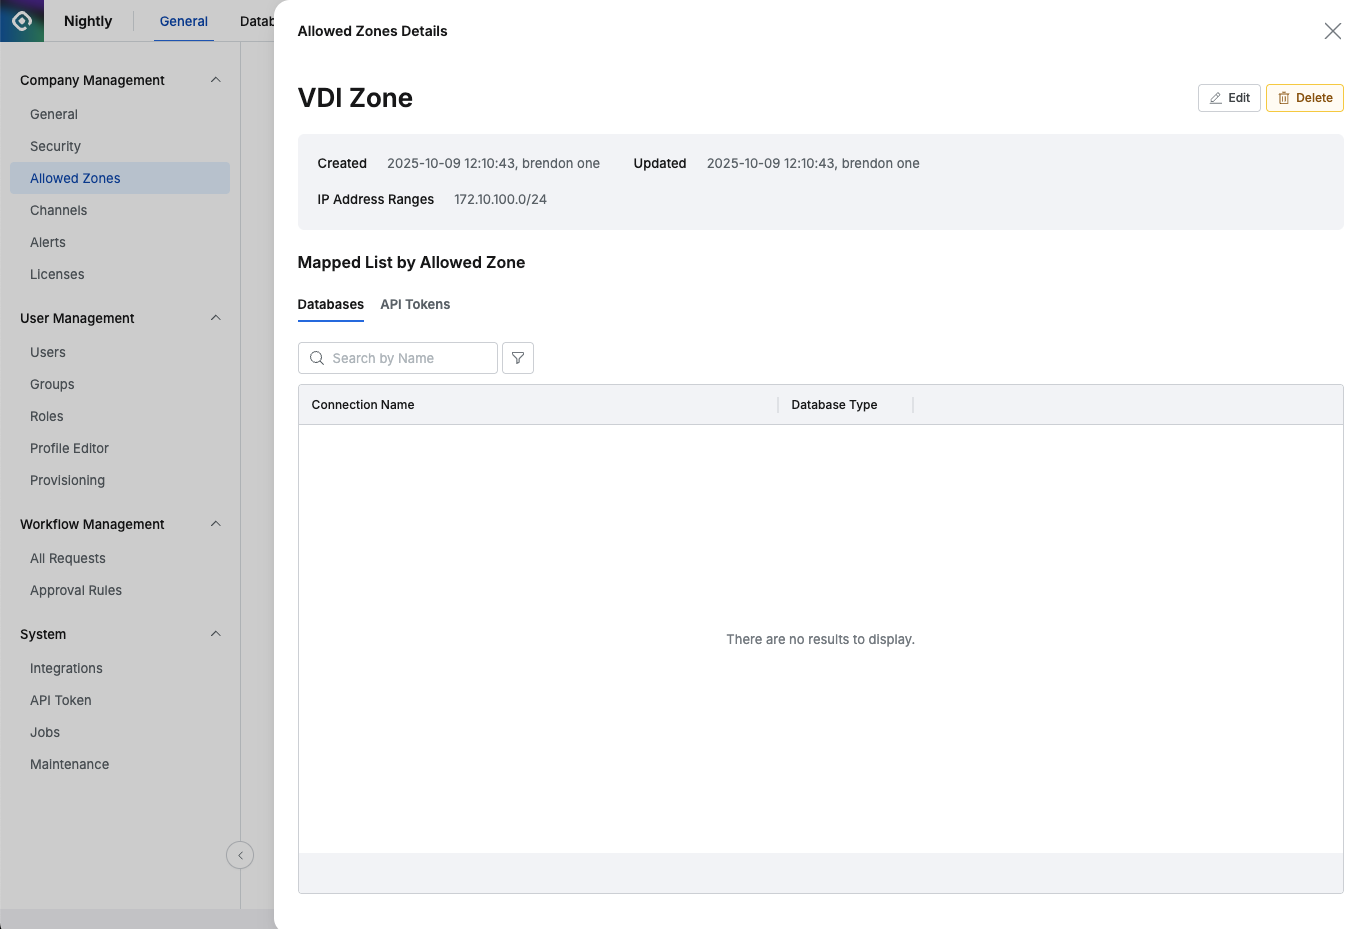
Administrator > General > Company Management > Allowed Zones > Allowed Zones Detail
Checking Allowed Zone Assignment History
In the Mapped List by Allowed Zones area within the drawer, you can check DB connections and users assigned to the Allowed Zone.
- Database tab: List of DB connections controlled by this Allowed Zone
- Allowed Zone assignment is possible from the DB Connection Detail page
- Users tab: List of users whose QueryPie Web access is controlled by this Allowed Zone
- User-specific Allowed Zone assignment is disabled by default, and Global Option activation is performed in the Security menu.
- User-specific Allowed Zone assignment is performed in the user detail page in the Users menu.
Adding Allowed Zones
Click the Create Allowed Zone button on the Allowed Zone list page to display the Allowed Zone input fields.
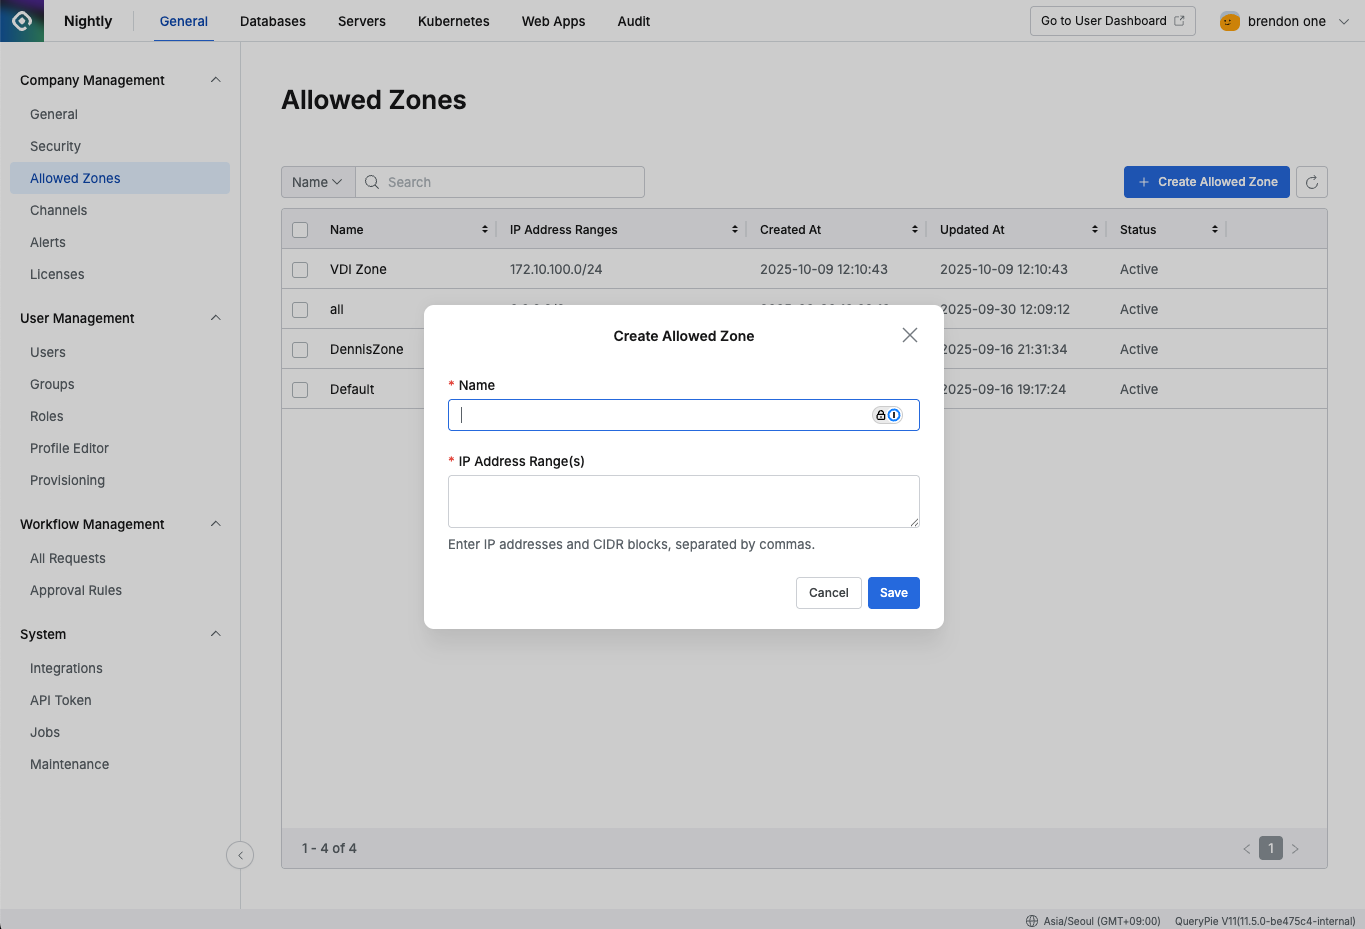
Input fields displayed when creating Allowed Zone
- Name : Allowed Zone name
- IP Address Range(s) : Enter IP addresses or IP address ranges to assign.
- You can enter one or more IP addresses or IP address ranges.
- IP address ranges use Classless Inter-Domain Routing (CIDR) notation. Reference: What is CIDR?
- When entering two or more IP addresses or IP address ranges, use commas as separators.
- Example 1)
1.1.1.1, 2.2.2.2 - Example 2)
192.168.10.0/24, 192.169.30.0/24
Deleting Allowed Zones
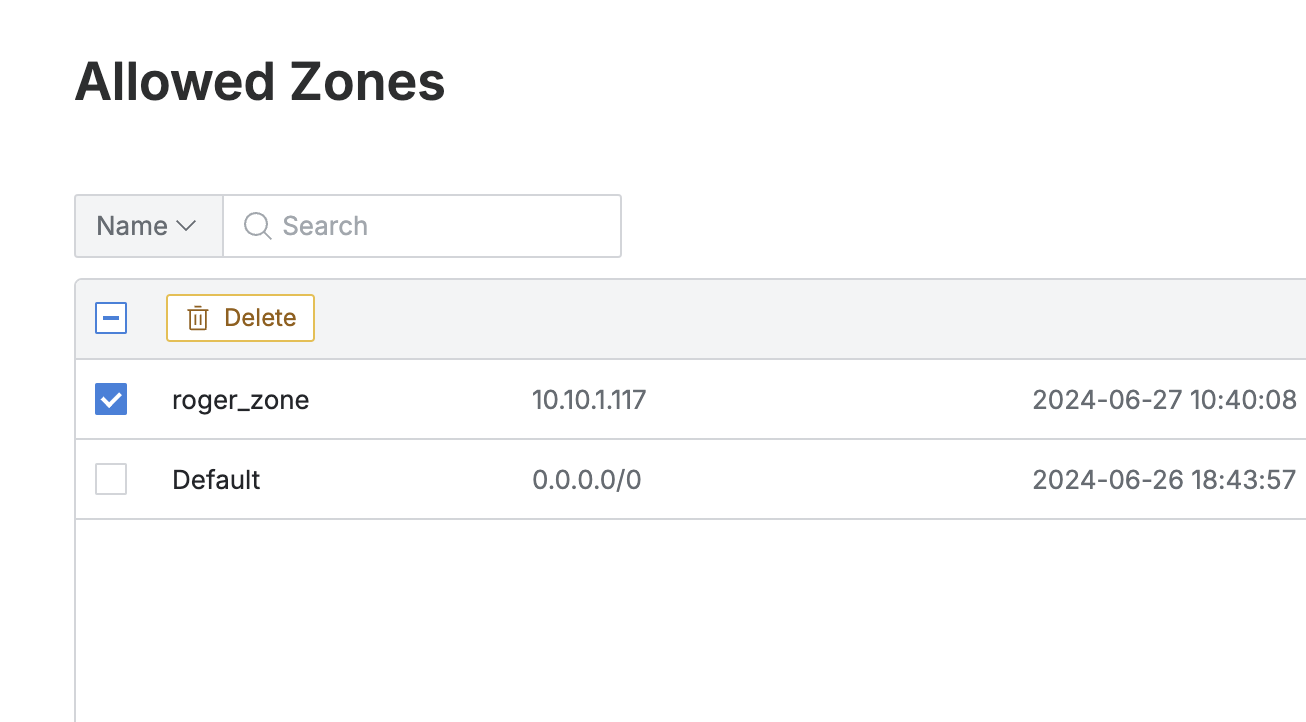
Select the Allowed Zone you want to delete with a checkbox in the Allowed Zone list, and the Delete button will appear.
Click the button and then click the Delete button in the confirmation modal to complete the deletion.
Delete Option Activated