Roles
Overview
Supports viewing, creating, modifying, and deleting roles (Role) according to access permissions for web applications managed by the organization. Role is the step after Policy for implementing and applying web app access permissions, meaning a collection of Policies and permissions that serve as a link between users/groups and policies.
Administrator > Web Apps > Web App Access Control > Roles
Viewing Roles
Administrator > Web Apps > Web App Access Control > Roles > List Details
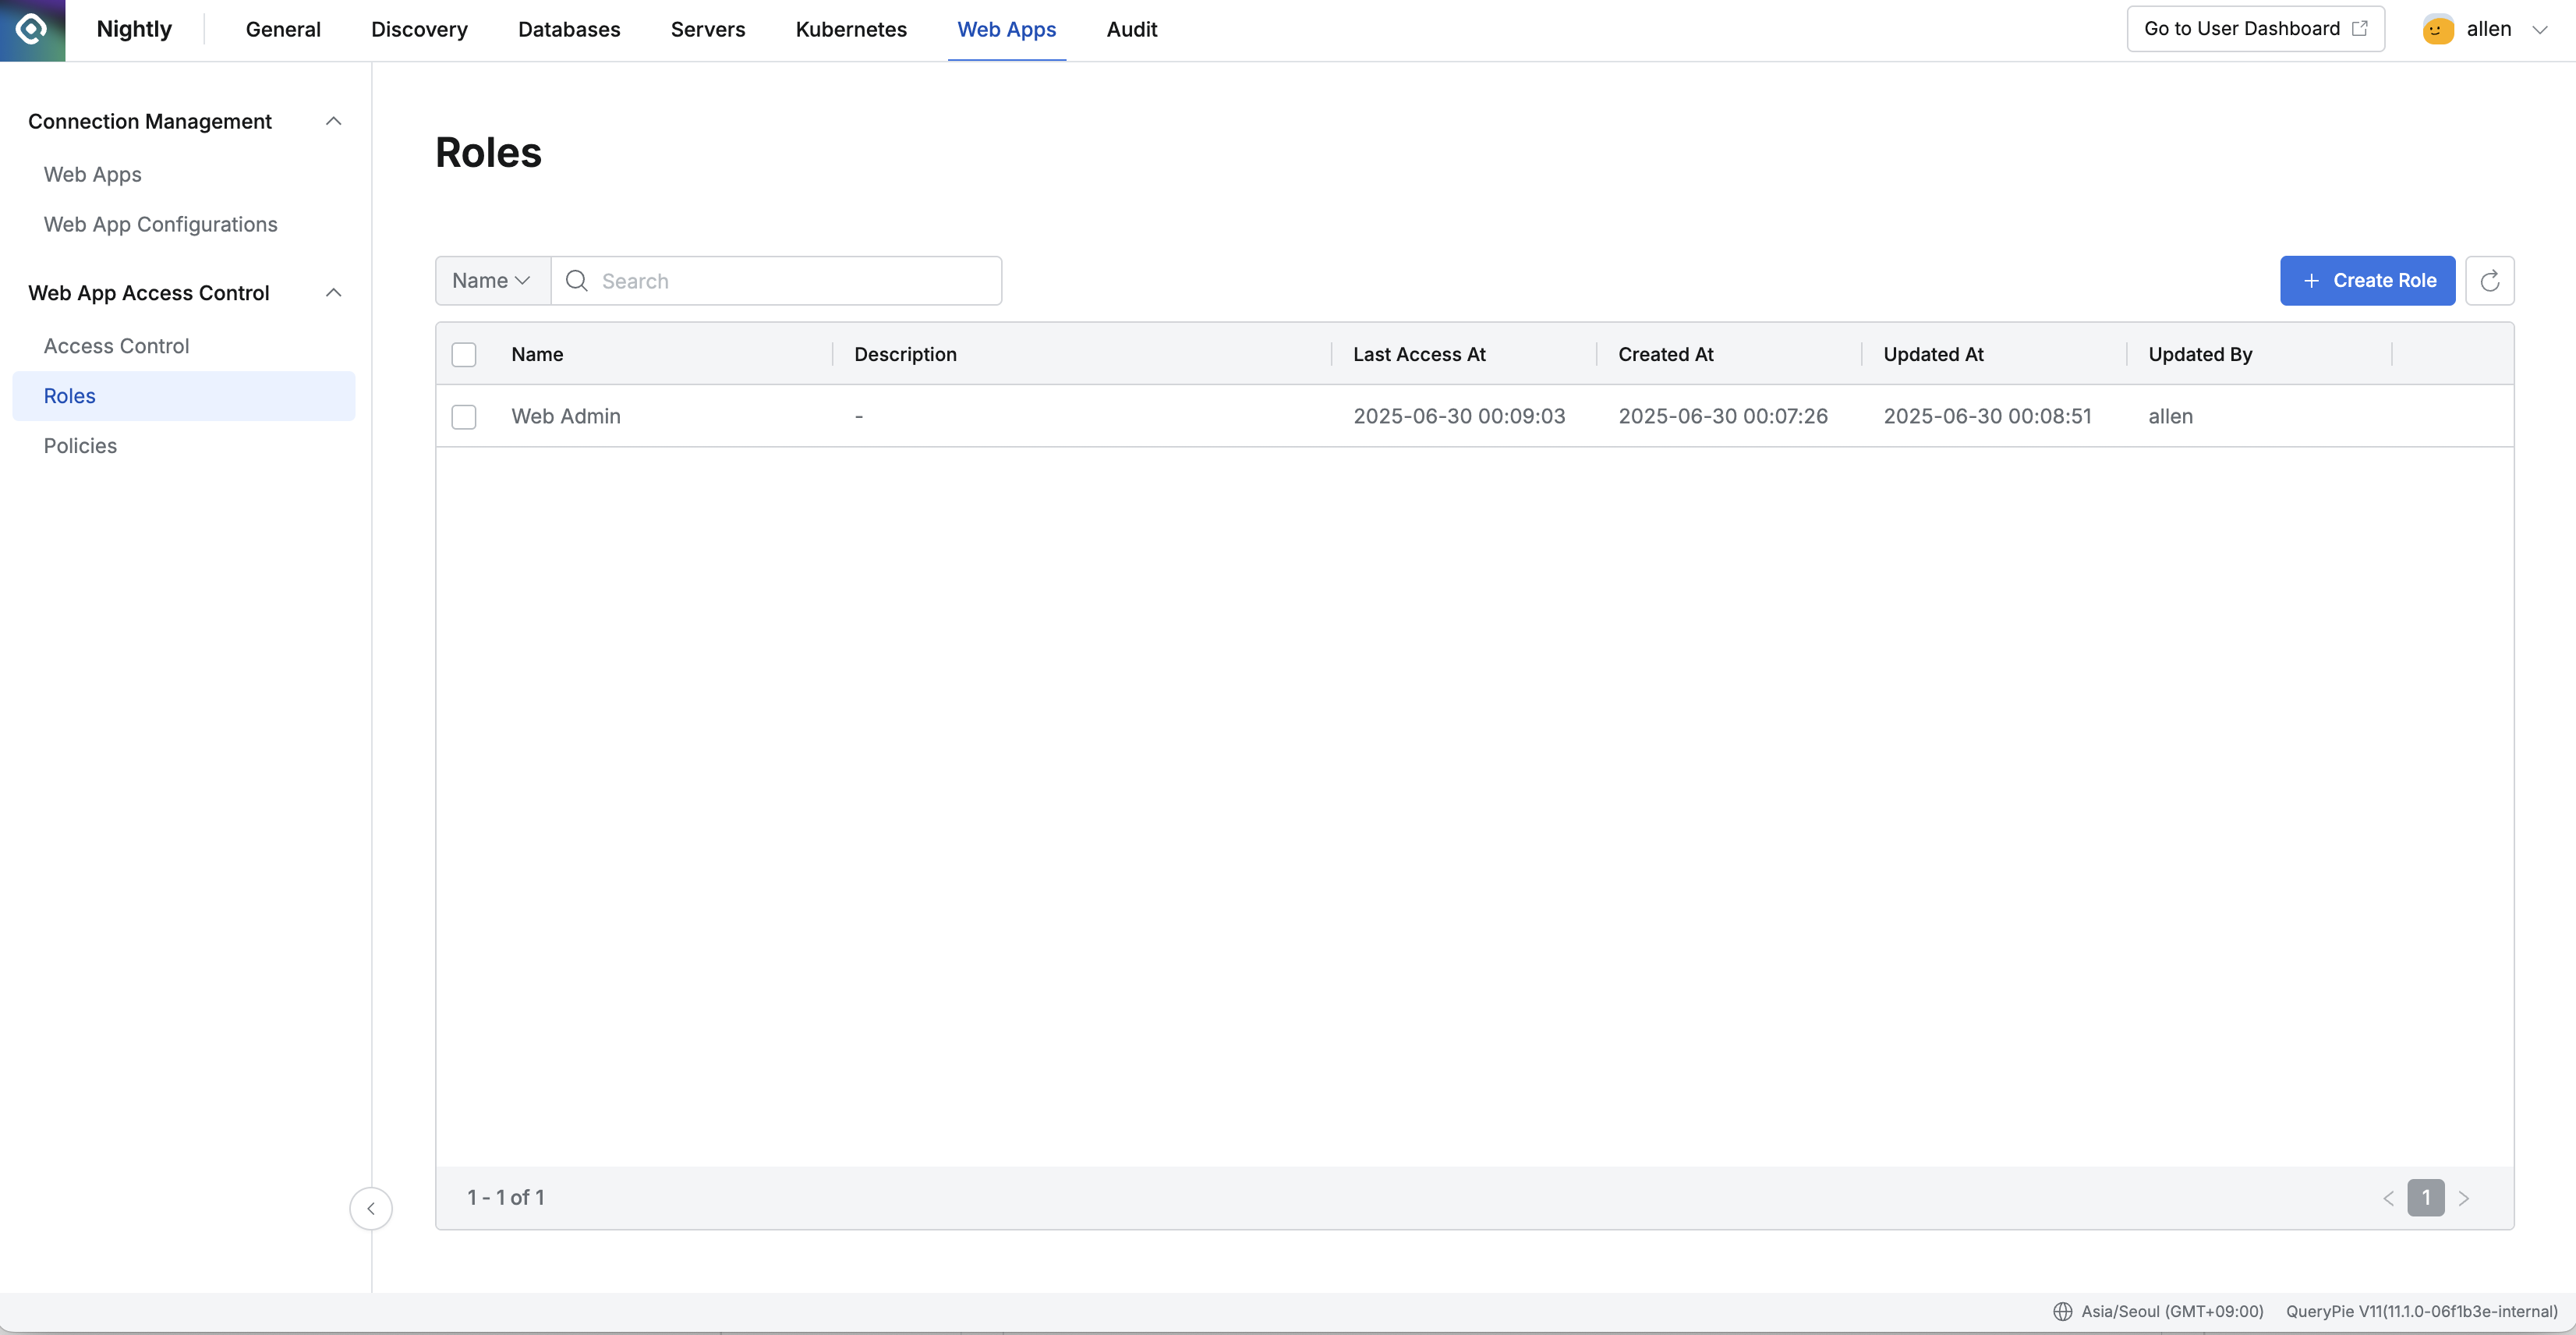
- Navigate to Administrator > Web Apps > Access Control > Roles menu.
- You can search by role name through the search field in the top left of the table.
- You can refresh the Role list through the refresh button in the top right of the table.
- The table provides the following information:
a. Name : Role name
b. Description : Role detailed description
c. Last Access At : Last call date and time for this role
d. Created At : Role initial creation date and time
e. Updated At : Role last modification date and time
f. Updated By : Administrator name who performed the last update - Clicking each row allows you to view role detailed information.
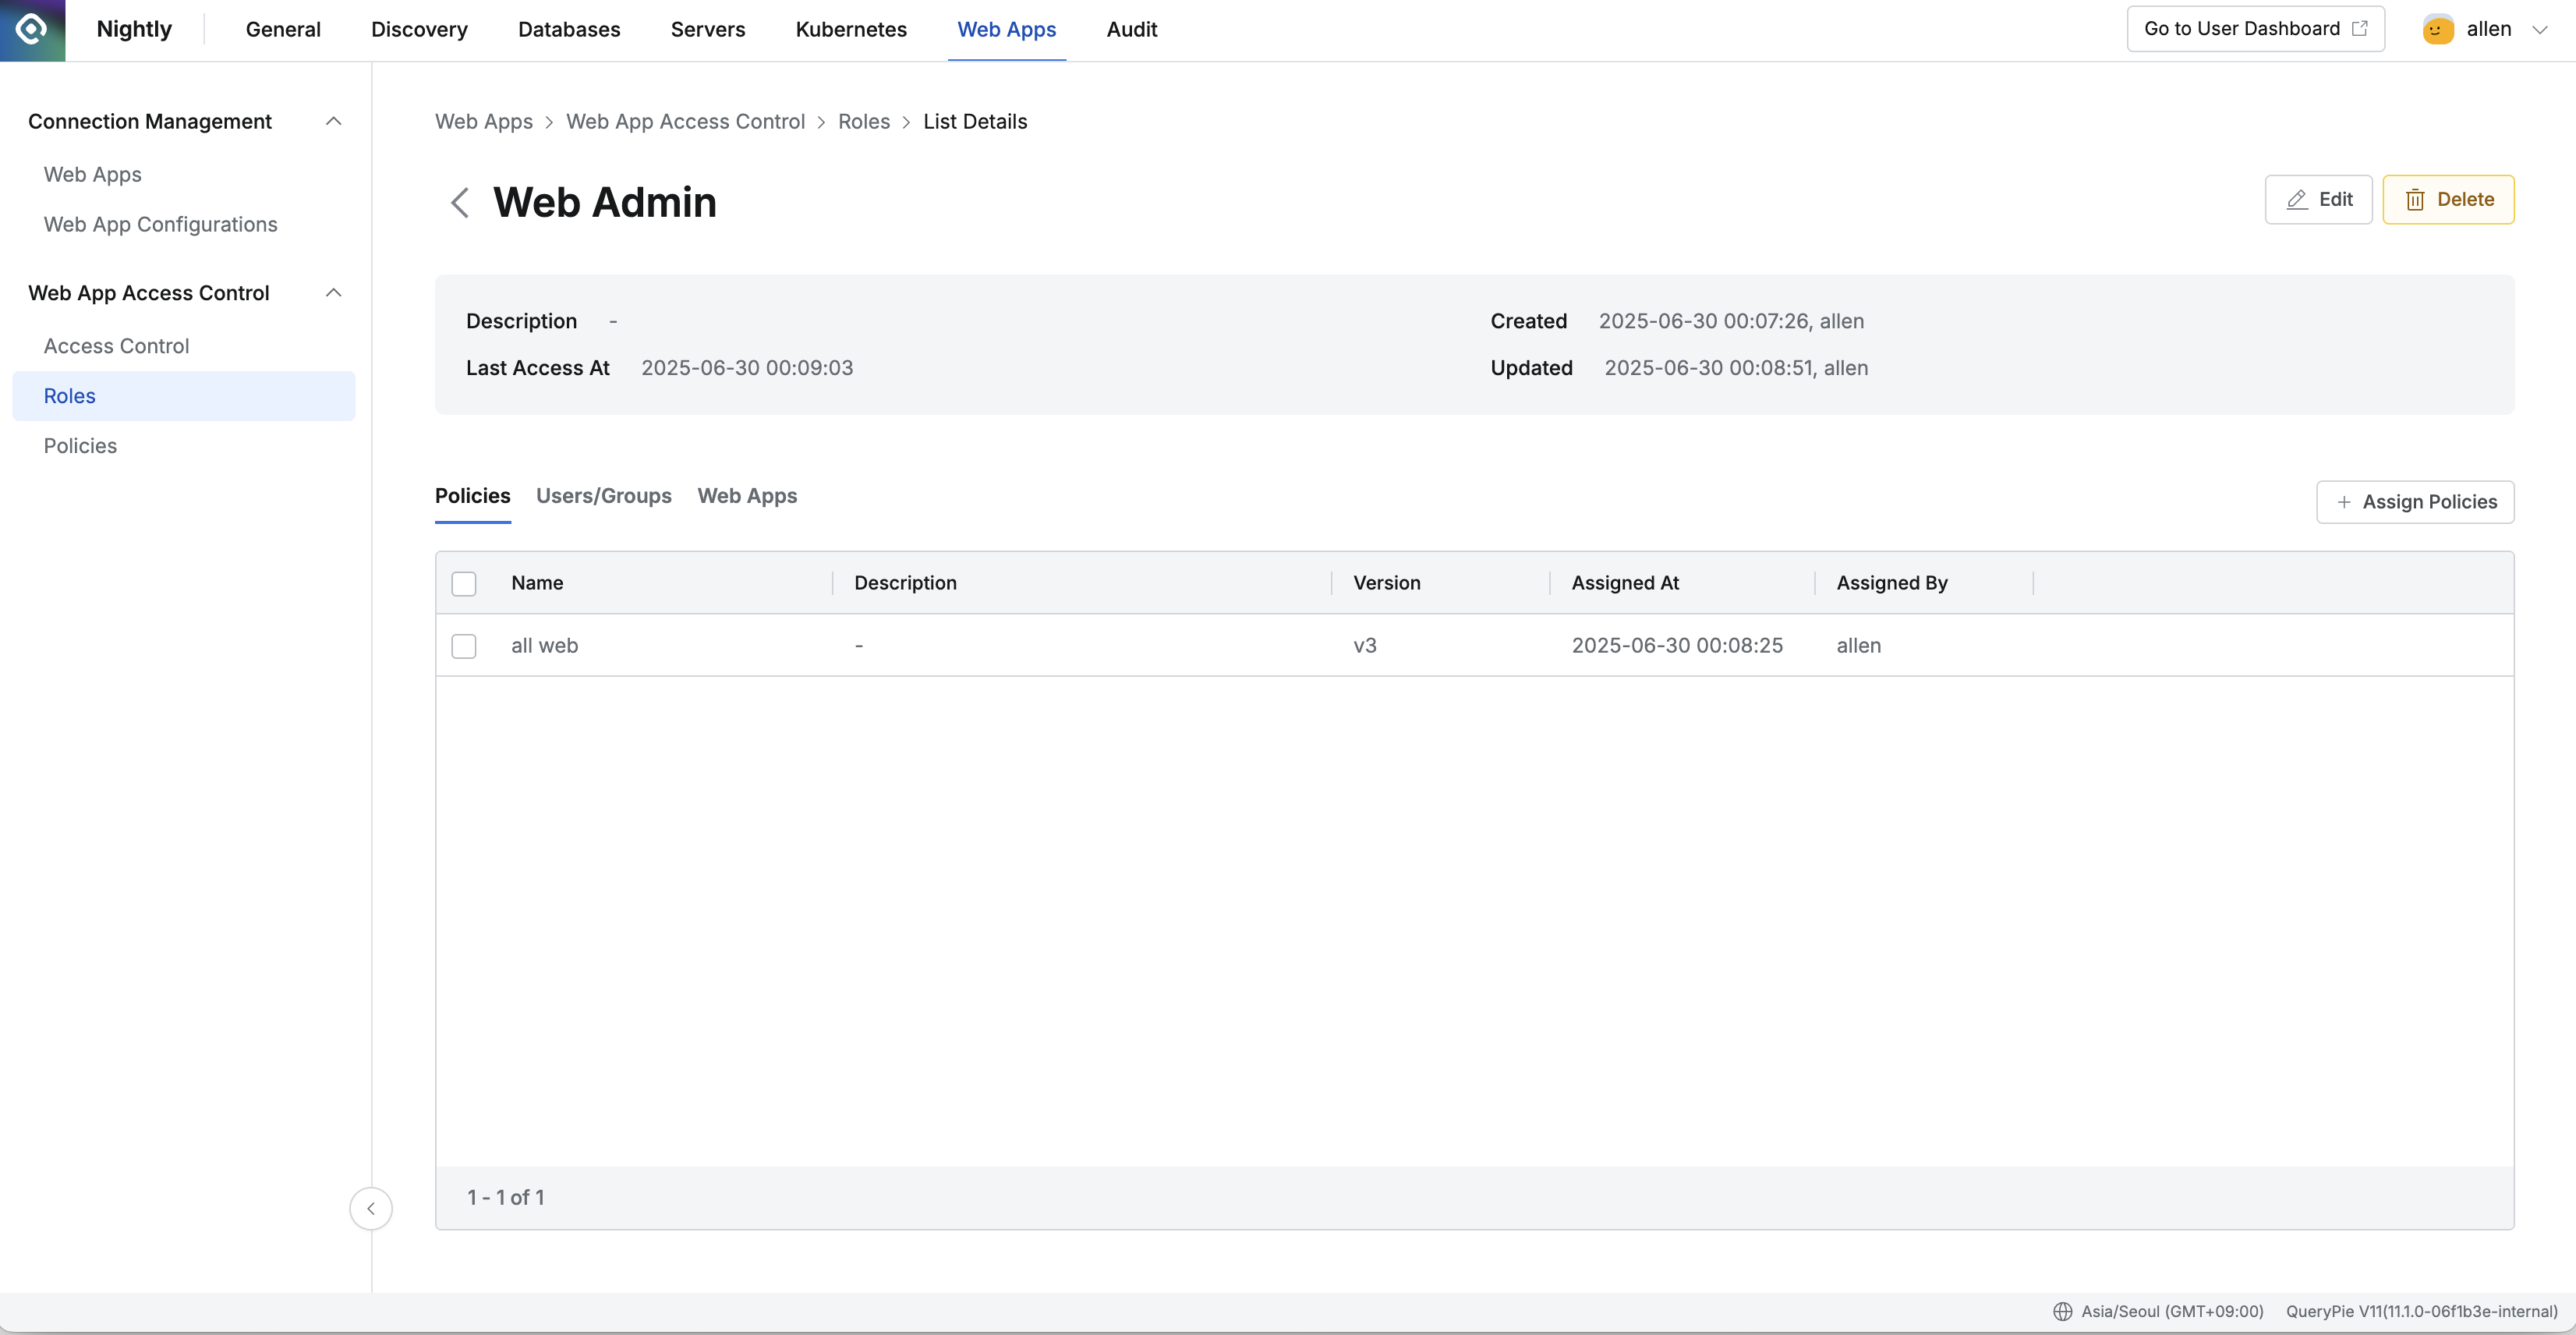
- Policies
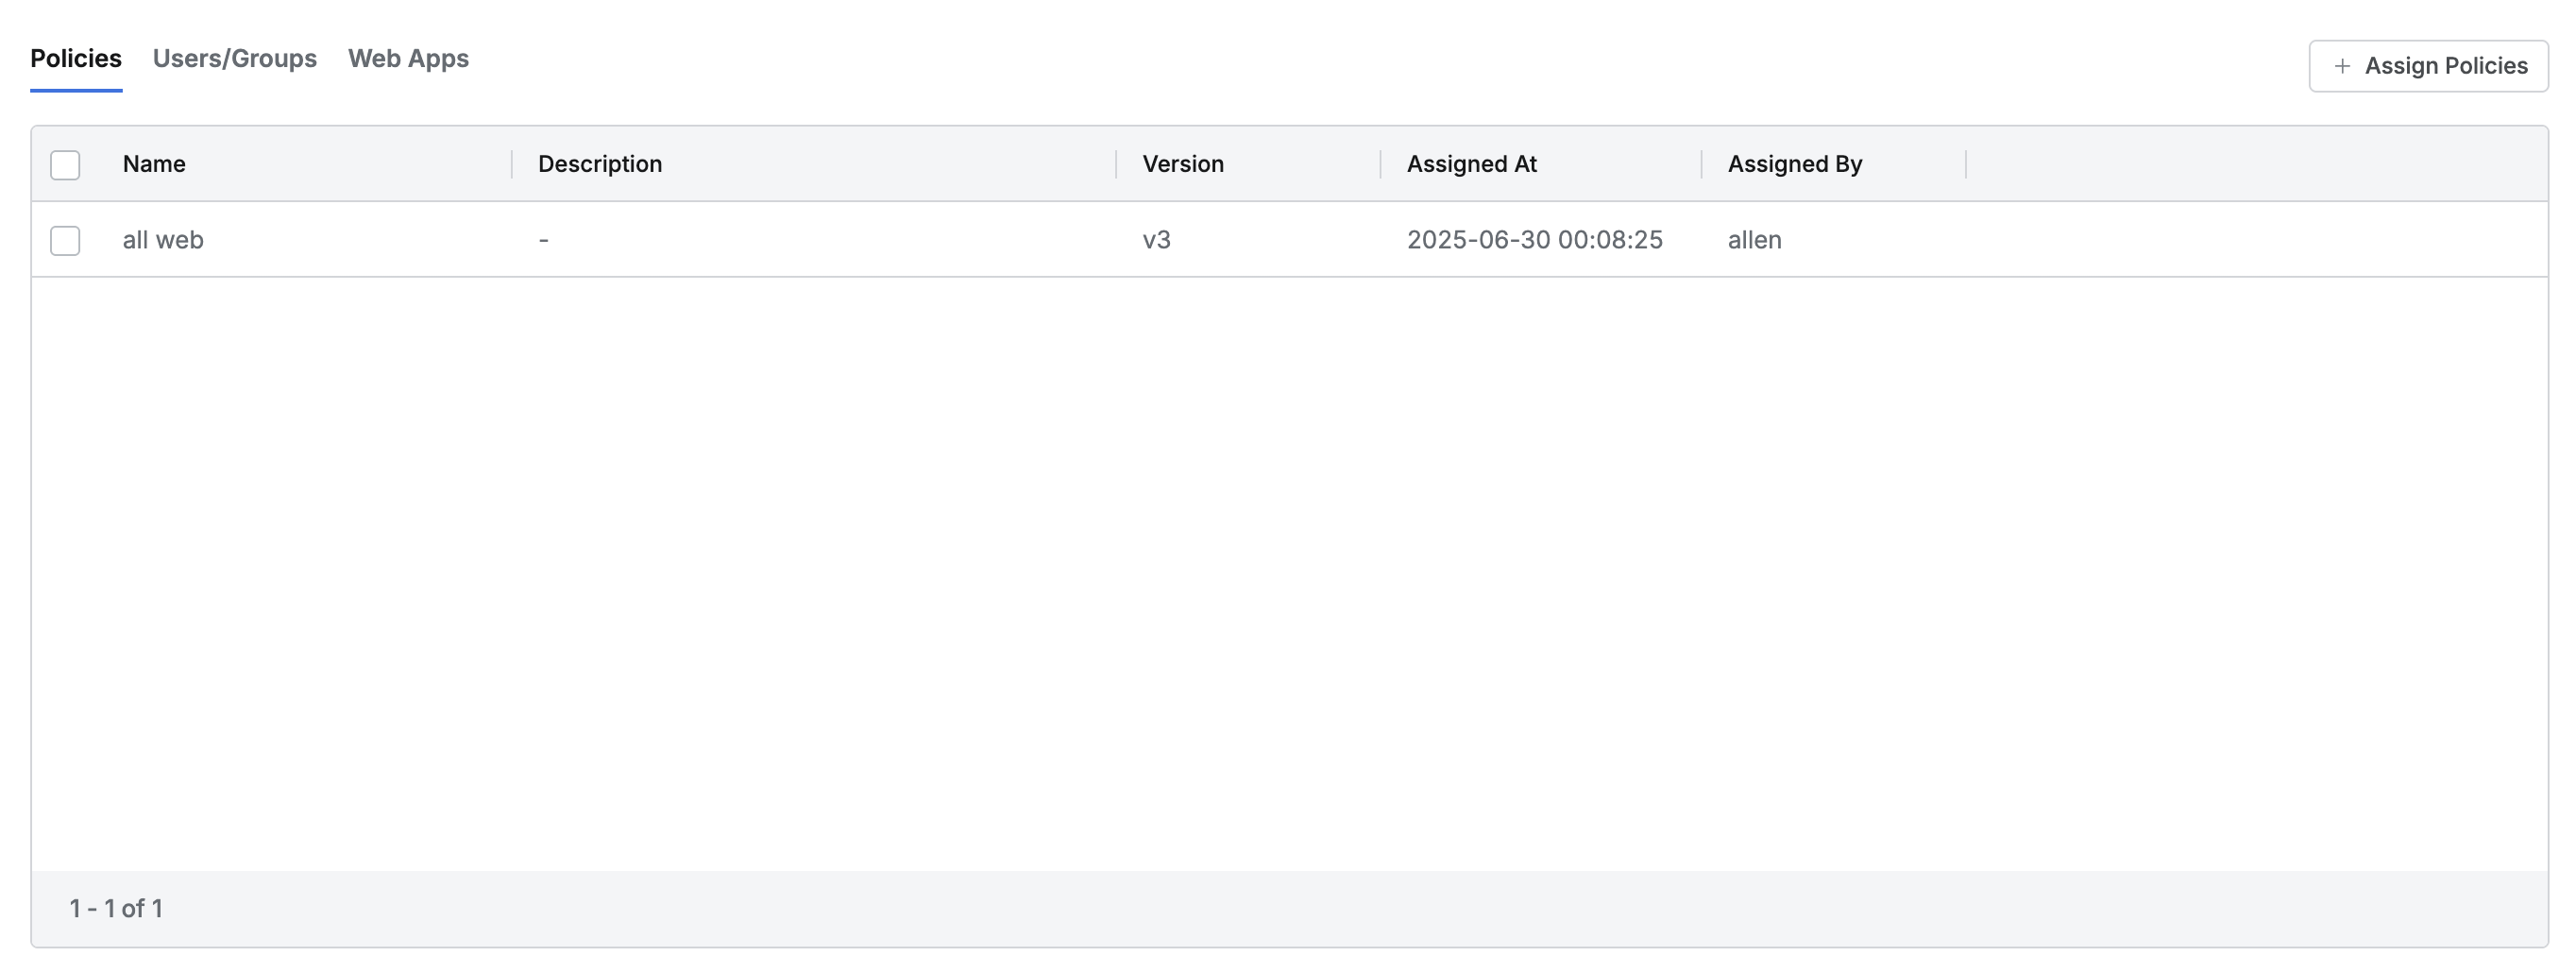
- This is the default tab where you can view the list of assigned policies.
- The table list displays the following information for each policy:
- Name : Policy name
- Description : Policy detailed description
- Version : Policy version
- Assigned At : Assignment date and time
- Assigned By : Administrator name who assigned this policy
- Clicking each policy row provides detailed information about the policy in drawer format.
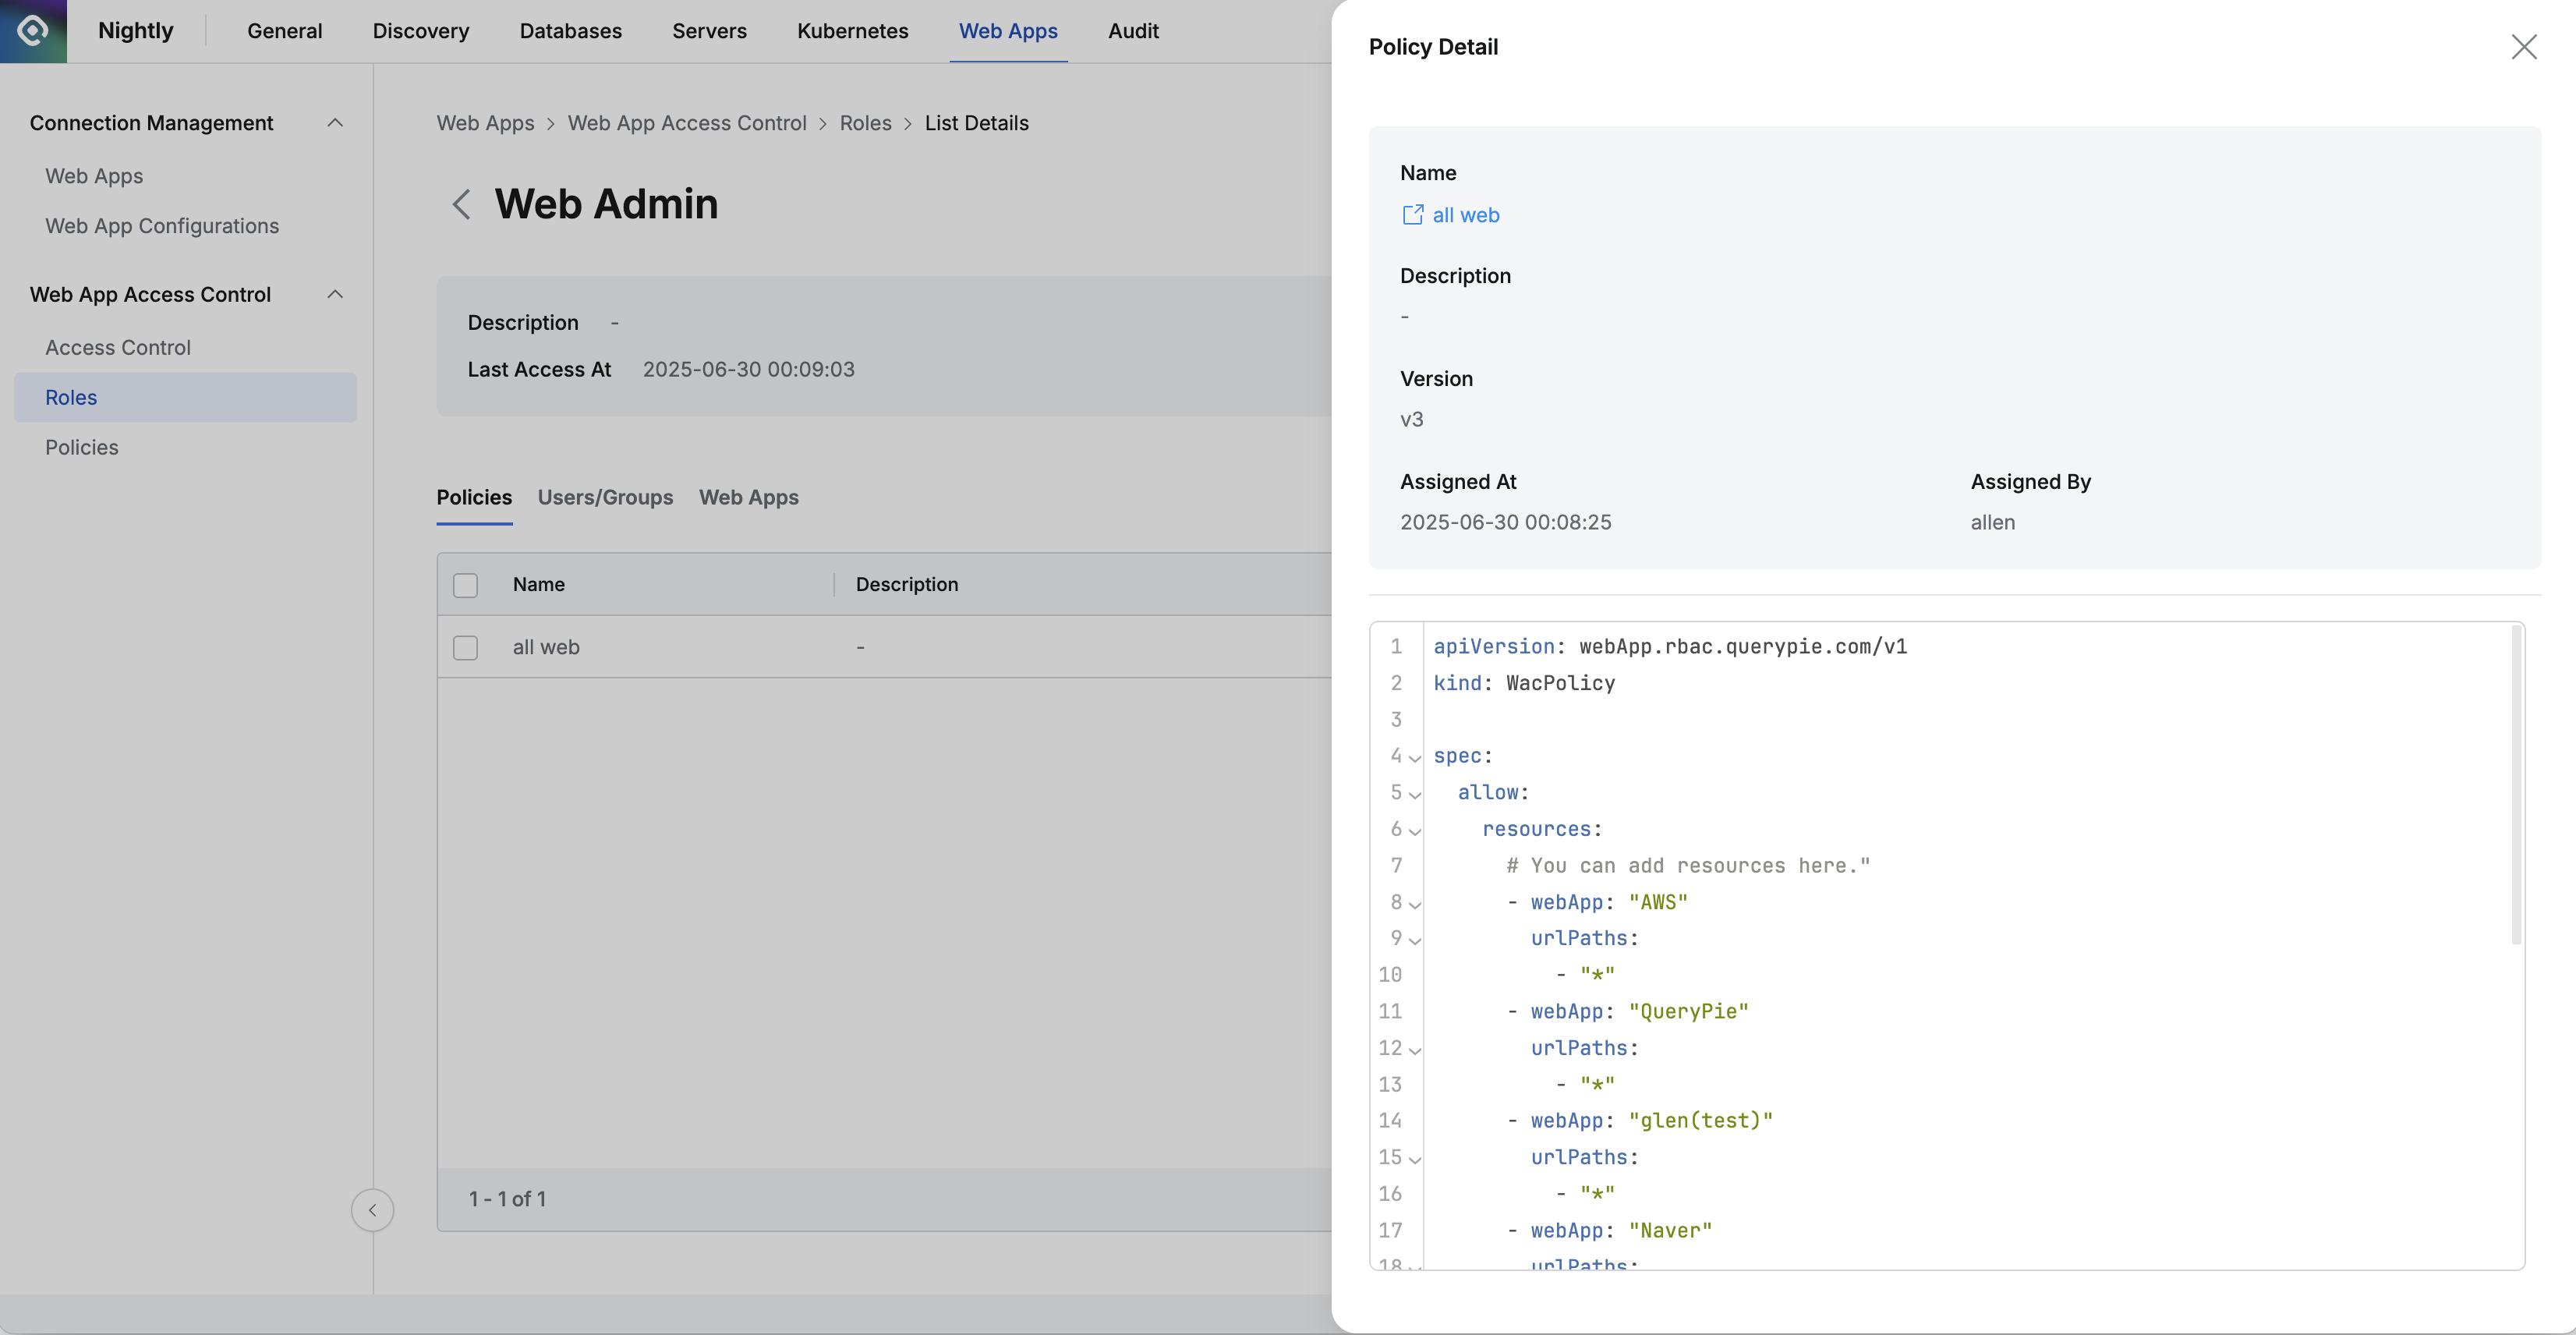
- Basic information is displayed at the top as follows:
- Name : Policy name
- You can open the policy detailed page link in a new window.
- Description : Policy detailed description
- Version : Policy version
- Assigned At : Assignment date and time
- Assigned By : Administrator name who assigned this policy
- Name : Policy name
- The policy is displayed as code at the bottom.
- Users/Groups
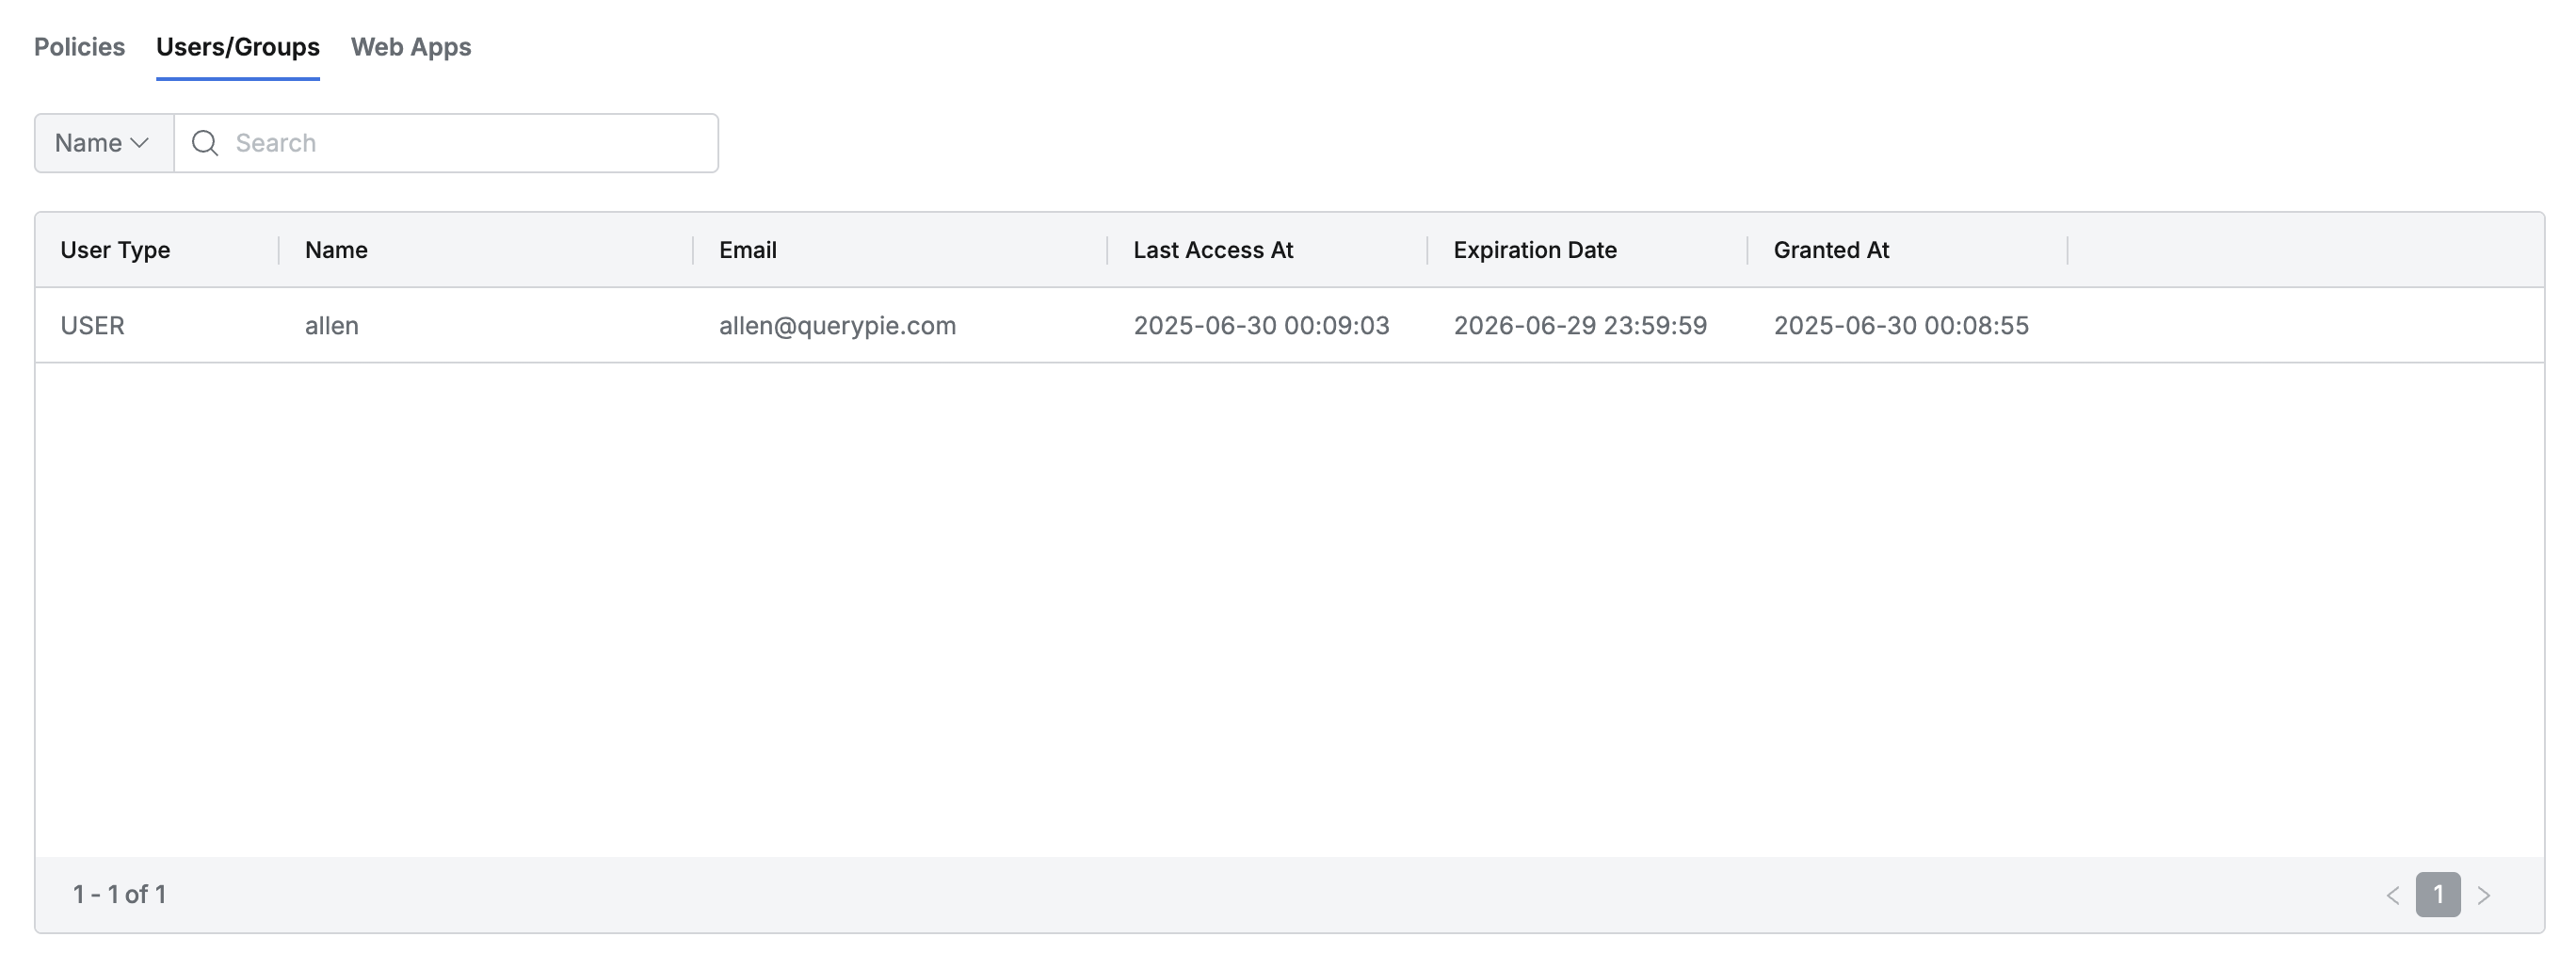
- Lists the user/group list where this Role is assigned.
- You can search by user/group name.
- The list displays the following information for each user/group:
- User Type : User/group type
- Name : User/group name
- Last Access At : Last call date and time for the user/group
- Expiration Date : Expiration date
- Granted At : Date and time when this Role was assigned to the user/group
- Web Apps
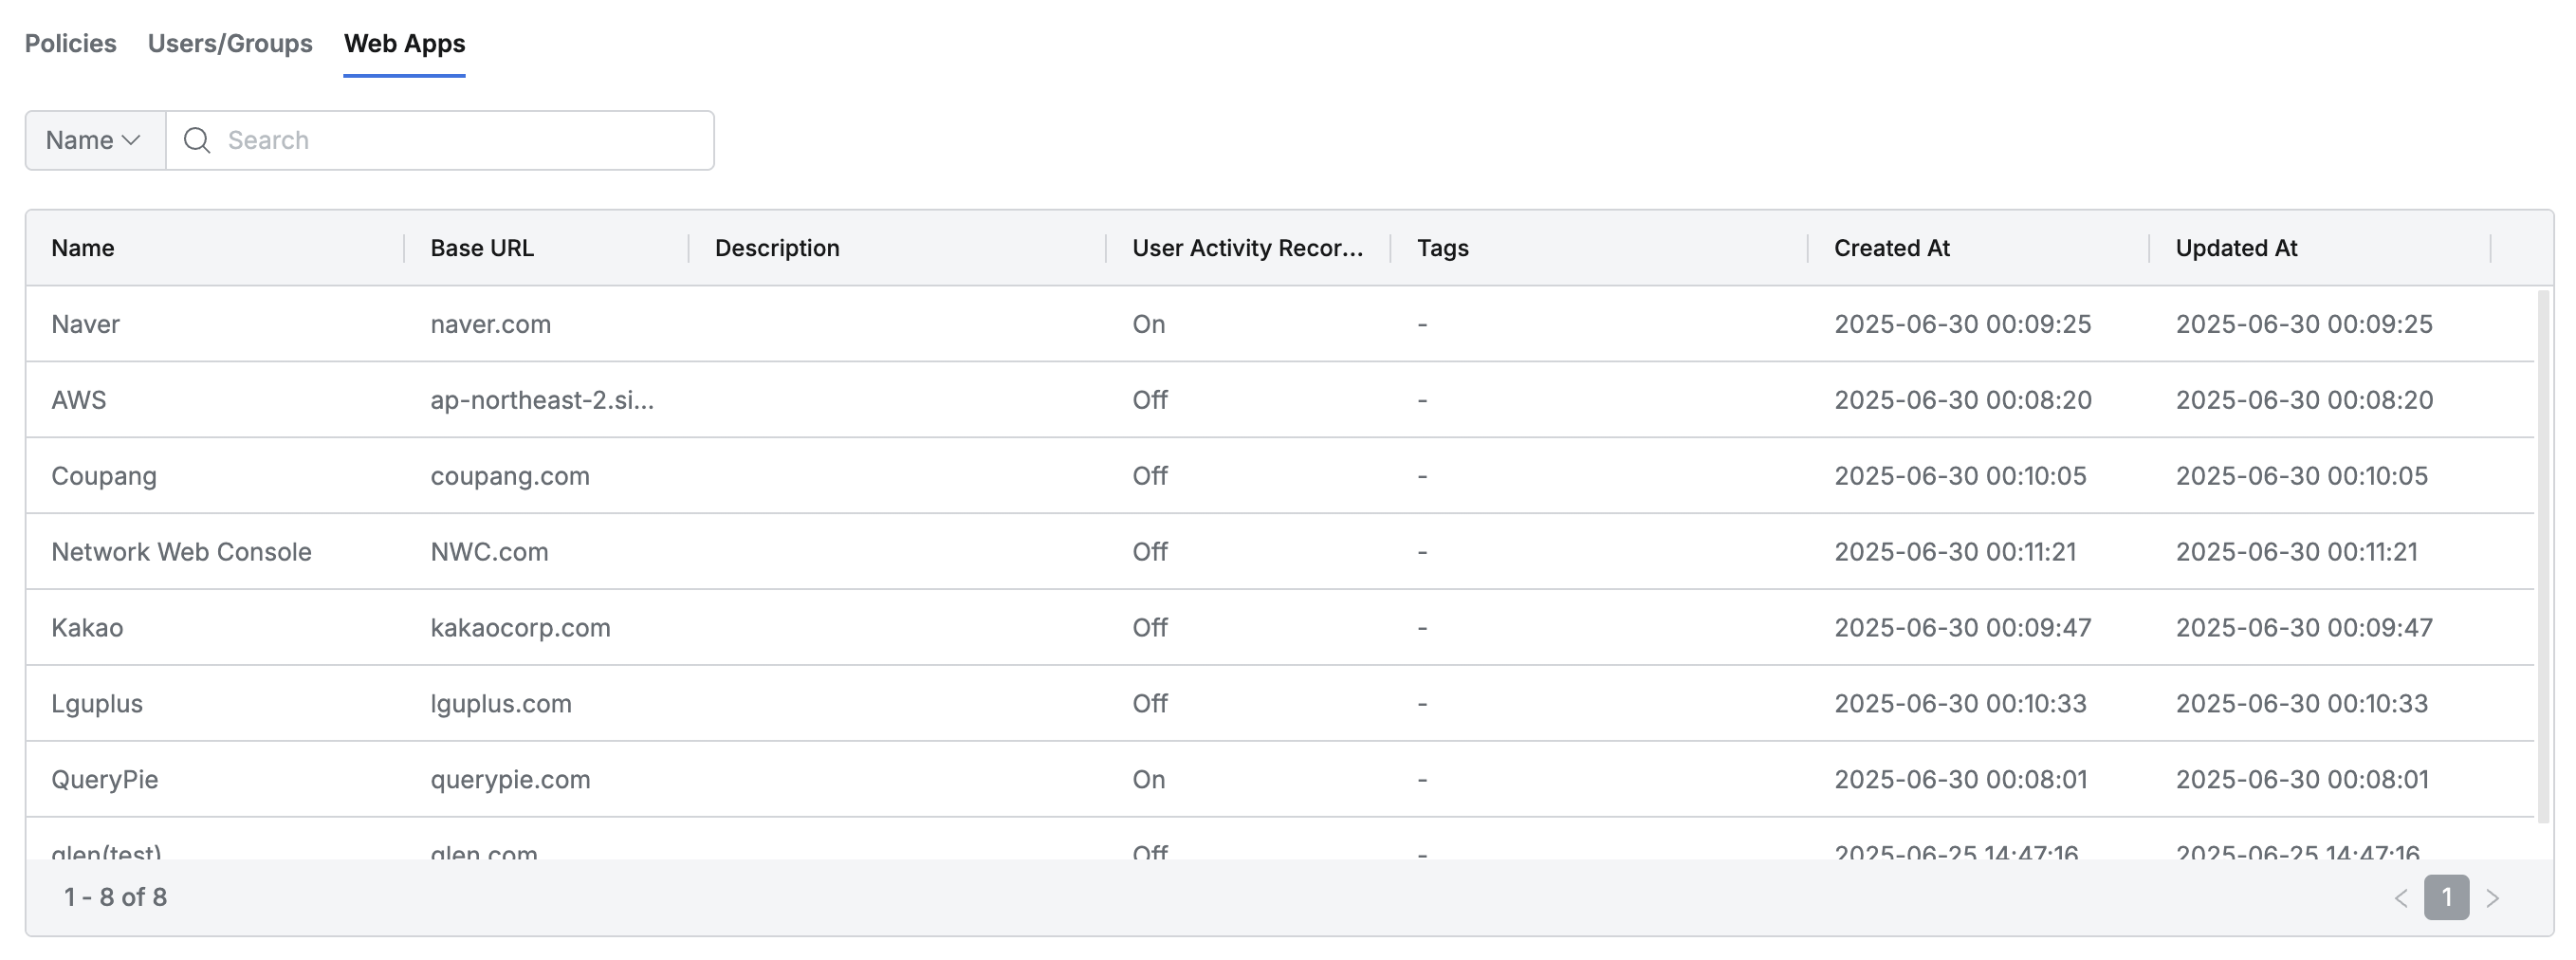
- Lists the web application list accessible by this Role.
- You can search by web application name.
- The list displays the following information for each web application:
- Name : Web application name
- Base URL : Web application base URL
- Description : Web application description
- User Activity Recording : User activity recording status (On/Off)
- Tags : List of tags attached to the web application
- Created At : Web application initial creation date and time
- Updated At : Web application last modification date and time
Creating Roles
- Navigate to Administrator > Web Apps > Access Control > Roles menu.
- Click the + Create Role button in the top right.
- Enter the following information for role creation. (All information below is exposed to users.)
a. Name : Identifiable role name (required)
b. Description : Additional description of the role - Click the Save button to create.
- Click the newly created role at the top of the role list.
- Set policies by referring to the web app role setting guide.
Modifying Roles

- Navigate to Administrator > Web Apps > Access Control > Roles menu.
- Click the Role to modify from the list to go to the detailed page.
- Click the Edit button in the top right of the screen to modify the following information.
a. Name : Identifiable role name (required)
b. Description : Additional description of the role - Click the Save button to apply the modifications.
Deleting Roles
- Navigate to Administrator > Web Apps > Access Control > Roles menu.
- You can proceed with the deletion step in two ways:
a. Delete from list
i. Check the checkbox of the target policy to delete in the table.
ii. Click the Delete button that appears on the table header line.
b. Delete from detailed page
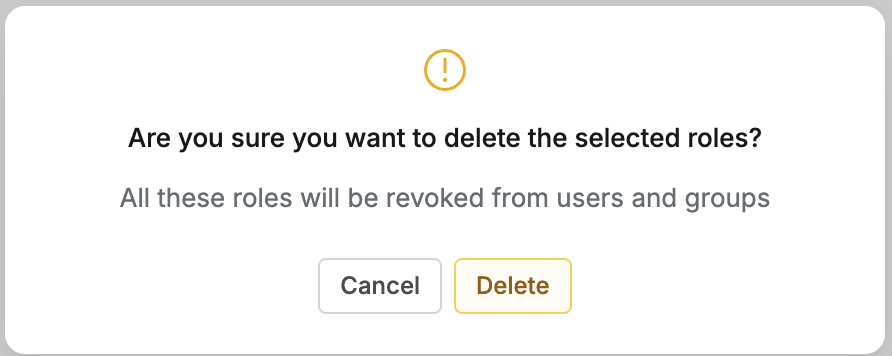
i. Click the Delete button in the top right of the screen. - When a popup appears, click the Delete button to proceed with deletion.
When deleting a Role, permissions are revoked from users and groups where that role was assigned.
Last updated on