Custom Data Source Configuration and Log Verification
Custom Data Source is a new feature that provides simple access control through proxy for vendors not natively supported by QueryPie. By providing simple access control, it allows users to safely access a wider variety of data sources. This feature was added in version 10.2.6.
Key Features
- Multi-vendor Support : Access to data sources not supported by QueryPie
- TCP-based Access Control : Provides user and IP-based access control
- Agent-based Connection : Can connect to third-party SQL tools through QueryPie Agent
Creating Custom Data Source Connections
Caution
- ID/PW and SSL/TLS settings cannot be managed by administrators in Custom Data Source.
- If needed, users must directly enter the authentication information in third-party SQL tools.
- Only simple manual registration without clusters can be created.
- Query Audit and statement control are not supported.
- Navigate to DB Connections Menu
- Select Admin > Databases > Connection Management > DB Connections.
- Click the
+ Create Connectionbutton.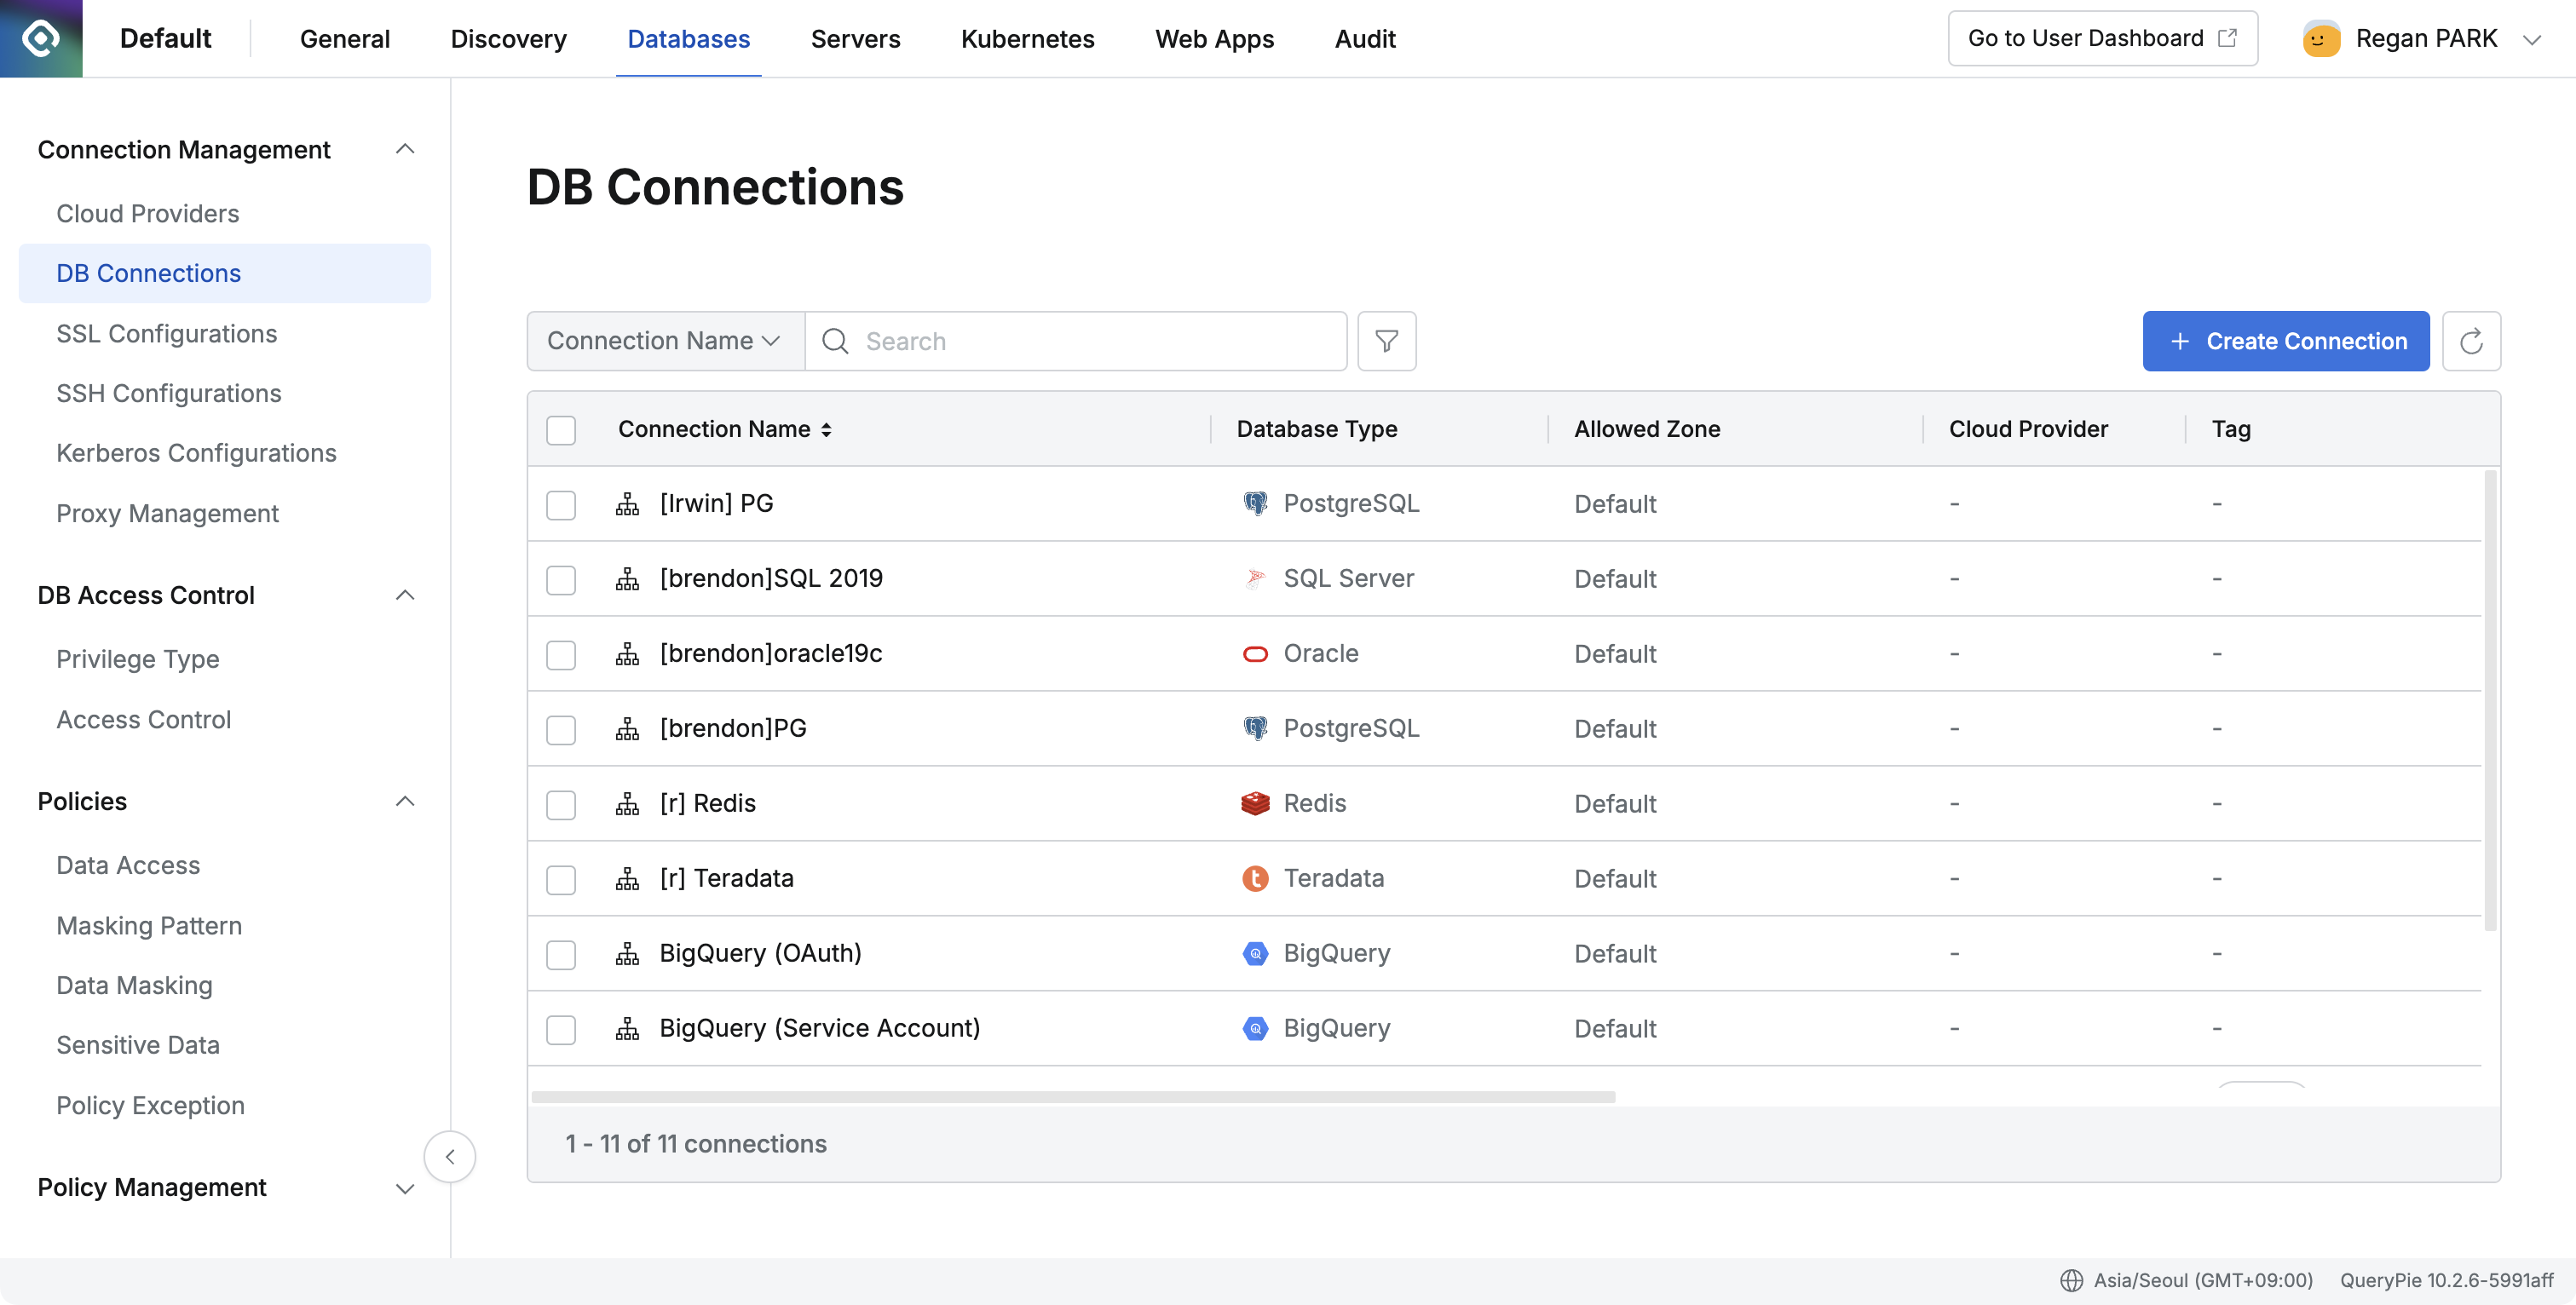
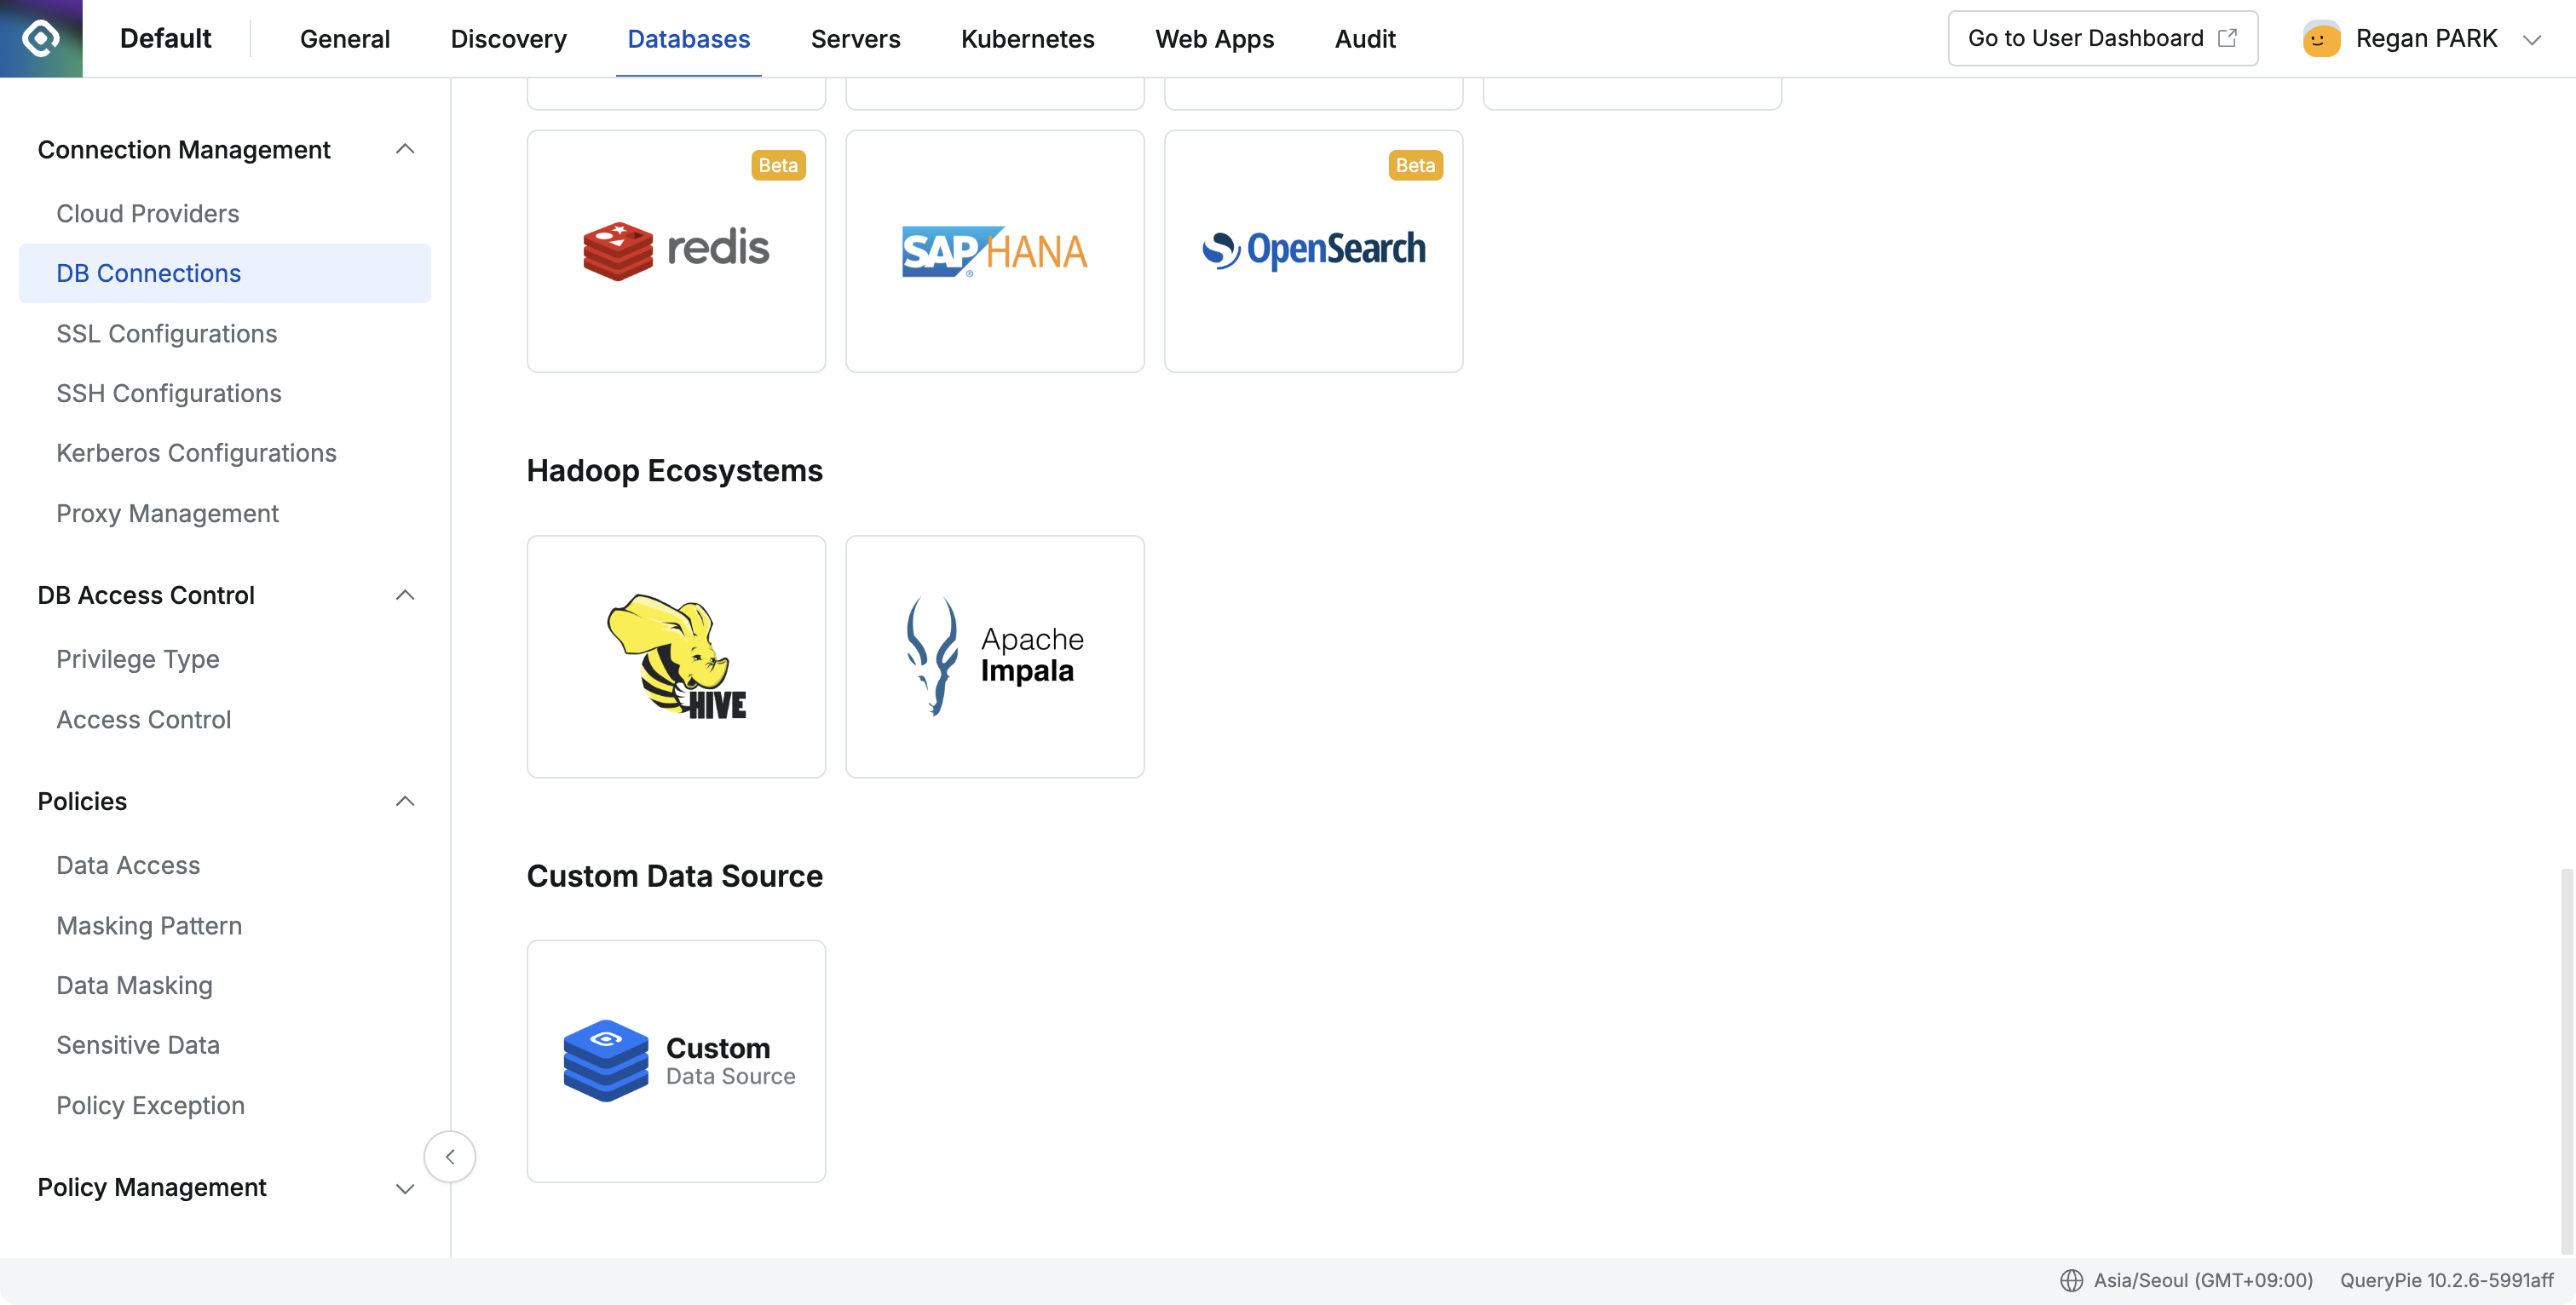
- Create Custom Data Source
- Click the Custom Data Source icon.
- When creating, the following warning message is displayed:
Restrictions:- Only TCP access control is available; Privilege control and Query Audit are not supported.
- Access is only possible through a proxy; it cannot be accessed via the web editor.
- Enter the following connection information according to your desired settings. ****
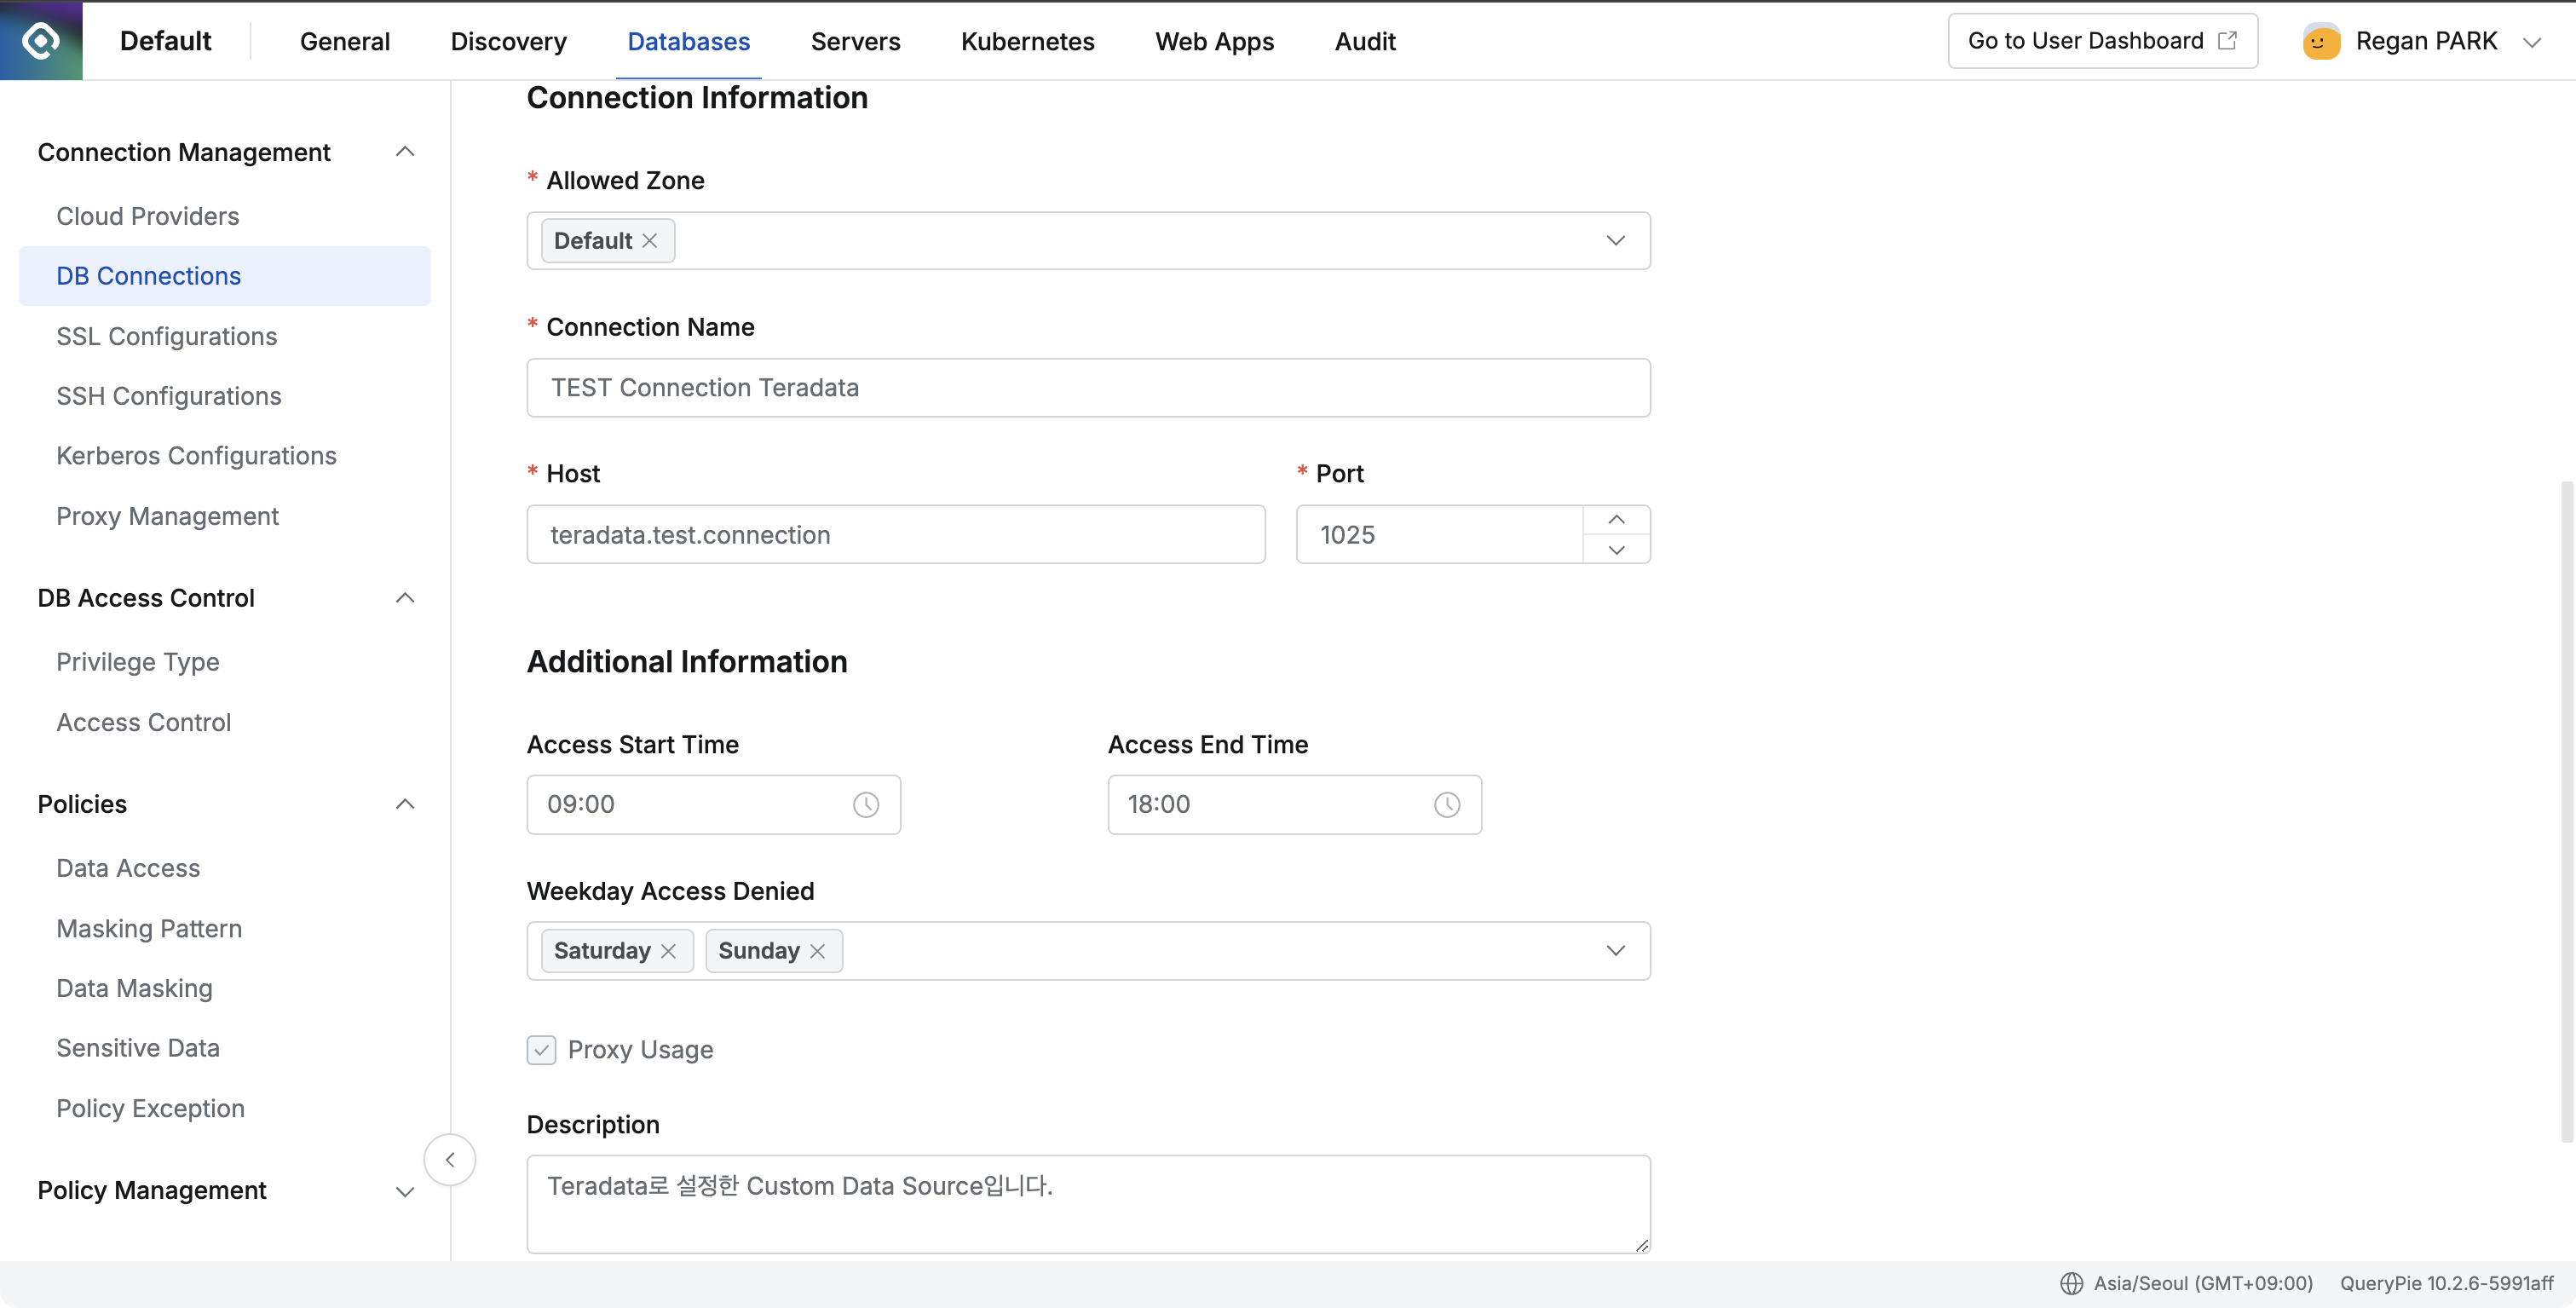
- Connection Name (Required) : Enter connection name
- Host (Required) : Host address of the target data source
- Port (Required) : Port number of the target data source
- Allowed Zone (Required) : Set IP range to allow access
- Access Time (Optional) : Set access allowed time
- Weekday Access (Optional) : Set access allowed weekdays
- Proxy Usage : Always enabled (cannot be disabled)
- Description (Optional) : Add description if needed
- After entering, click the
Nextbutton at the bottom to complete creation.
- Click the Custom Data Source icon.
- Creation Complete
- After creation, Database Type is displayed as Custom Data Source in the DB Connection list.
- Modifying and Deleting Custom Data Source
- Modification
- Select the Custom Data Source you want to modify from the Admin > Databases > Connection Management > DB Connections list.
- You can change desired items and add Tags.
- After modification, click the
Save Changesbutton in the top right to save changes.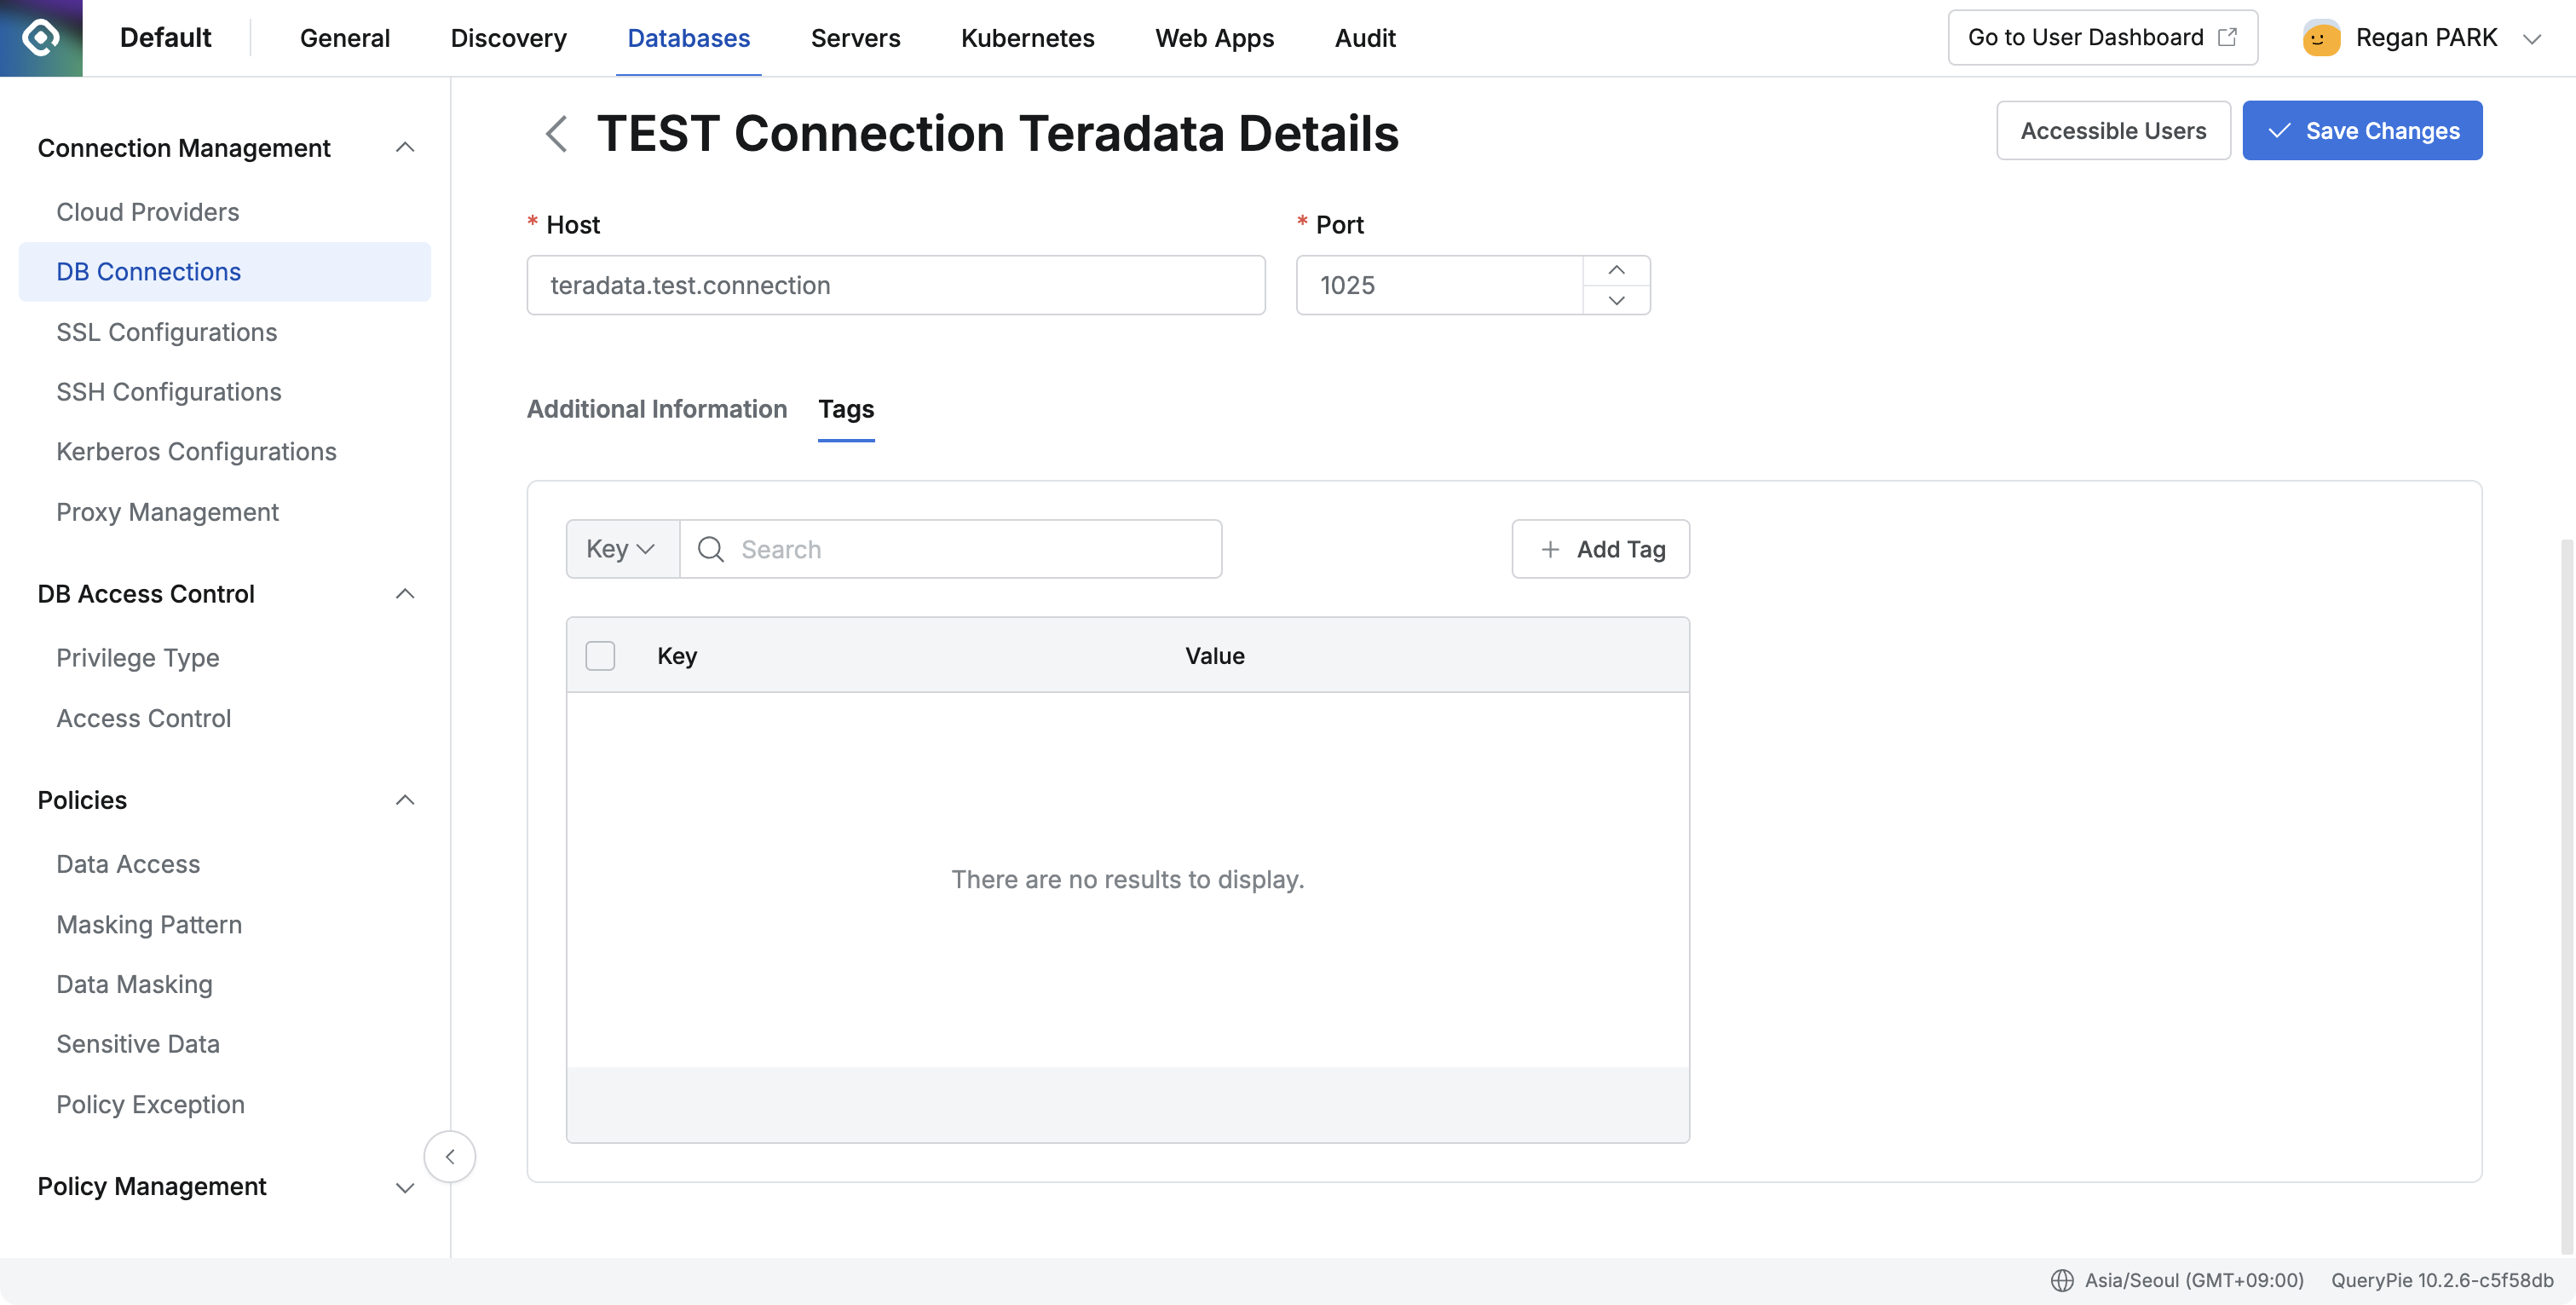
- Deletion
- Select the checkbox on the left of the connection you want to delete from the DB Connections list, then click the
Deletebutton. - After the “Are you sure you want to delete” message appears, click the
OKbutton to delete the connection.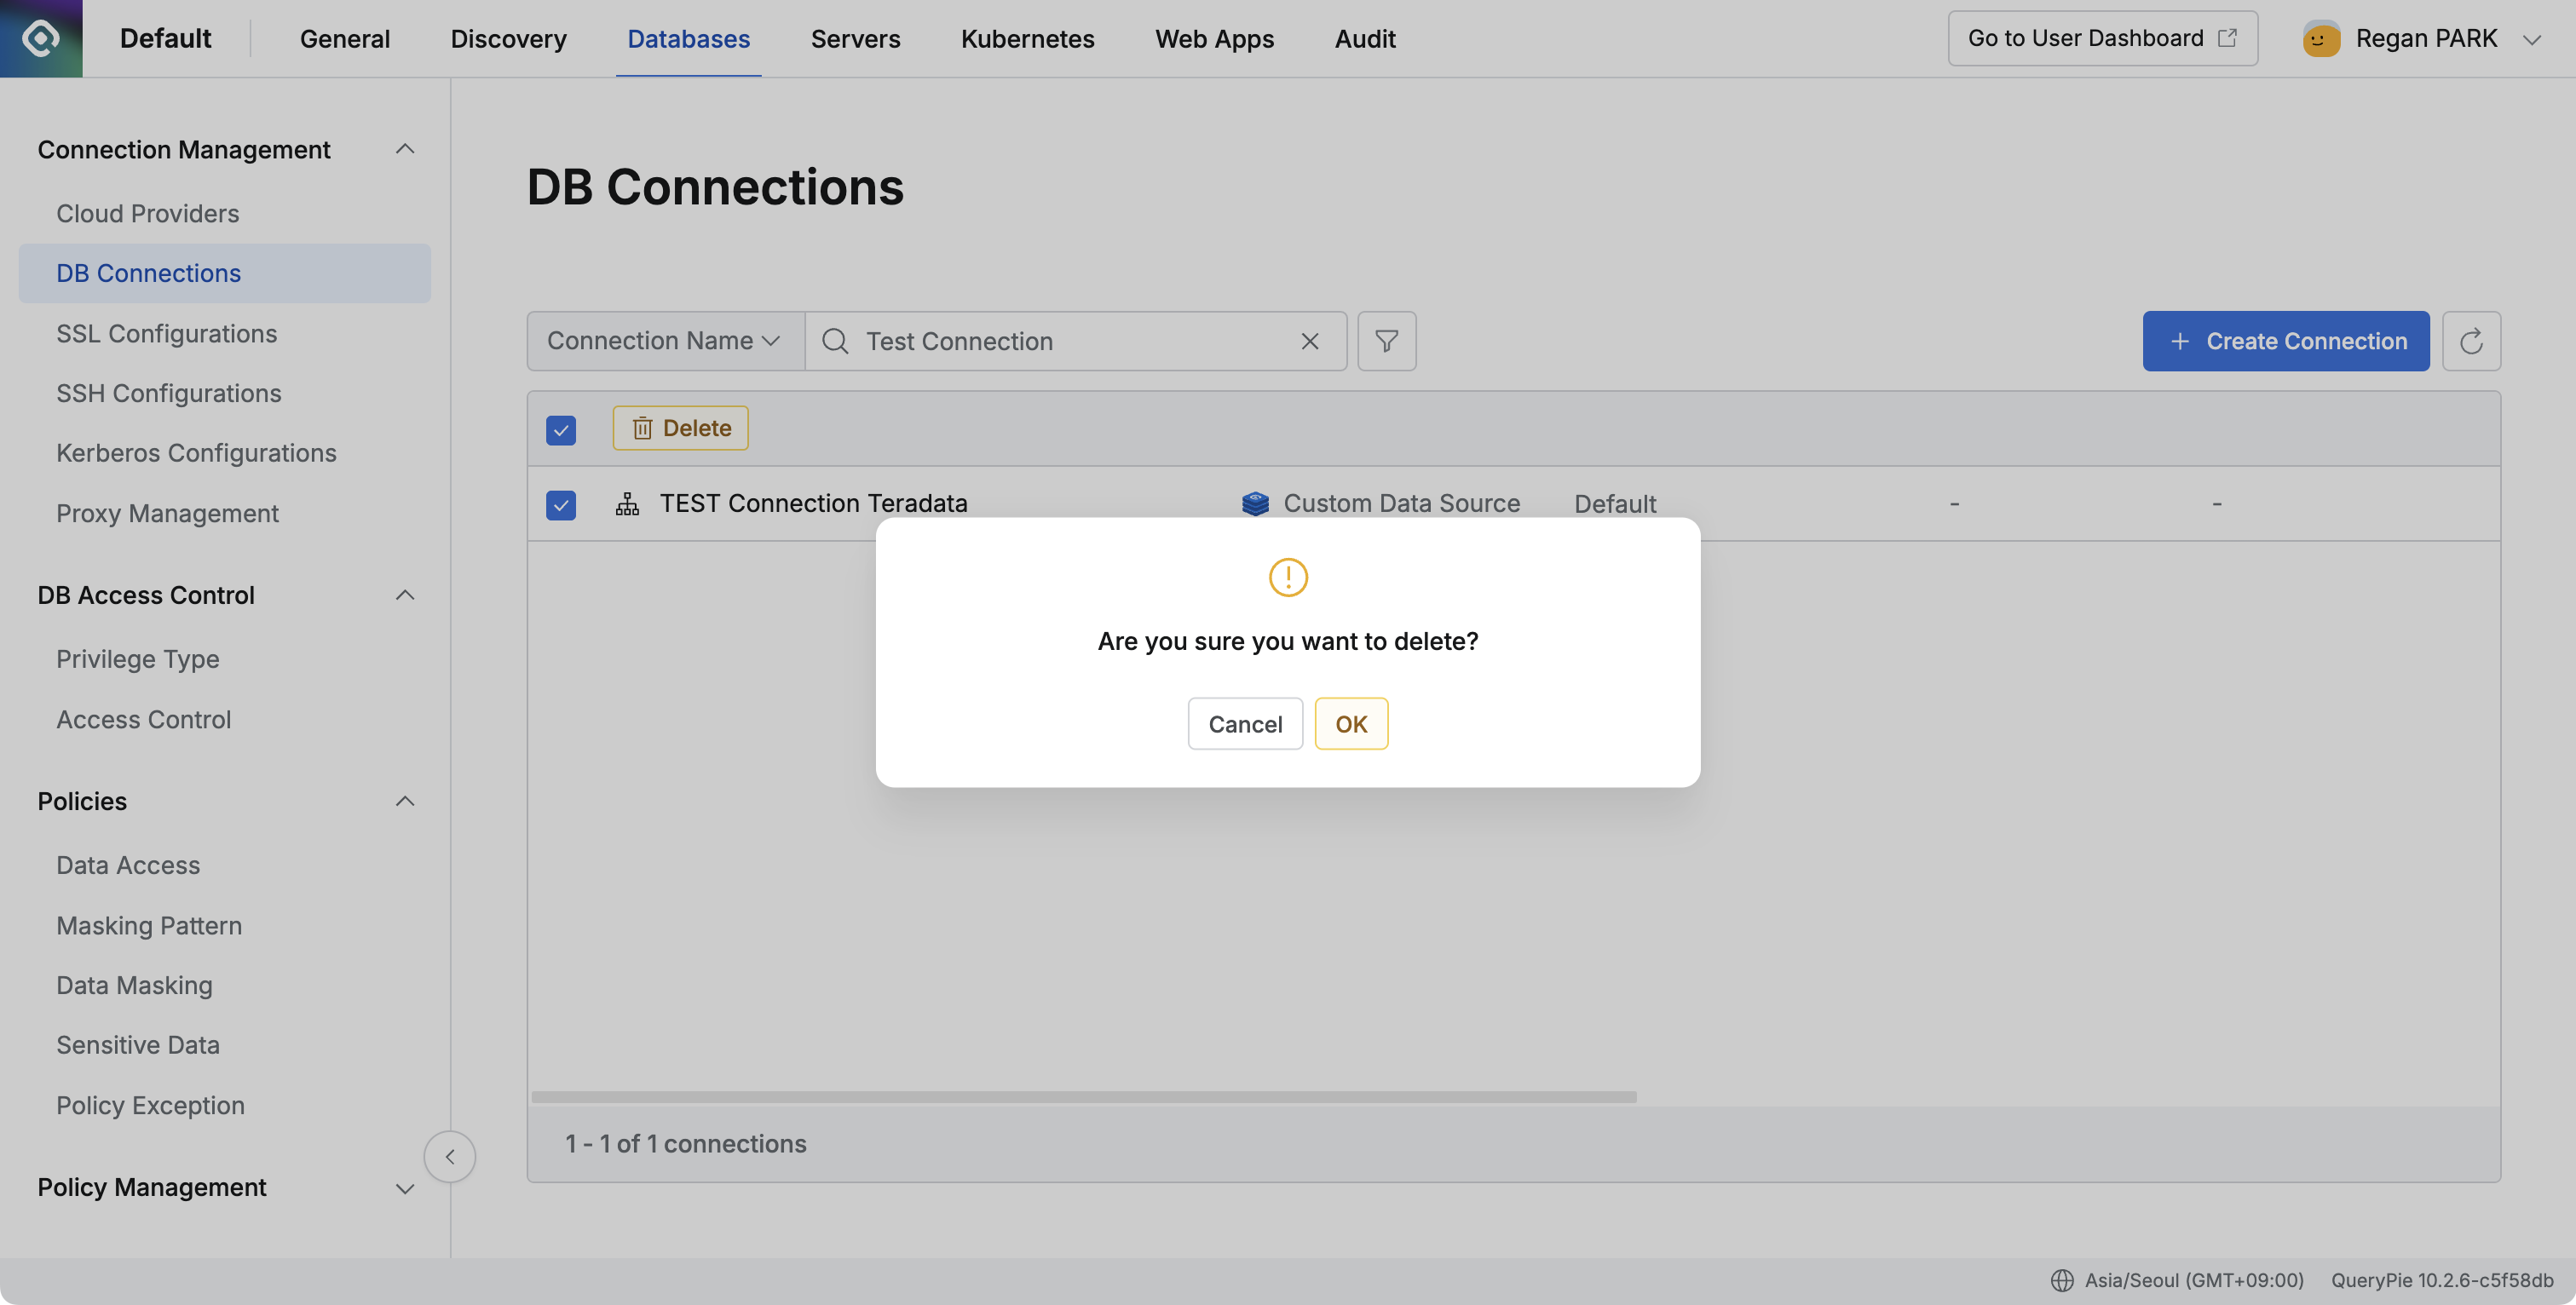
- Select the checkbox on the left of the connection you want to delete from the DB Connections list, then click the
- Modification
Setting Up Access Control
-
Navigate to Permission Grant Modal
- Select Admin > Databases > DB Access Control > Access Control.
- Click on the user you want to grant permissions to go to the Detail page.
- Click the
+ Grant Privilegebutton in the middle right.
-
Granting Permissions
- Click Custom Data Source in the permission grant modal left checkbox.
- Custom Data Source’s Privilege is displayed as ”-” with no separate type.
- You can set an expiration date when granting.
- After selection is complete, click the
Grantbutton to grant permissions.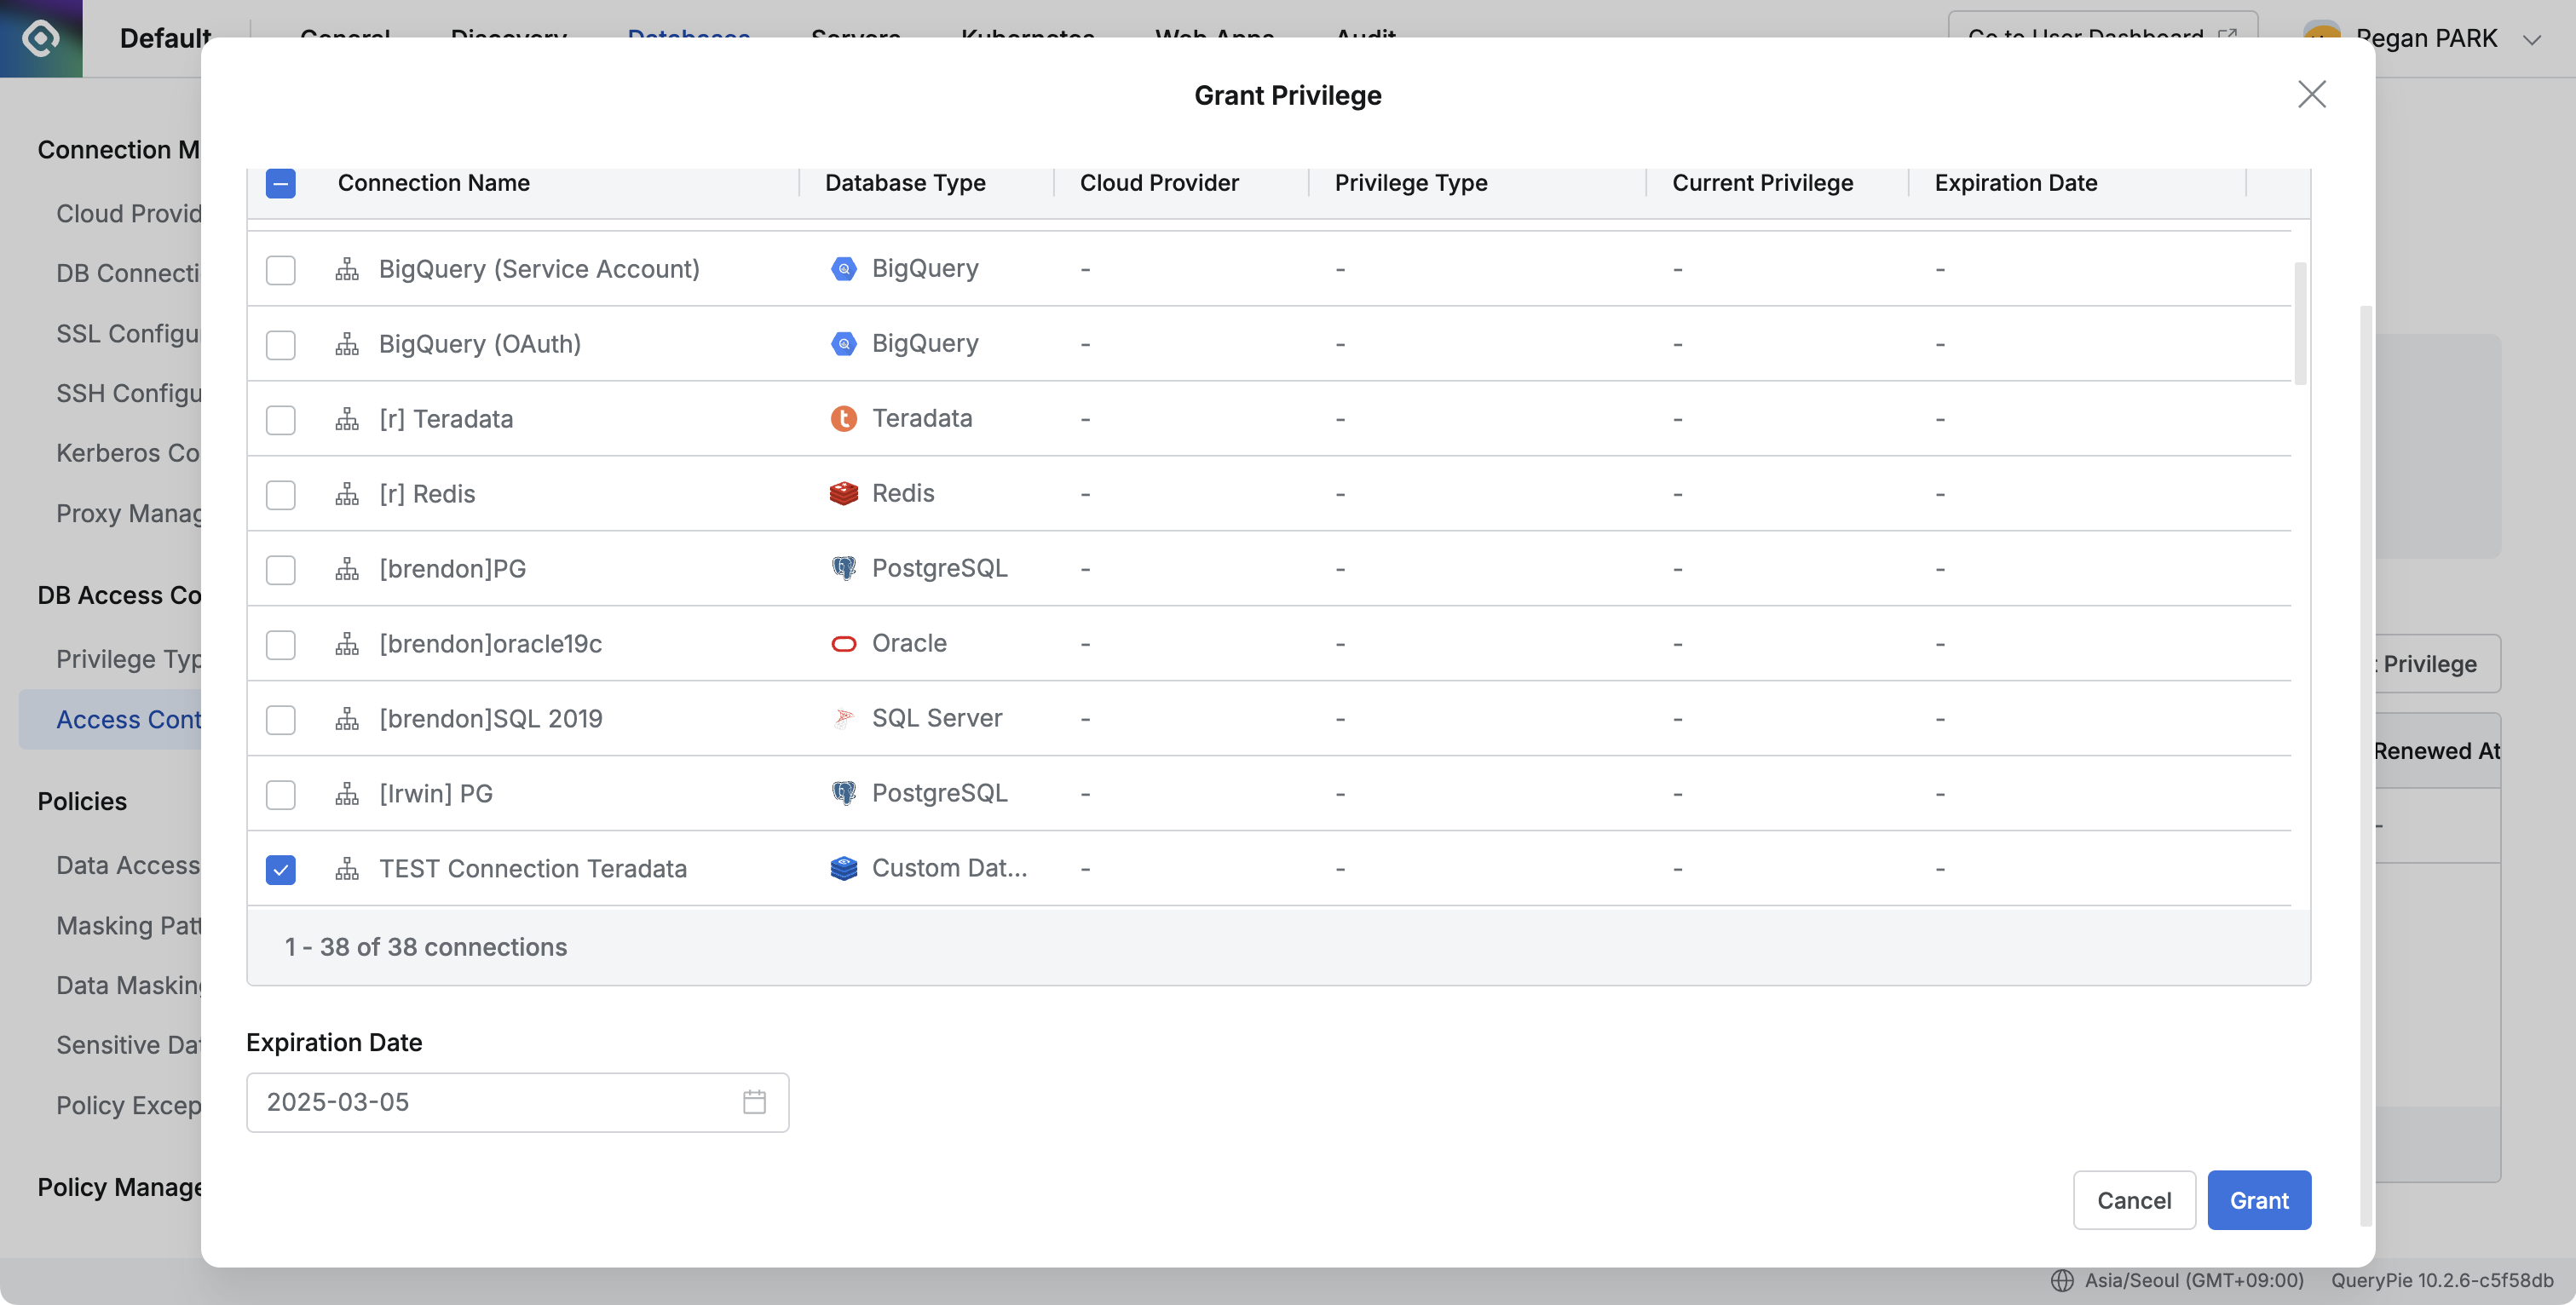
-
Revoking Permissions
- By default, permissions are maintained until the Expiration Date requested by the user.
- To revoke permissions granted to users in the middle, revoke the Privilege.
- Select Admin > Databases > DB Access Control > Access Control > User.
- Select the connection to revoke permissions from on the Detail page, then click the
Revokebutton.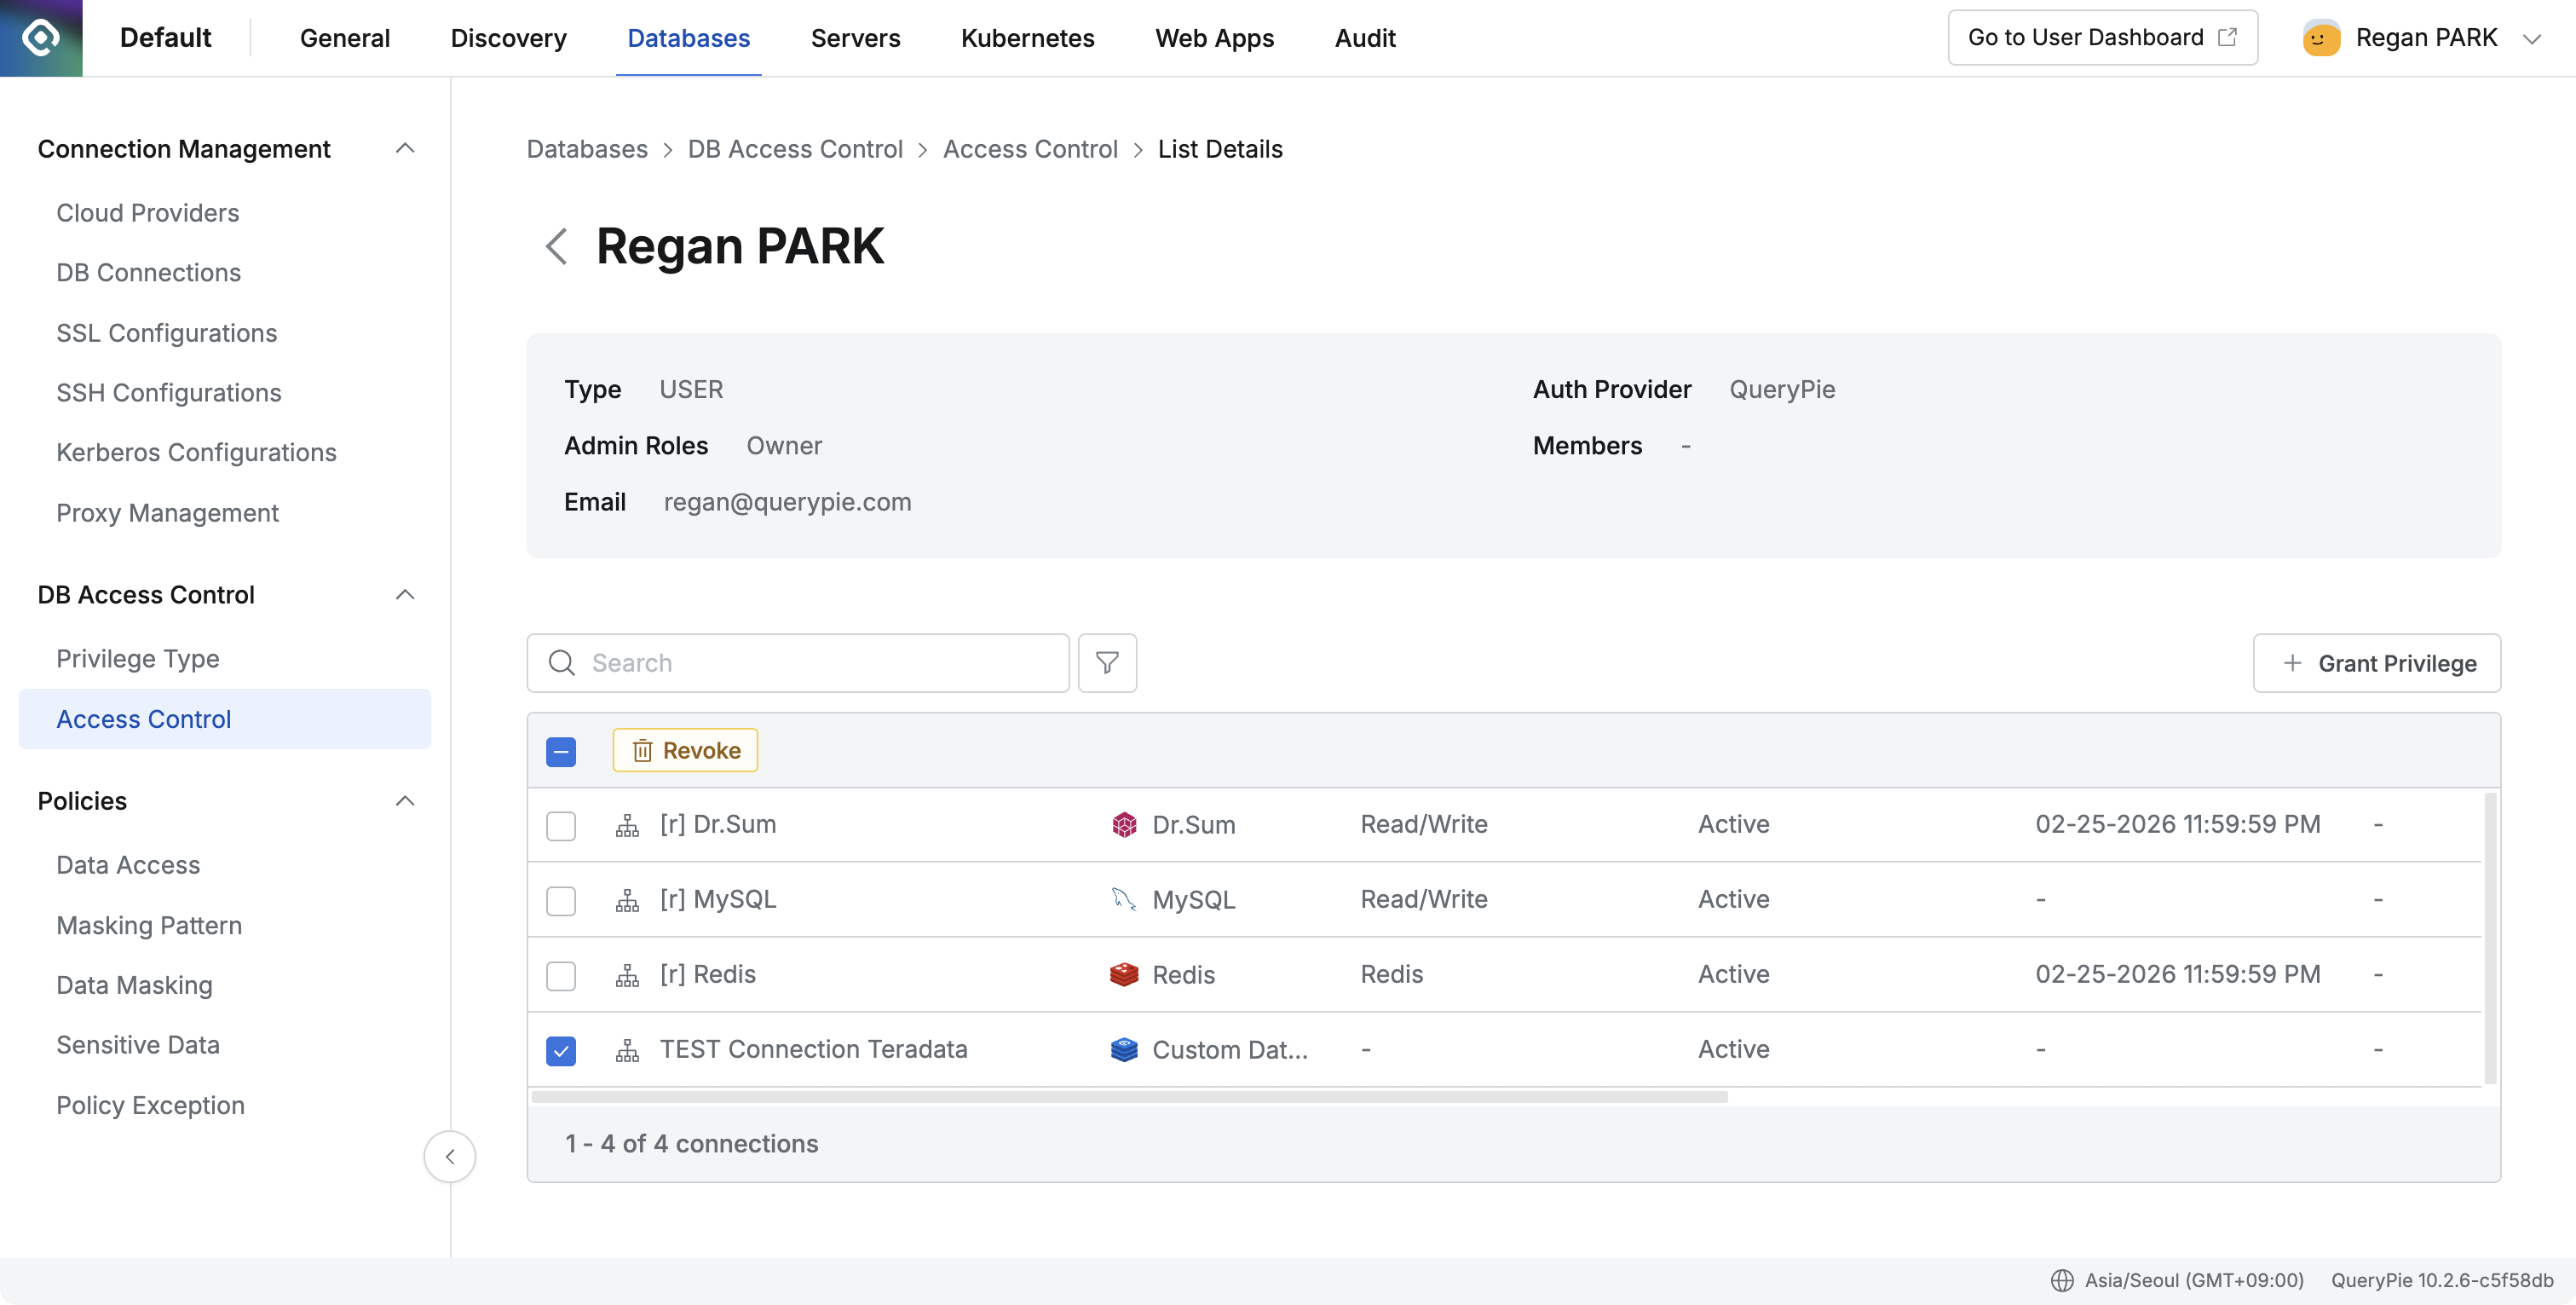
Checking Audit Logs
- DB Access History
- Select Admin > Audit > DB Access History.
- Check logs
- Database Type: Displayed as ‘Custom Data Source’.
- Connected From: Displayed as ‘Proxy’.
- Success/Failure information for Connect/Disconnect can be checked.
- When attempting to connect outside allowed access time, the same message “This connection is not accessible at this time. Please ask your administrator.” is displayed for all vendors.
- Activity Logs
- Records are left when administrators create/modify/delete Custom Data Source connection information.
Caution
- Even when authentication information is incorrect in SQL Tool but connection is attempted, it is recorded as ‘Connect success, Disconnect success’.
- Due to vendor-specific recovery protocols, when connection is attempted after access allowed time has passed, logs may be recorded two or more times as the connection is disconnected.
Last updated on