Channels
Overview
The Channels page allows you to register and manage channels to receive notifications sent by QueryPie. Currently, QueryPie provides four channel types: Slack, Agit, HTTP, and Email, and preliminary work for integration is required before channel registration.
Viewing Registered Channels
You can view the list of currently registered channels in the Administrator > General > Company Management > Channels page. You can search by channel name and filter by Channel Type.
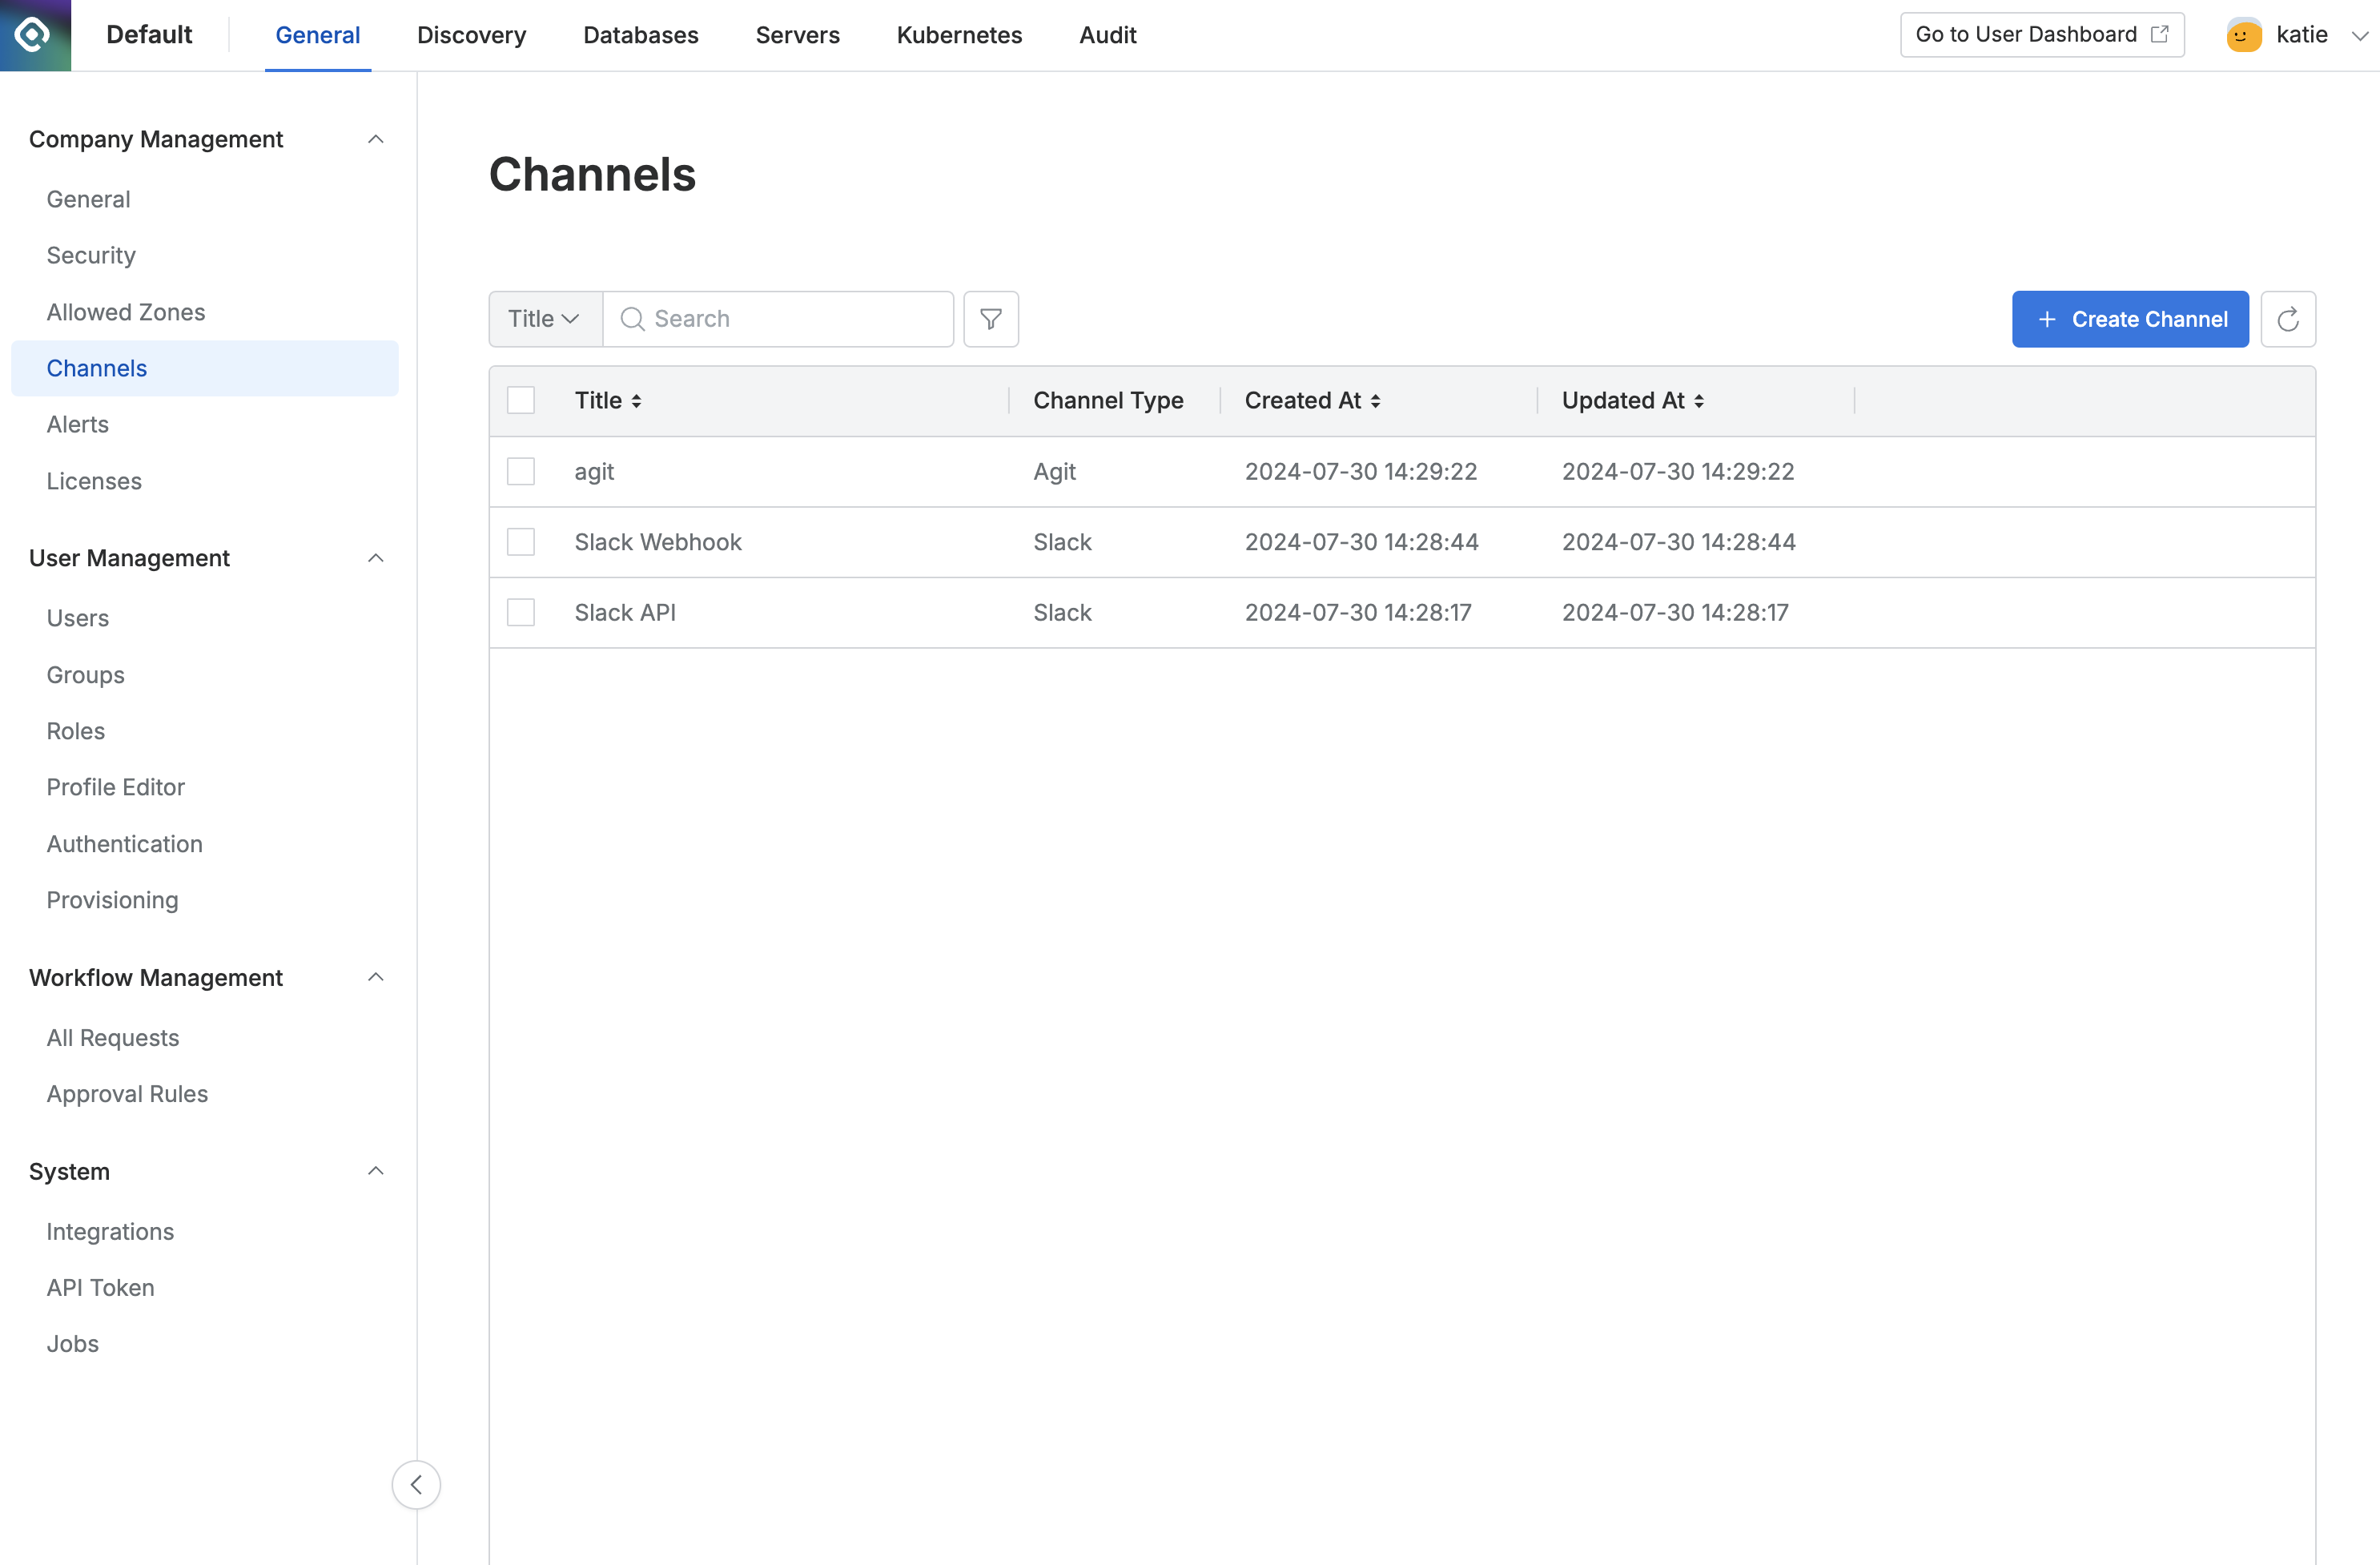
Administrator > General > Company Management > Channels
Clicking on items in the list allows you to view and modify detailed information.
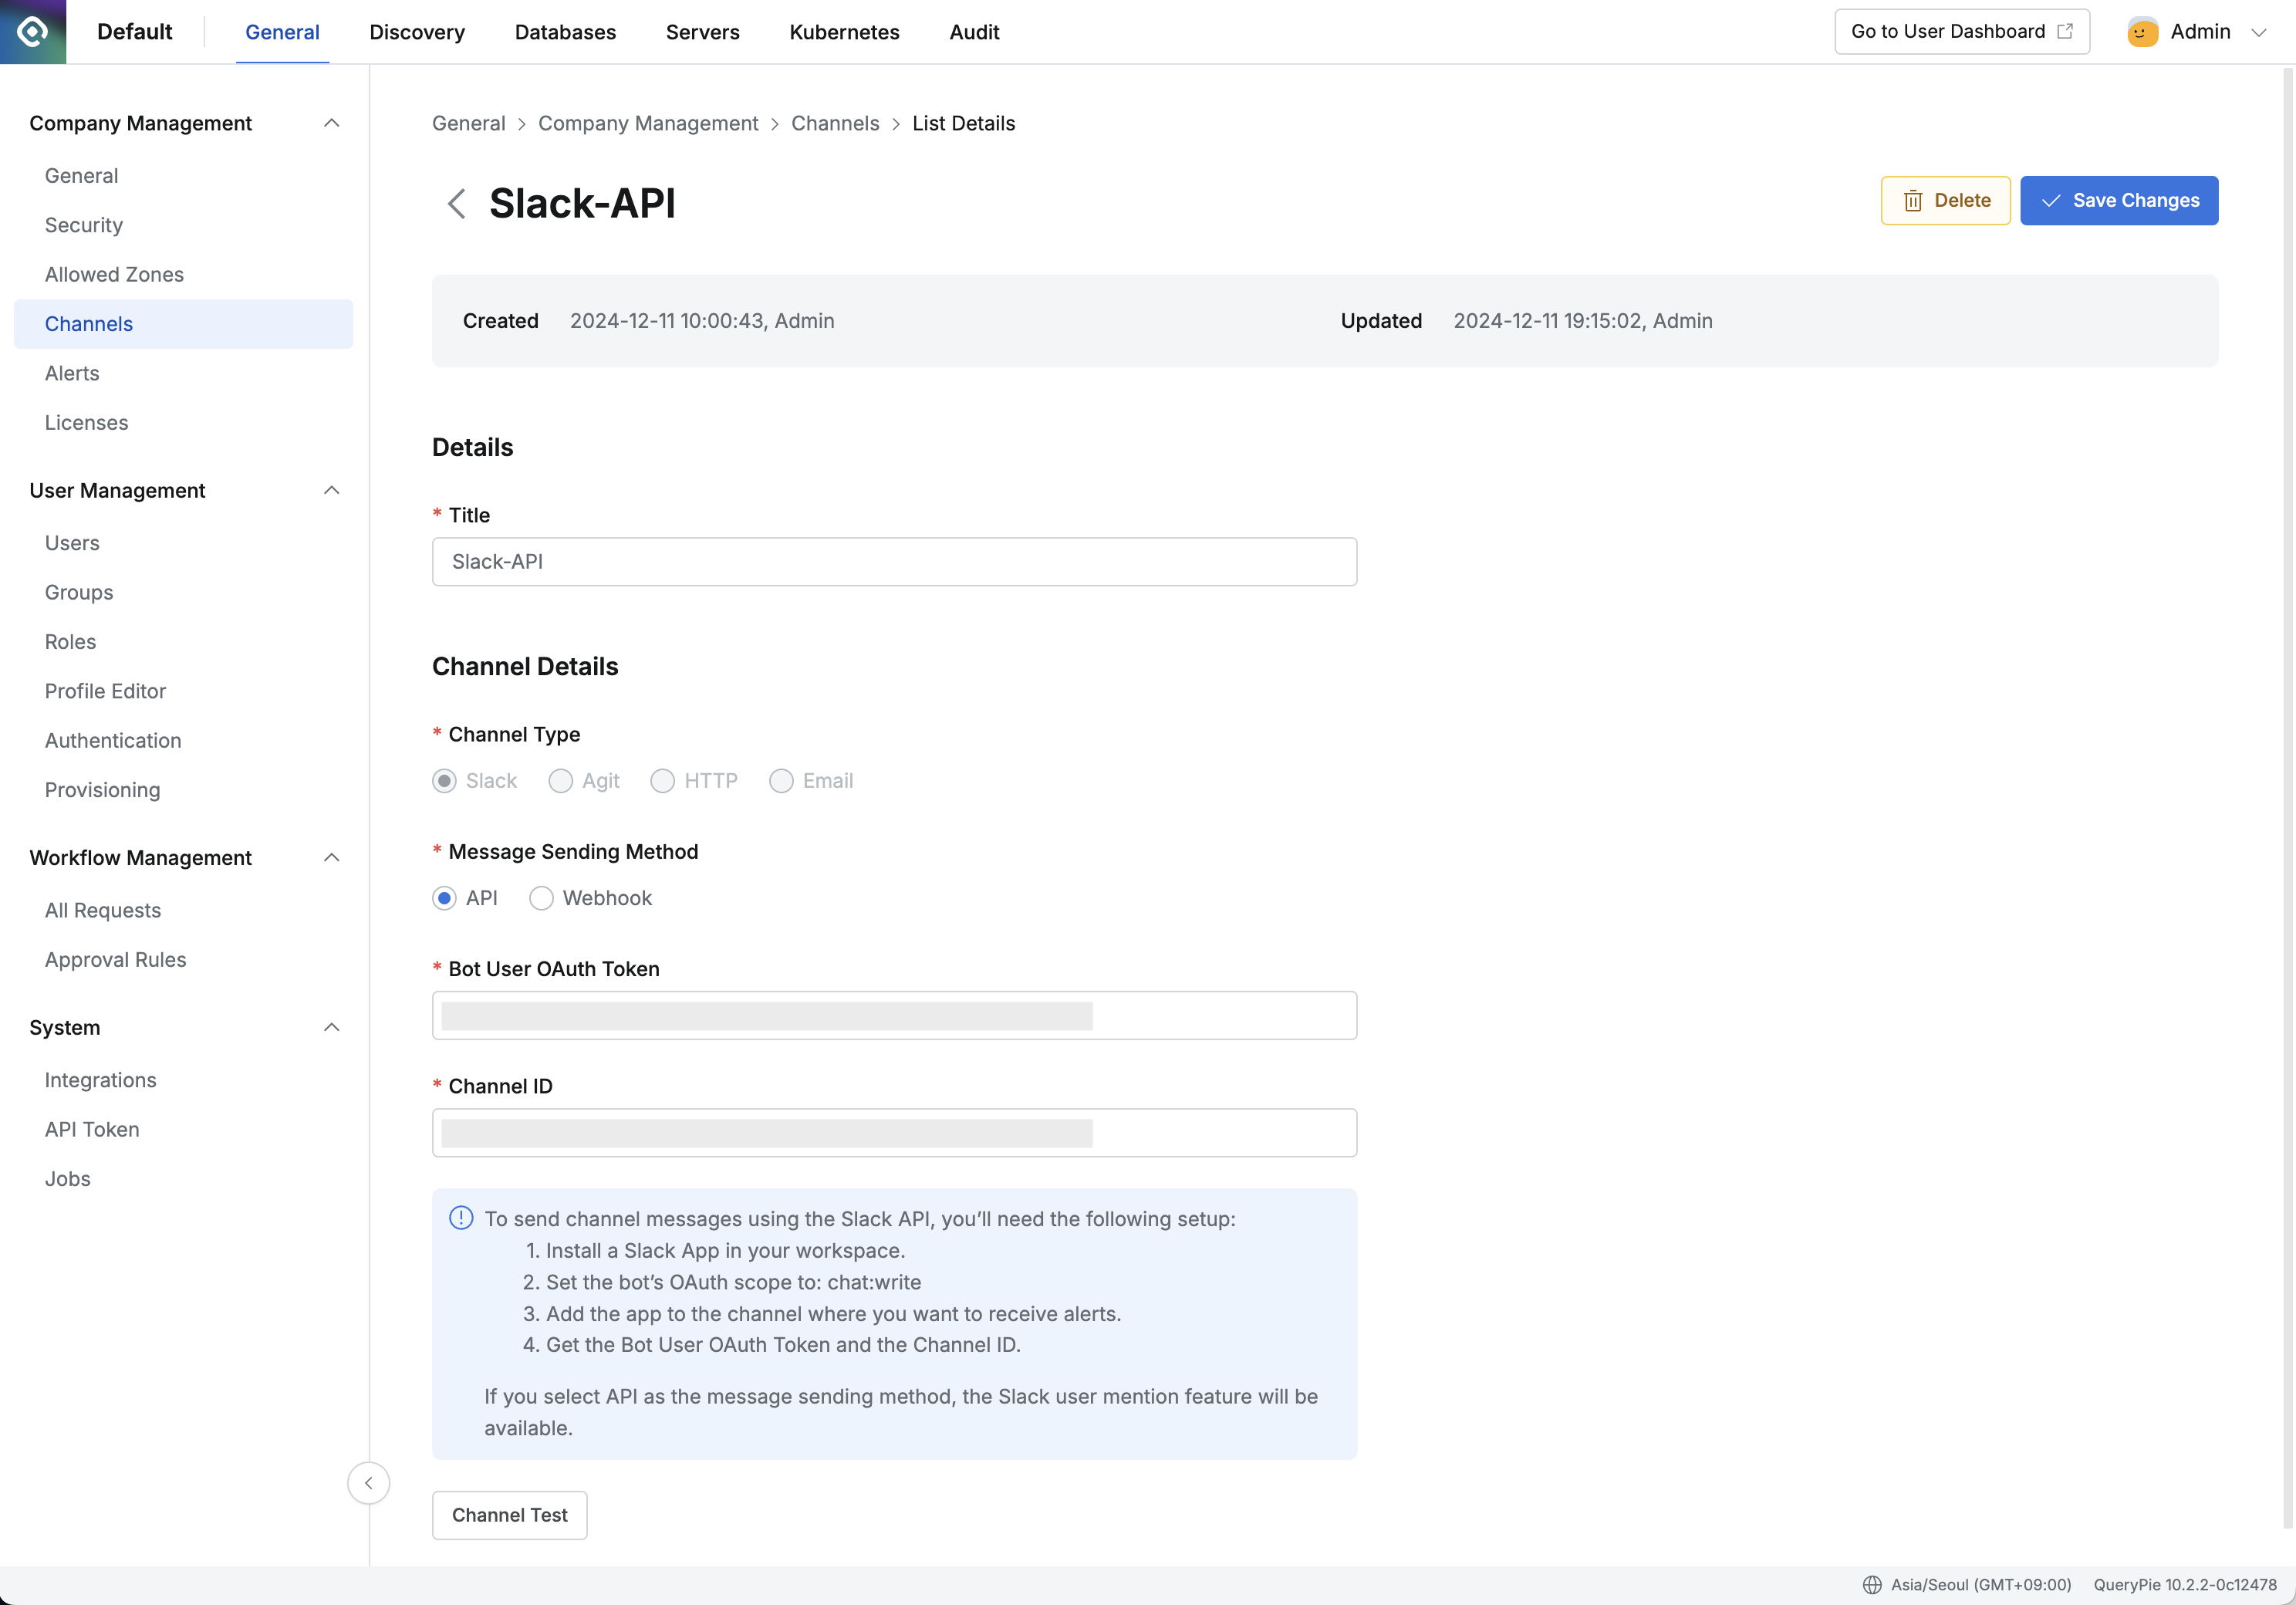
Administrator > General > Company Management > Channels > List Details
Registering Channels
Create Channel Click the button in the top right corner of the Channels page to display the channel creation modal.
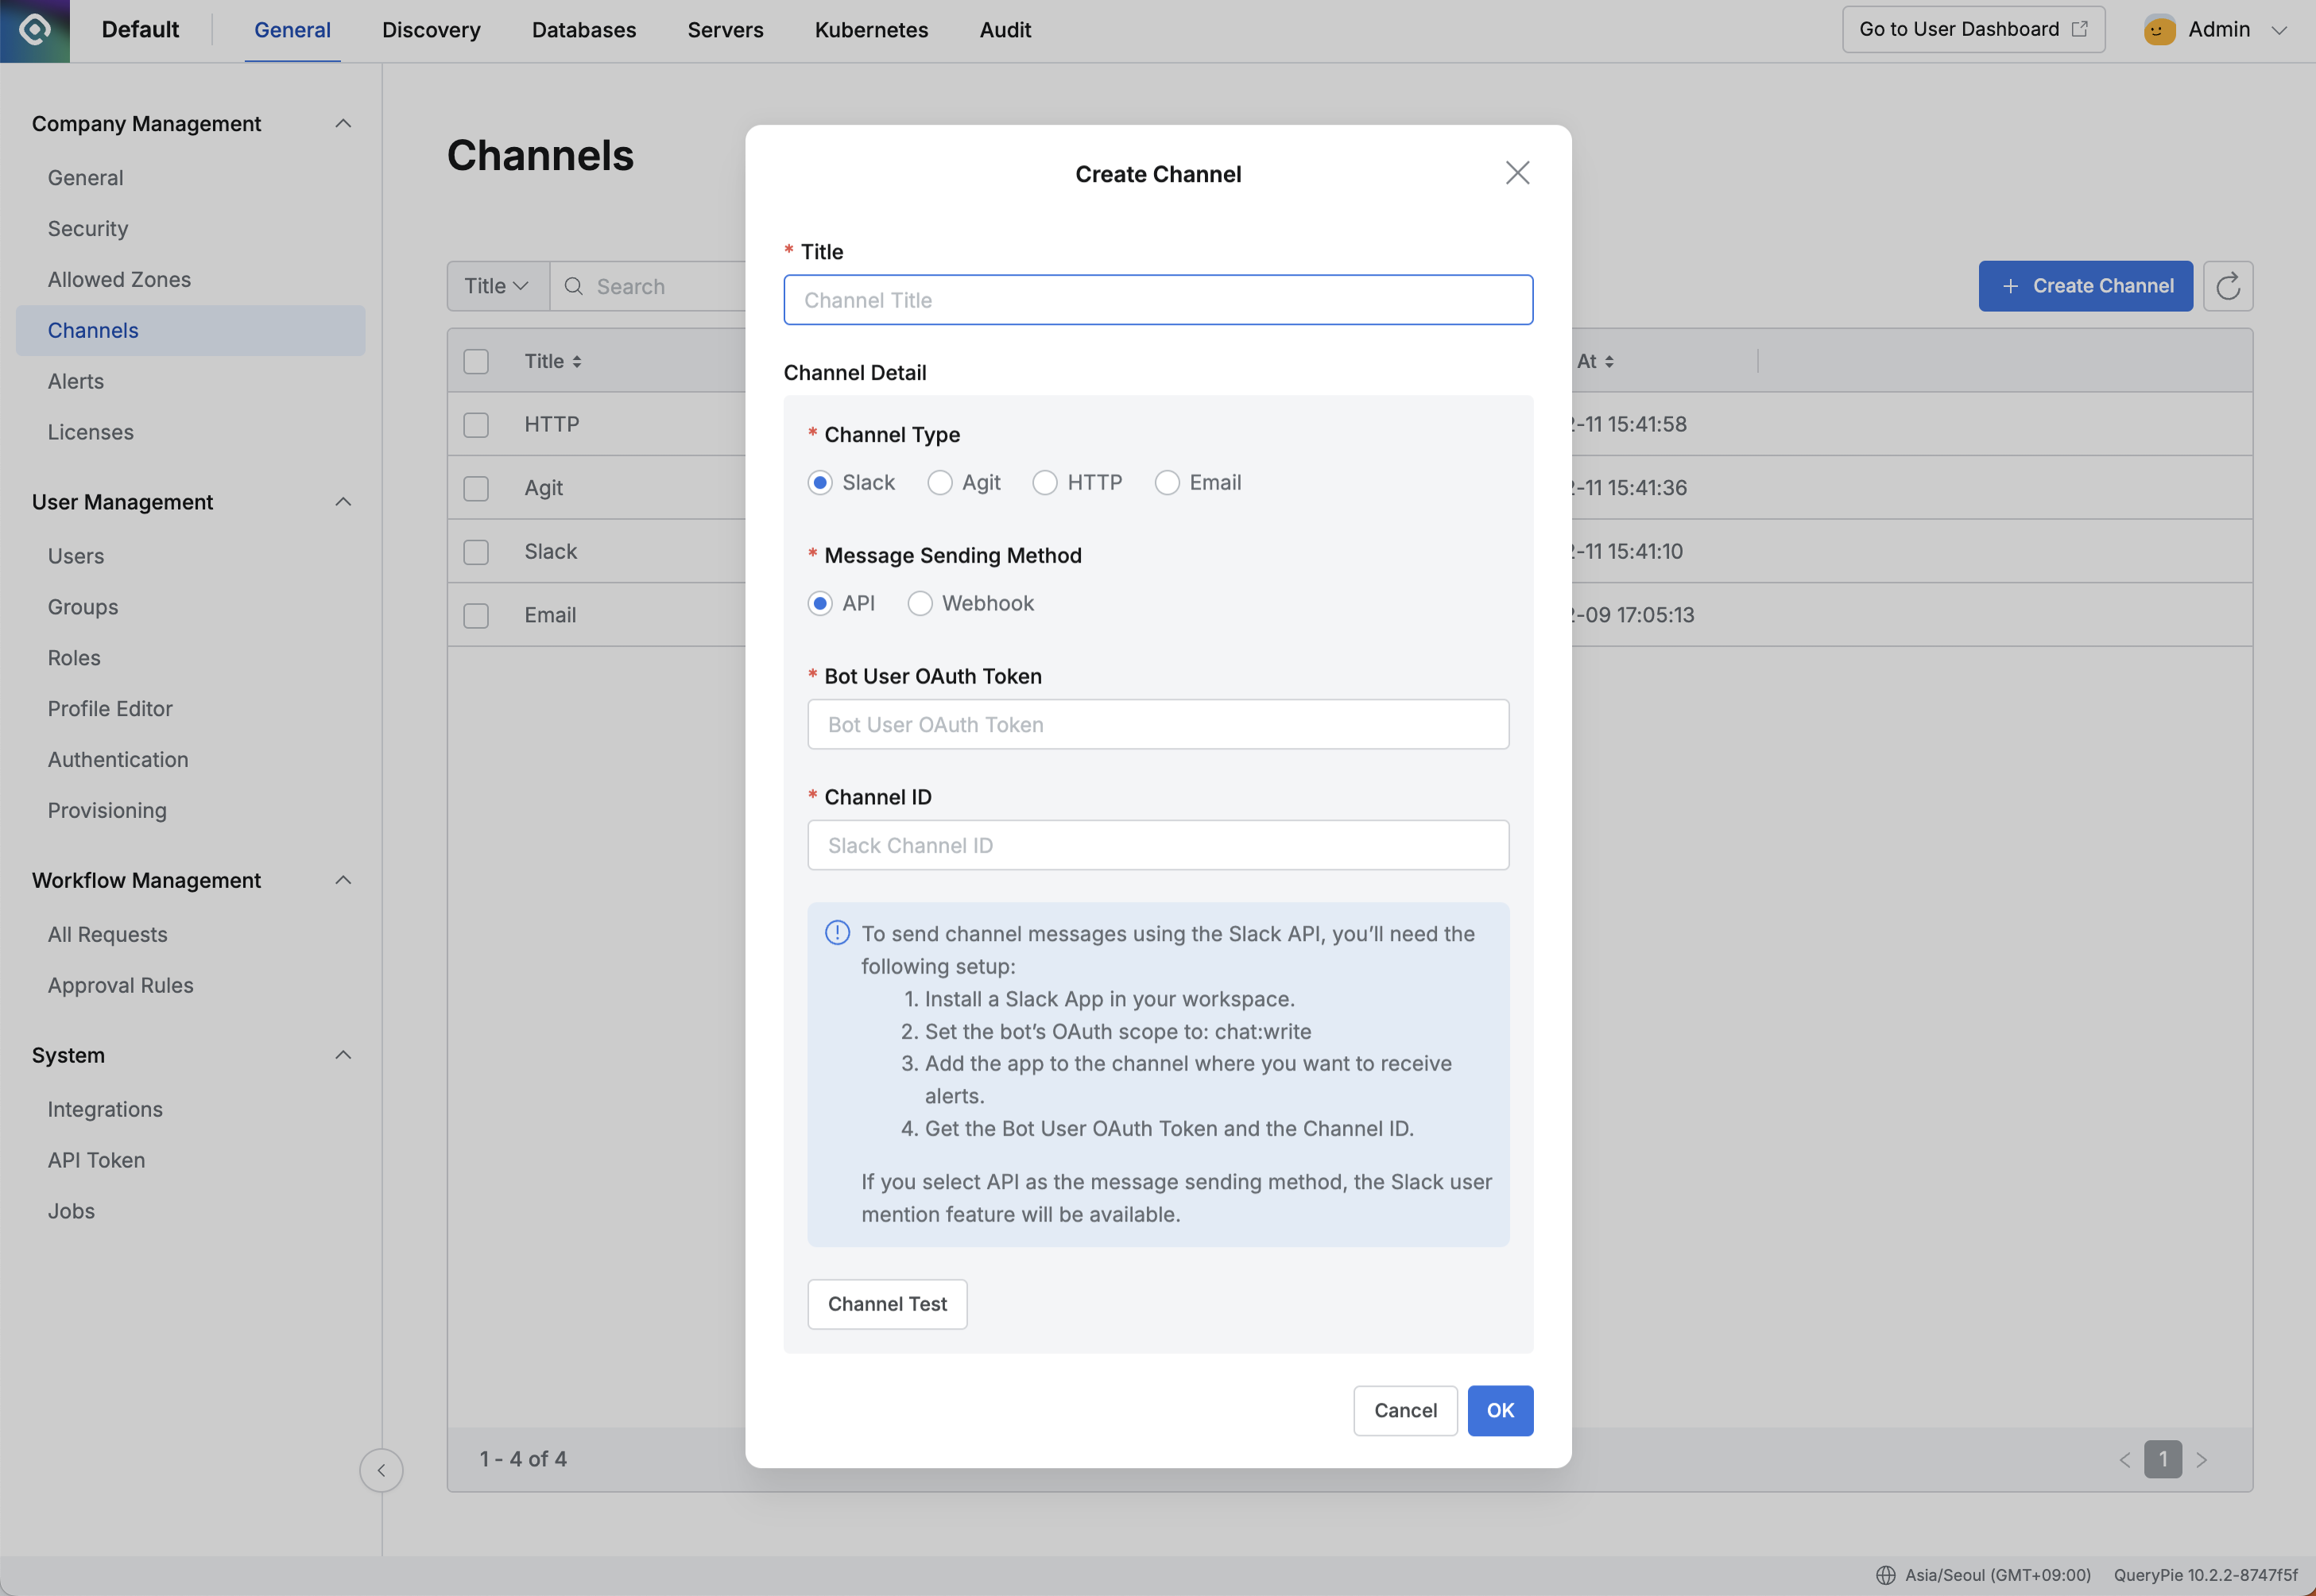
Administrator > General > Company Management > Channels > Create Channel
- Title : Channel name
- Channel Type : Select the channel type to receive notifications. Additional input fields below vary depending on the selection.
- Slack : Send notifications to Slack channel
- Agit : Send notifications to Agit
- HTTP : Direct request to HTTP API such as Zapier, Okta Workflows
- Email : Send notifications via email
When Channel Type is set to Slack
The input content for channel creation is as follows.
For detailed Slack App setup methods, refer to the Slack App Setup Method for Slack Integration section at the bottom of this document.
- Message Sending Method : Message sending method
- API : Send messages using Slack API
- When API is selected, assignee mentions are possible in New Request Alerts. (After version 10.2.2)
- Bot User OAuth Token : Bot User OAuth Token of the Slack App to send messages
- Channel ID : Slack Channel ID where the Slack App to send messages is invited
- Webhook : Send messages via webhook
- Request URL (required) : URL to send requests to
- Must copy and paste Webhook URL information after setting up Webhook in Slack App
- Request URL (required) : URL to send requests to
- API : Send messages using Slack API
When Channel Type is set to Agit
The input content for channel creation is as follows.
- Request URL (required) : URL to send requests to
- Agit Channel : Enter the name to display for the Agit channel
When Channel Type is set to HTTP
The input content for channel creation is as follows.
- Request URL (required) : URL to send requests to
- Request Header (JSON) : Enter request headers for calls if needed (JSON format)
- Body Template : Request body template
- Default value :
{{message}} - Enter content to add commonly before and after messages defined in Alert
- Default value :
When Channel Type is set to Email
Caution
Email type channels can only be created when an SMTP server for email sending is registered in QueryPie.
Go to Admin > General > System > Integration menu and click the Email tile to check related settings.
The input content when creating a channel is as follows.
- Email Recipients (required) : Email recipients
- You can select users registered in QueryPie, and emails will be sent to registered email addresses
- Body Template : Request body template
- Default value :
{{message}} - Enter content to add commonly before and after messages defined in Alert
- Default value :
Deleting Channels
Select the channel you want to delete with a checkbox in the channel list within the Channels page, and the Delete button will appear.
Click the button to display a deletion confirmation modal. OK Click the button to complete the deletion.
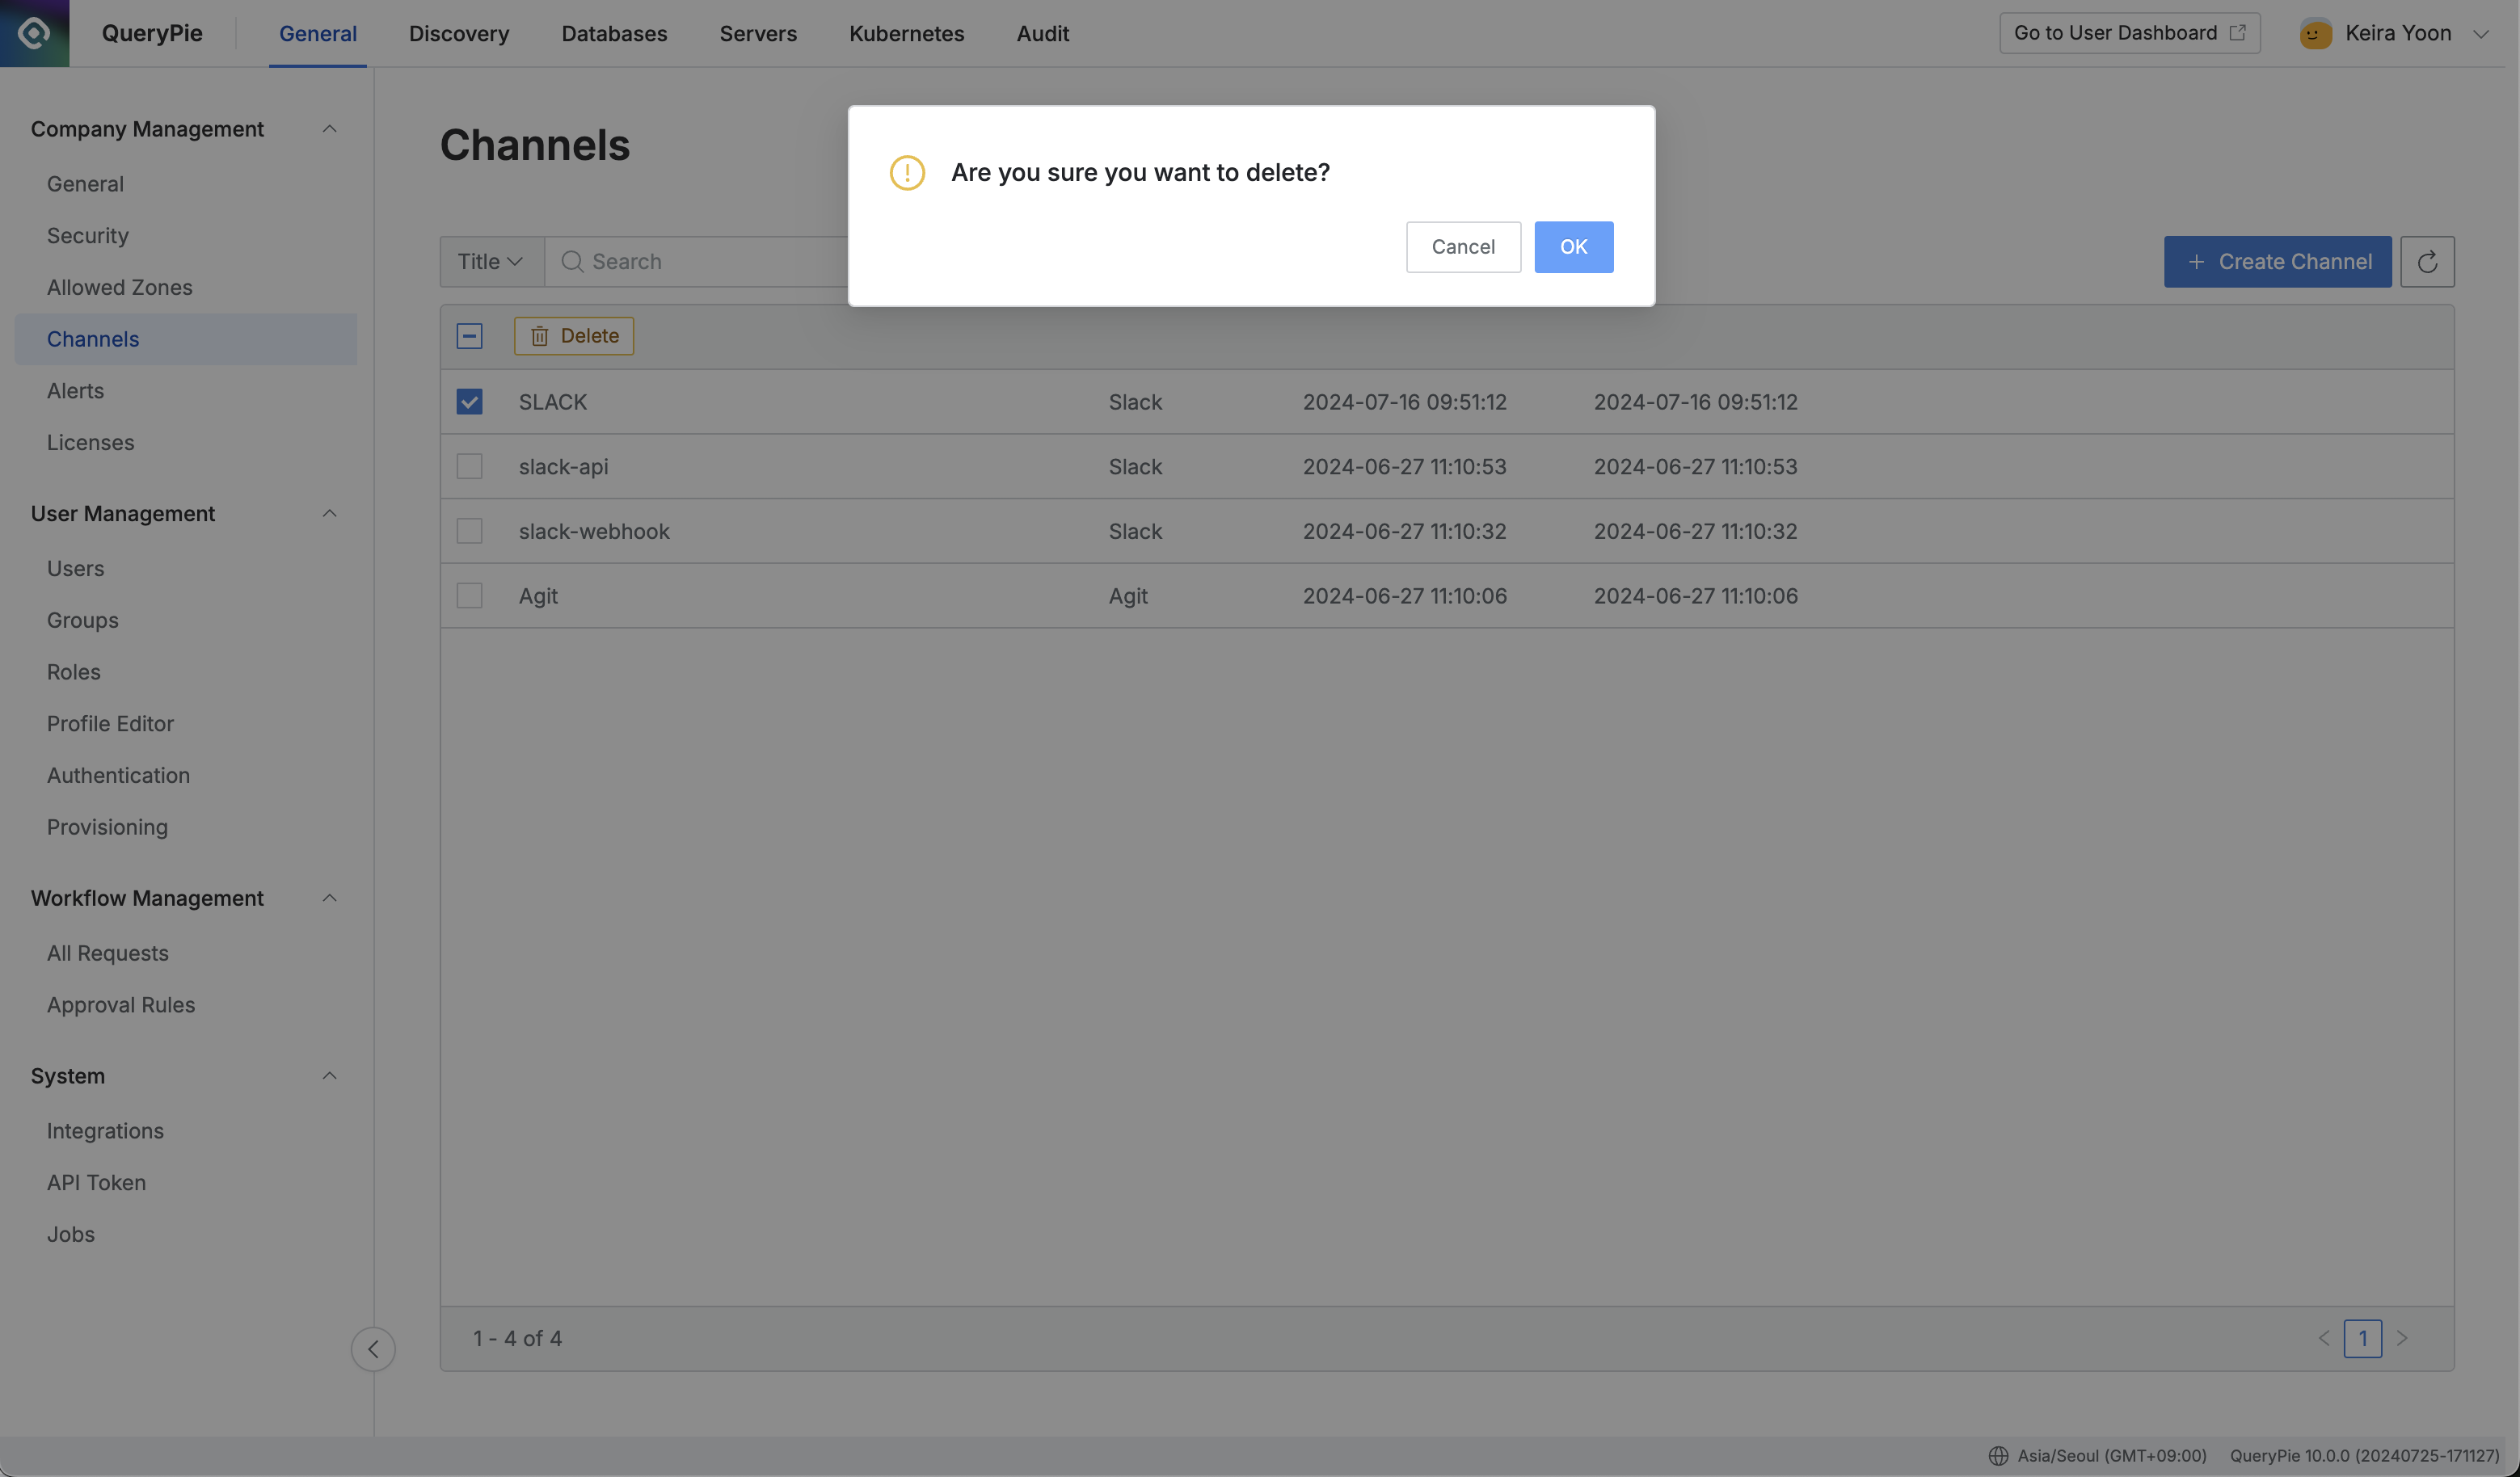
Administrator > General > Company Management > Channels > Delete confirmation modal
Slack App Setup Method for Slack Integration
1. Creating an App
Slack API > Apps > Create an App
- Go to https://api.slack.com/apps .
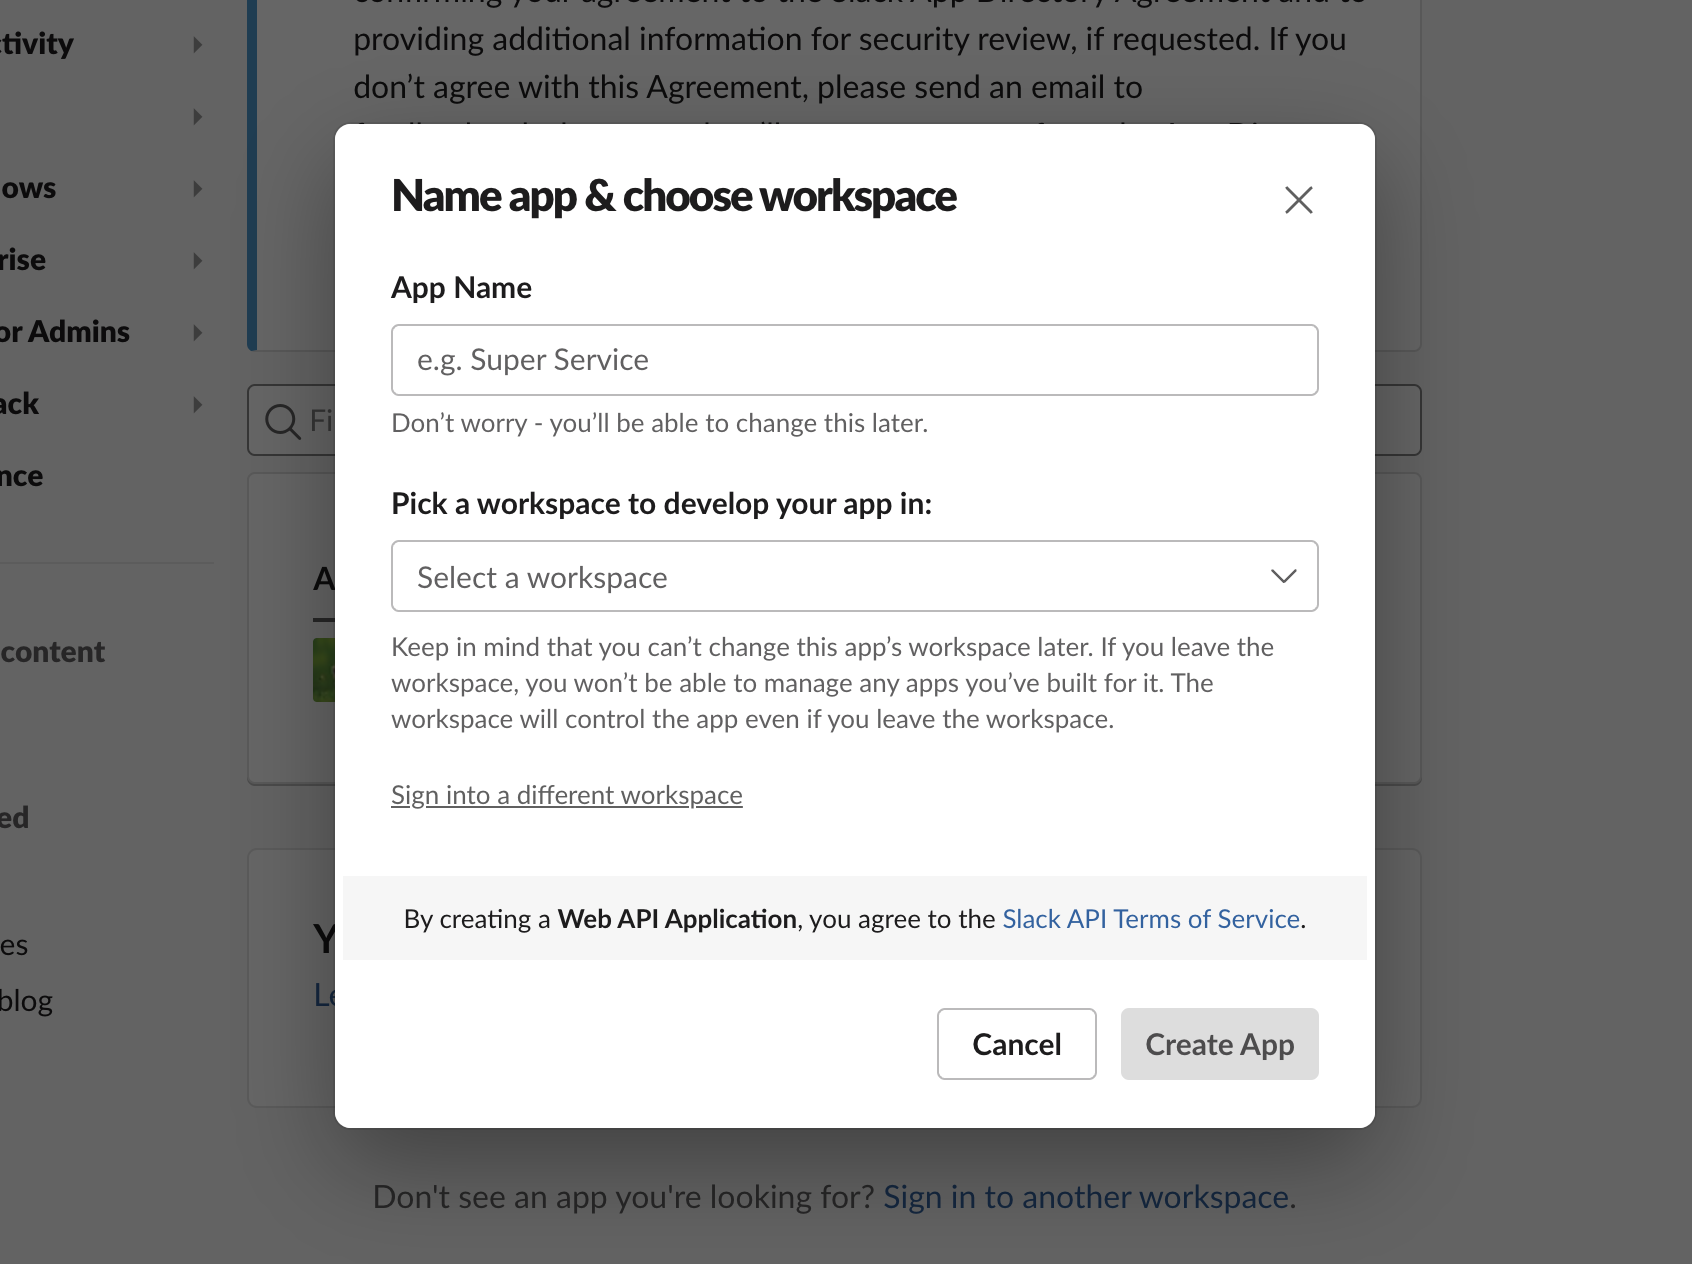
Create an AppClick the button.- Select the App Name and Slack Workspace to send notifications to in the above screen.
- Click
Create App.
2-1. Integrating with Webhook Type
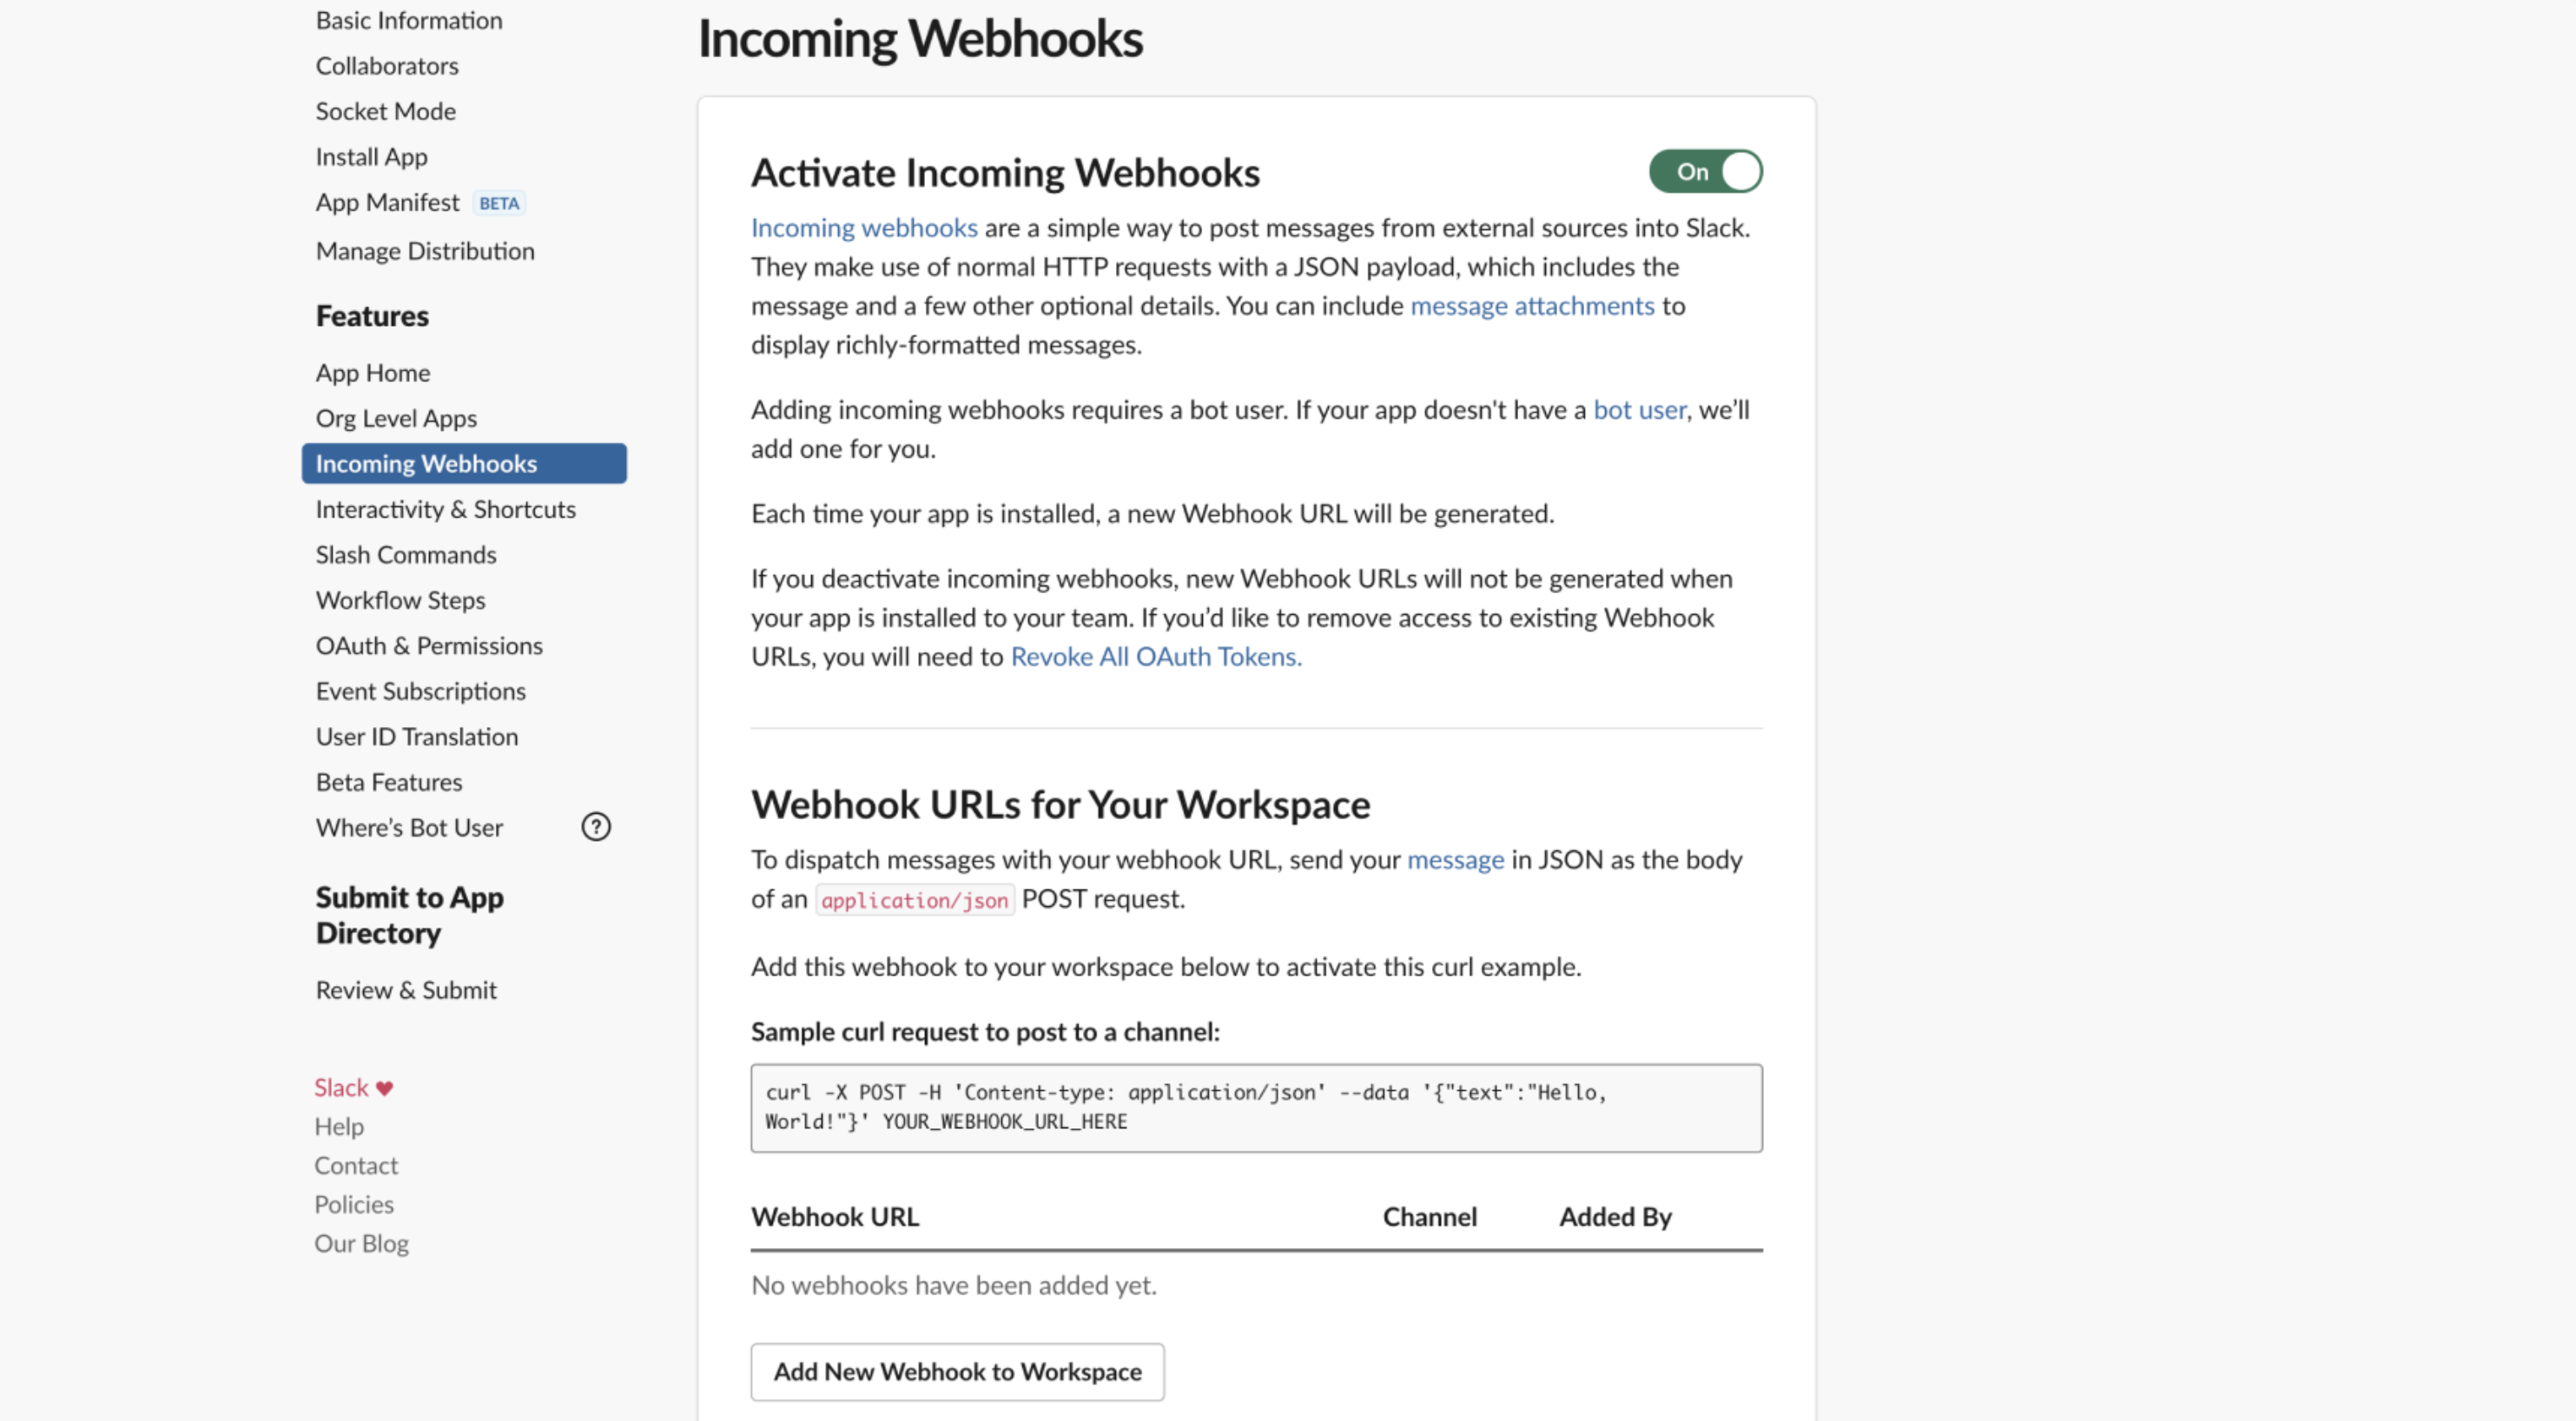
Slack API > Apps > Settings > Incoming Webhooks
- Navigate to the
Incoming Webhooksmenu within the app page. - Enable the Activate Incoming Webhooks option.
- Click
Add New Webhook to Workspaceat the bottom.
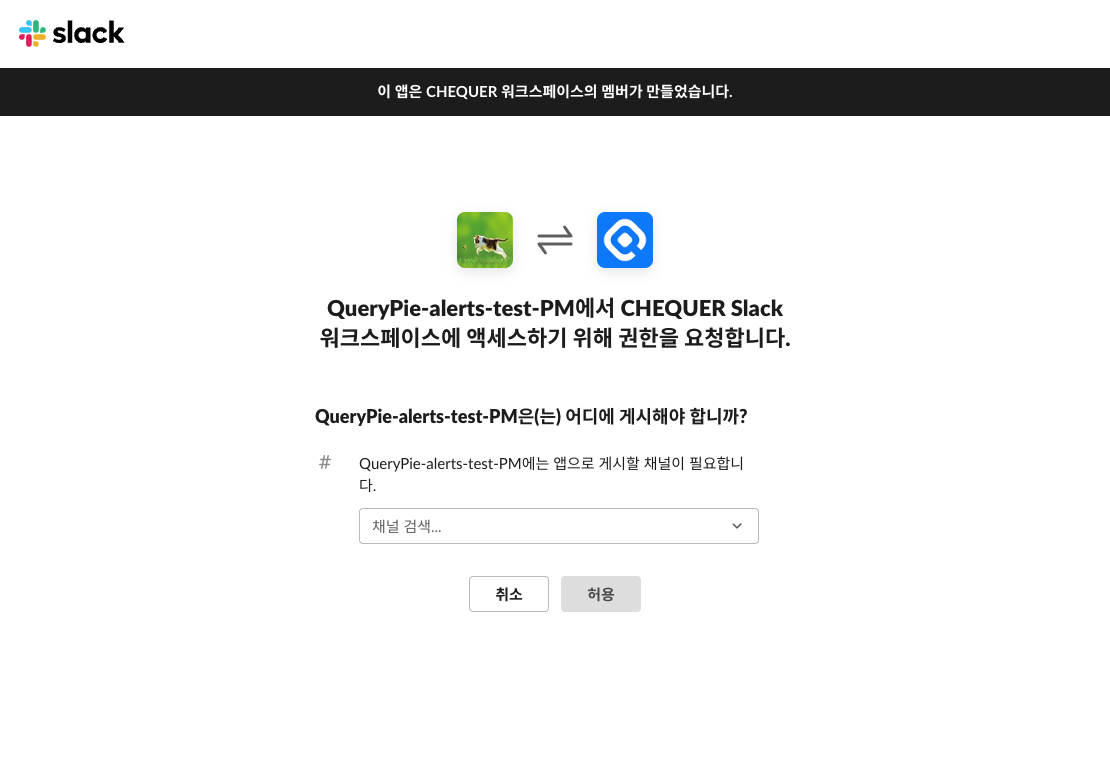
Webhook addition screen in Slack
- Select the channel to send alerts to within the Workspace and click the
Allowbutton. - Copy the generated Webhook URL information and paste it into the QueryPie channel creation modal.
2-2. Integrating with API Type
- Click the created App to enter the app’s Settings page, then navigate to the
App Manifestmenu. - Add
chat:write,users:read,users:read.emailto the scopes area and save.
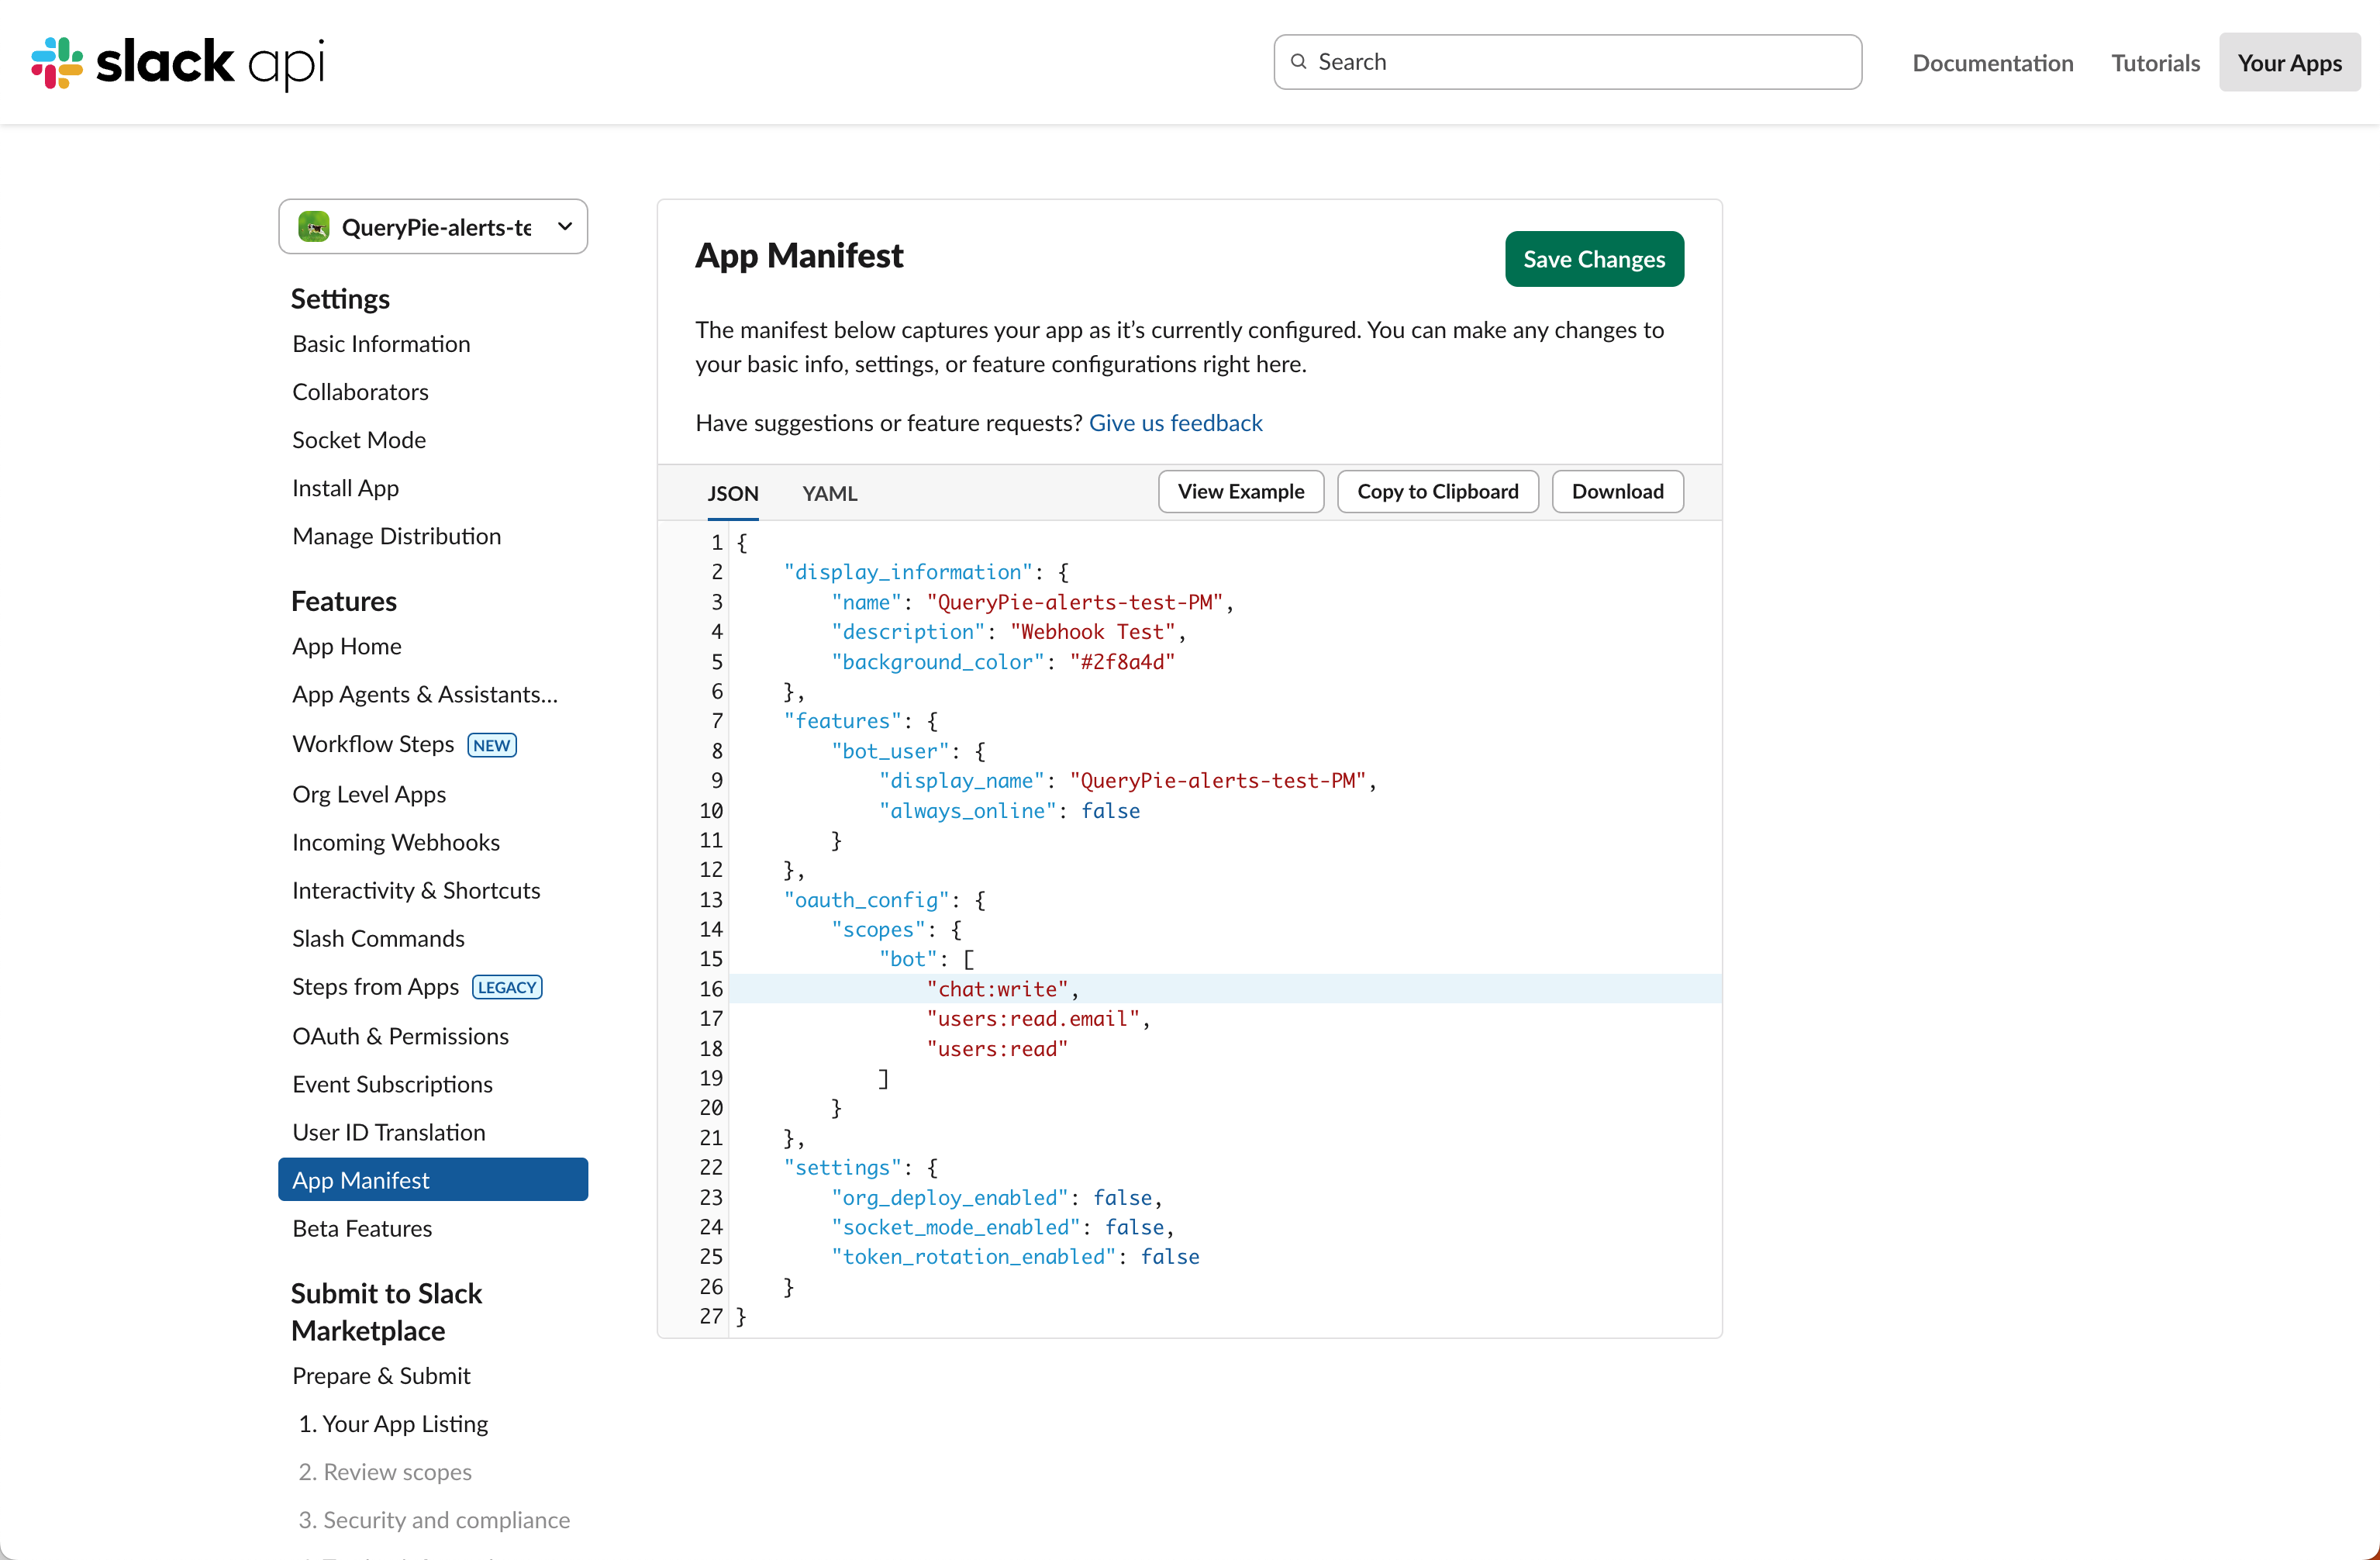
Slack API > Apps > Settings > App Manifest
- Restart the app through
Reinstall your appvia the yellow notification bar at the top. (Required) Reinstall to {Workspace_name}Click the button to select the Slack channel to send notifications to, then click theAllowbutton.- To apply after changing scopes, you must perform this step again.
- Go to the corresponding Slack channel and add the created app. (If the app is already added, you can skip this step)
- Click the channel name to open the Channel Detail modal, and copy the Channel ID from the bottom of the modal. Paste the copied Channel ID into the QueryPie channel creation modal.
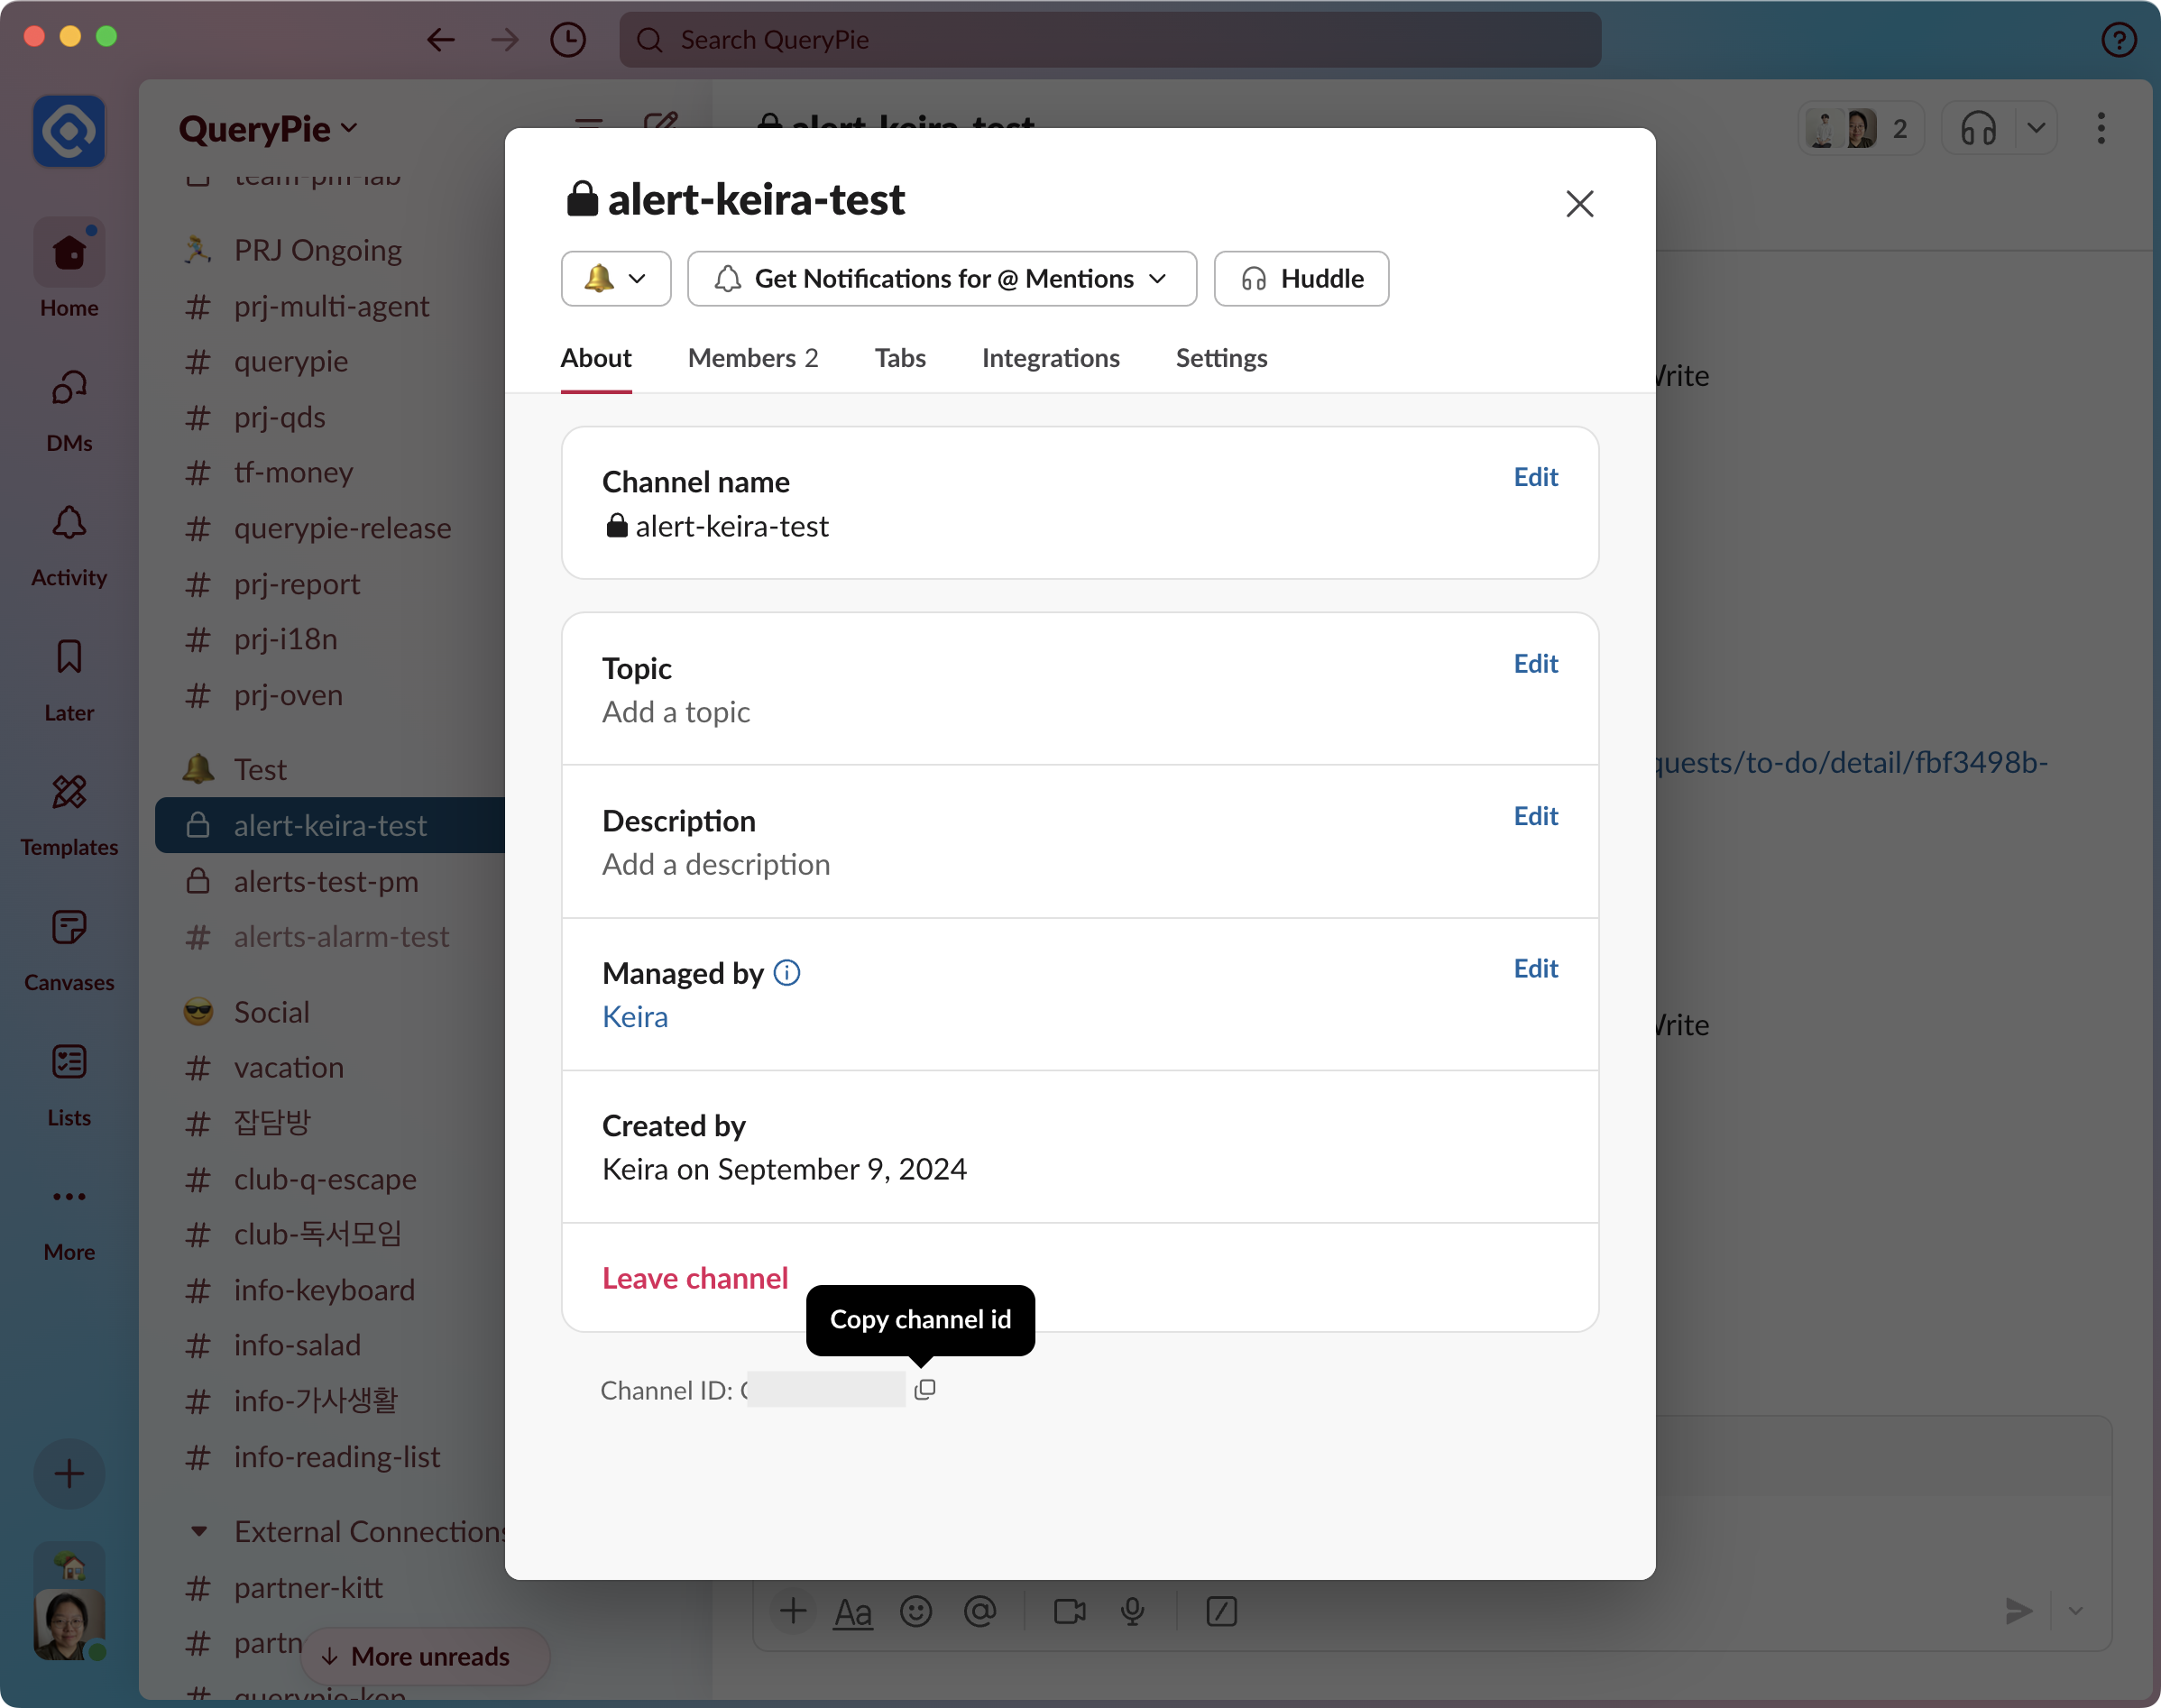
Slack App > Channel Detail
- Copy the Bot User OAuth Token from the OAuth & Permissions page and paste it into the QueryPie channel creation modal.
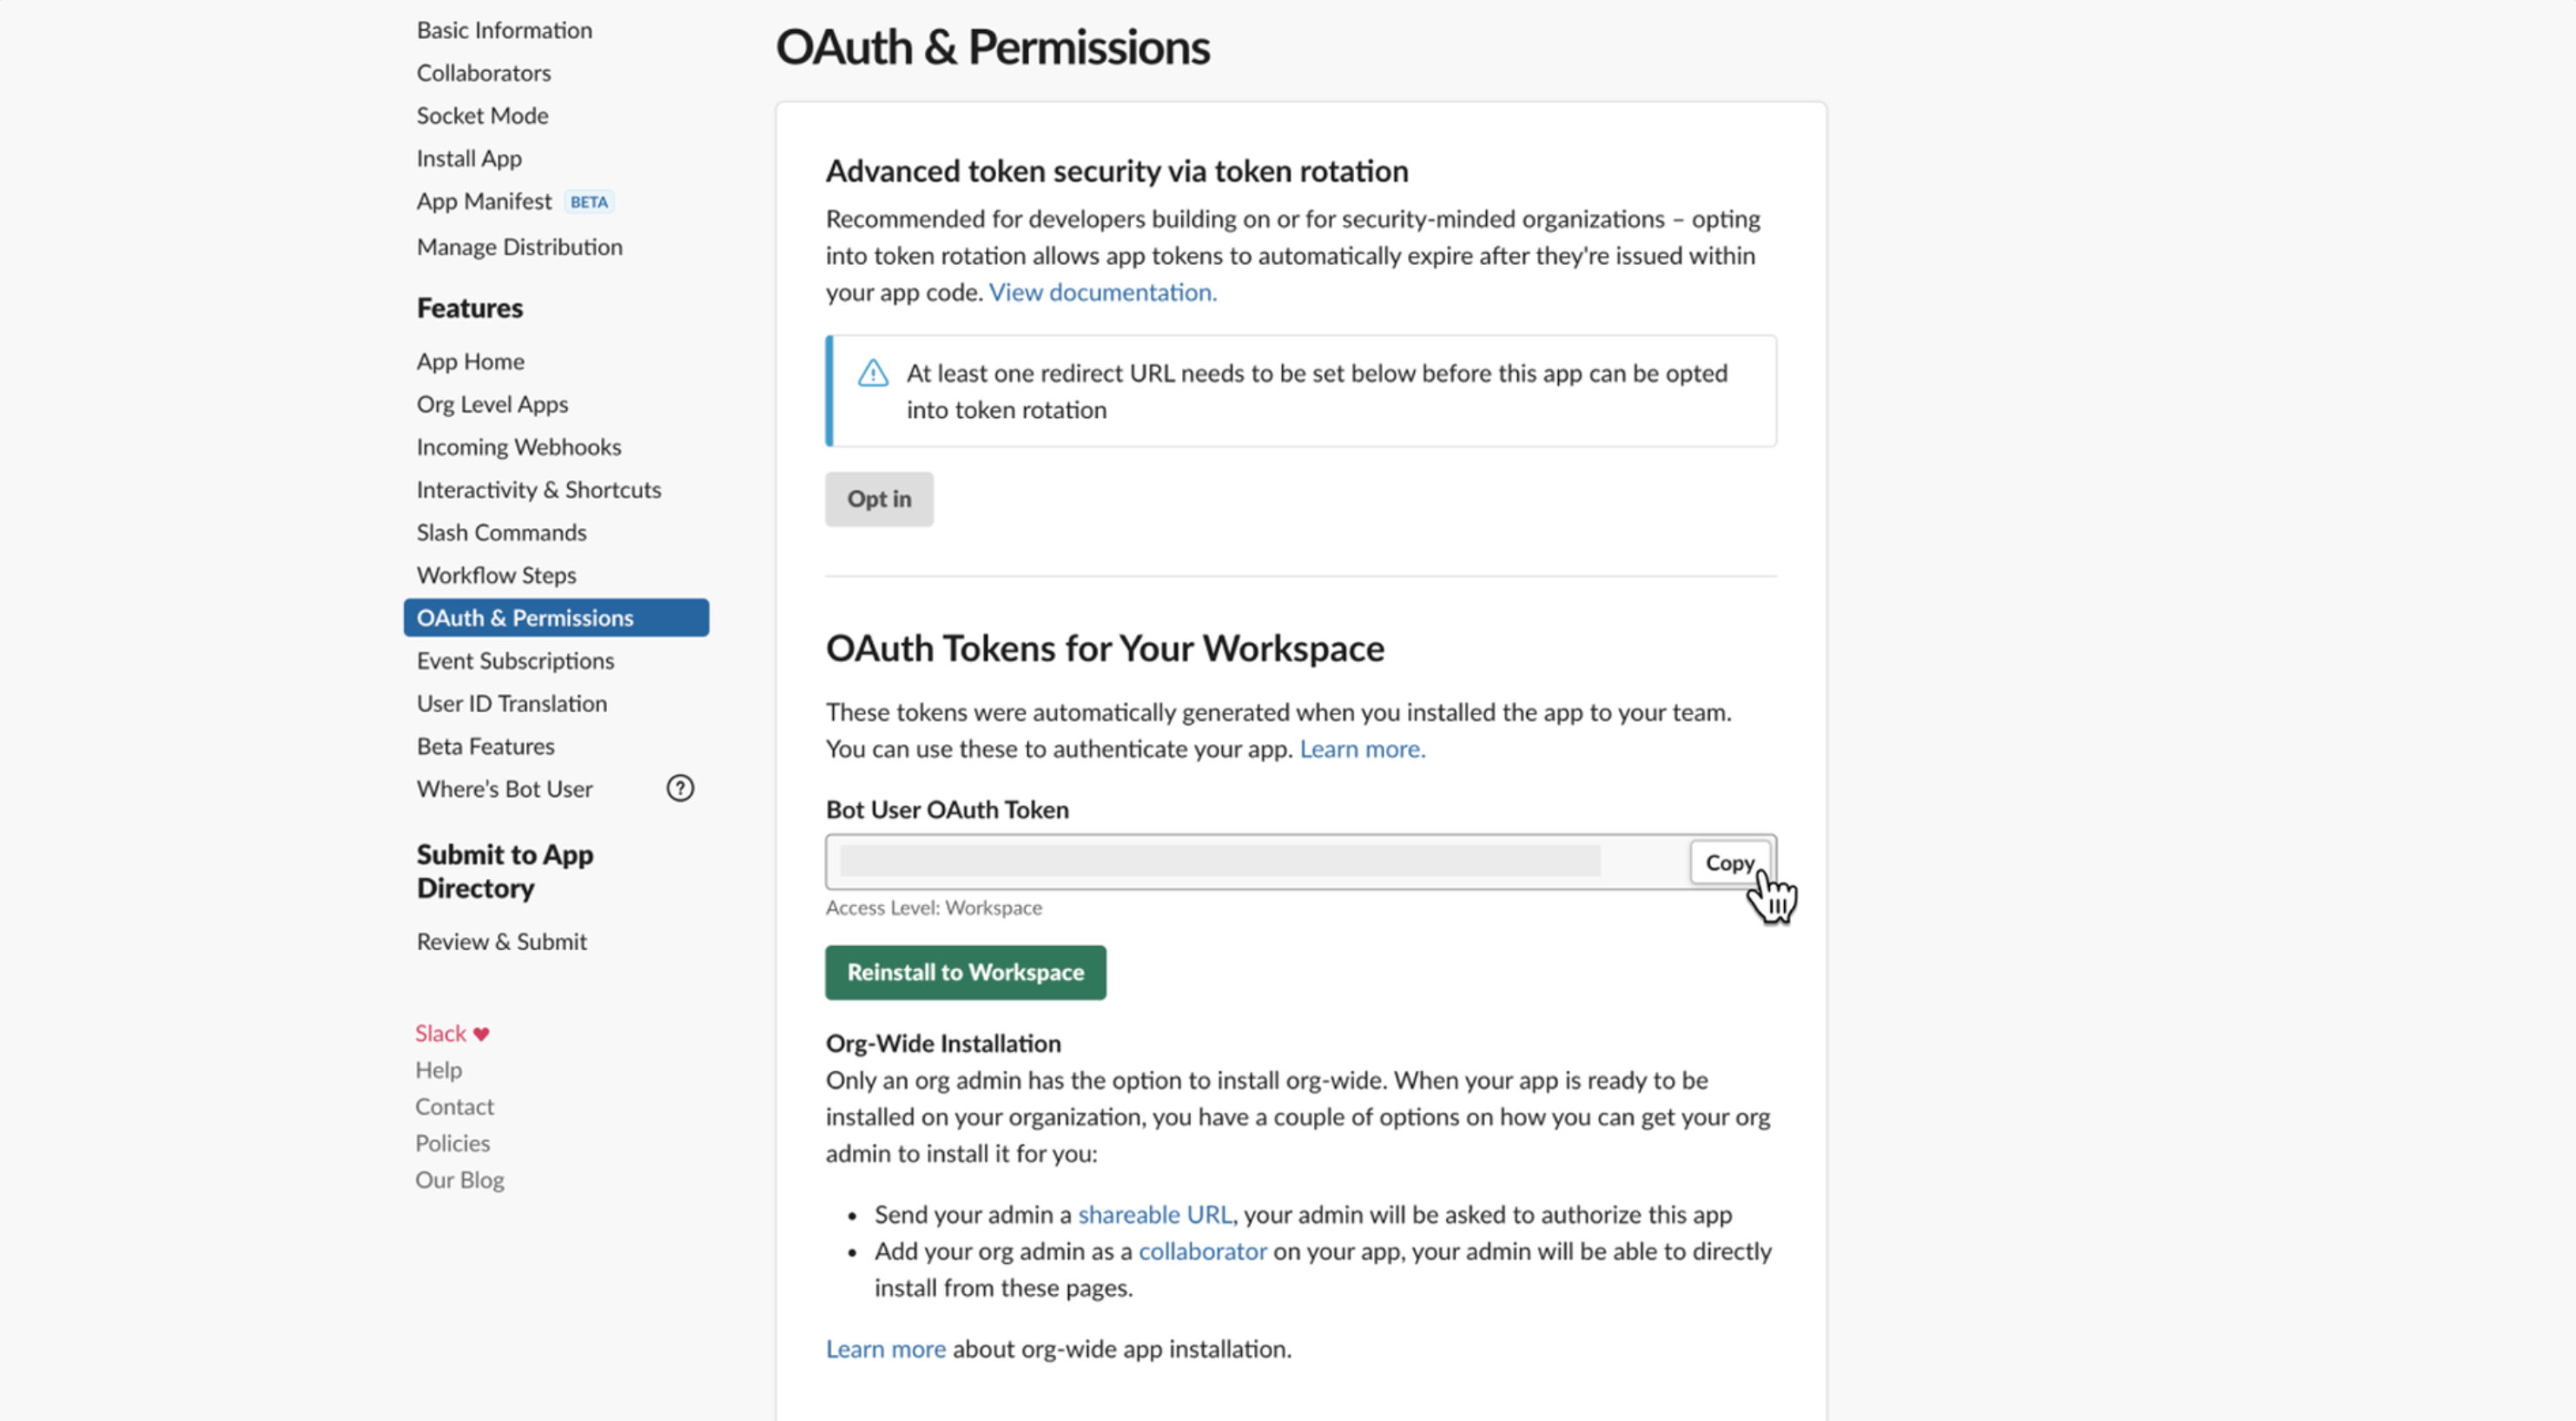
Slack OAuth & Permissions page - Copy token