Integrating with AWS SSO
Overview
QueryPie supports user integration through multiple cloud applications and SAML 2.0 for users in AWS IAM Identity Center. You can grant access permissions and apply policies by synchronizing users.
Adding QueryPie as an Application in AWS IAM Identity Center
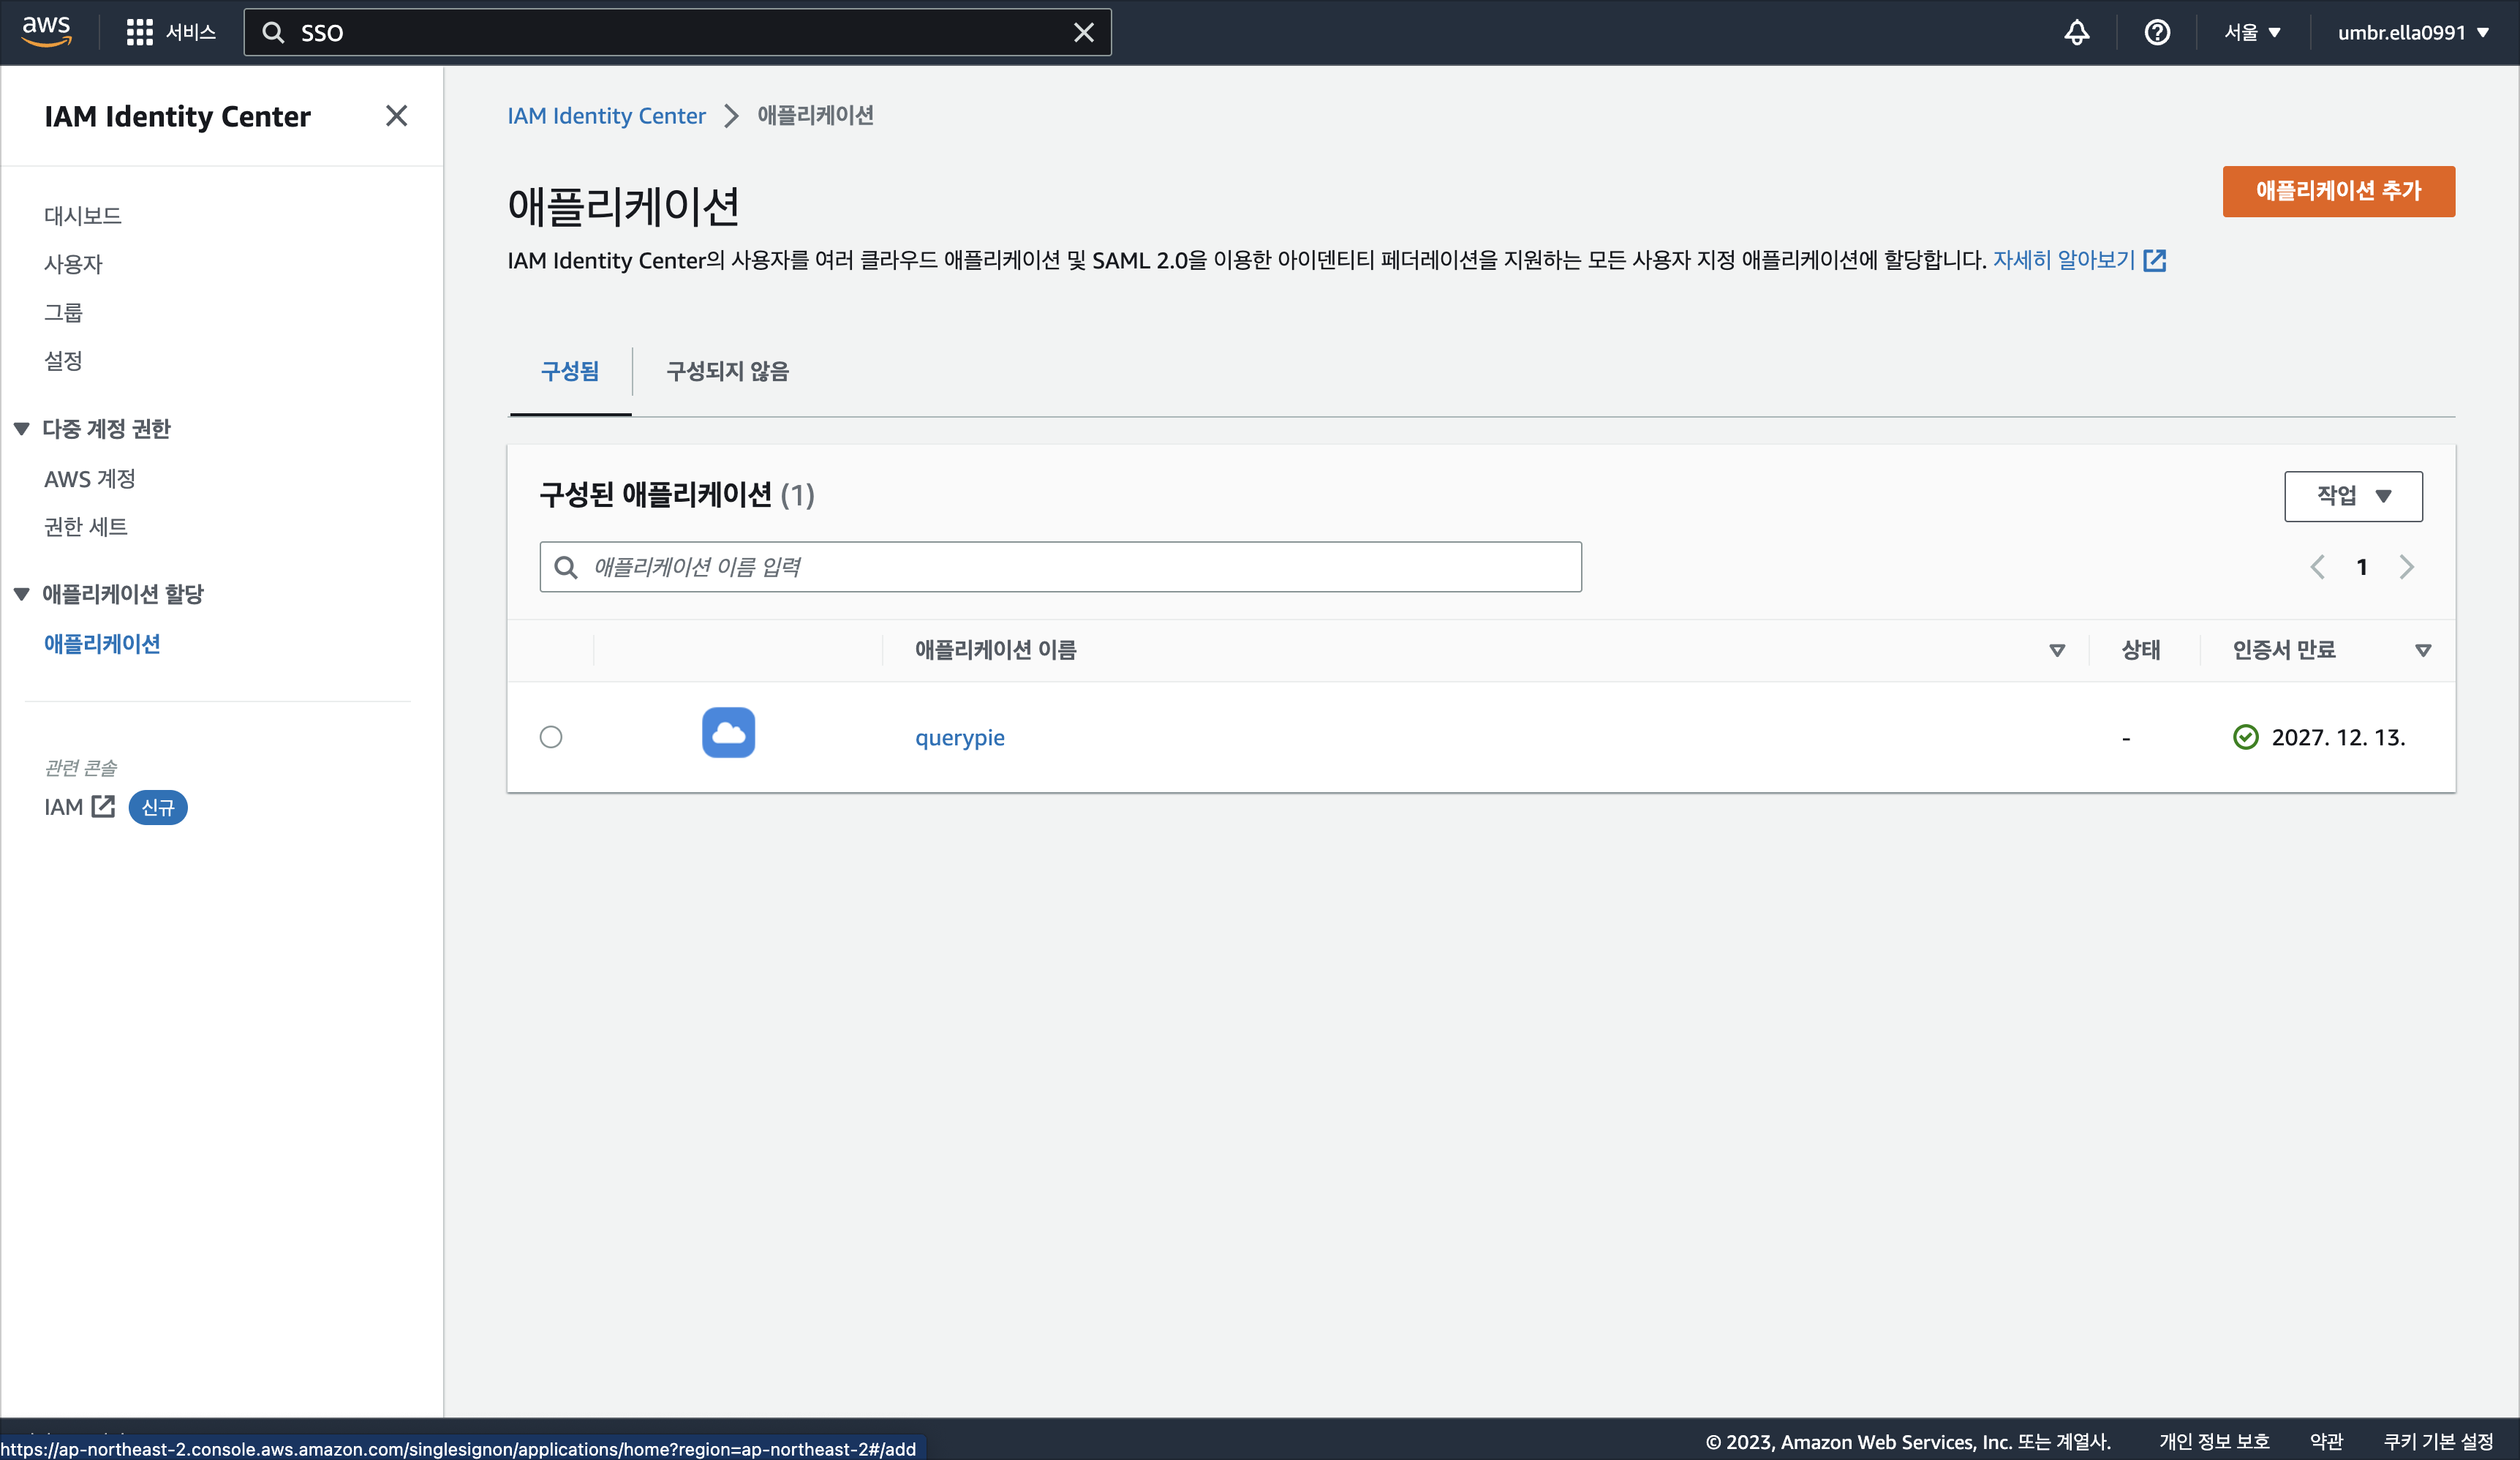
- Access AWS IAM Identity Center .
- Navigate to the Applications menu in the left menu.
- Click the Add Application button in the top right corner.
- Select the Add Custom SAML 2.0 Application option and click Next.
- Enter QueryPie in Application Configuration > Display Name.
- In Application Attributes > Application Start URL, enter the domain address where QueryPie is installed as follows.
- Application Start URL : https://
{querypie_host}
- Application Start URL : https://
- Enter the following values in the Application Metadata section.
- Application ACS URL : https://
{querypie_host}/saml/sp/acs - Application SAML Target : https://
{querypie_host}/saml/sp/metadata
- Application ACS URL : https://
- Click the Submit button to save.
Setting Attribute Mapping for QueryPie Integration
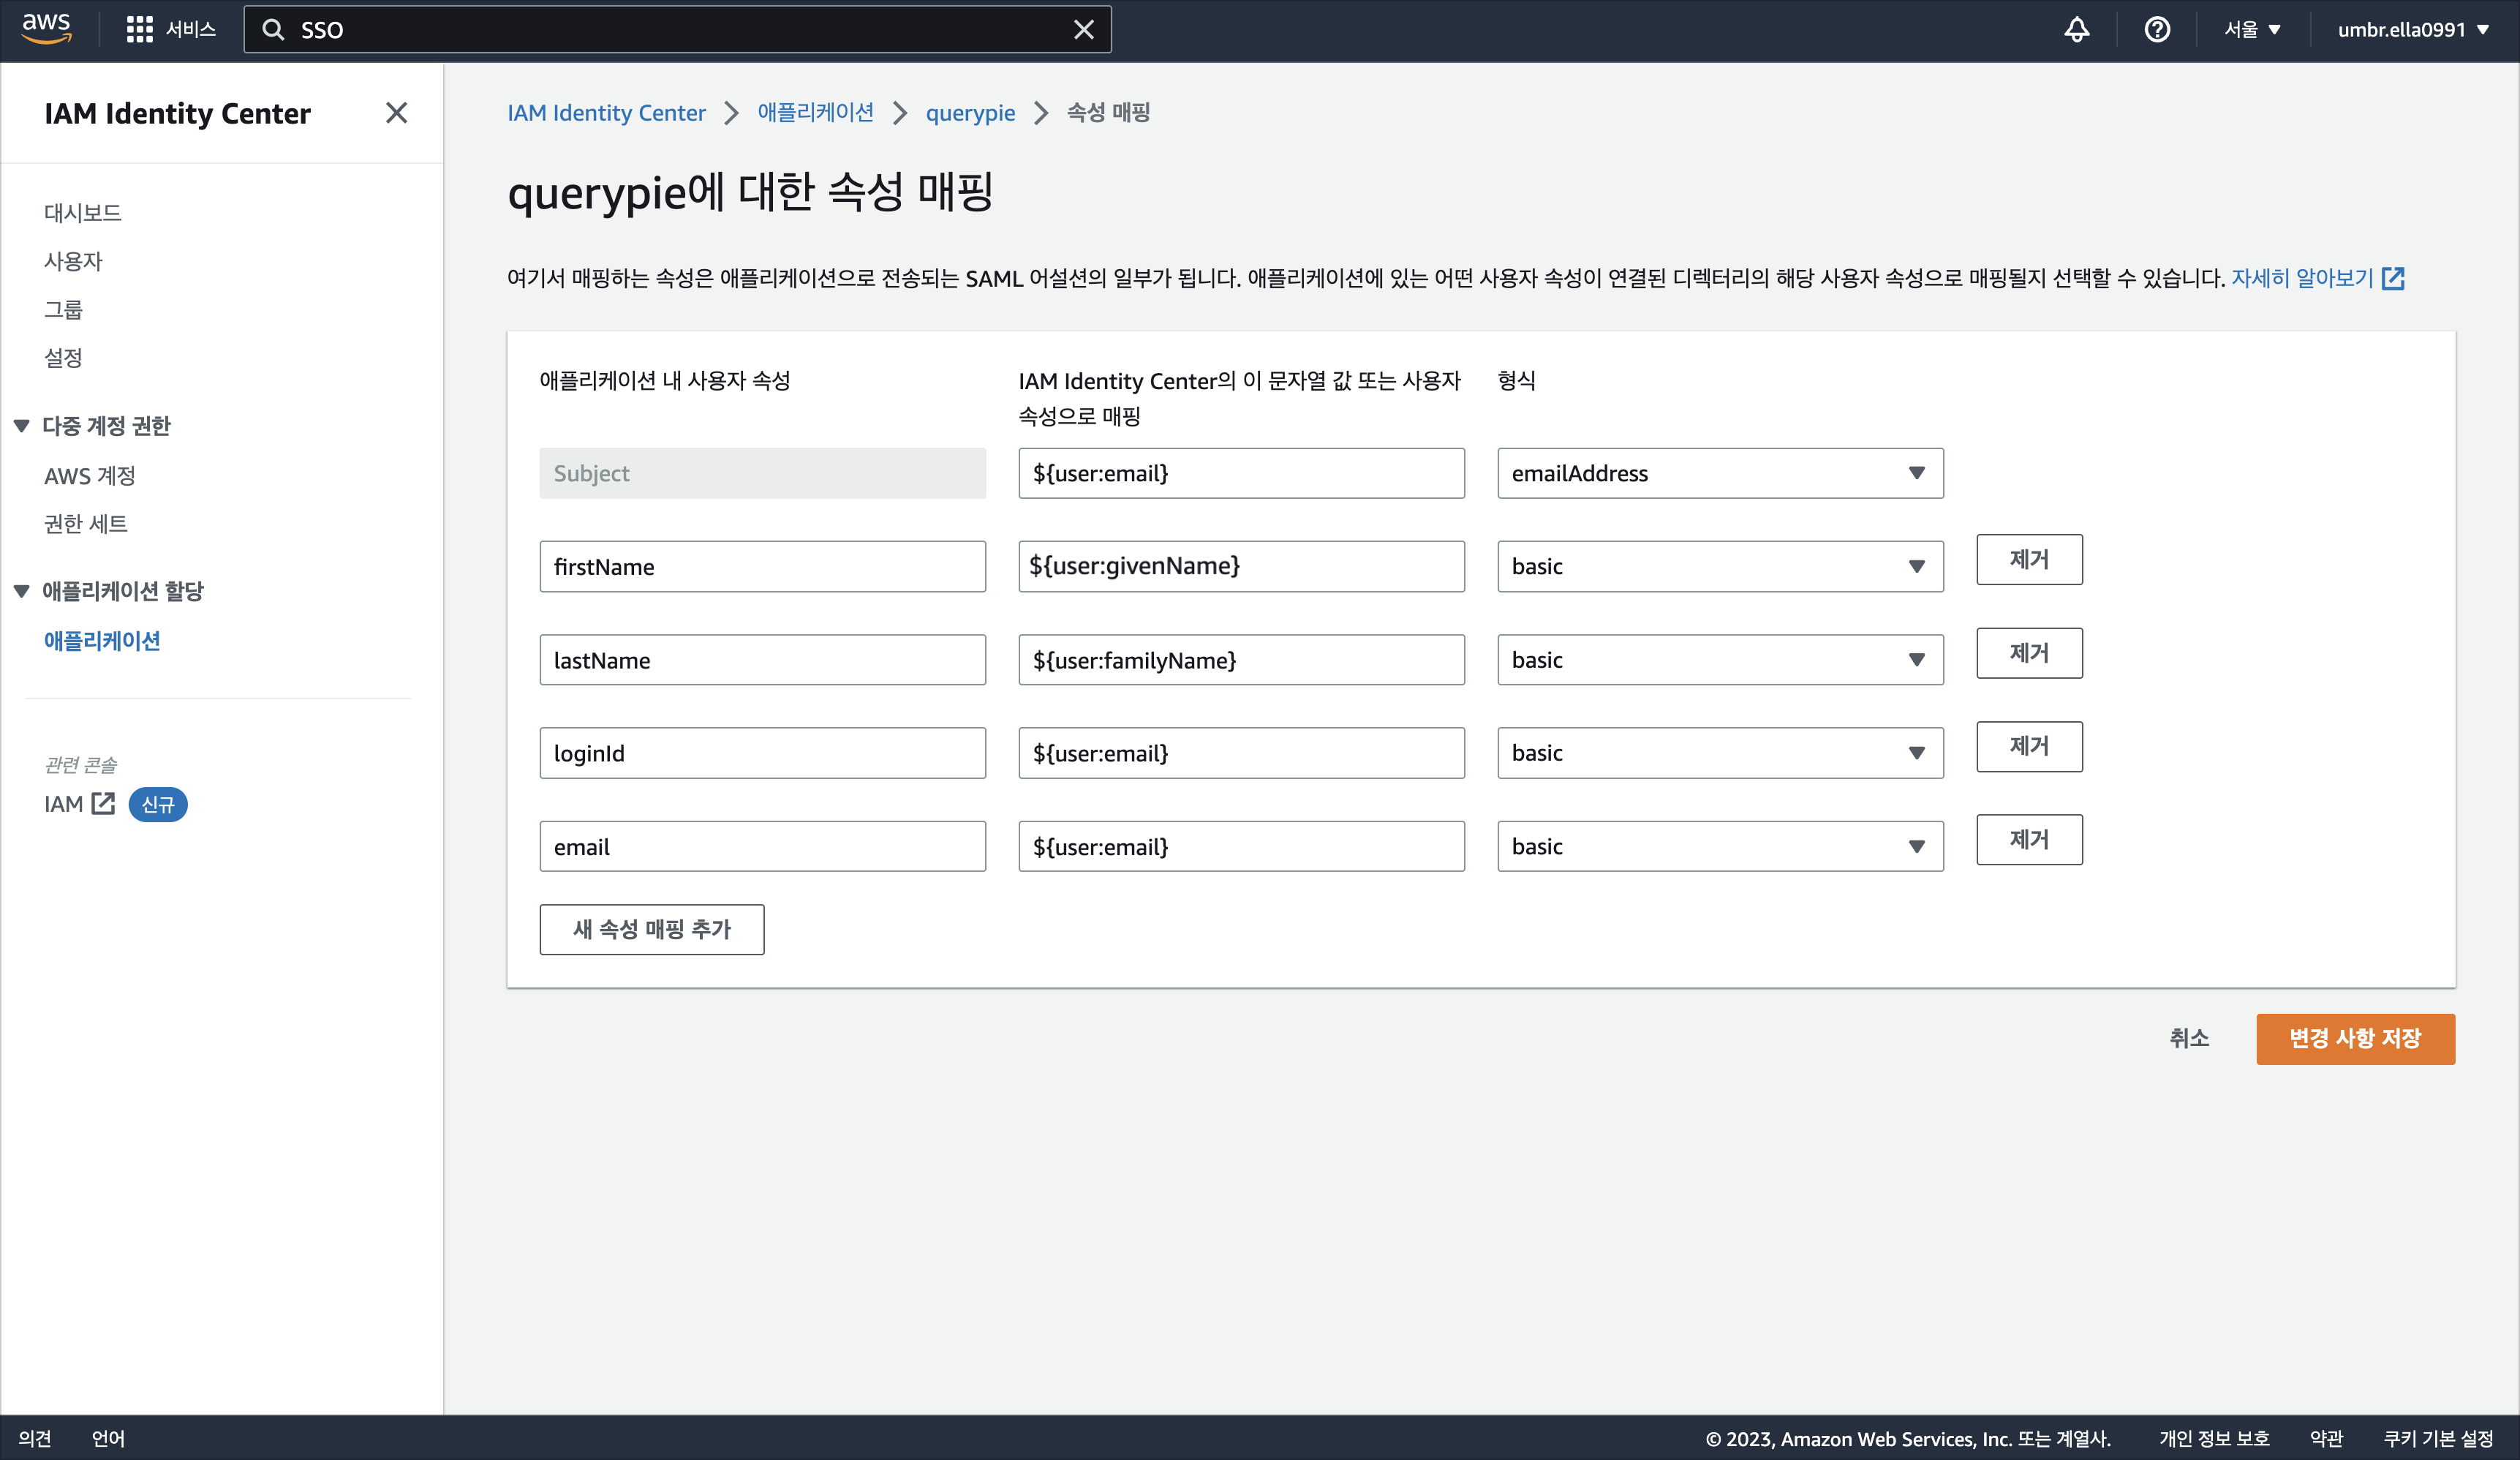
- Go to Actions > Edit Attribute Mapping in the top right corner of the created application.
- Enter the following values referring to the screenshot above for user attributes within the application and mapping values and formats.
| User Attributes within Application | Map to String Value or User Attribute of IAM Identity Center | Format |
|---|---|---|
| Subject | ${user:email} | emailAddress |
| firstName | ${user:givenName} | basic |
| lastName | ${user:familyName} | basic |
| loginId | ${user:email} | basic |
${user:email} | basic |
Click the Save Changes button to save.
Configuring AWS IAM Identity Center Integration in QueryPie
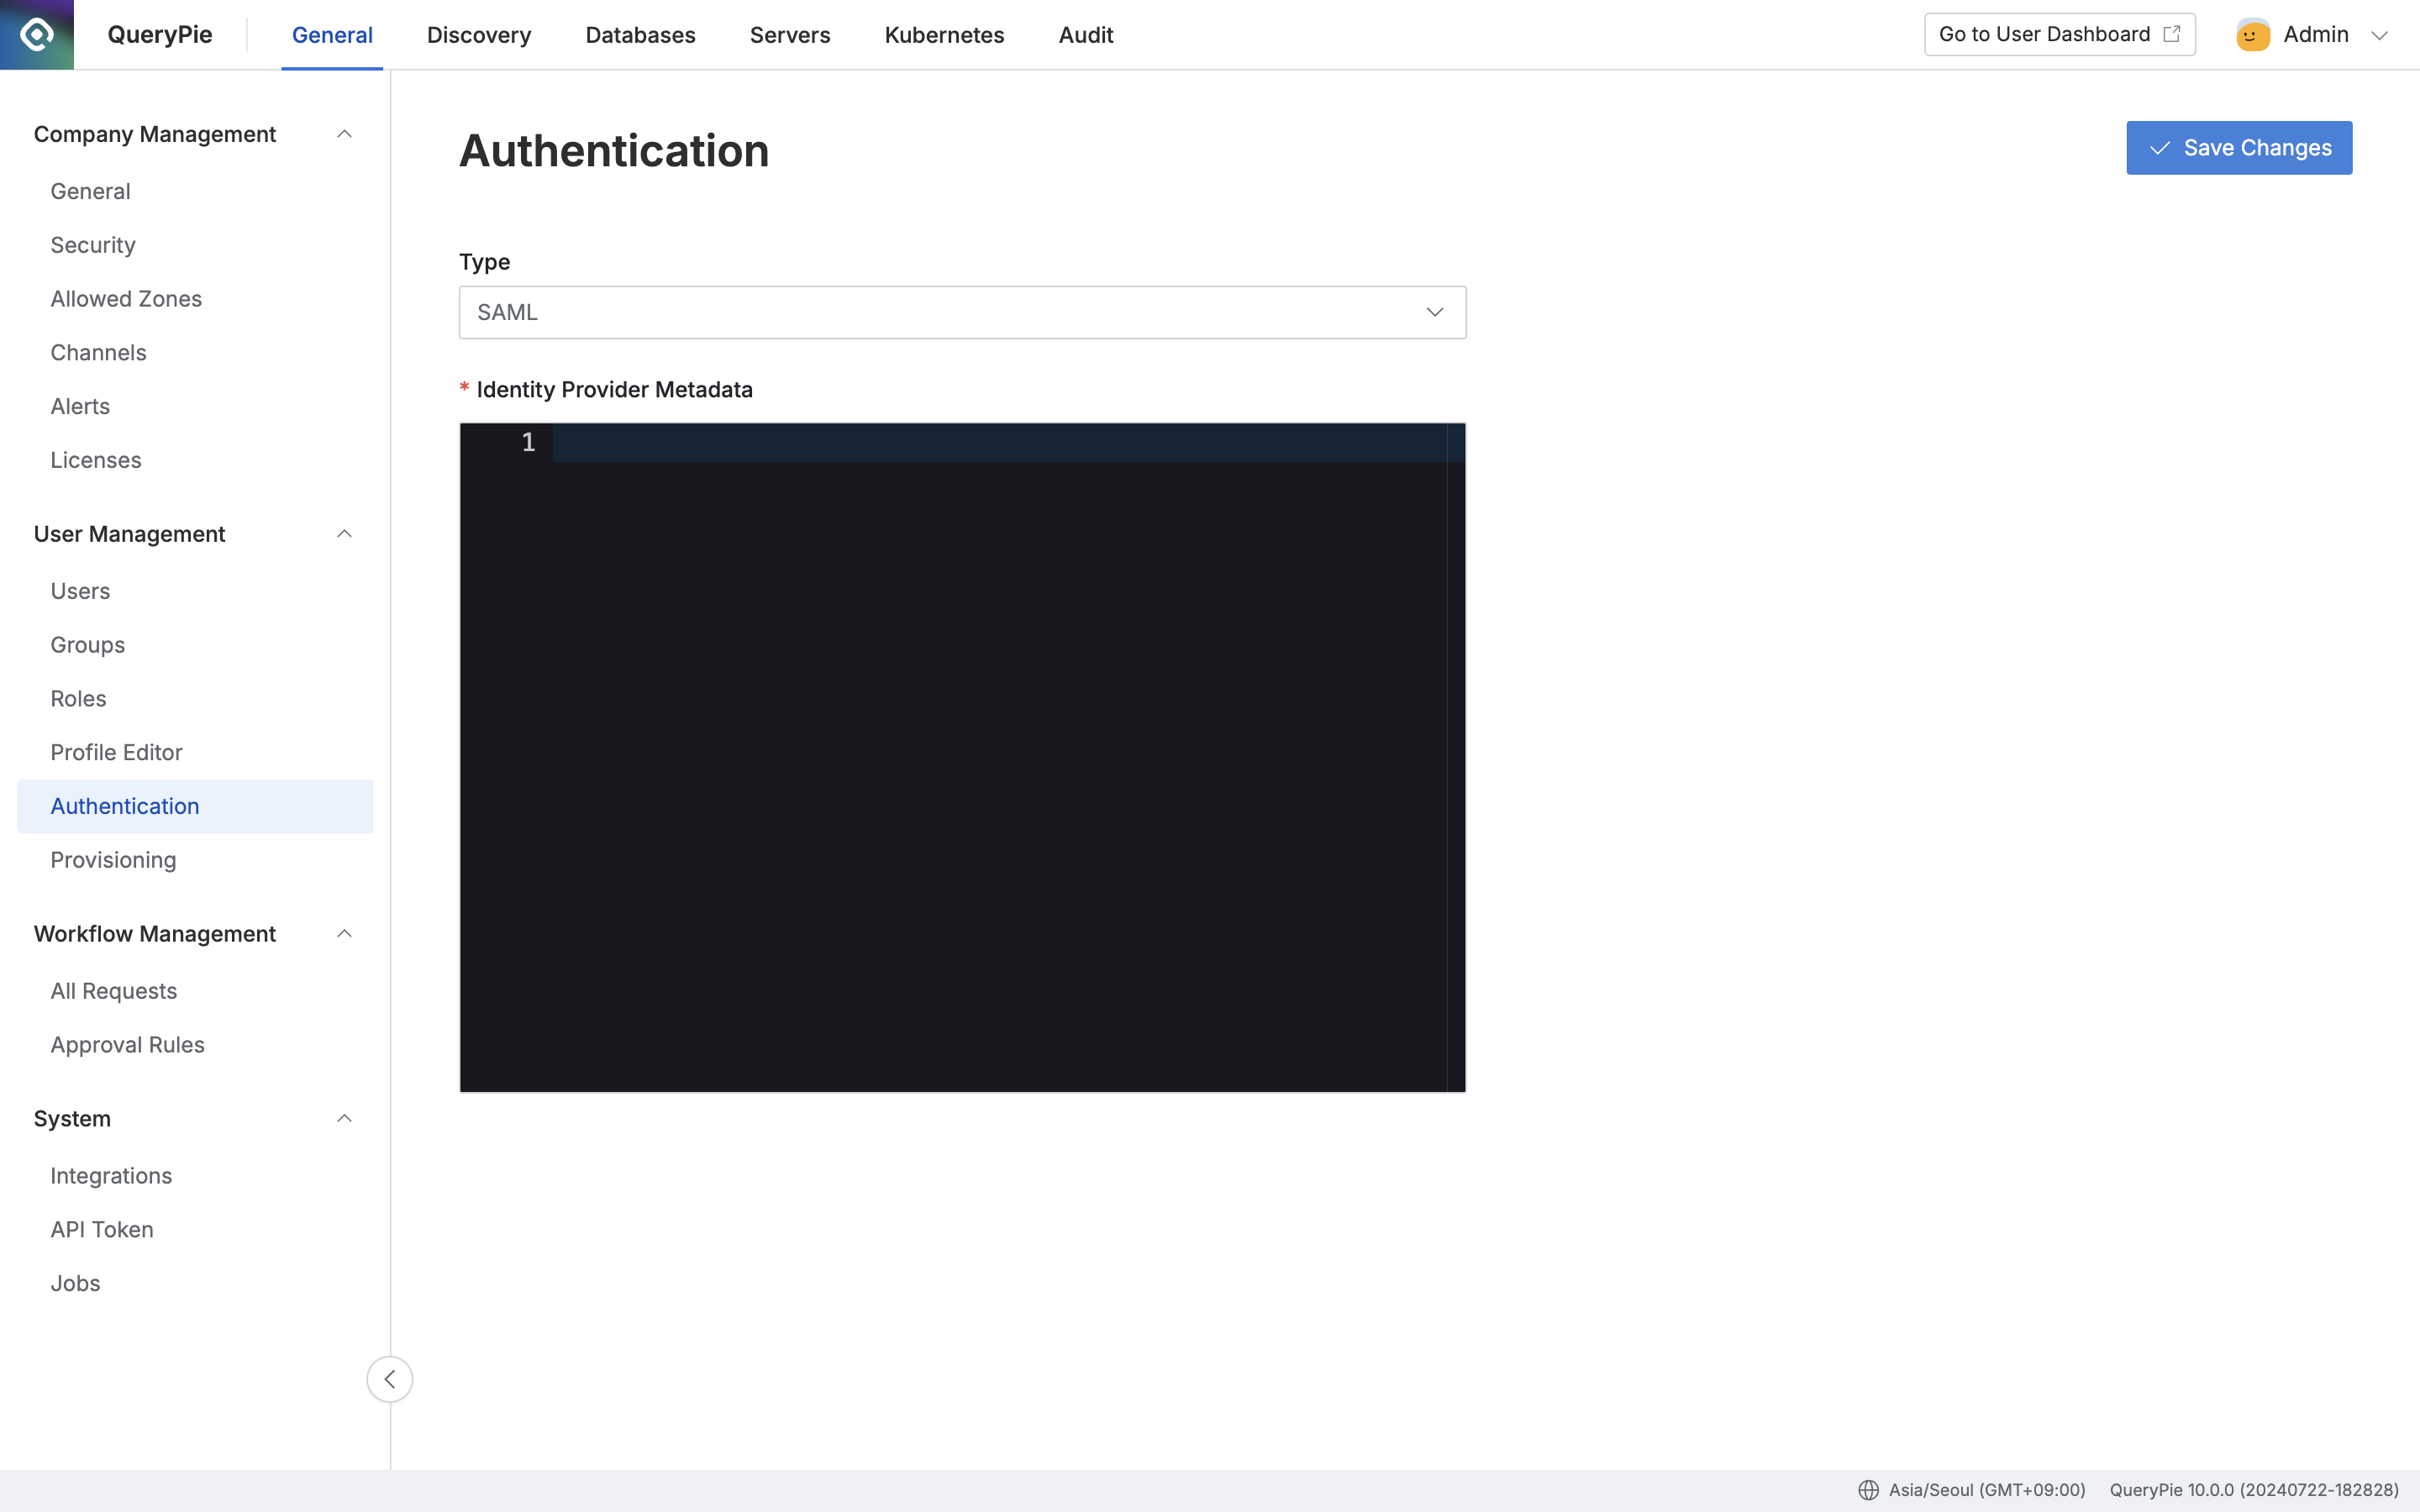
Administrator > General > User Management > Authentication
- Navigate to Administrator > General > User Management > Authentication menu.
- Select SAML in the Authentication Type field.
- Download the IAM Identity Center SAML metadata file from Application > Actions > Edit Configuration screen.
- Paste the downloaded XML information into the Identity Provider Metadata field.
- Click the
Save Changesbutton to save.
SAML Login in QueryPie

Now you can authenticate with AWS and log in to QueryPie through the Login with SAML button on the login page.
Last updated on