Custom Attribute
Overview
This document provides guidance on Custom Attribute configuration and management methods.
Creating Custom Attribute
- Click the
+ Create Attributebutton in the top right corner of the attribute list table.
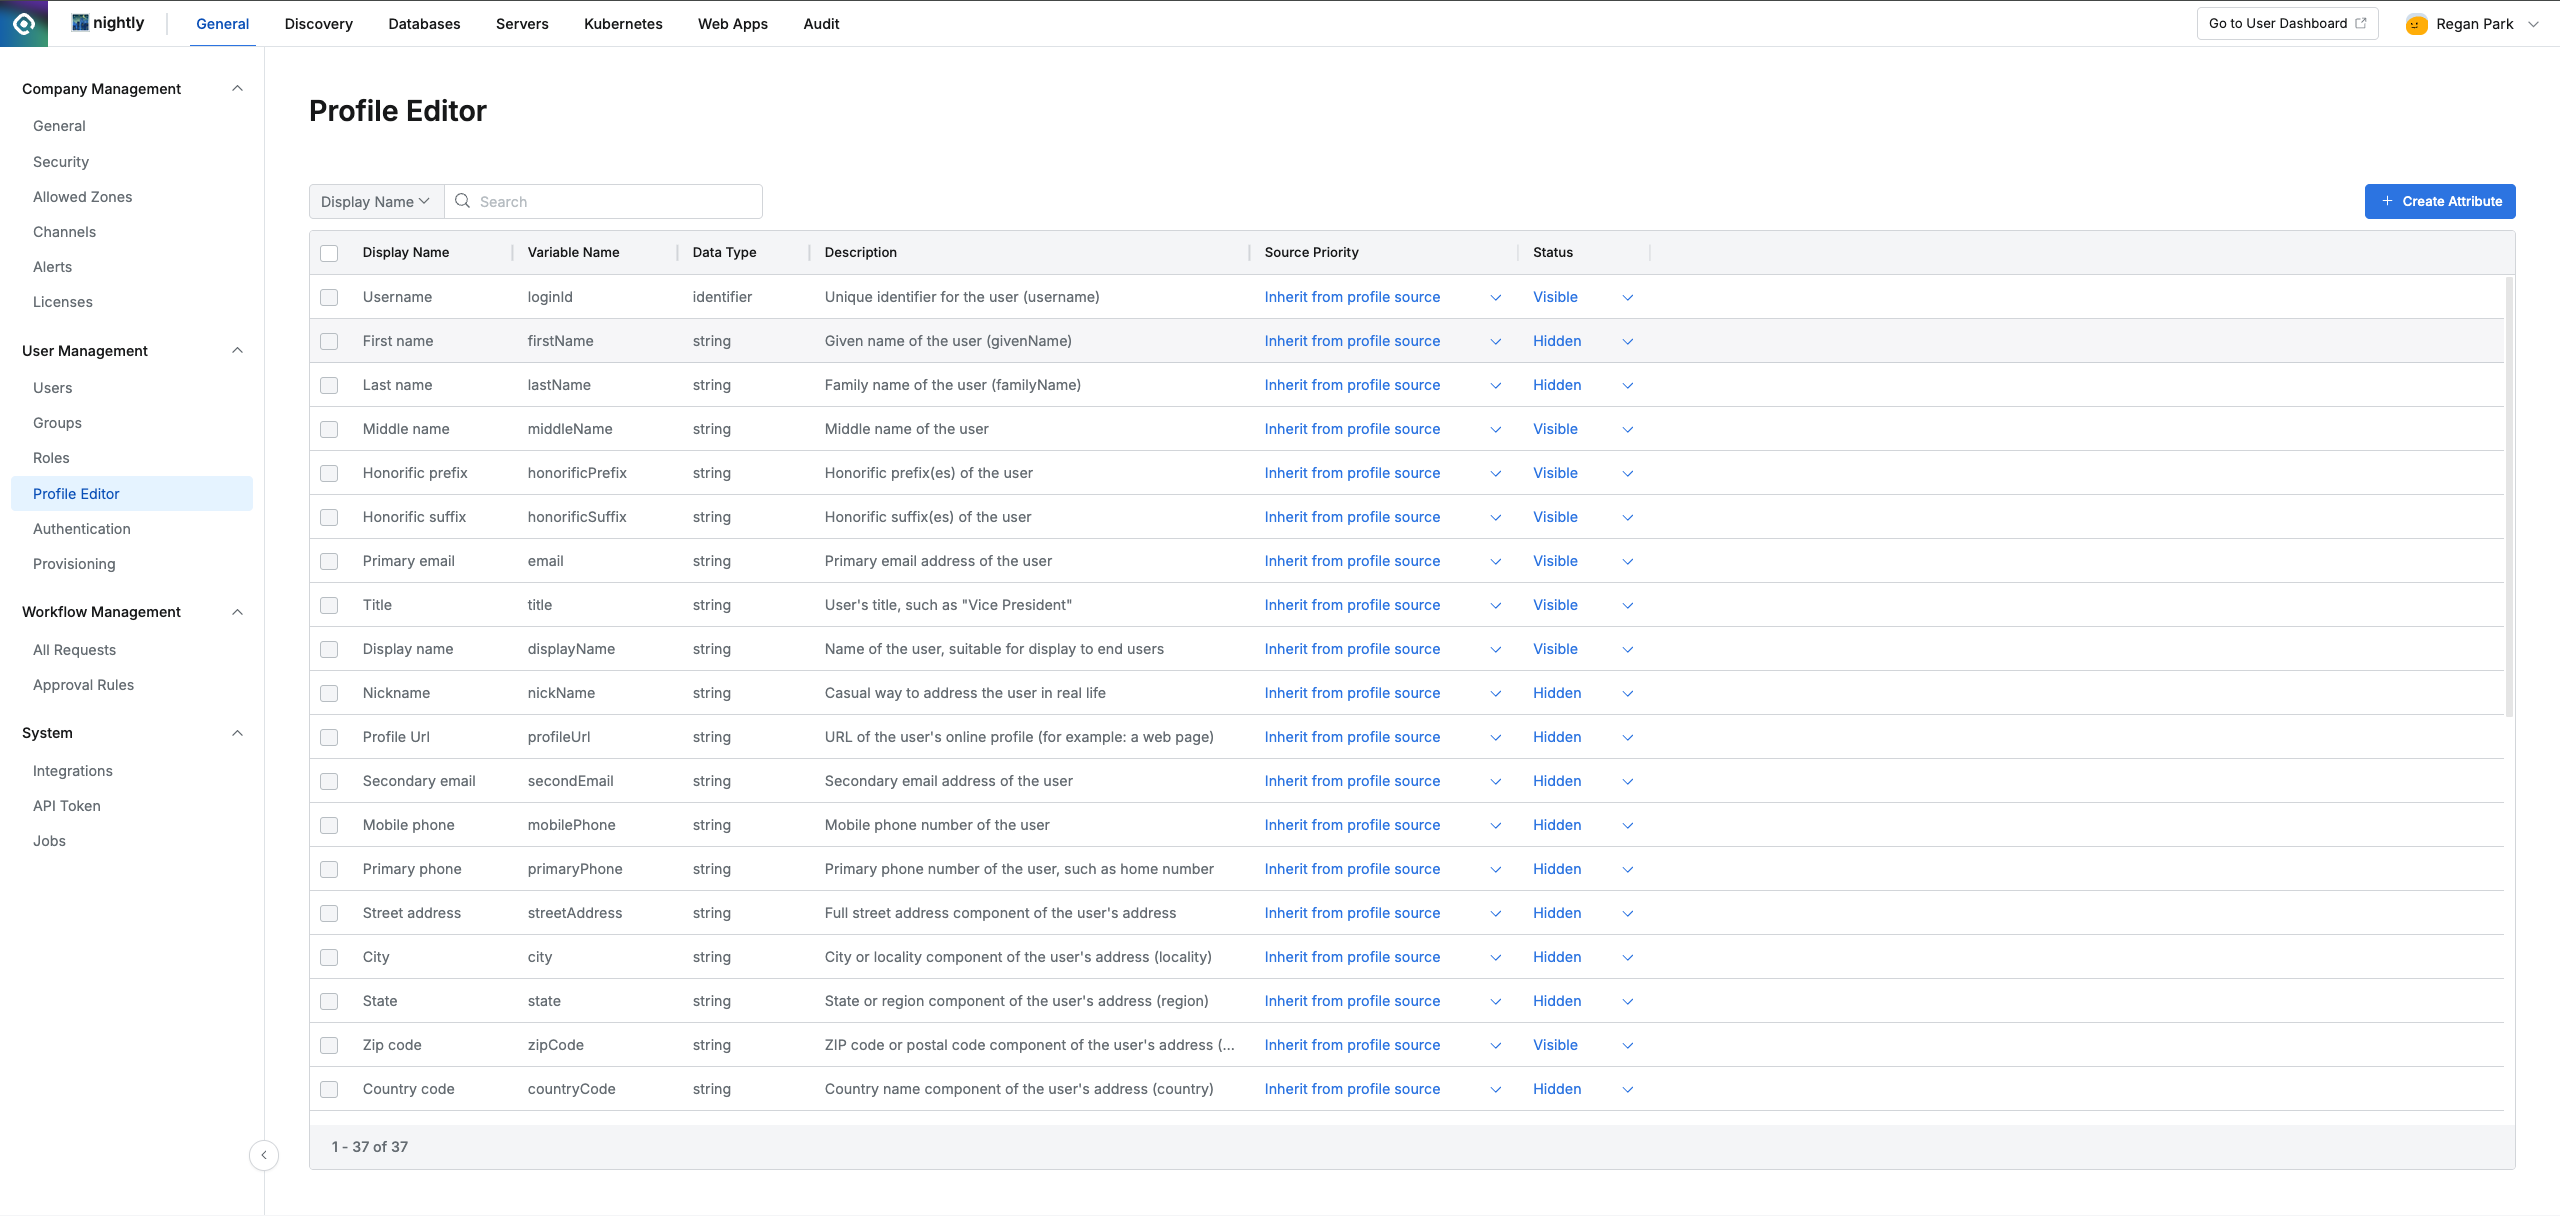
Administrator > General > User Management > Profile Editor
- Enter the items specified below and click the
OKbutton to create a Custom Attribute.
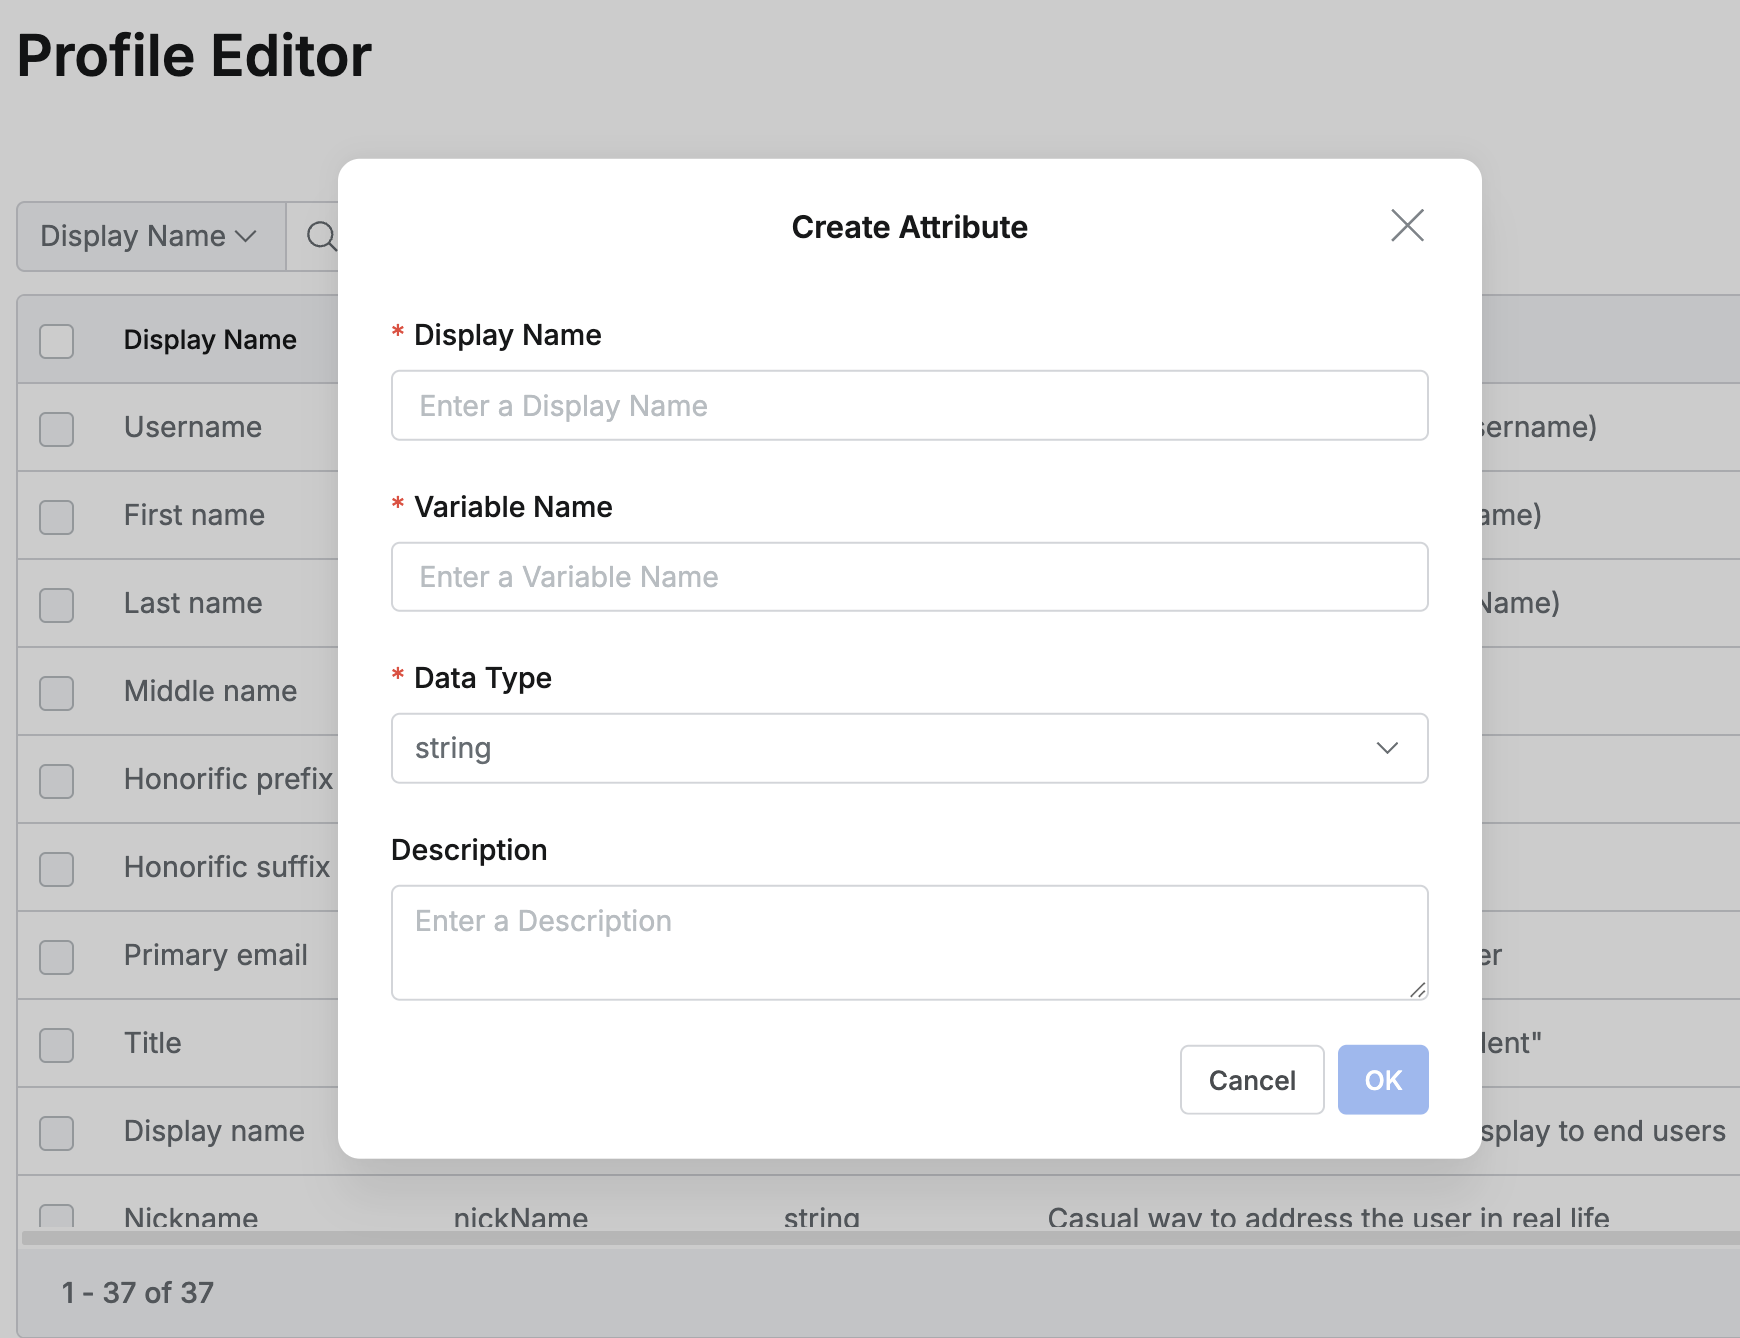
- Display Name (Required): Name of the attribute that cannot be duplicated. Example) Team Leader
- When Display Name is duplicated, the following error message is displayed in a modal.
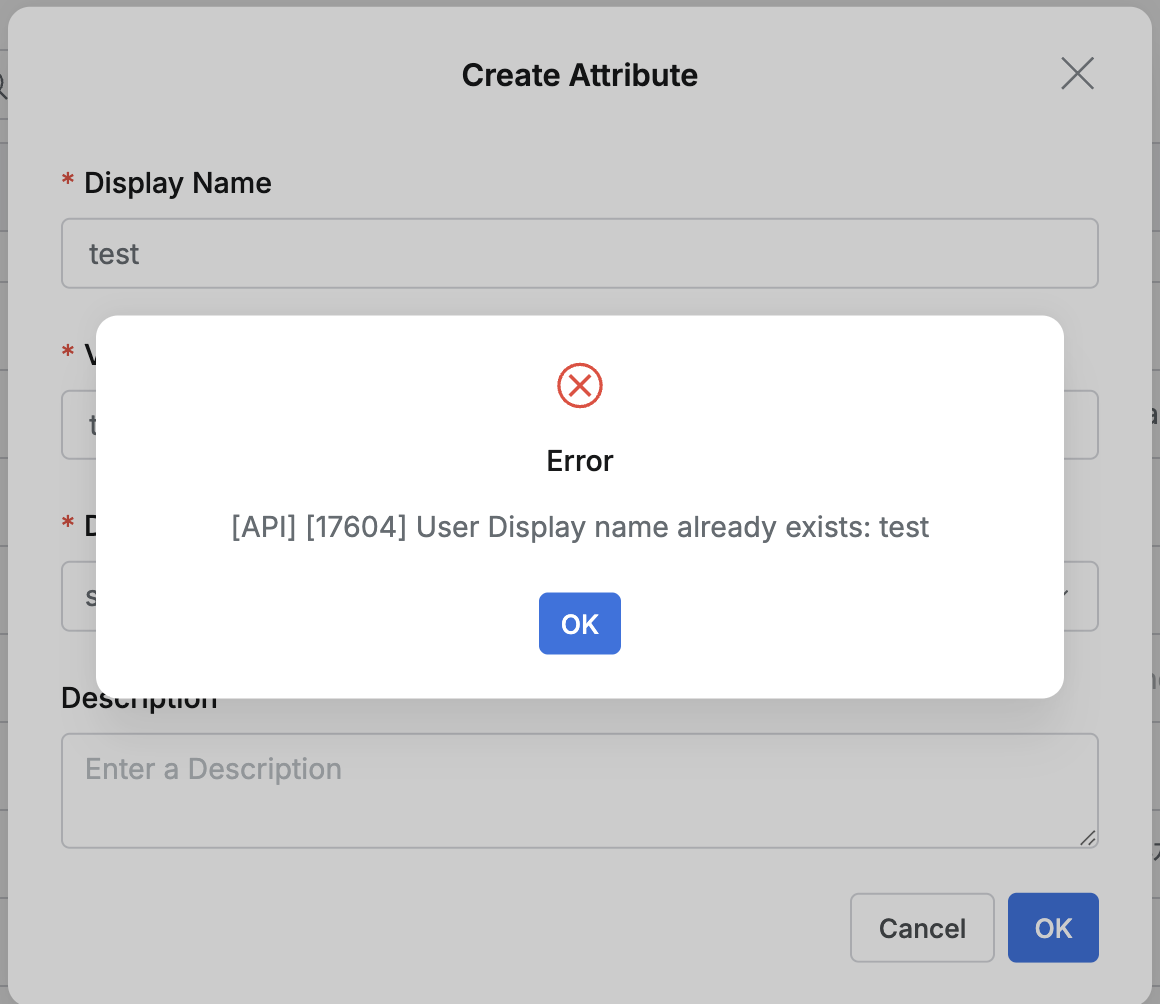
- When Display Name is duplicated, the following error message is displayed in a modal.
- Variable Name (Required): Variable name of the attribute that cannot be duplicated. Example) teamLeader
- When Variable Name is duplicated, the following error message is displayed in a modal.
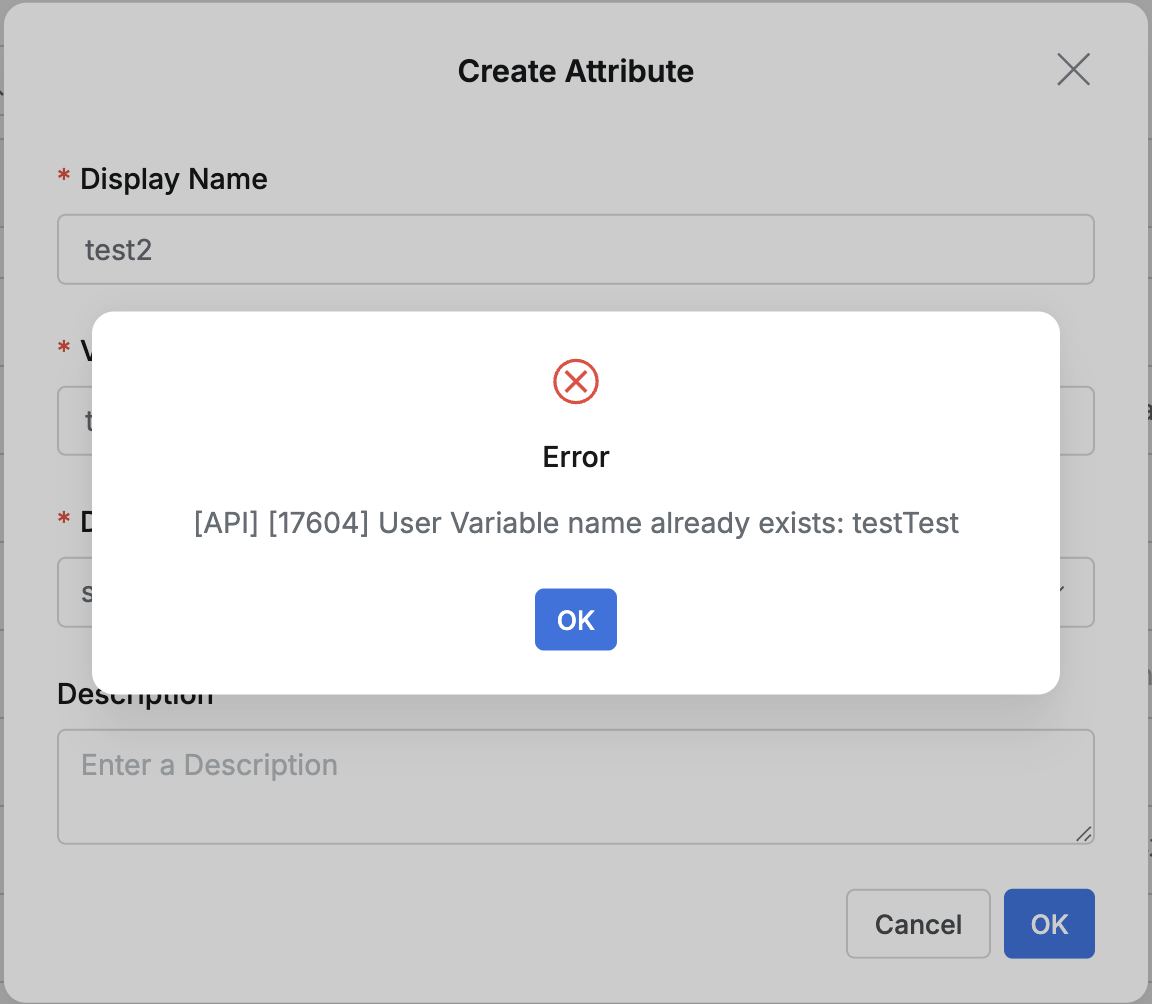
- When Variable Name is duplicated, the following error message is displayed in a modal.
- Datatype (Required): Select the data type of the attribute value.
- string: General text (string) value. (Example: “Marketing Team”)
- number: Numeric value. (Example: 100)
- string array: Multiple text values in list format. (Example: [“variable1”, “variable1”])
- identifier: Unique identifier pointing to other objects (mainly LoginID) within the system
- Description (Optional): Description of the attribute.
- Default settings when creating:
- Source Priority : inherit from profile source (default)
- Status : Visible (default)
Modifying Custom Attribute
- Modifiable items:
- Display Name
- Description
- Source Priority
- Status
- Non-modifiable items:
- Variable Name
- Data Type
- Modification method:
- Display Name, Description: Click on the corresponding Custom Attribute in the Profile Editor table to open the detail modal and modify.
- Source Priority, Status: Can be modified directly inline in the corresponding Custom Attribute row of the Profile Editor table.
- Limitations:
- Custom Attributes linked with IdP cannot be modified.
- When Custom Attribute is being used in User Attribute-Based Approval within Workflow Approval Rule, the Display Name and Description of that attribute cannot be modified.
Deleting Custom Attribute
- Deletion method:
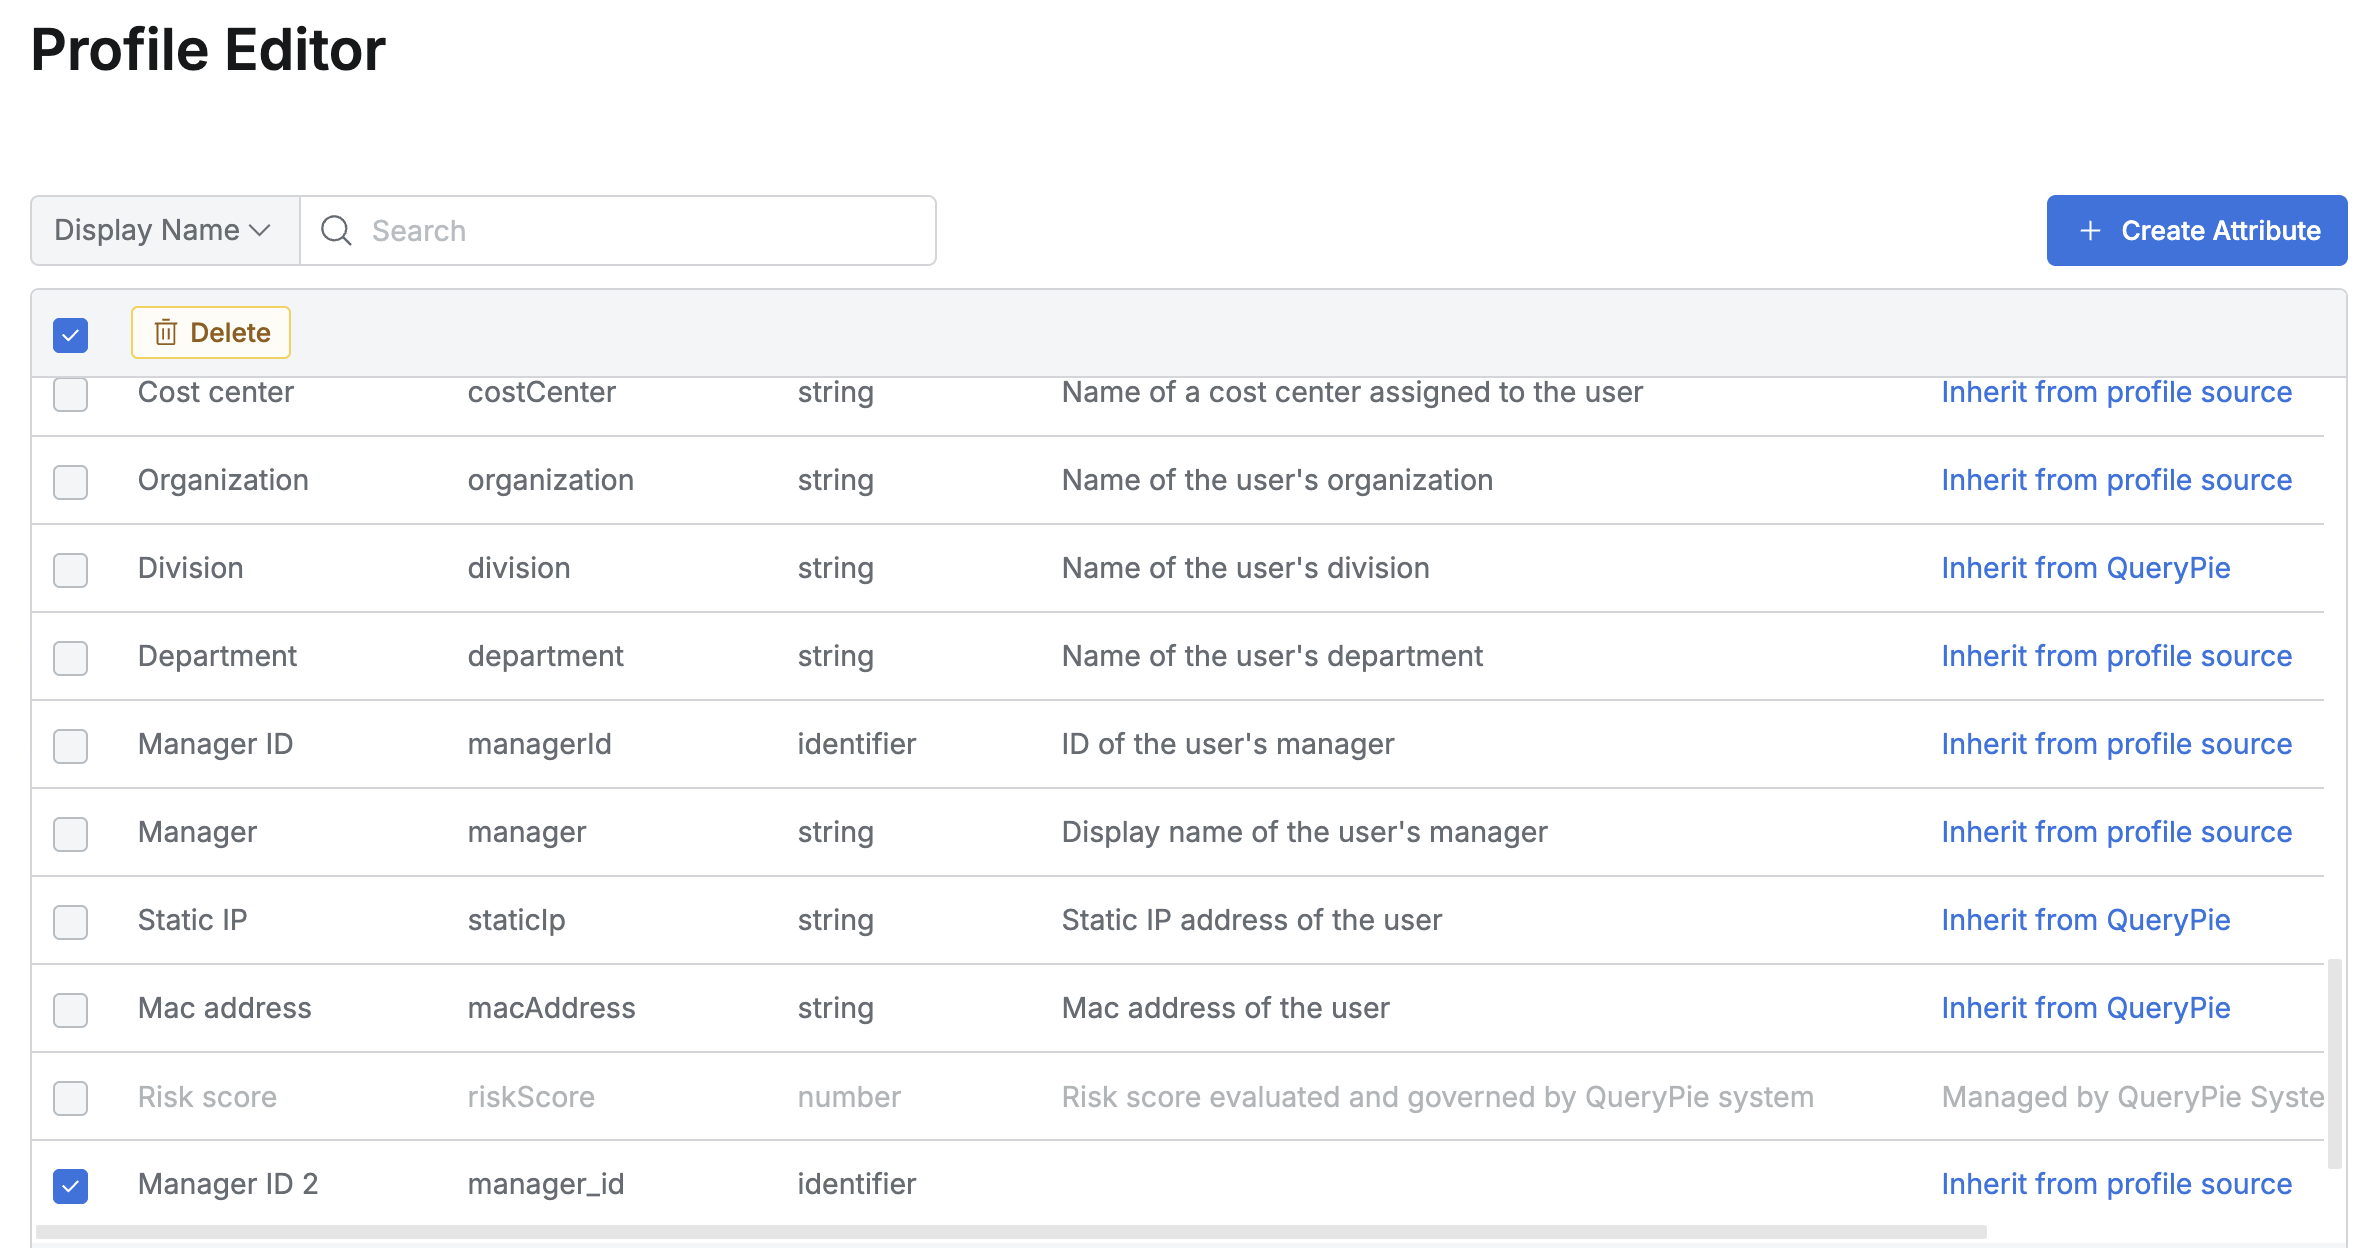
- Select the checkbox of the Custom Attribute item to delete.
- Click the
Deletebutton that appears at the top of the table. - Confirm deletion in the deletion confirmation modal window.
- Non-deletable targets:
- Basic Attributes built into the QueryPie system (e.g., Username, Primary email, etc.)
- Custom Attributes linked with IdP
- Custom Attributes being used in User Attribute-Based Approval within Workflow Approval Rule
- Checkboxes for the above items are disabled and cannot be selected.
Last updated on