[Okta] Provisioning Integration Guide
This guide explains how to implement SCIM integration between QueryPie and Okta using Okta’s App Integration Wizard (AIW). Since QueryPie’s SCIM functionality is built based on RFC 7643 to comply with the SCIM 2.0 basic specification, when integrating with other Identity Providers, please follow this guide to collect the necessary information from QueryPie and proceed with the integration.
Prerequisites
- You need to subscribe to the Lifecycle Management (LCM) license for the Okta IAM service.
- You need permissions to access the Okta Admin Console to create apps and assign users/groups to apps.
- Minimum required permissions
- User
- Edit users’ application assignments
- Group
- Edit groups’ application assignments
- Application
- Manage applications
- User
- Minimum required permissions
- Refer to the https://help.okta.com/en-us/content/topics/security/ip-address-allow-listing.htm page for the Okta IP range allowlist to identify the IP ranges for your tenant and allow inbound traffic exceptions in advance.
- QueryPie must be installed with a license.
- You need an account with Owner/Application Admin Role permissions in QueryPie.
- You must complete the Activating Provisioning step first.
If you plan to configure outbound user synchronization using the Okta API, please follow the procedures in Integrating with Okta instead. Please note that enabling it simultaneously with SCIM may affect user synchronization.
Integration Steps
Once all the prerequisites above are completed, perform the SCIM integration in the following order.
Create an Okta custom SCIM app
Okta Admin Console > Applications > Applications > Create App Integration > SAML 2.0 > Configure SAML
- Access the Okta service and sign in with an admin account.
- Click the
Adminbutton in the top right to access the Admin Console. - In the left panel of the Okta admin page, go to Applications > Applications.
- Click the
Create App Integrationbutton. - For custom SCIM integration, select SAML 2.0 as the Sign-in method and click the
Nextbutton. - In the General Settings step, define the values in General Settings appropriately and click the
Nextbutton at the bottom.- App name: Enter an identifiable application name.
- App logo: Upload a logo that users can identify.
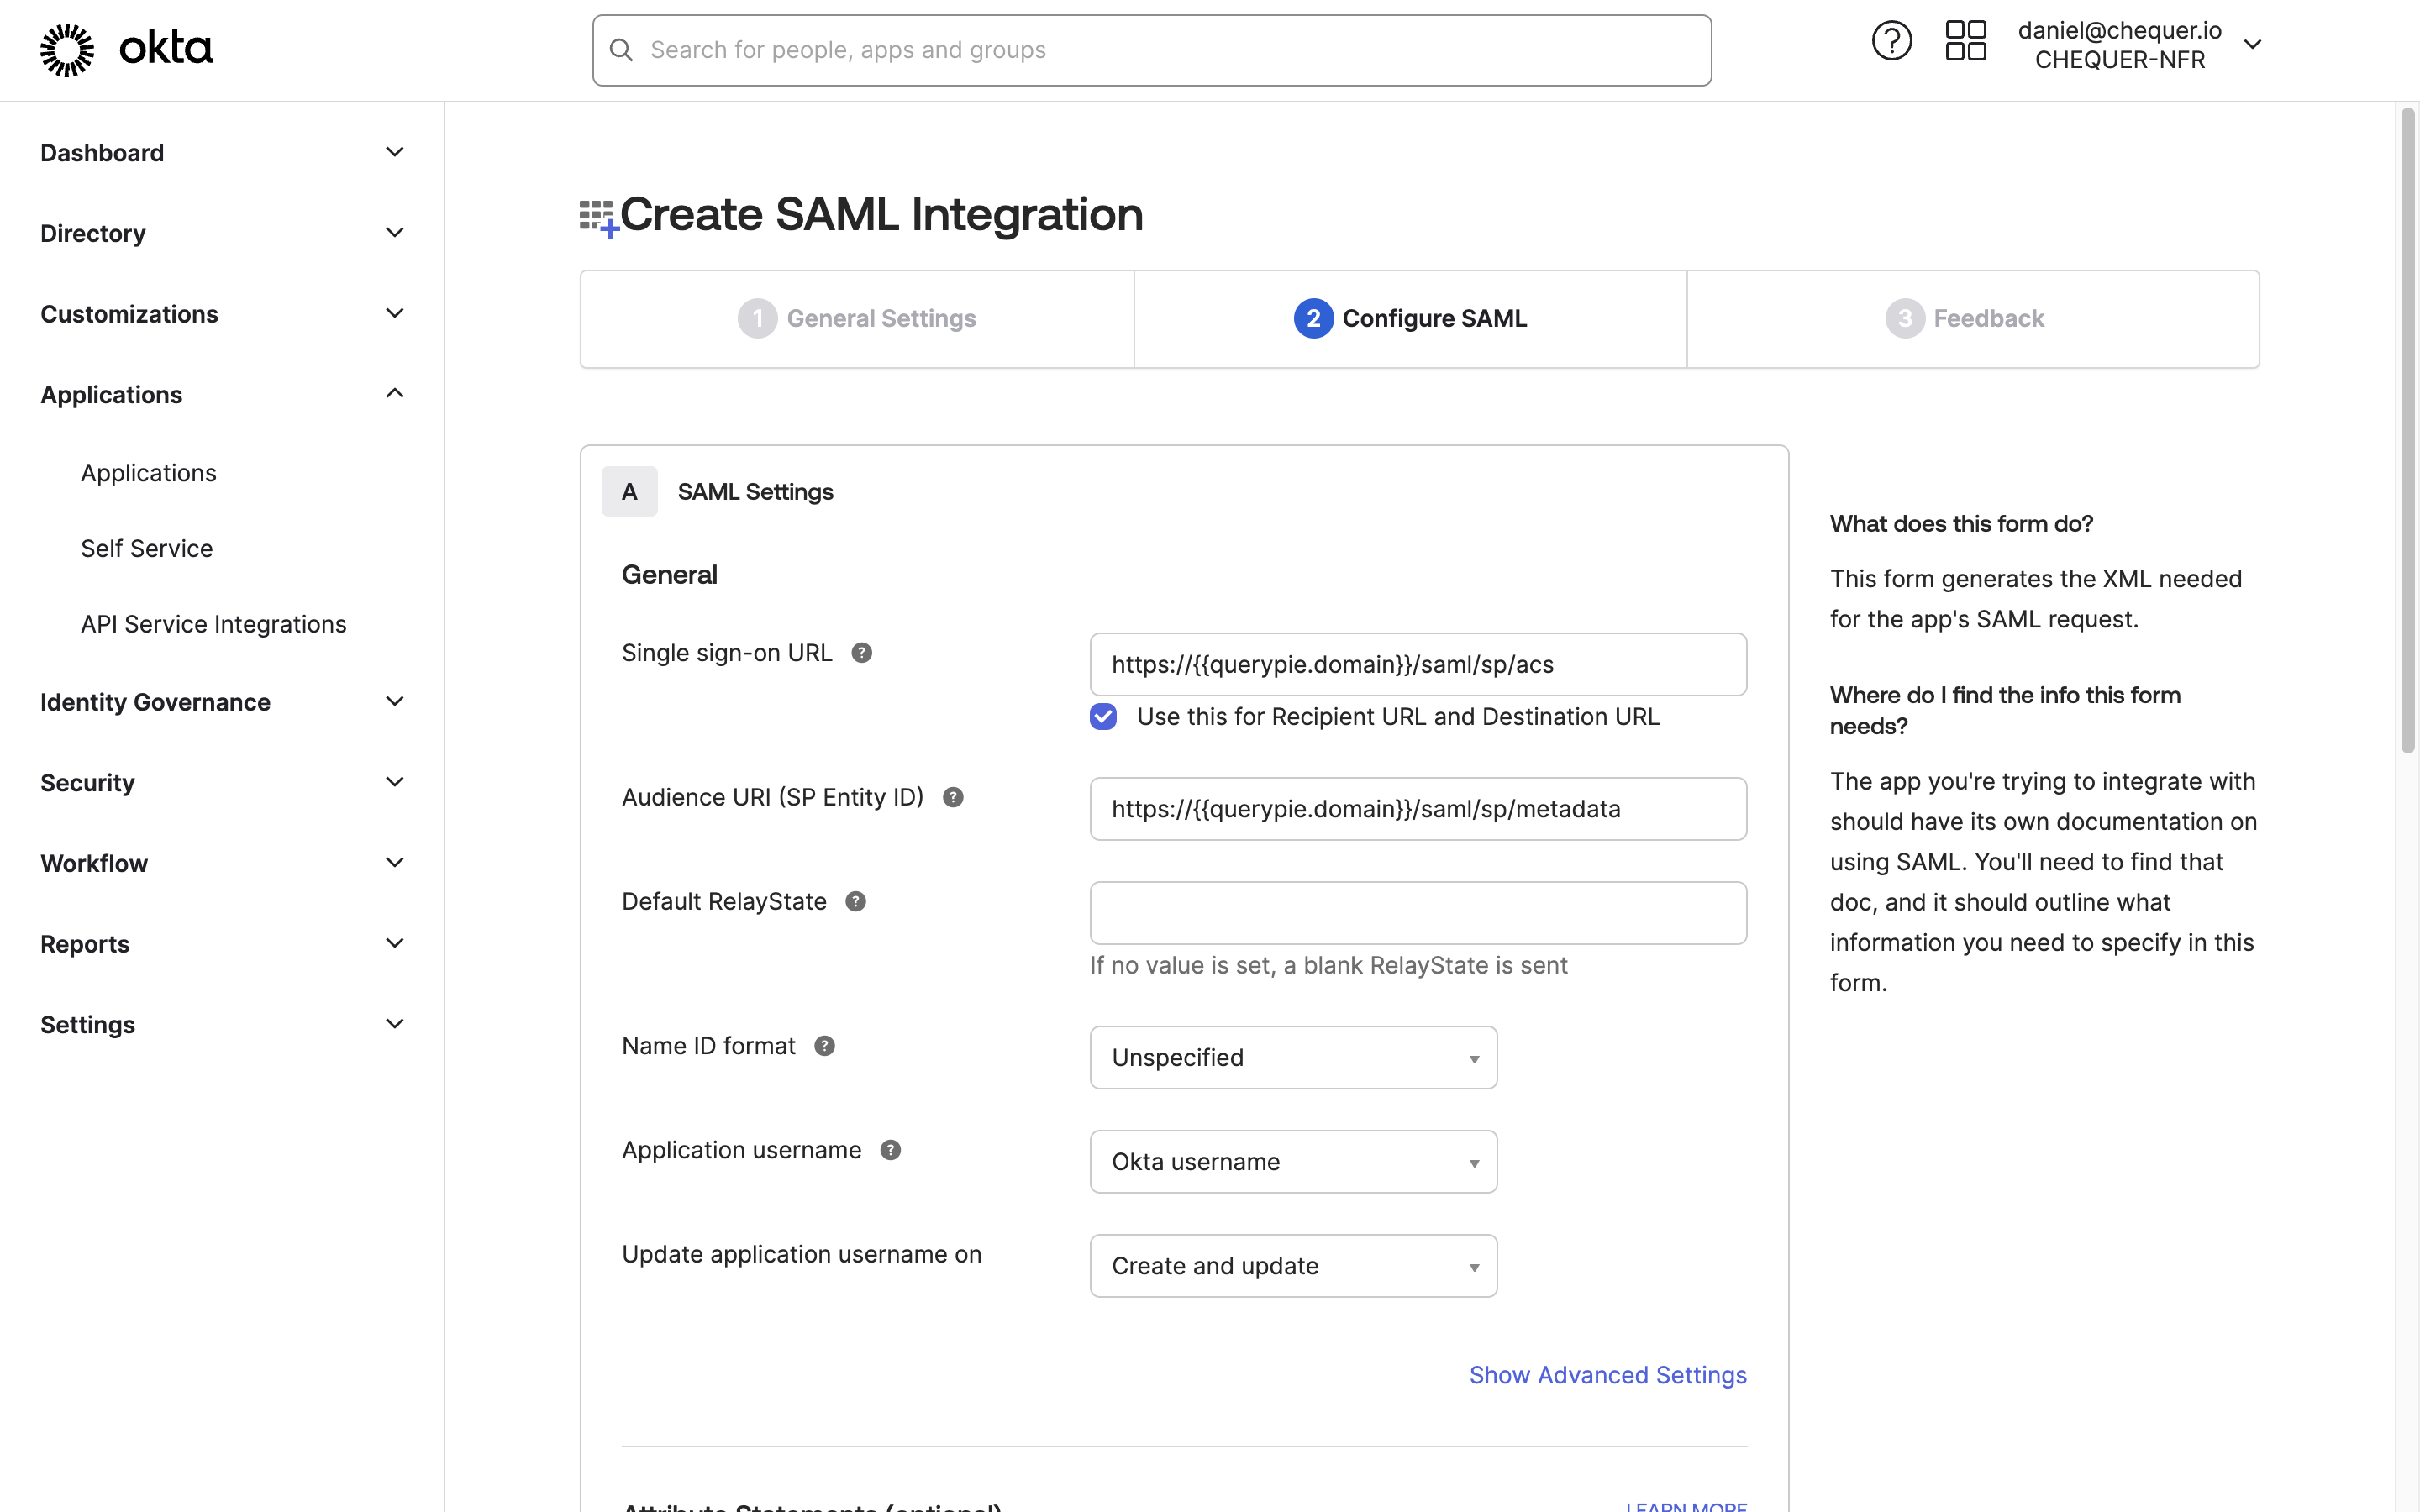
- In the Configure SAML step, define the values in SAML Settings appropriately and click the
Nextbutton at the bottom.- Single sign-on URL: https://
{{querypie.domain}}/saml/sp/acs - Audience URI (SP Entity ID): https://
{{querypie.domain}}/saml/sp/metadata - Attribute Statements (optional): Enter the required QueryPie URL attributes as follows:
- Name: firstName
Name format: Unspecified
Value: user.firstName - Name: lastName
Name format: Unspecified
Value: user.lastName - Name: email
Name format: Unspecified
Value: user.email - Name: loginId
Name format: Unspecified
Value: user.login
- Name: firstName
- Single sign-on URL: https://
- In the Feedback step, select
I'm an Okta customer adding an internal appand click theFinishbutton at the bottom. - After the Application is created, go to the General tab at the top and click the
Editbutton on the right of the App Settings menu. - Select SCIM for the Provisioning field and click the
Savebutton. - Complete SSO integration by following Integrating with Okta | Setting QueryPie Application Integration Information in Okta and Integrating with Okta | Configuring Okta Integration and Synchronization in QueryPie, then proceed with the following steps.
Okta-QueryPie Provisioning integration
Okta Admin Console > Applications > Applications > Custom SCIM App > Provisioning > Integration
You must complete the Activating Provisioning step first.
- Go to the Provisioning tab of the SCIM App created in Okta.
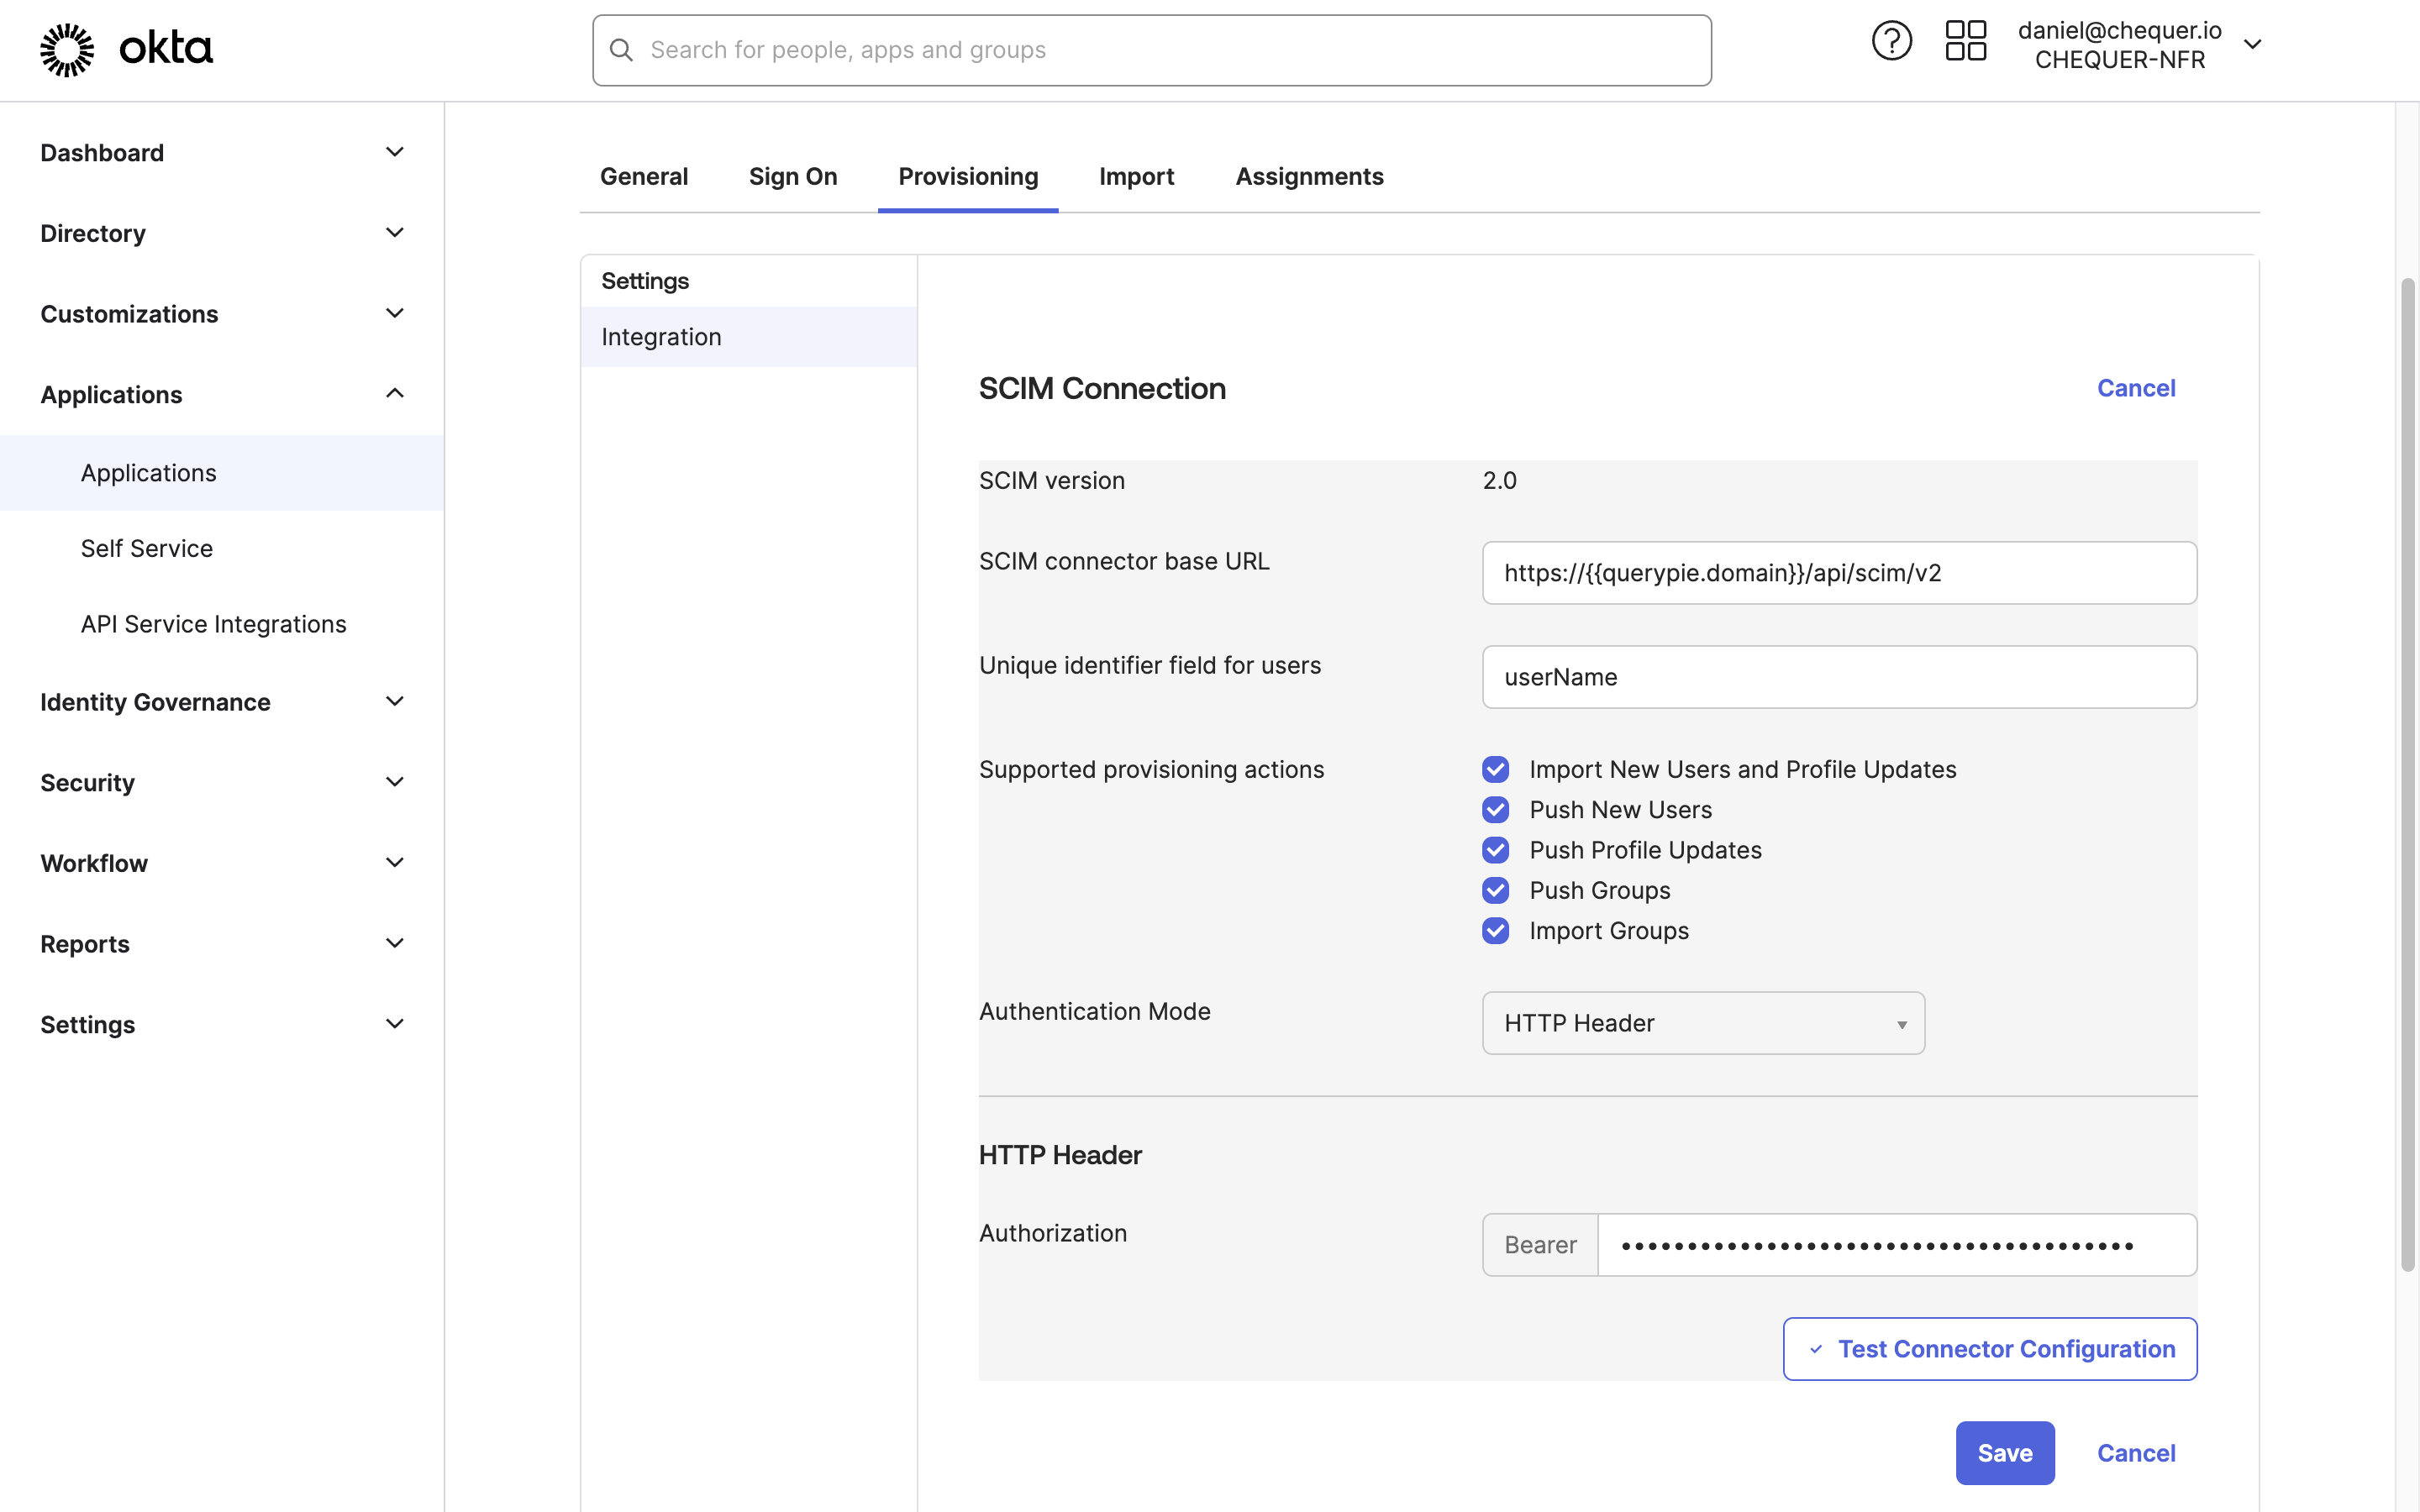
- Click the
Editbutton on the right of SCIM Connection and fill in the following values:- SCIM connector base URL: Insert the SCIM Endpoint value retrieved from QueryPie.
- Unique identifier field for users: “userName”
- Supported provisioning action: Select all five of the following items:
- Import New Users and Profile Updates
- Push New Users
- Push Profile Updates
- Push Groups
- Import Groups
- Authentication Mode: “HTTP Header”
- HTTP Header > Authorization: Insert the SCIM-specific access token value generated in QueryPie.
- Click the Test Connector Configuration button to test the connection.
- When a popup appears with the message “Connector configured successfully”, click the
Closebutton.

- Click the
Savebutton at the bottom to save the connection settings.
Enable and verify SCIM API
Okta Admin Console > Applications > Applications > Custom SCIM App > Provisioning > To App
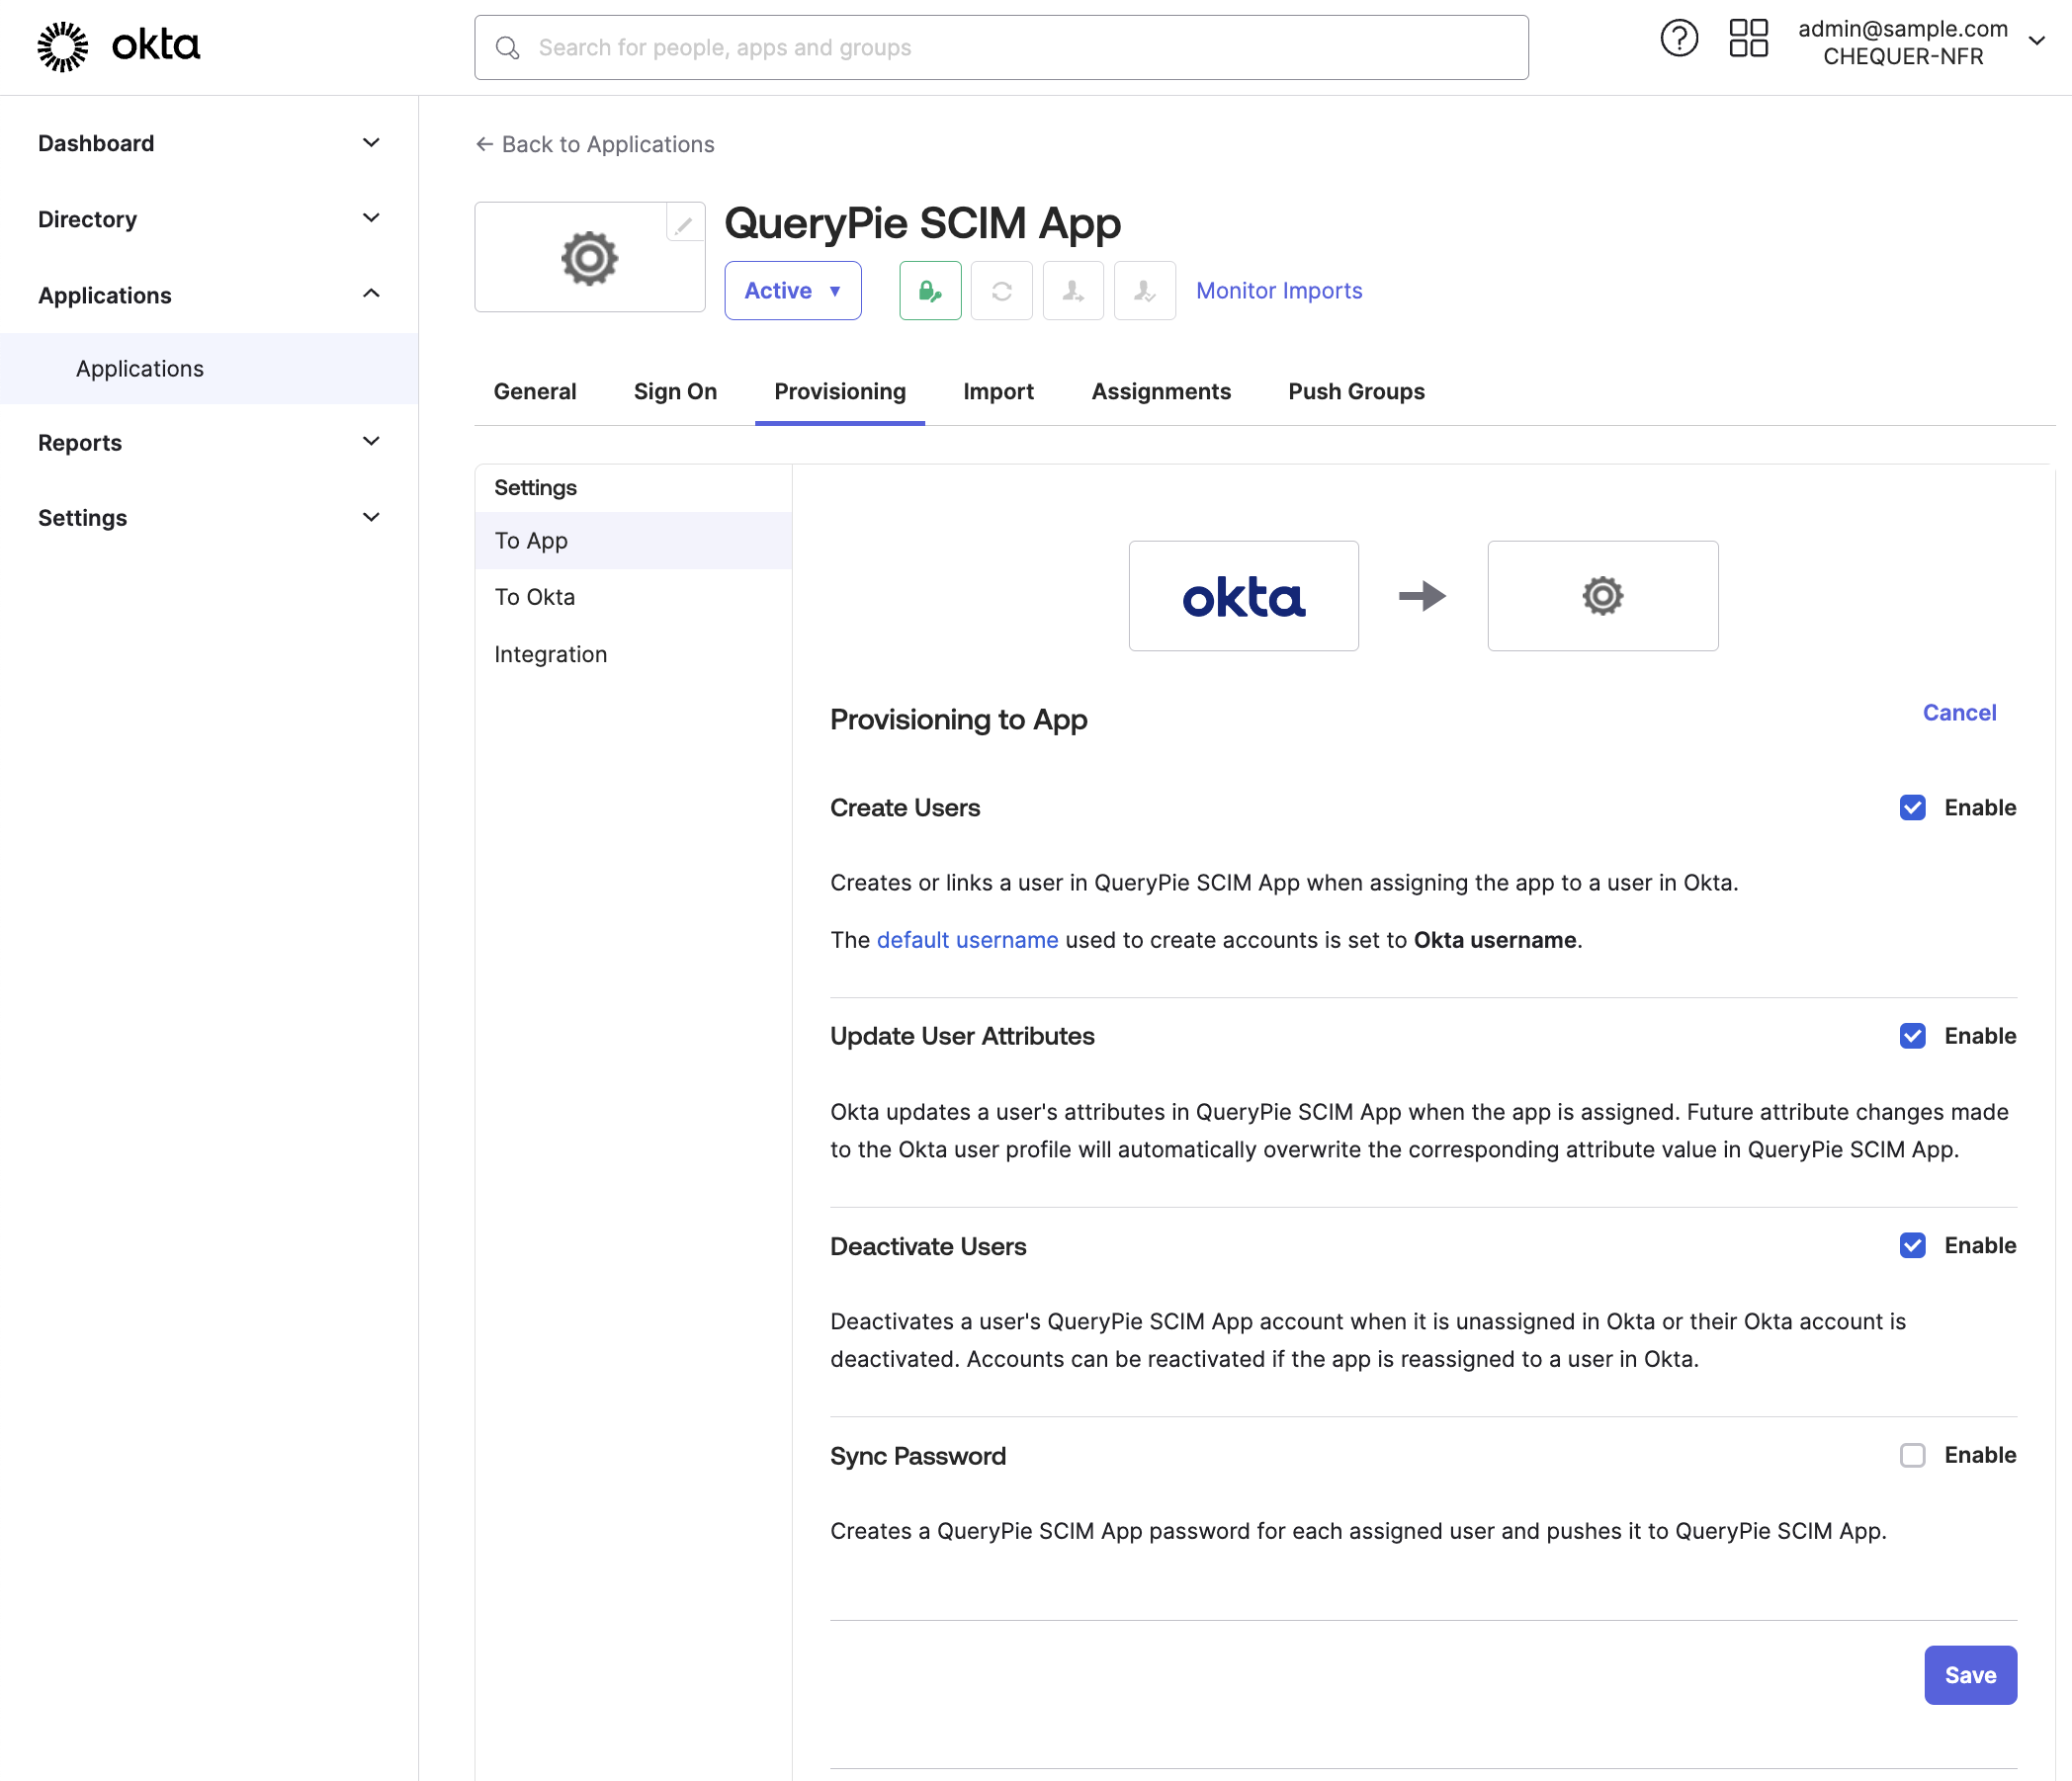
- Go to the To App screen in the Provisioning tab of the SCIM App created in Okta.
- Click the Edit button on the right of Provisioning to App.
- Enable the checkboxes for the following settings and click the Save button to save:
- Create Users: Add users to the app when they are assigned to the app.
- Update User Attributes: Apply user profile updates to the app when they occur.
- Deactivate Users: Deactivate users in the app when they are deactivated.
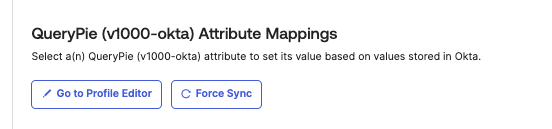
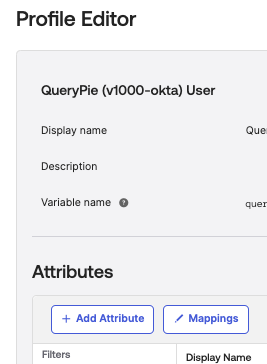
- Click the
Go to Profile Editorbutton under QueryPie SCIM App Attribute Mappings. - Click the
Mappingsbutton under Attributes. - Go to the tab labeled “Okta User to
{App name you defined}” among the two tabs at the top of the popup. - Map the items according to your settings and click the
Save Mappingsbutton at the bottom. - Click the
Apply updates nowbutton at the bottom.
How to additionally synchronize some attributes
Some attribute items in the QueryPie Profile, such as staticIp and macAddress, are not imported in the default settings of SCIM Integration.
Some attribute items in the QueryPie profile, such as staticIp and macAddress, are not separately imported during SCIM Integration. These attributes are:
- secondEmail
- mobilePhone
- postalAddress (It is added as “formatted” to comply with the SCIM schema, so you can map that item.)
- staticIp (QueryPie-specific custom attribute)
- macAddress (QueryPie-specific custom attribute)
If you need to sync these attribute information together, you can add Custom Attributes in IdP such as Okta and map them for synchronization.
[Example: Setting Custom Attributes in Okta]
- Click
Go to Profile Editorunder Provisioning > To App in the SCIM app’s Provisioning tab.
- Click the
Add Attributebutton.
- Register a new attribute needed for synchronization.
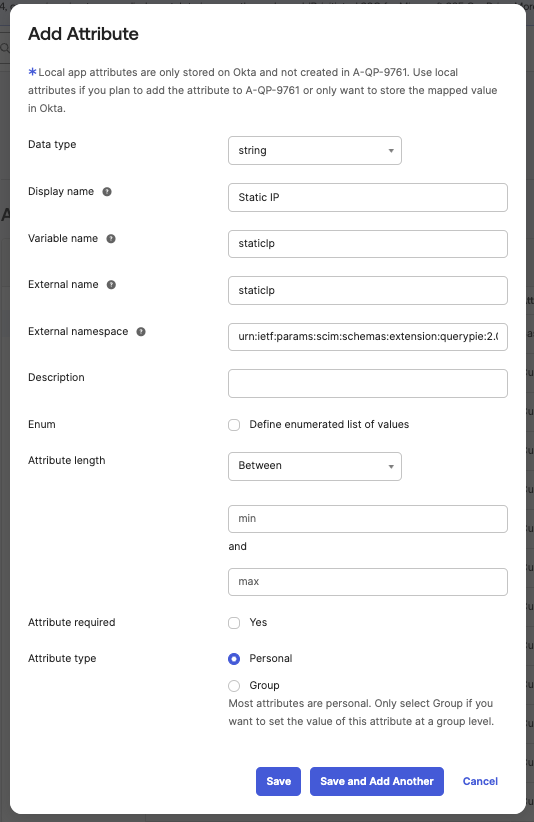
- Data type: Select string, same as in QueryPie.
- Display name: Enter the attribute name to display in Okta.
- Variable name & External name: Enter the variable name of the custom attribute to synchronize.
- You can also check the variable names in the QueryPie user profile (shown in parentheses).
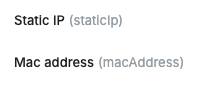
- You can also check the variable names in the QueryPie user profile (shown in parentheses).
- External namespace: Enter the following value.
urn:ietf:params:scim:schemas:extension:querypie:2.0:User - Then click the
SaveorSave and Add Anotherbutton to save. - Then click the
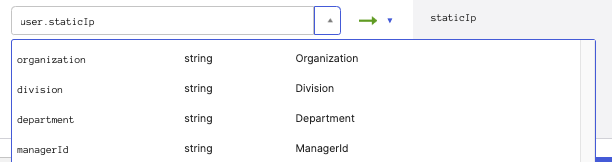
Mappingsbutton.
- Select the second tab (Okta →
{APP}) at the top of the prompt.

- Map the newly created Custom Attribute with the appropriate Attribute in IdP at the bottom and click the Save Mappings button to save the settings.
- Then assign users to the app.
Verify user provisioning
- Return to the SCIM app and assign users through the options of the
Assignbutton in the Assignments tab.
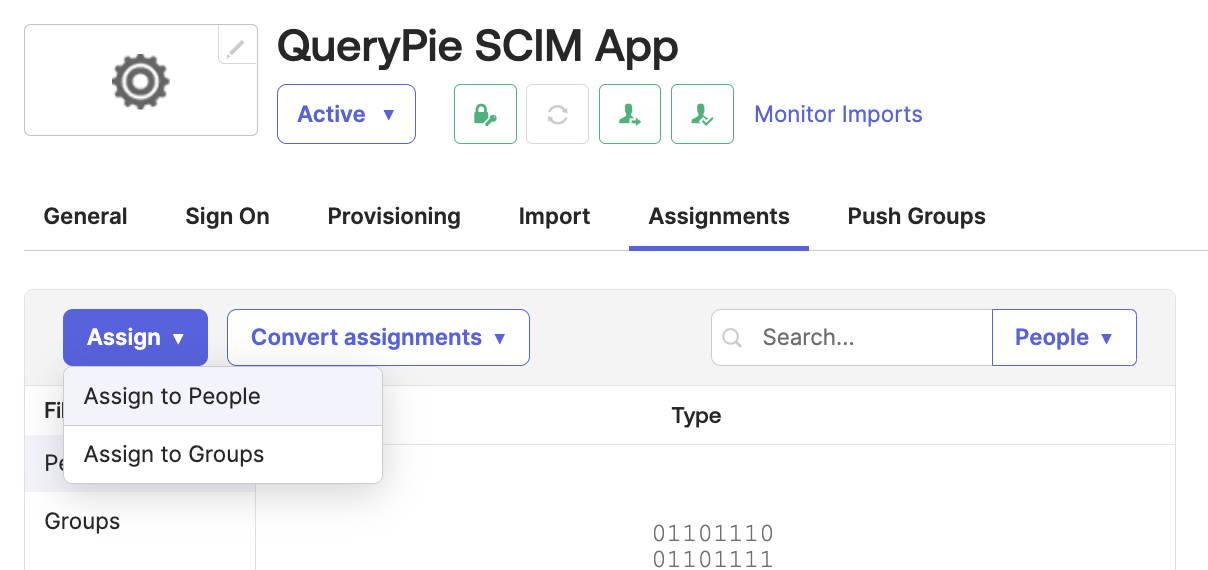
Okta Admin Console > Applications > Applications > Custom SCIM App > Assignments
- Assign to People: Assign by individual users
- Assign to Groups: Assign by user group
- Return to the QueryPie app and go to Administrator > General > User Management > Users to verify that users have been pushed successfully.
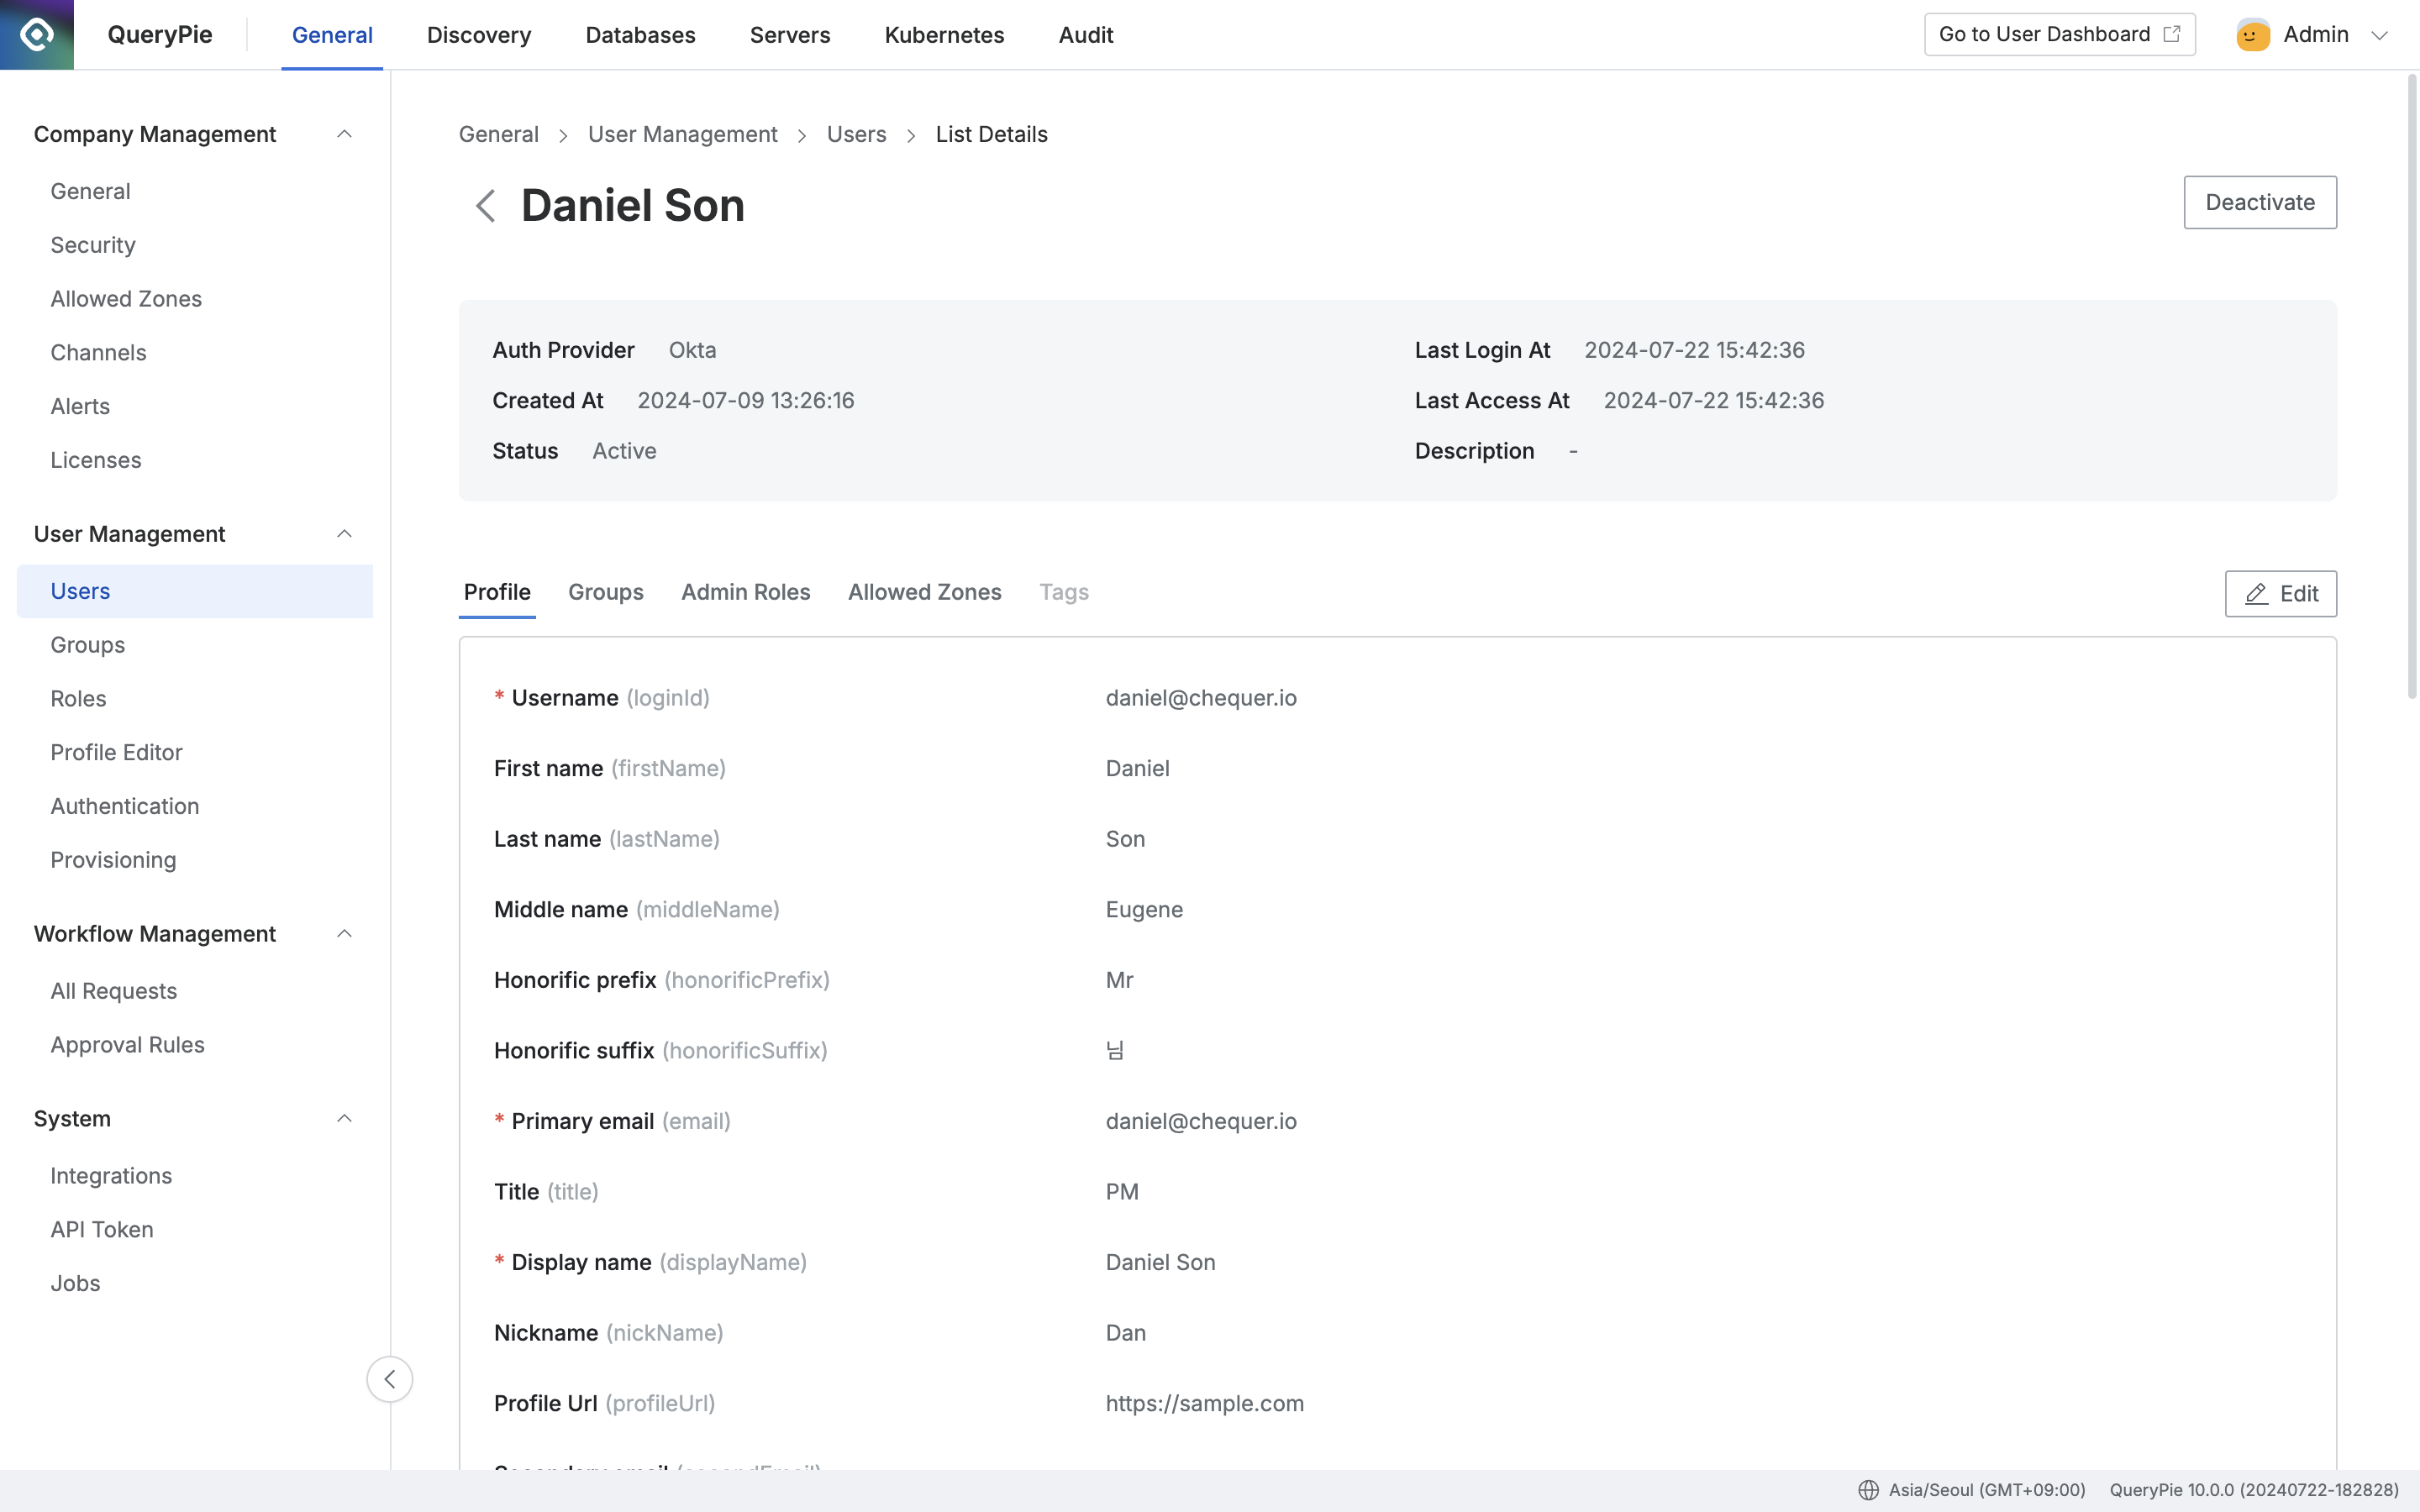
Administrator > General > User Management > Users > List Details
Verify group provisioning
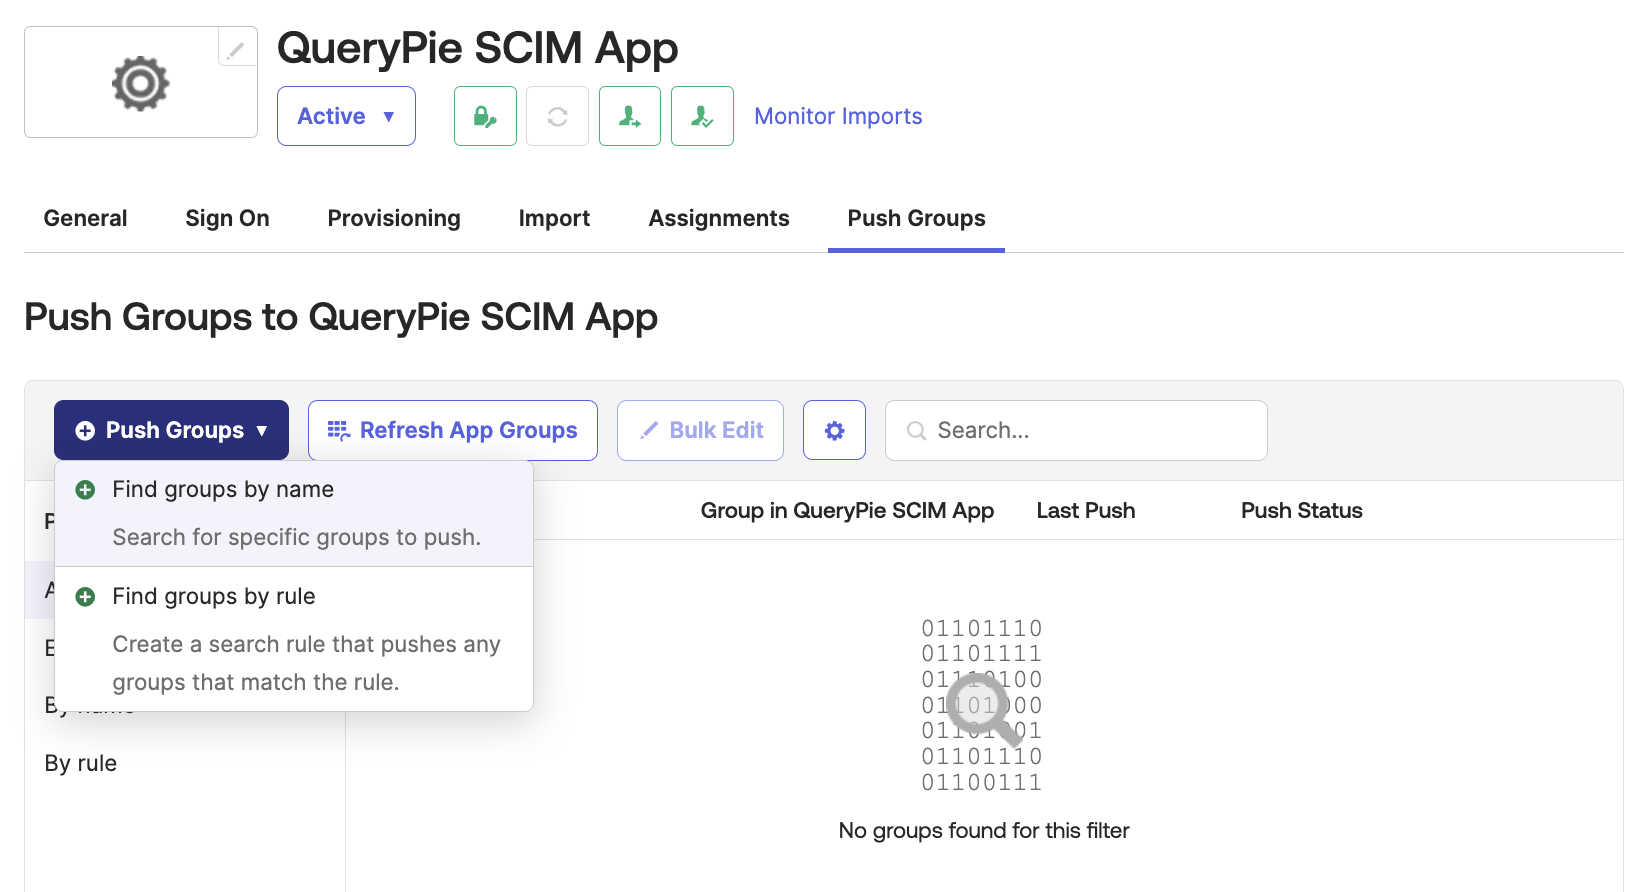
Okta Admin Console > Applications > Applications > Custom SCIM App > Push Groups
- Return to the SCIM app and push groups through the options of the
Push Groupsbutton in the Push Groups tab.- Find groups by name: Search by the group name to push and assign
- Find groups by rule: Define search rules to assign groups that match the conditions
- Return to the QueryPie app and go to Administrator > General > User Management > Groups to verify that groups have been pushed successfully.
For groups whose Auth Provider is not QueryPie and were created by being pushed from third-party Identity Providers (IdP) such as Okta, we recommend unlinking and deleting them from the IdP side. If you delete such groups in this product, the management flow in the IdP may become disrupted, and it may be difficult to push the same deleted group name back into the product.