MCP Server Connection Management
Overview
MCP Server Connection Management lets you register server information so that QueryPie can connect to external MCP (Model Context Protocol) servers and manage connection settings, credential settings, audit settings, and tool synchronization status.
You can perform the following tasks on this screen.
- View the MCP Server list.
- Register a new MCP Server.
- Modify Basic Information, Connection Settings, and Audit Settings for a registered MCP Server.
- Synchronize and view the list of Tools provided by a server.
- Delete a registered MCP Server when necessary.
If QueryPie’s Web Base URL is not configured, QueryPie cannot create an OAuth callback URL and cannot start Connect for an MCP Server that uses OAuth. Learn more about Web Base URL
Viewing the MCP Server list
View the list of registered MCP Servers.
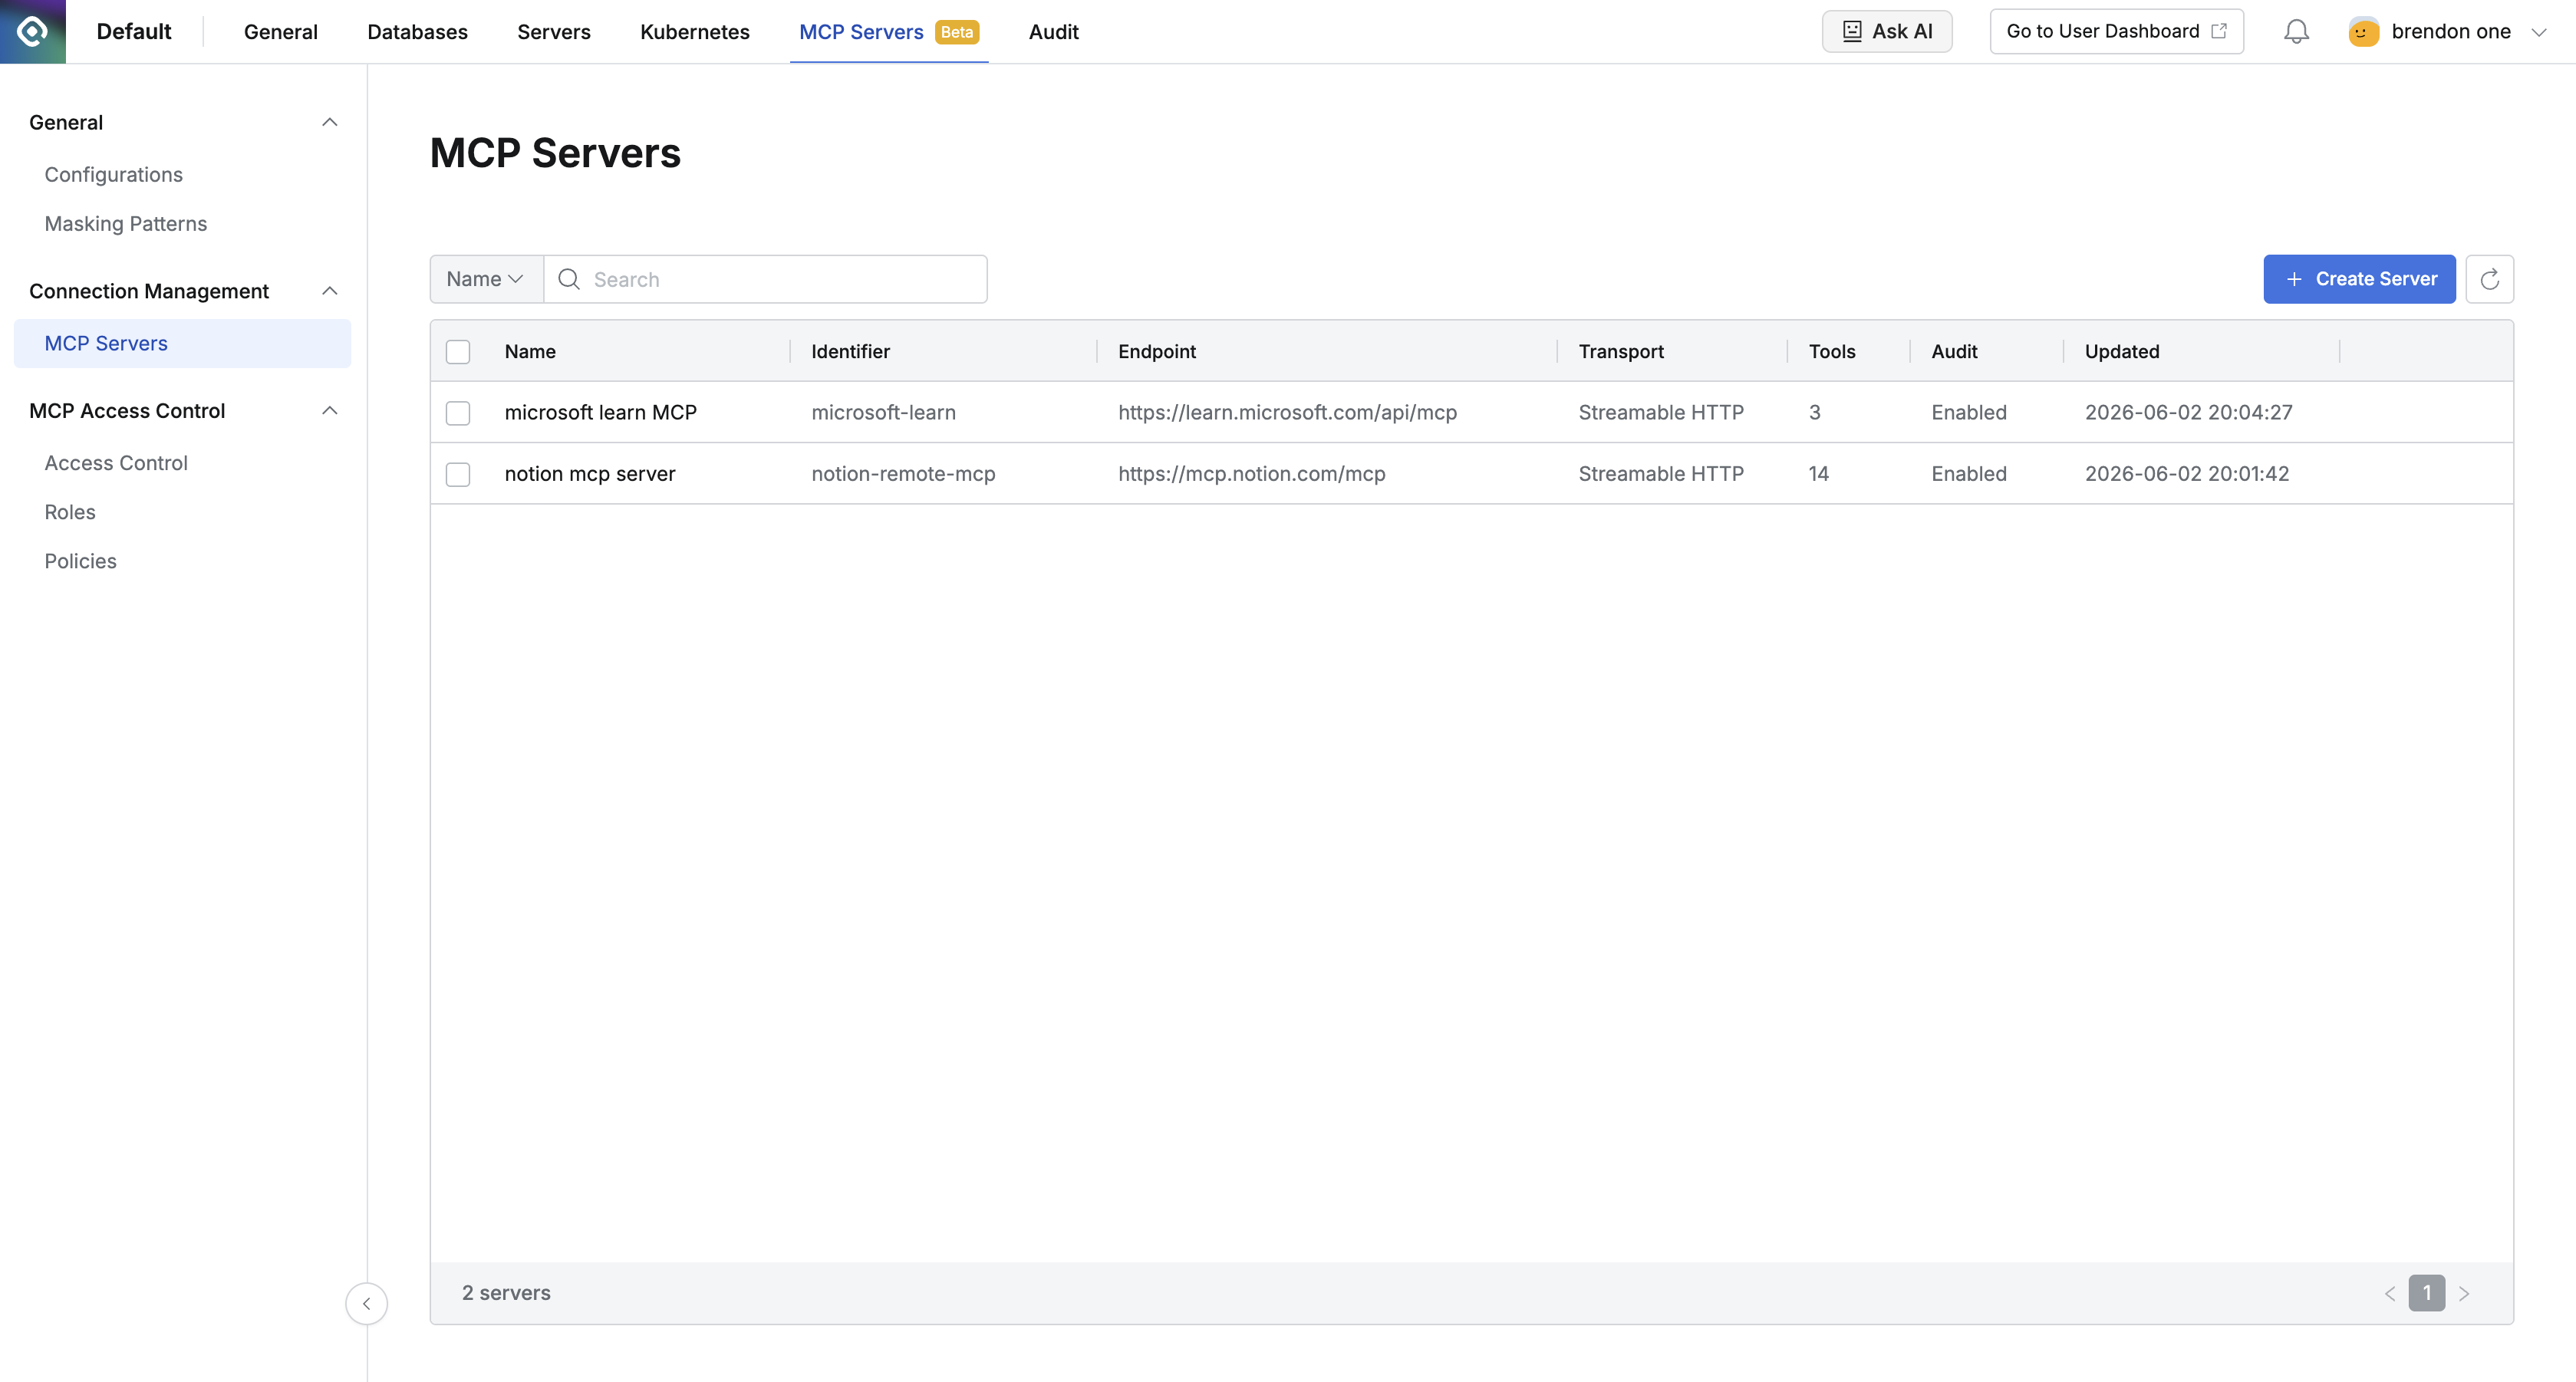
Admin > MCP Servers > Connection Management > MCP Servers
- Go to
Admin > MCP Servers > Connection Management > MCP Servers. - Review the server information in the list.
- Click
Create Serverin the upper-right corner to register a new server. - Click the refresh button to reload the list.
- Click a server in the list to go to its detail page.
The list contains the following columns.
- Name: Display name of the server
- Identifier: Internal server name
- Endpoint: MCP Server address
- Transport: Transport type used for the connection
- Tools: Number of synchronized tools
- Audit: Whether Request Audit is enabled
- Updated: Time of the last update
Adding an MCP Server
Register a new MCP Server.
- Click
Create Server. - Enter the following information in Basic Information.
- Identifier: Identifier used internally for the remote MCP Server. Uppercase letters are not allowed. It cannot be changed after creation.
- Name: Display name of the remote MCP Server.
- Icon: Upload and register an icon of your choice.
- Description: Description of the remote MCP Server.
- Enter the following information in Connection Settings.
- Endpoint URL: Endpoint URL for connecting to the remote MCP Server.
- Transport: Select the transport type of the remote MCP Server. Select either SSE or Streamable HTTP.
- Credential Mode: Select None, QueryPie Registered Credential, or User OAuth.
- None: Use this when the remote MCP Server does not require authentication.
- QueryPie Registered Credential: Select this to manage the authentication token in QueryPie MAC. When you select QueryPie Registered Credential, the QueryPie Upstream Access Token field appears. Enter the MCP Server authentication token in this field. MAC does not generate an MCP Server authentication token. You must generate a token for MCP use in the corresponding service. For detailed instructions, refer to that service’s guide.
- User OAuth: Use this when the remote MCP Server uses OAuth authentication. The administrator must authenticate with OAuth on behalf of a user to retrieve the list of tools available from the MCP Server. This is unrelated to the user’s OAuth authentication and is used only to retrieve the tool list.
- If necessary, run
Test Connectionto check whether QueryPie can connect using the values currently entered. - Configure the request audit options in Audit Settings.
- Refer to “Understanding Audit Settings” below.
- Click
Save.
Test Connection, subsequent Sync Tools operations, and OAuth-related upstream communication may all be affected by the Forward Proxy setting in the global MCP Configurations.
Understanding Audit Settings
Audit settings in MCP Access Control are divided into two audit scopes.
- Audit Settings on each MCP Server detail page: Per-server audit settings for requests forwarded to a specific upstream MCP Server
- Audit settings in
Admin > MCP Servers > General > Configurations: Global audit settings for requests sent from an MCP client to QueryPie MAC
Therefore, when interpreting request audits, check which setting applies to each log scope.
Audit scope: QueryPie MAC to Remote MCP Server
- When Enable Request Audit is enabled in Audit Settings for an MCP Server,
QueryPie MAC records upstream requests forwarded to that Remote MCP Server in the request audit log.- The Audit column on the MCP Server list also reflects this value.
- When this option is turned off, upstream request audit logs for that server are not recorded.
- View request audit logs in
Admin > Audit > MCP > Request Audit.
- When Include payload in Request Audit is enabled in Audit Settings for an MCP Server,
the payload and response are stored with request audit logs for that MCP Server.- In addition to recording the upstream request itself, the audit record includes the payload and response.
- This option is available only when
Enable Request Auditis enabled. - When
Enable Request Auditis turned off, this option is disabled and its value is also turned off when you save.
Audit scope: MCP Client to QueryPie MAC
The Admin > MCP Servers > General > Configurations screen contains global settings for client-originated audits.
- Client Request Audit: When enabled, MCP requests sent from a client to QueryPie MAC are recorded in the audit log.
- The audit subject is a client-originated MCP request, not an individual upstream MCP Server.
- When disabled, no client request audit event is created.
- Include payload in Client Request Audit: When enabled, the payload and response are stored with the client-originated MCP request audit log.
- This option appears only when
Client Request Auditis enabled. - When disabled, the client request audit event is recorded, but the payload and response bodies are excluded.
- This option appears only when
Modifying an MCP Server
Change the settings of an existing MCP Server. You can synchronize Tools for an MCP Server only from the edit detail screen after registering the server.
- Click the server to modify in the MCP Server list.
- On the detail page, review and modify the following sections.
- Basic Information
- Connection Settings
- Audit Settings
- Tools
Synchronize the list of tools provided by the registered MCP Server.
If authentication is required, you must authenticate before synchronization.- Click
Sync Tools. - When synchronization is complete, you can see the number of detected tools and the last synchronization time.
- The Tools table shows the following information.
- Tool Name: Name of the tool.
- Description: Detailed description of the tool.
- Last Synced: Time of the last synchronization.
- Click
- Click
Save Changesafter making changes.
On the server edit screen, Identifier is read-only and cannot be changed.
Deleting an MCP Server
Delete a registered MCP Server.
- Select one or more servers in the list.
- Run the delete action.
- Approve the confirmation message to delete the selected servers.
You can also delete a single server from its detail page.
Operational notes
- By default, both Enable Request Audit and Include payload in Request Audit are enabled when you create a server.
- Include payload in Request Audit on the server detail page cannot be enabled independently and always depends on Enable Request Audit.
- Client Request Audit and Include payload in Client Request Audit in
Admin > MCP Servers > General > Configurationsare also enabled by default. - The Client Request Audit settings and per-server Request Audit settings do not inherit from each other. They are separate settings applied to different request scopes.
- If the remote MCP Server cannot be reached directly over the internet, you may need to configure Forward Proxy in
Admin > MCP Servers > General > Configurations. Your organization must provide the forward proxy separately; QueryPie MAC does not provide a proxy server. - Synchronize the Tools list separately on the server detail page to reflect the latest server state.
- When Credential Mode is User OAuth, you can check the admin OAuth connection status separately on the detail page.