Setting Default Privilege
Overview
This is a feature to set the Default Privilege that connects by default when multiple Privilege permissions are granted to a single DB connection.
Setting Default Privilege
QueryPie Web > Database Access Control > Databases > Privileges
- When you have been granted 1 permission, all web, proxy, SQL Request, Export Request, and SQL Jobs connect with that permission without separate Default Privilege settings.
- When you have been granted 2 or more permissions, users must separately set Default Privilege.
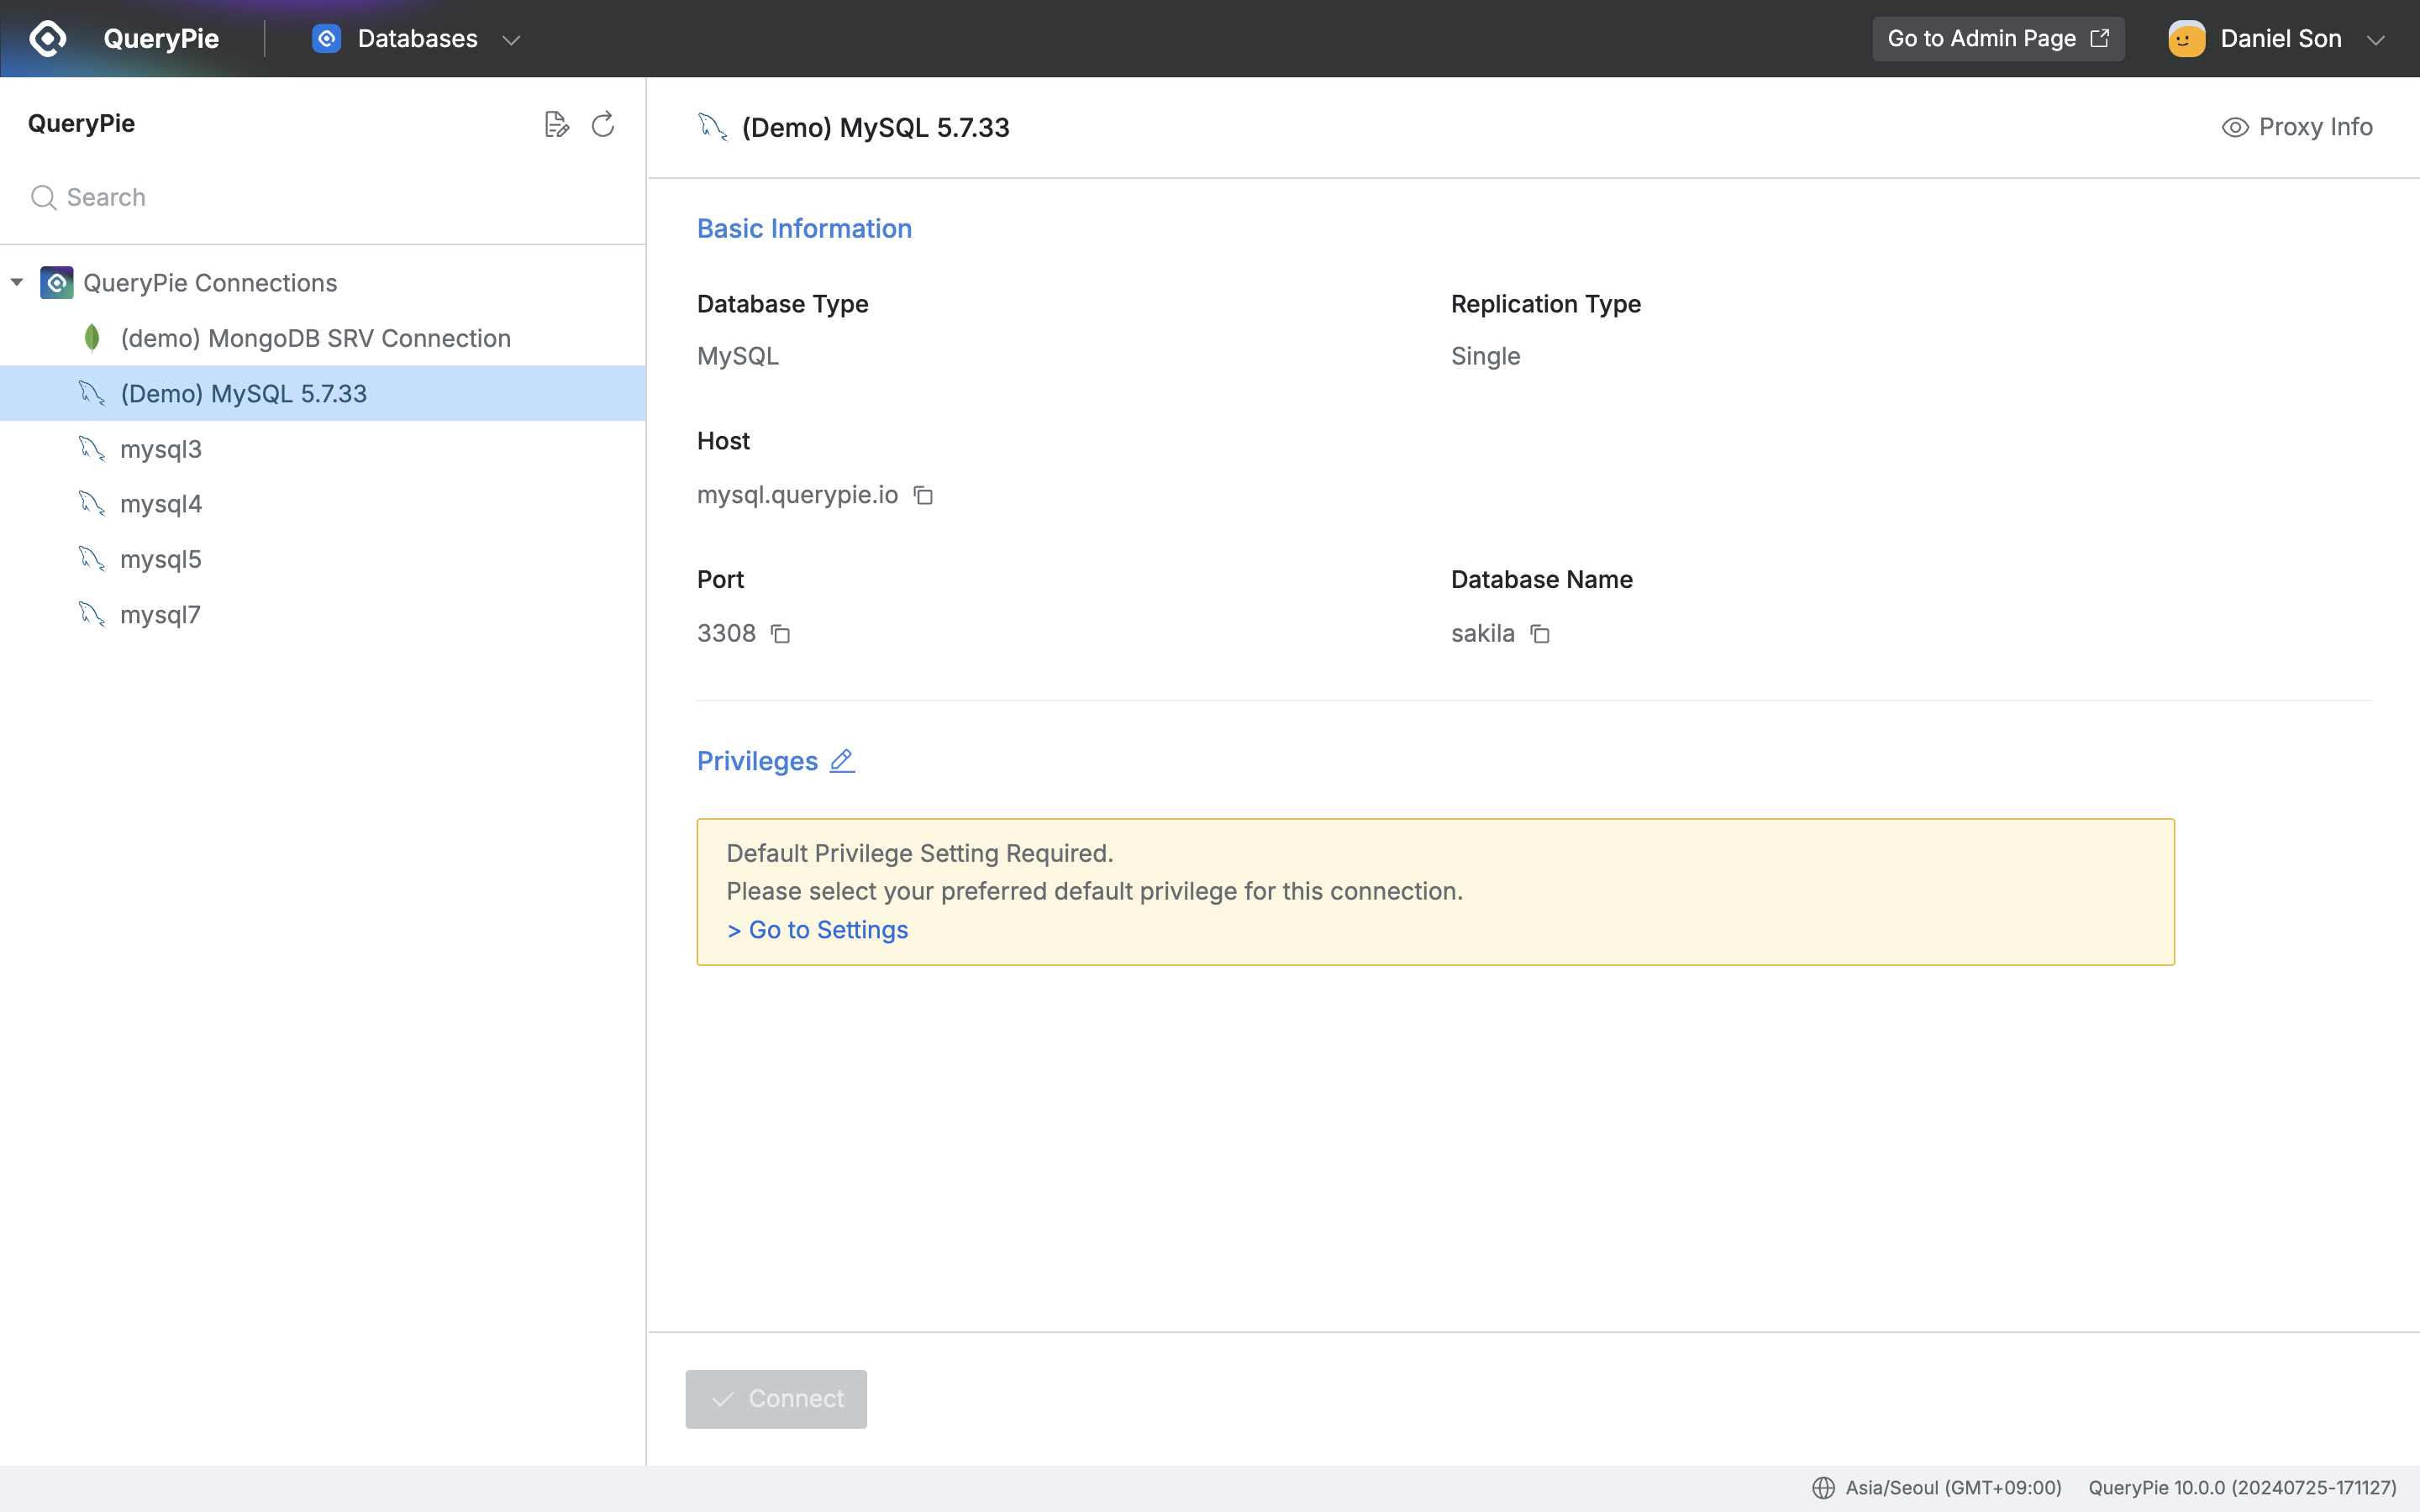
QueryPie Web > Database Access Control > Databases > Privileges > Default Privilege Setting
- Click the
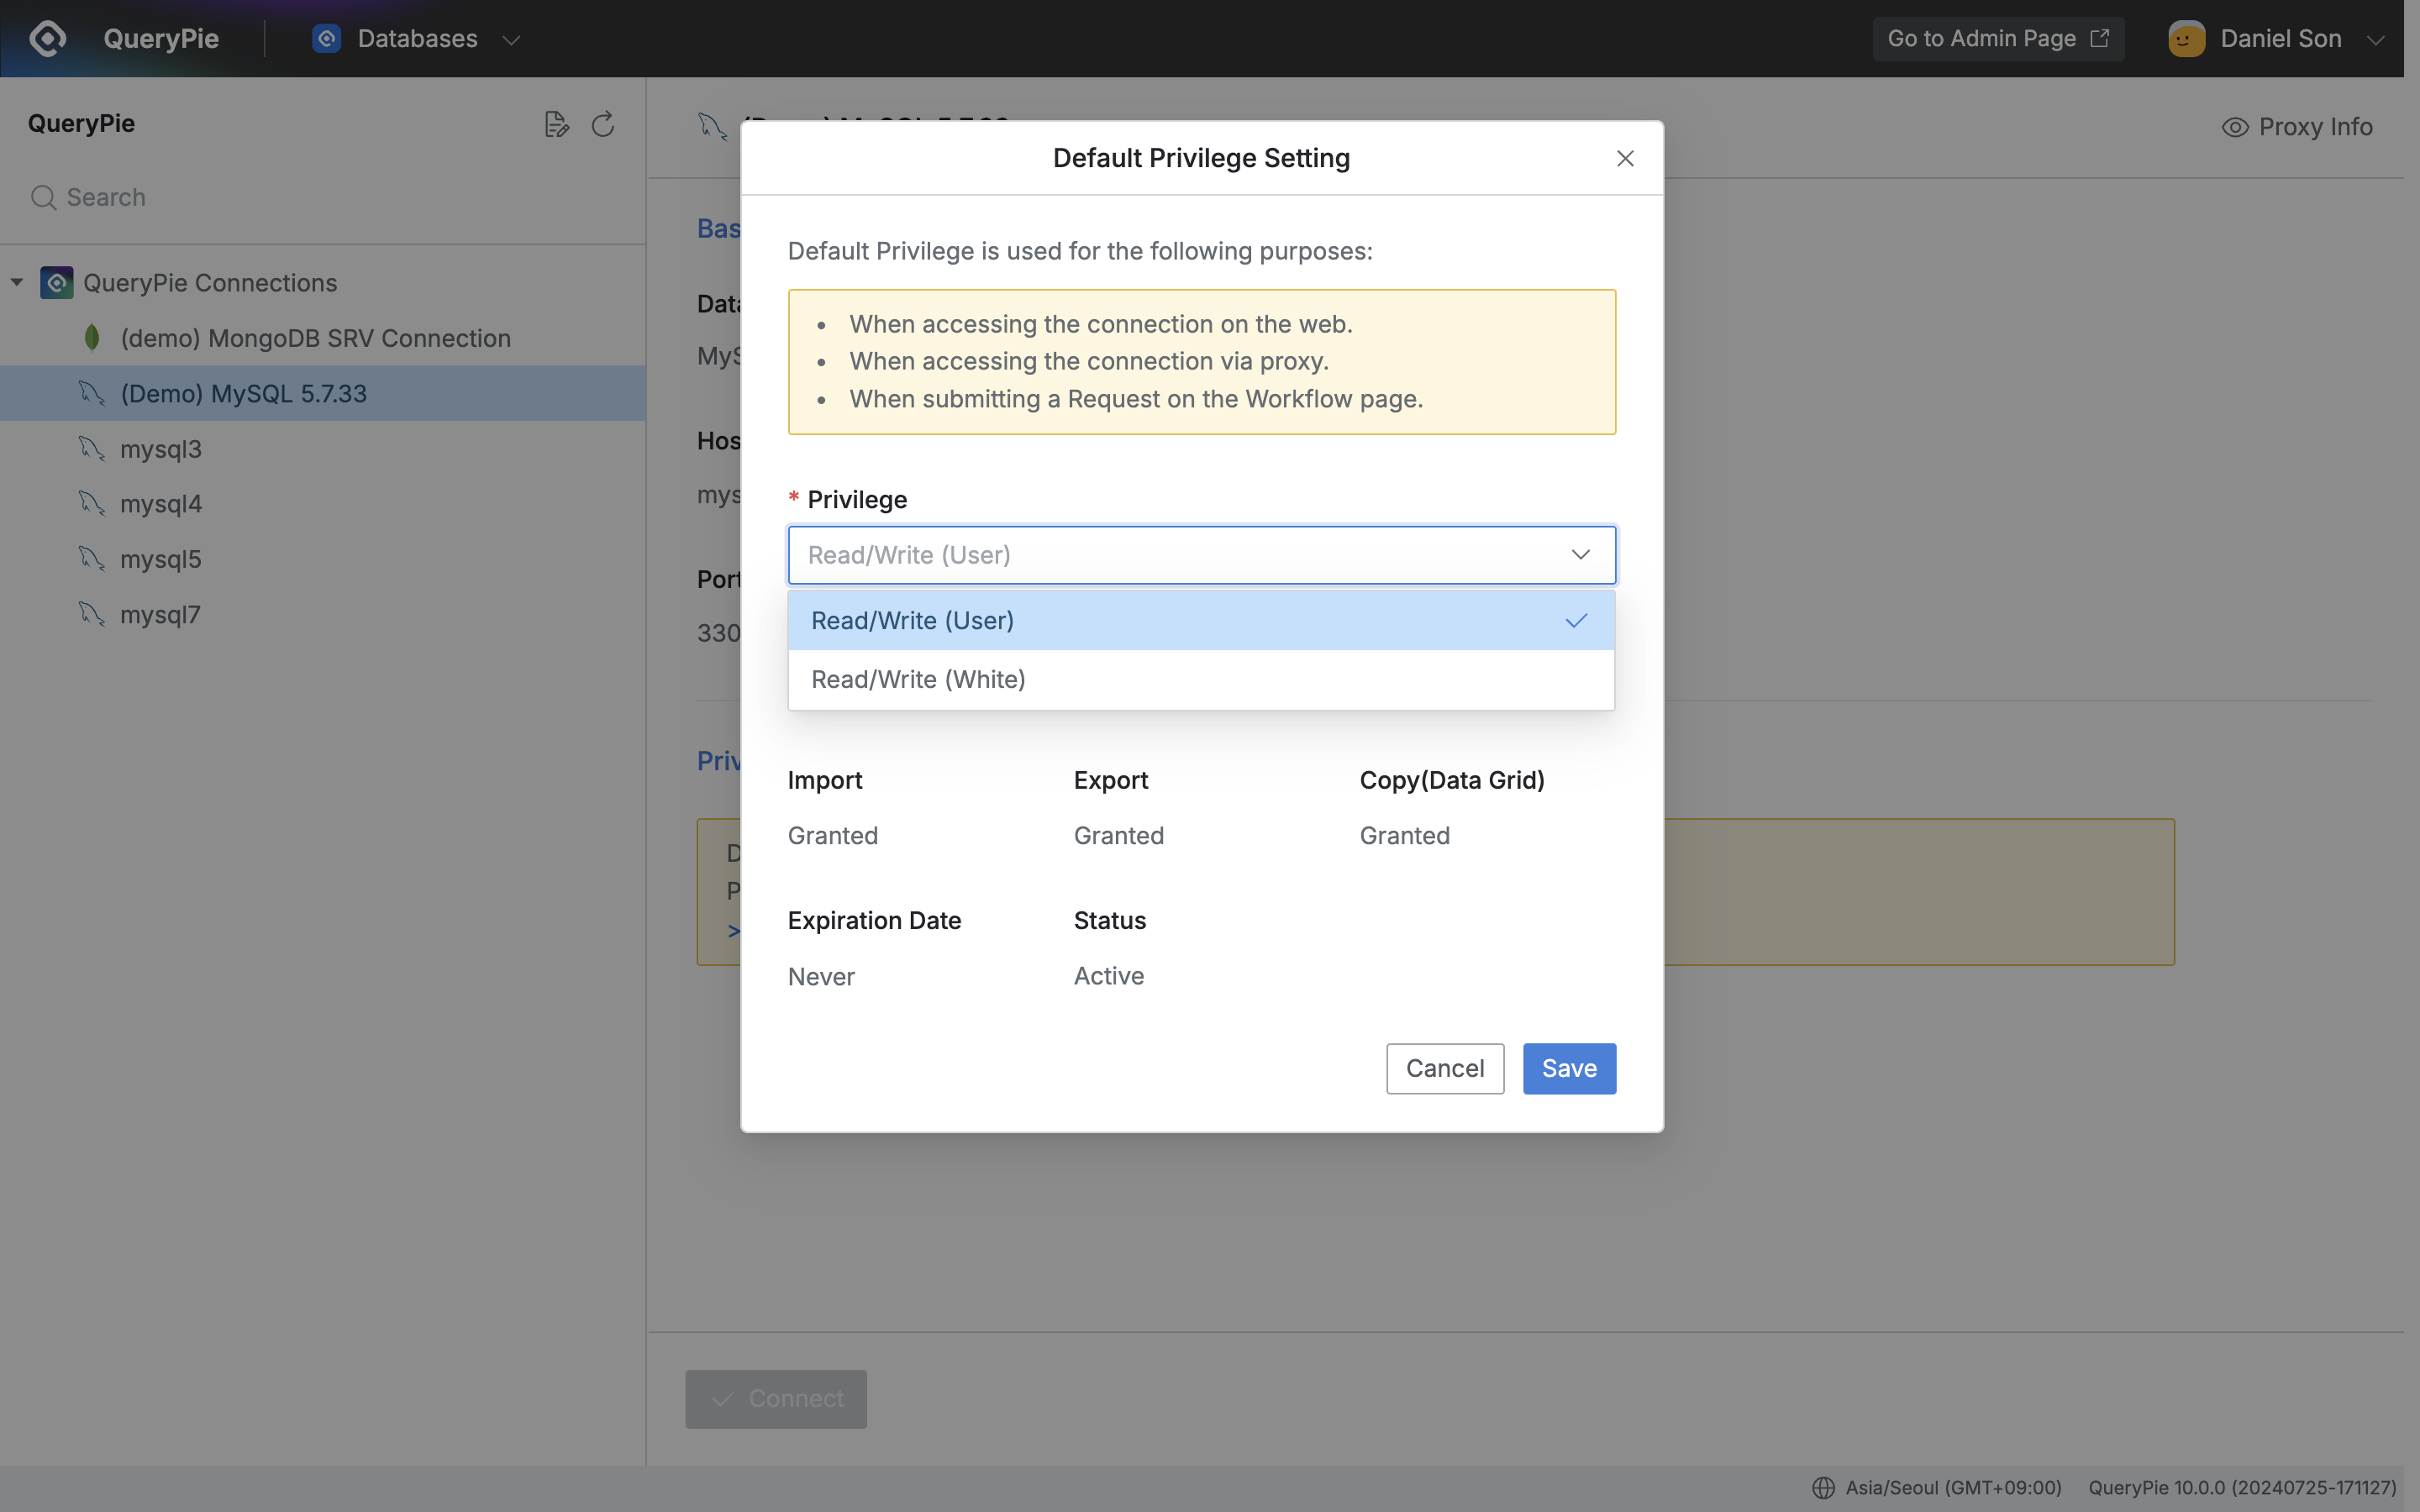
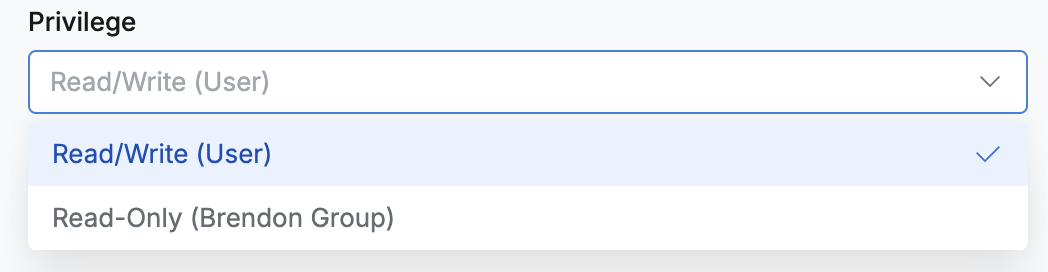
Editbutton or> Go to Settingslink on the right of Privileges. - In the Privilege section, select the Privilege to use as the default value among the granted permissions.
- Click the Save button to complete the Default Privilege setting.
- When you have been granted 2 or more permissions but Default Privilege is not set, the first granted privilege becomes the default privilege. When connecting through agent proxy, SQL Request, Export Request, the DB is accessed with the permission selected as Default Privilege.
- Default Privilege changes are provided in web and Multi-Agent. User Agent does not provide Default Privilege change functionality, so users must change it on the web page to switch the Privilege to connect with.
- When Default Privilege is changed while already connected to a connection with Default Privilege, or when that permission is revoked, the existing session is disconnected and reconnected with the new Default permission.
- When you have been granted 2 or more permissions and Default privilege is not set and becomes inactive due to exceeding the privilege deactivation period, you cannot connect through the agent. Even if Default privilege is set, you cannot connect if the status is inactive due to exceeding the privilege deactivation period.
Setting Privilege in Multi-Agent
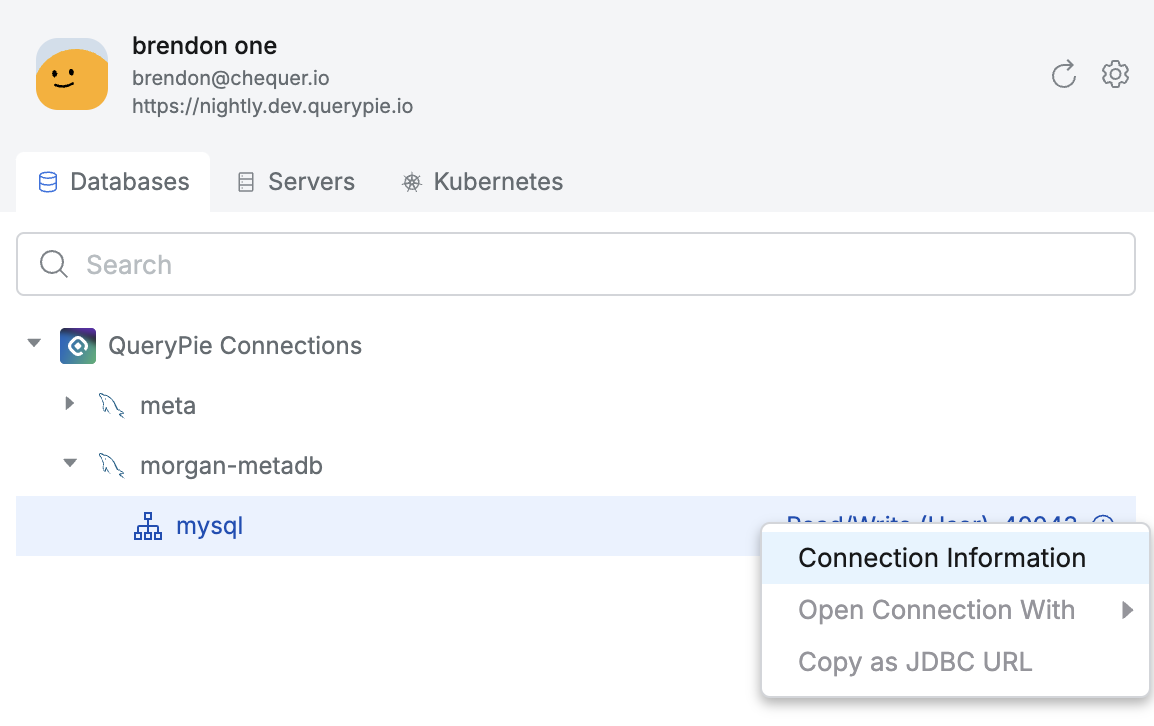
When connecting with a 3rd party tool, you can also select a privilege if one or more privileges have been assigned for the target DB. Refer to the following setup steps.
- In the agent, right-click the target connection and select
Connection Informationfrom the menu.
- On the Connection Information screen, scroll down and click the pencil icon in the Privilege field under Original Information.
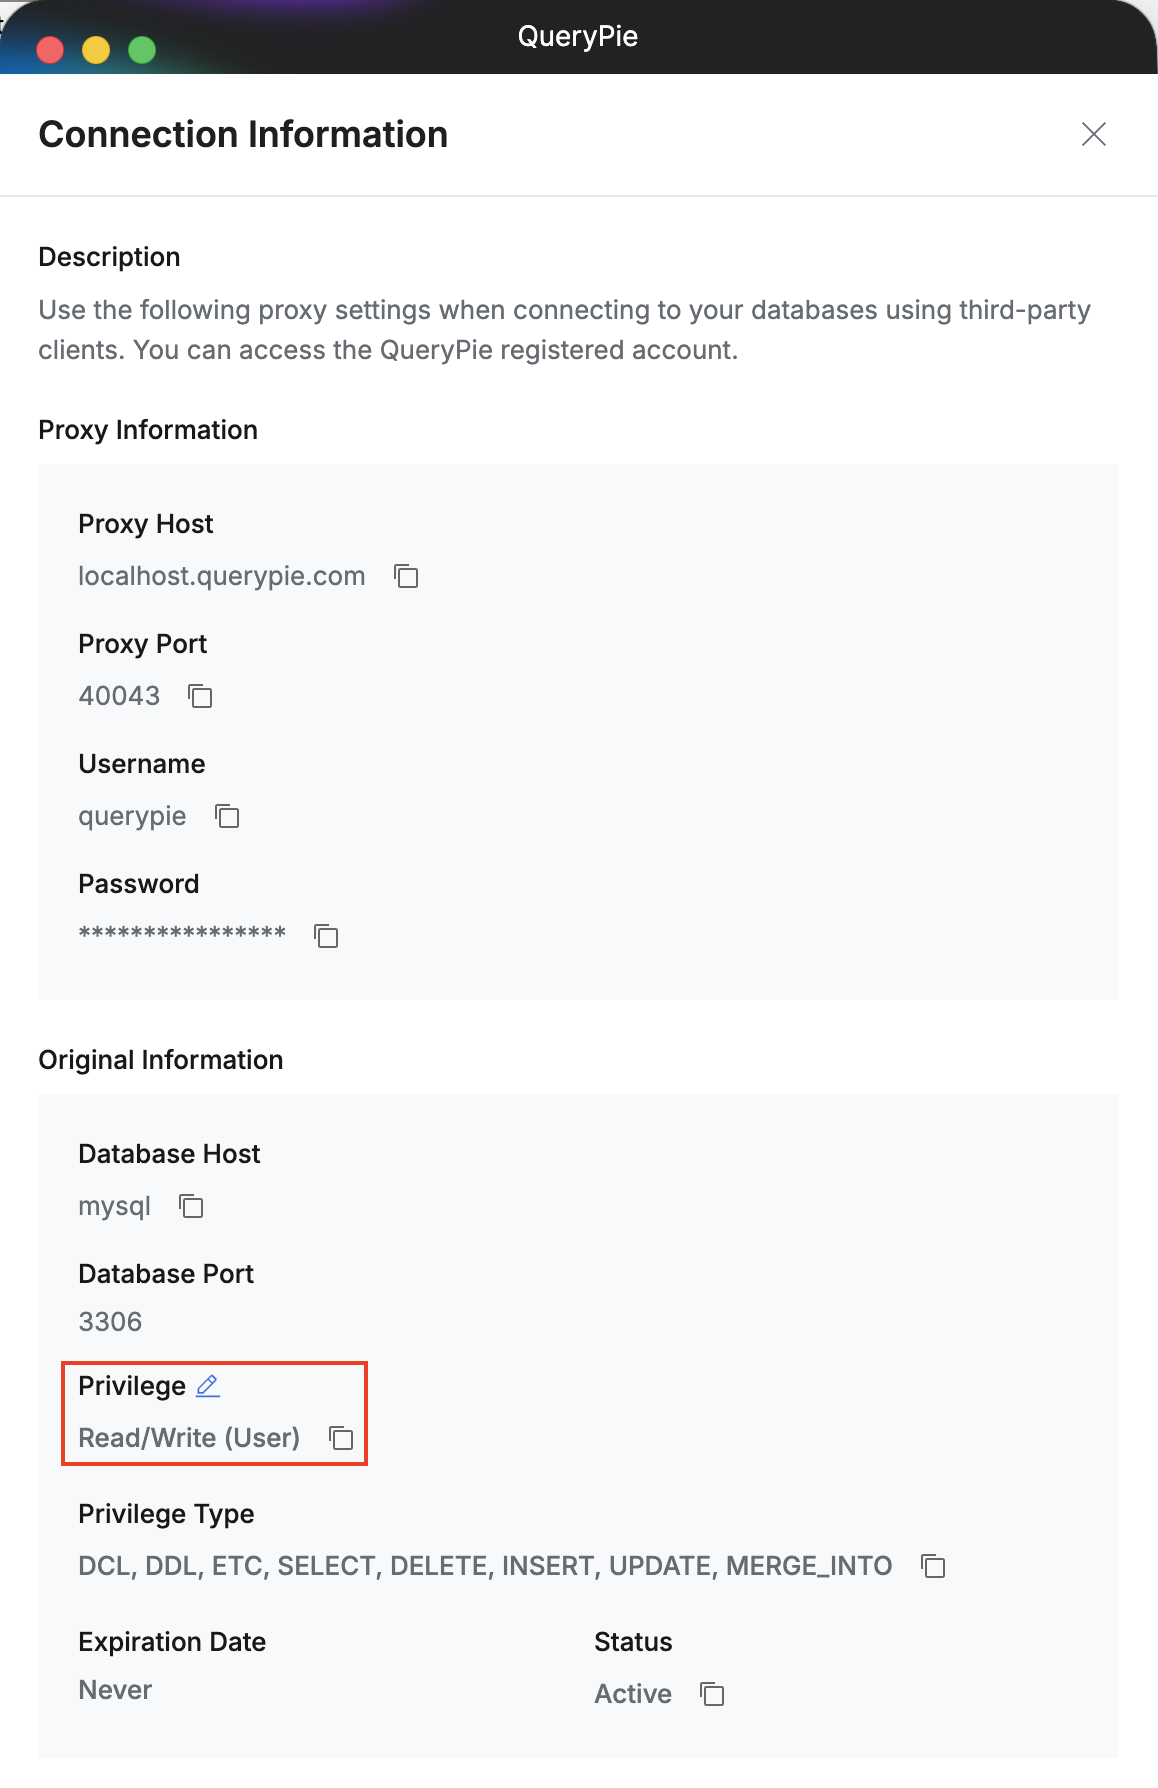
- Select a Privilege, then click the
Savebutton to save the setting.
Last updated on